


Fall Leaf Art for a Tabletop Tray- Bonus Option Too!

Ok all credit must go to the Hometalker who inspired me...Laura, thank you for your fabulous post! I have a garden full of various leaves, I had ink, loads of papers and something a little different than Laura...ottoman frame trays! I bet you all have them too because they were a thing, a big thing!

Boringgggg! Am I right? Well maybe they were cute for the first month but I'm not a fan of having photographs on flat surfaces, I prefer them to be hung or displayed upright, heh maybe I'm boring? Oh well, I'll just do extra craft therapy to work through that! Moving on, what am I proposing to do here?
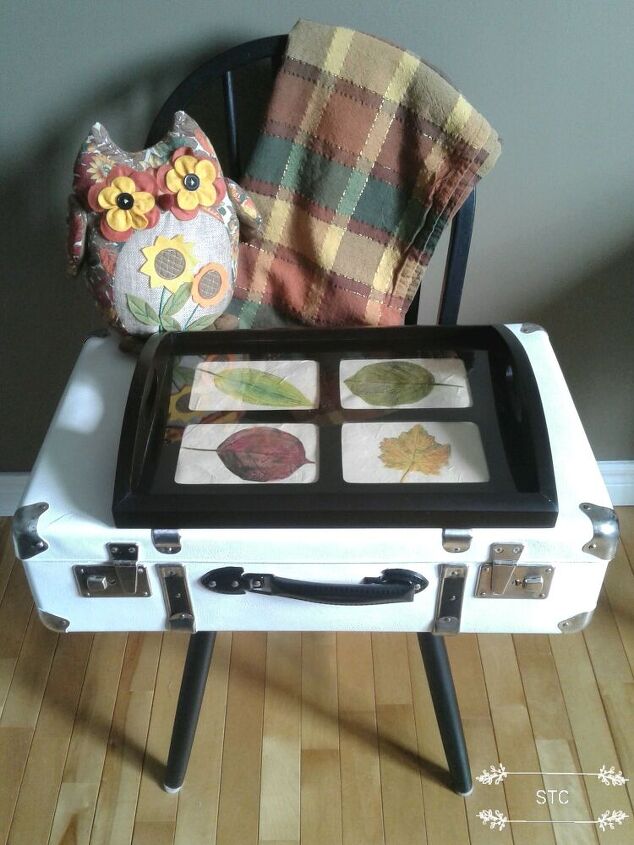
I wanted to create some easy Fall decor, then later I can swap out the prints and create something else for the next season and so on. They look real don't they but they're actually prints, inked prints that I colored to look like the natural tones the leaves take on as Fall eases upon us.
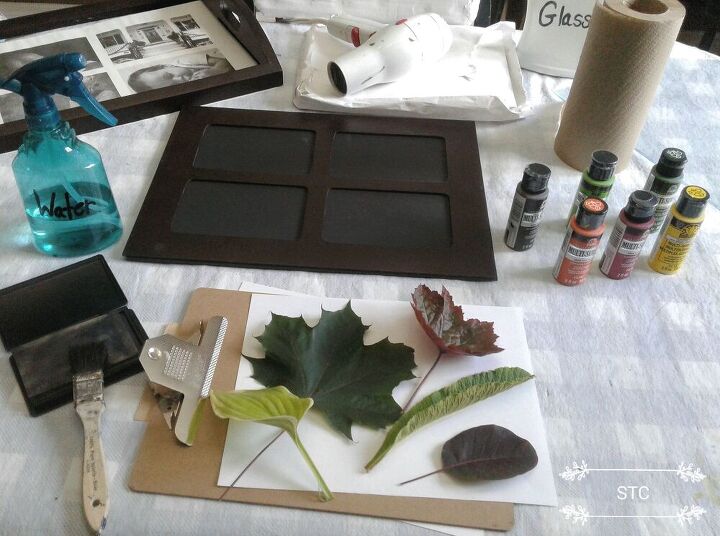
First up you'll need the tray frame, various "fresh" leaves collected, white, homemade paper or watercolor paper, craft paints in Fall colors, ink pad, paint brushes for ink and paints, paper towels, water, gloves, hairdryer if needed.
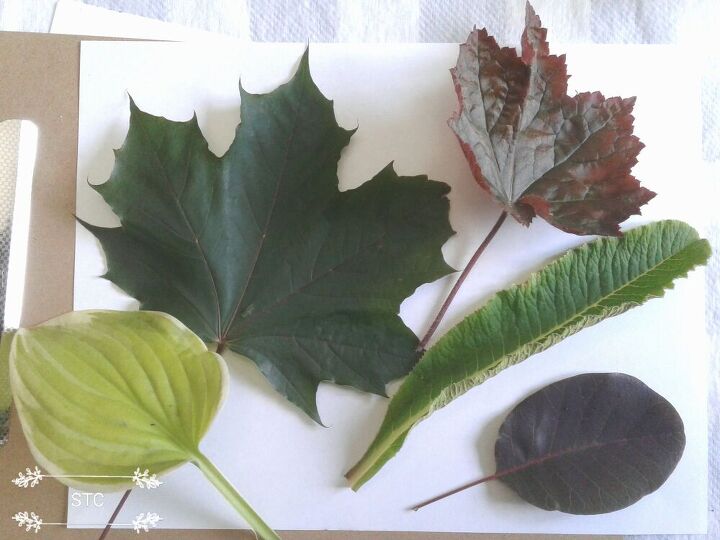
So many textures, shapes and colors its hard to choose a favorite but I narrowed it down to what would fit within the frame openings.
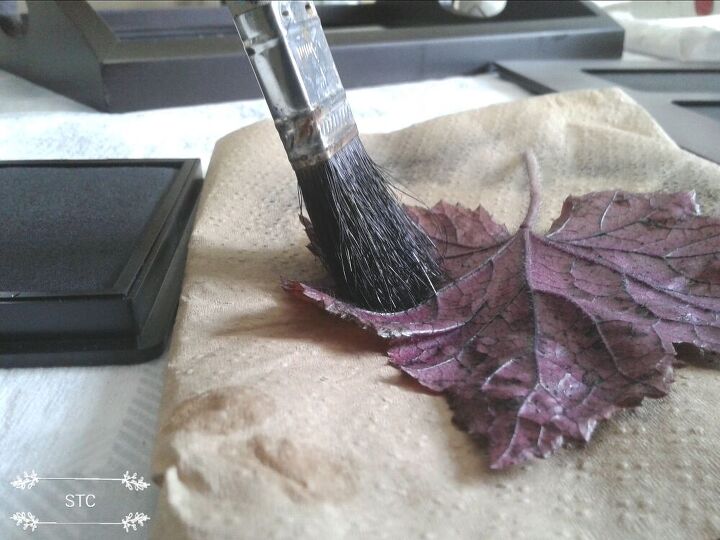
The process involves inking the "back" side of the leaf to give you the most texture, a great tip I learned from another Hometalker who did these to. I swiped my brush over the ink pad and then covered the back of the leaf including the stem.
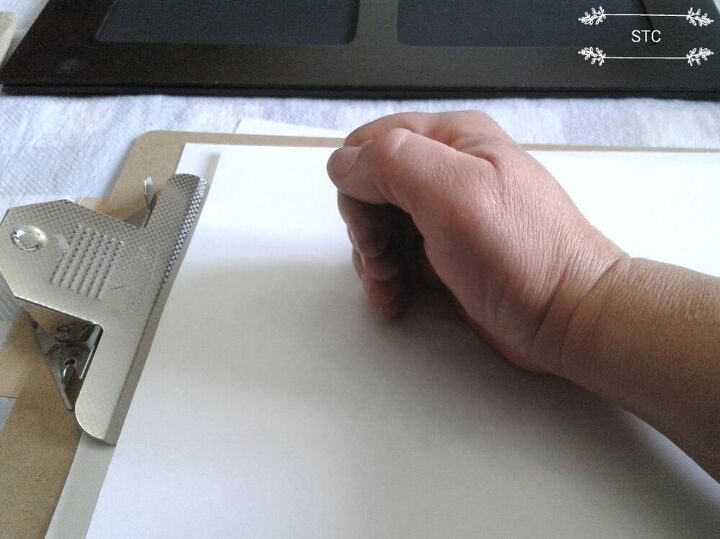
Carefully laying the leaf in position ink side down without shifting it, I laid another sheet of paper over top and gently and carefully pressed all over the leaf outline.
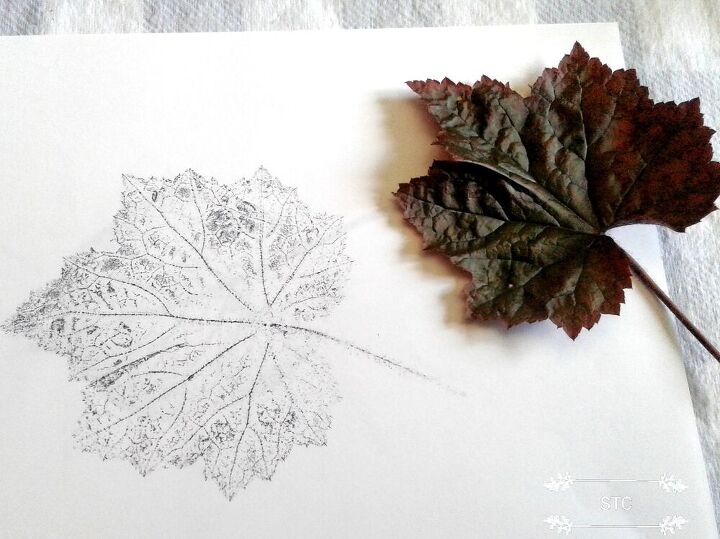
Voila! Pull back your press sheet and carefully lift the leaf and you have this dreamy leaf print made! It's so cool...oh and a little addictive I might warn you!
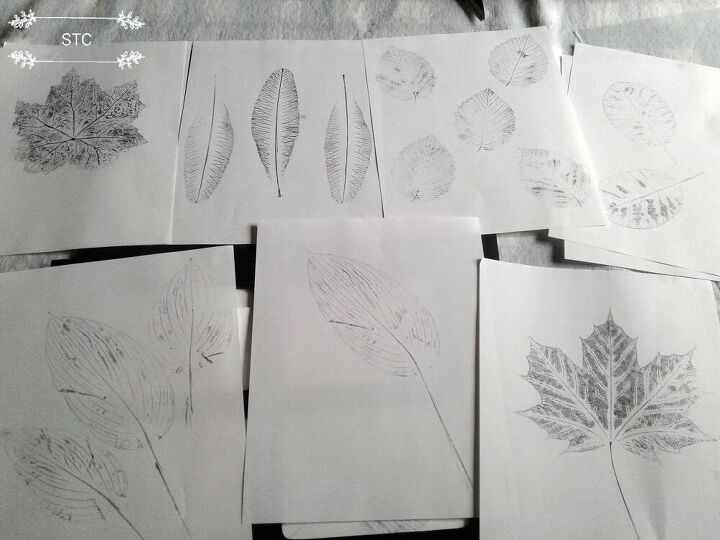
I made a few extras not knowing when I might want to create a gift for someone. Just picture it..."I Be-leave In You" or maybe "Sorry that you had to Leave." Sorry, my squirrel brain went on the train...back to business.

I had an idea as I flipped through my craft papers I found some textured, homemade paper. I thought the added texture might accentuate the texture of the leaves to my prints.
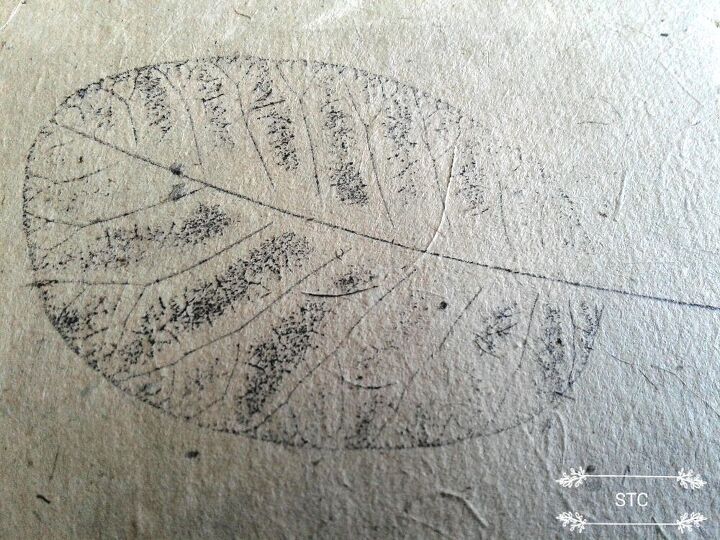
It worked and I liked it so I decided to go with this paper for my tray artwork.
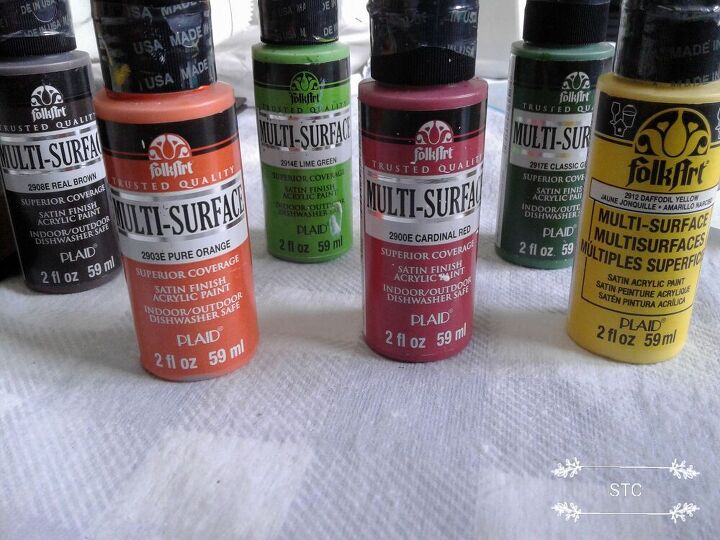
Along with the added texture I now wanted to infuse color into my leaves, I chose colors that are in the leaves now and what colors they'll likely turn into soon. I dipped my brush in water then barely touched the tip into paint and blotted onto paper towel first. You won't want your brush dripping wet but you'll definitely want your acrylic paint watered down because you'll be using it as a color wash and not a solid cover for the print.

So how do ya like me now? I can't get over how real it looks!!

Two toned leaves were what I aimed for, in Fall you'll often see multiple colors in a leaf as they lose daylight time needed for photosynthesis to ocurr.
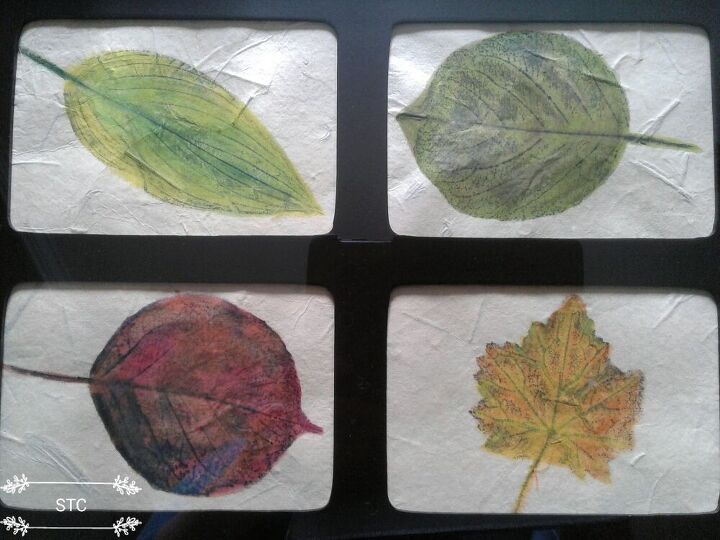
I inked two of the same leaf by accident on two of my four textured paper squares so I colored them differently to try to create more variety. So I used a yellow-green, a brown-green, a red-orange and an orange-yellow combination to create the shades you see. They are taped into place on the back to prevent any shifting once the frame is assembled back together.
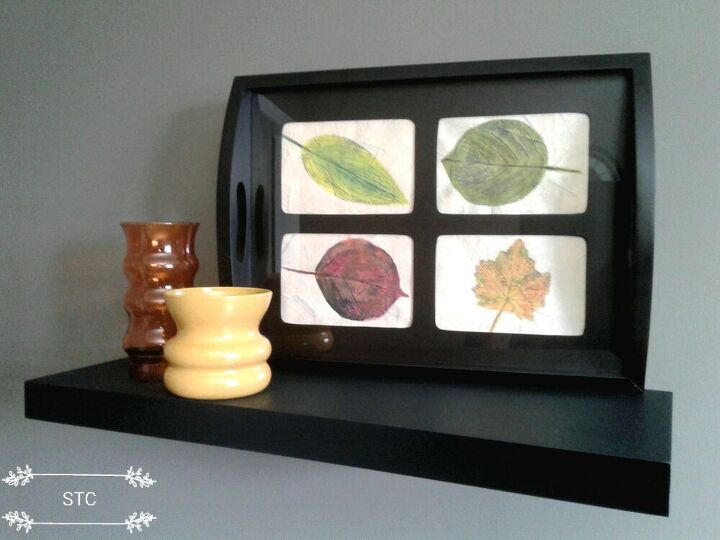
The tray can be used to layer a backdrop on your furniture, perhaps a nice Autumn painting behind this?
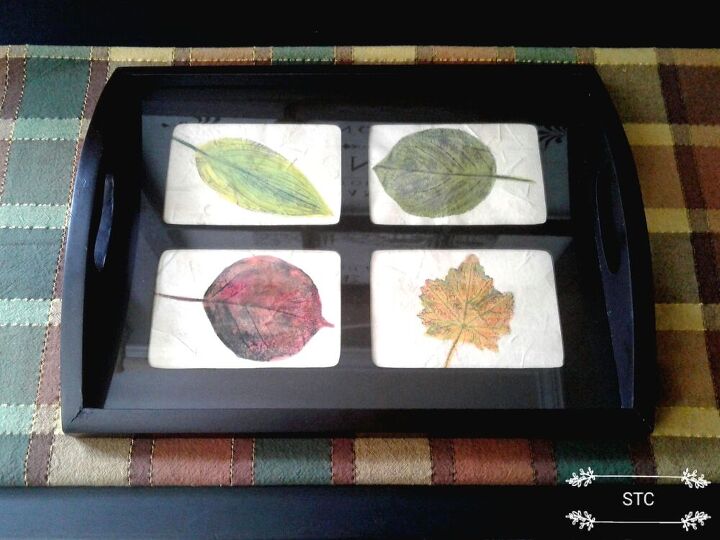
It'll also make the perfect seasonal accent atop a side table or an ottoman to rest a beverage or snack onto, you get to decide the function it'll serve for you best.
BONUS ROUND
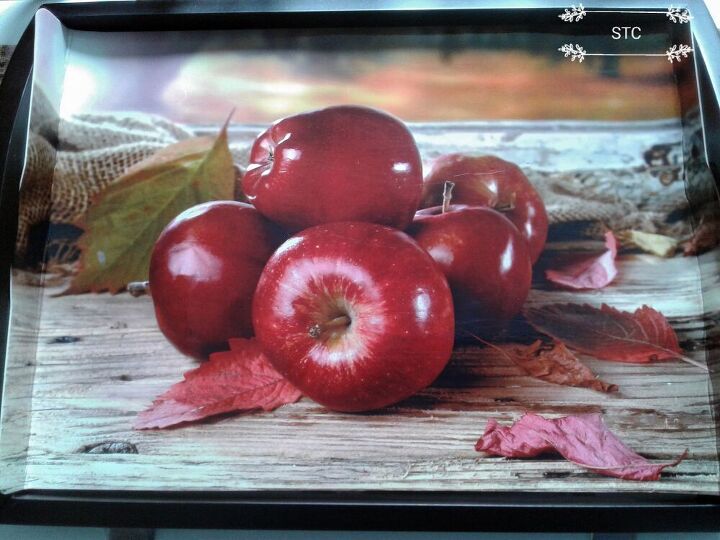
Does all of that overwhelm you?? Well I'm tossing in this bonus option for you to try if you'd like something faster and simpler, a pretty vinyl placemat.
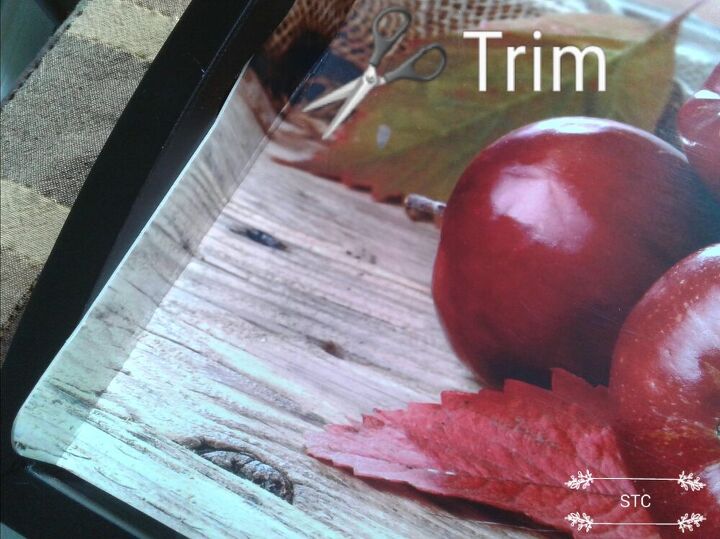
I chose this Fall scene of Red apples and Fall leaves, it fits perfectly height wise but width wise it just had to be trimmed a little. I pressed it in close to the sides to give me my mark, removed it and cut it down to fit with a utility knife and straight edge.
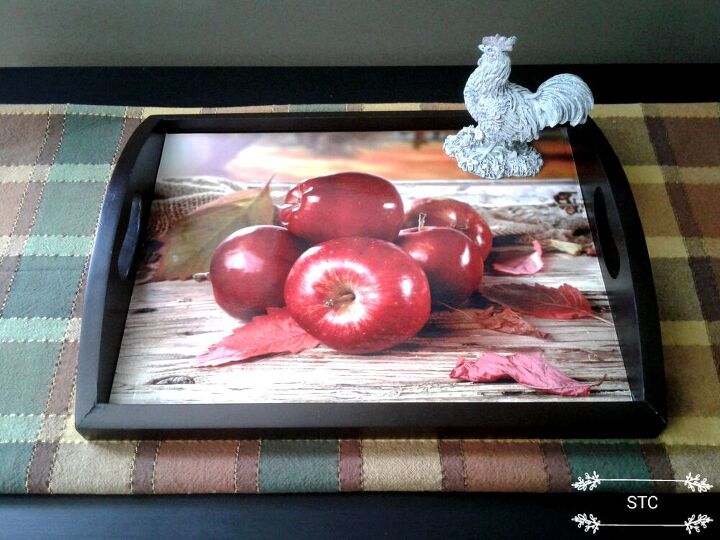
This one is pretty clever for three reasons, one it's easily removable for cleaning. Second, it's now made it super easy to swap out scenes for the seasons or themes, all you'll need is to find the next vinyl placemat that you'd like to display. Third, it's so easy and affordable to do this with these tray frames and have a big impact!
Resources for this project:
See all materials


Comments
Join the conversation
-
Both ideas are great! Thanks for sharing!
-
Love the apple mat


Frequently asked questions
Have a question about this project?
What kind of ink are you talking about?