


Decorate Your Front Door for Springtime With This Fun and Colorful DIY
I am always looking for something new for my front door for each season or holiday. Sometimes you want something other than a traditional wreath. So, what says SPRING, better than S-P-R-I-N-G? There are lots of ways to do that, adding letters to a wreath or a straw hat, but I decided to just go with the letters and make them “springy”. So how to add “spring” to the letters? Read on!
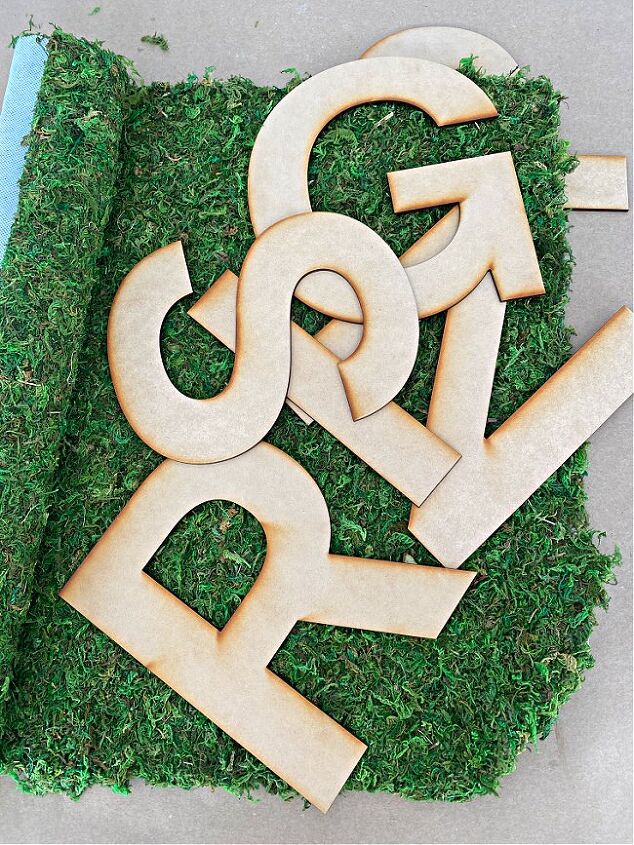
Get yourself some wooden letters and some sheets of moss and start creating! At the bottom of this post you can find links to the where I got my supplies for this project.
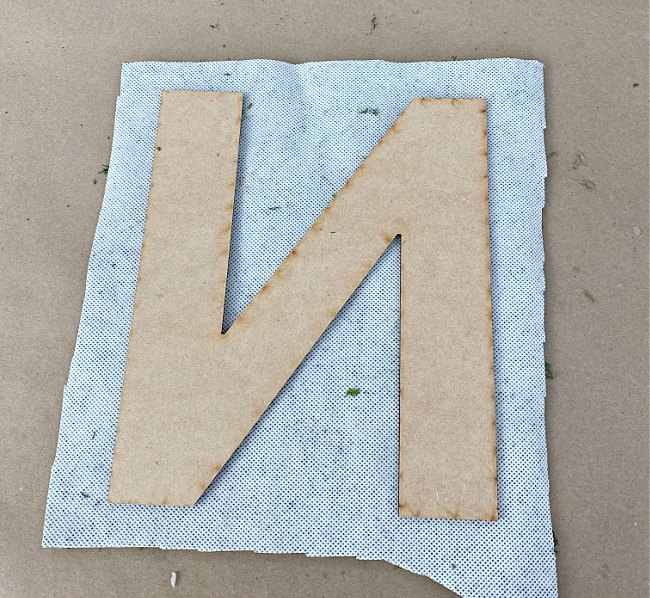
Lay your letter down on the back side of the moss, and lay the letter down backwards. That is really important, because after you attach the moss to the letter and turn it over, you want the letter to be the correct direction. This is not quite so important with the “S”, “N” and “I”, but will be very important with the “P”, “R” and “G”.
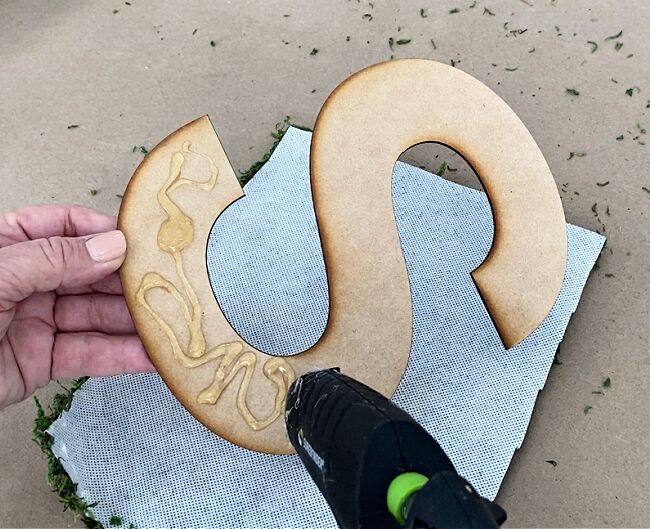
Apply a generous amount of hot glue to the FRONT of a letter as shown above.
Press the letter down firmly to the backside of the moss sheet.
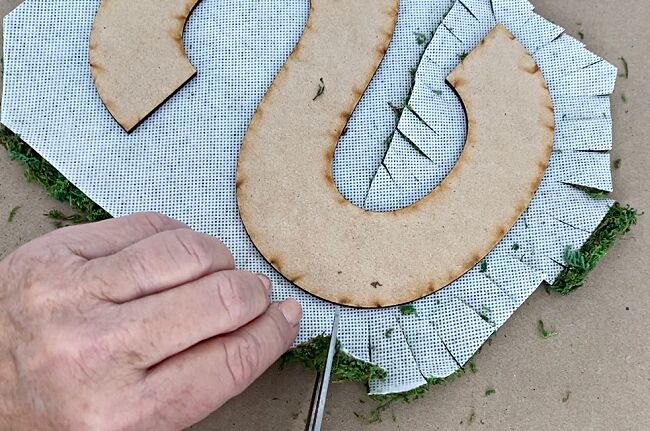
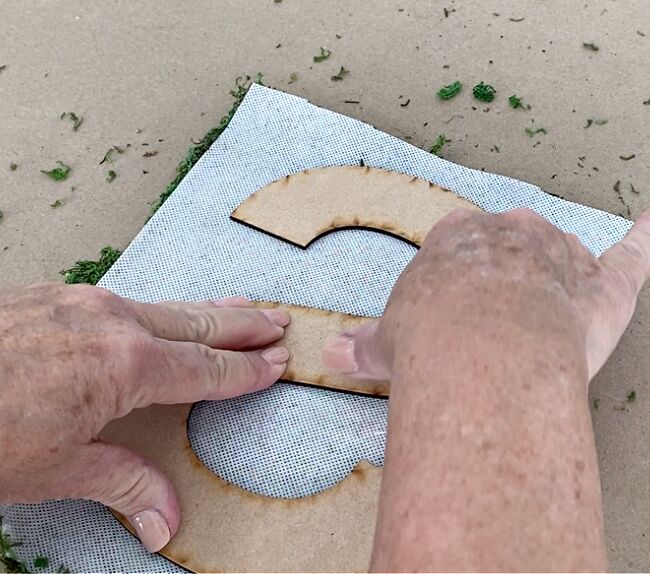
Using some utilitarian scissors, clip small cuts every half inch or so around your letter as shown above.
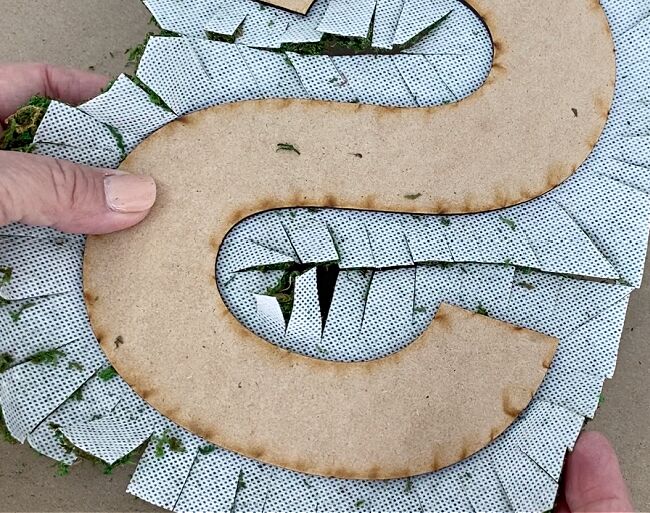
Complete the cuts all the way around your letter.
Using your glue gun, fold over the cut tabs and glue them to the back of the letter.
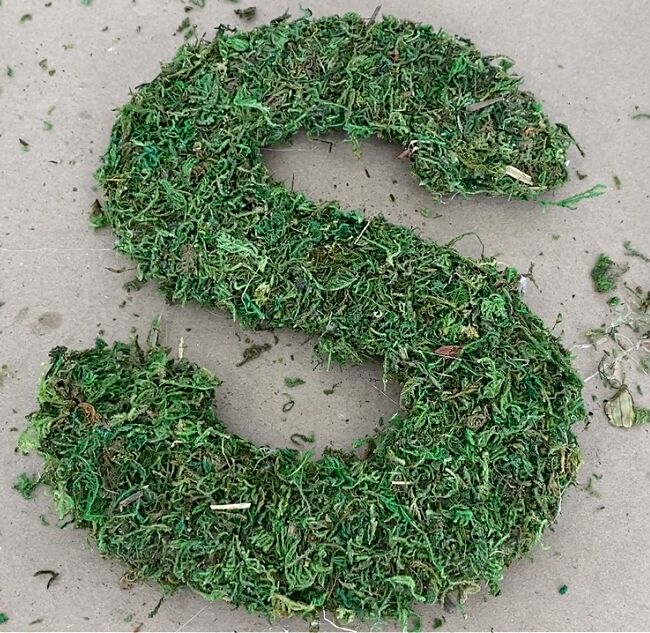
When you have glued ALL of the tabs down you can turn your letter over and it should look like this!

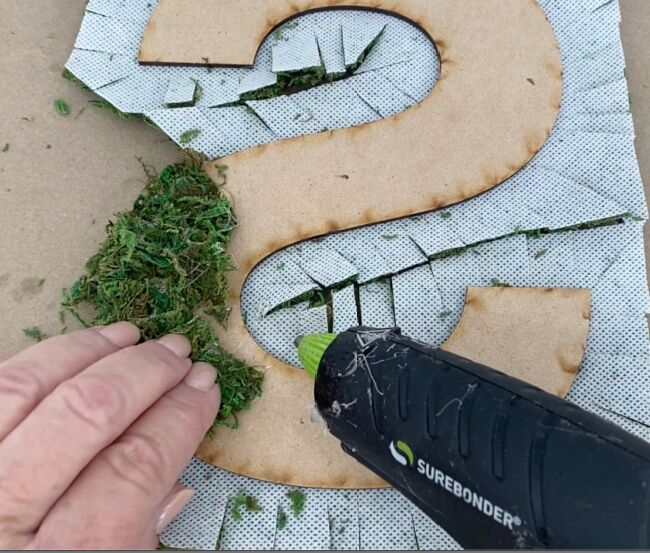
For letters like the “P” and “R”, you will have a little challenge. When you have an area that is completely surrounded like shown above, you will need a sharp pair of scissors or knife to cut a hole.
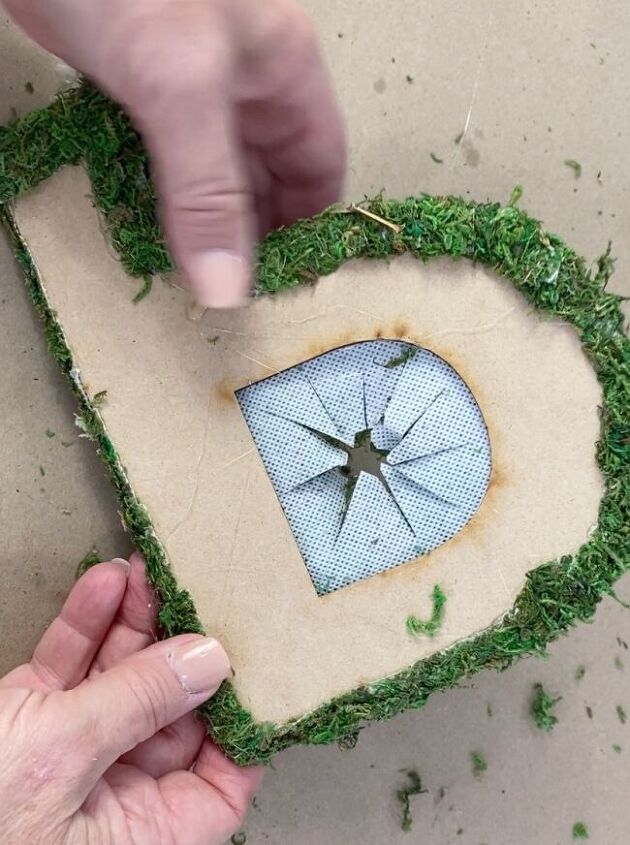
After you have cut a hole, cut slits like you have done around the edges of your letter. (See above)
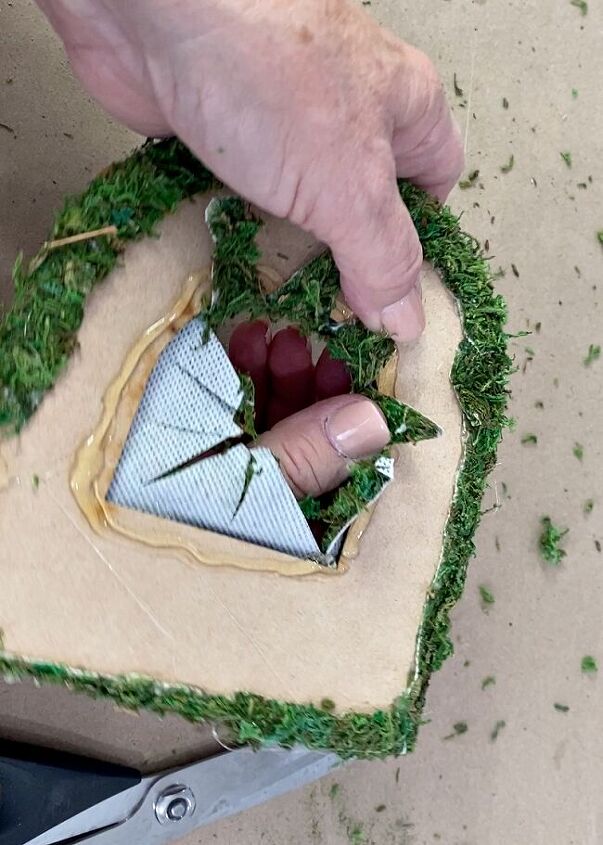
Then simply glue down the tabs you have cut in that hole.
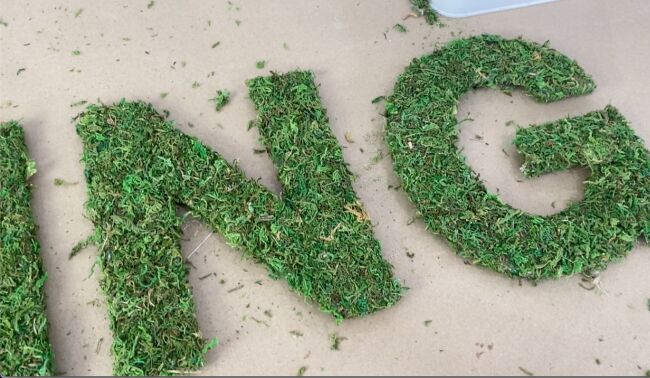
Before you know it, you will have all of your letters covered with moss!
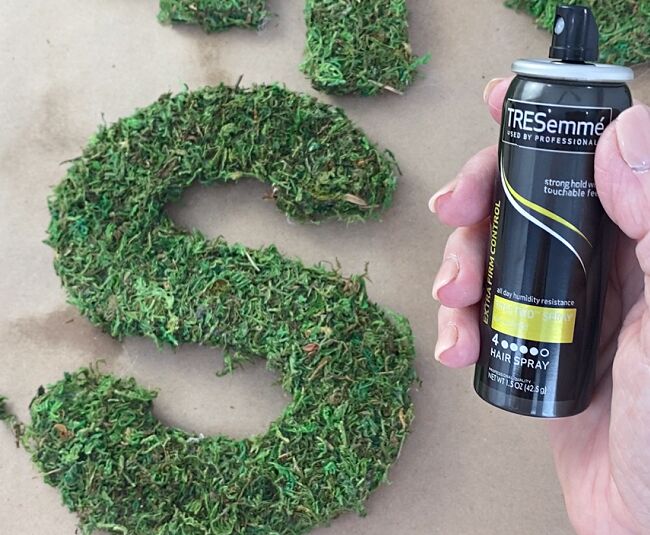
My tip for keeping the moss from shedding quite so much is to use some hairspray to give it a thick
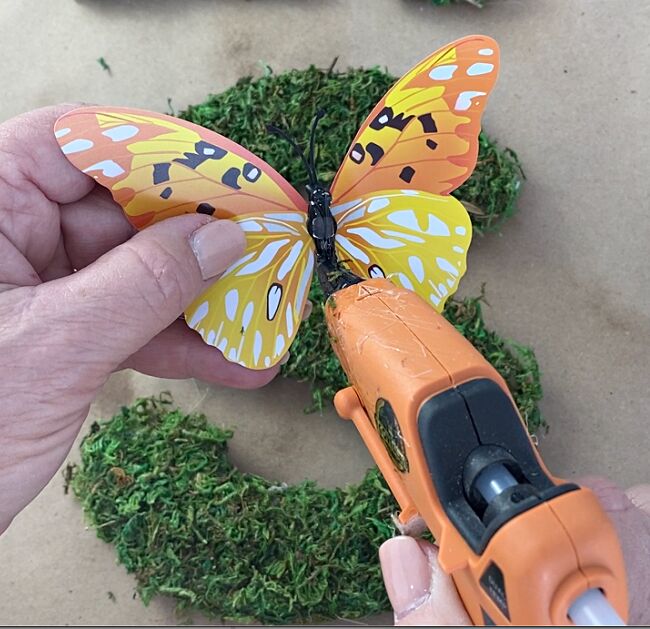
I bought 84 of these plastic butterflies for just $9.99! I am going to be sharing lots of butterfly crafts this season! I picked out one or two to add to each of my moss covered letters.
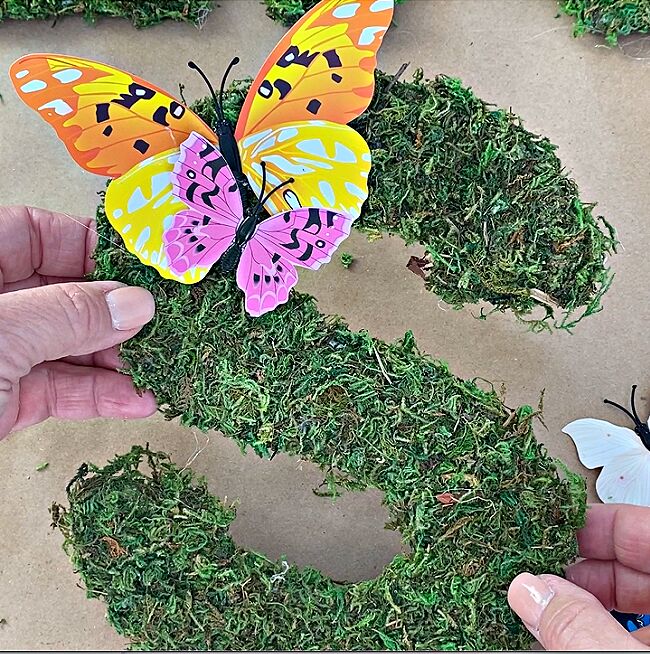
I didn’t want to put too many butterflies on each letter so that it would make it difficult to see and identify the letters.
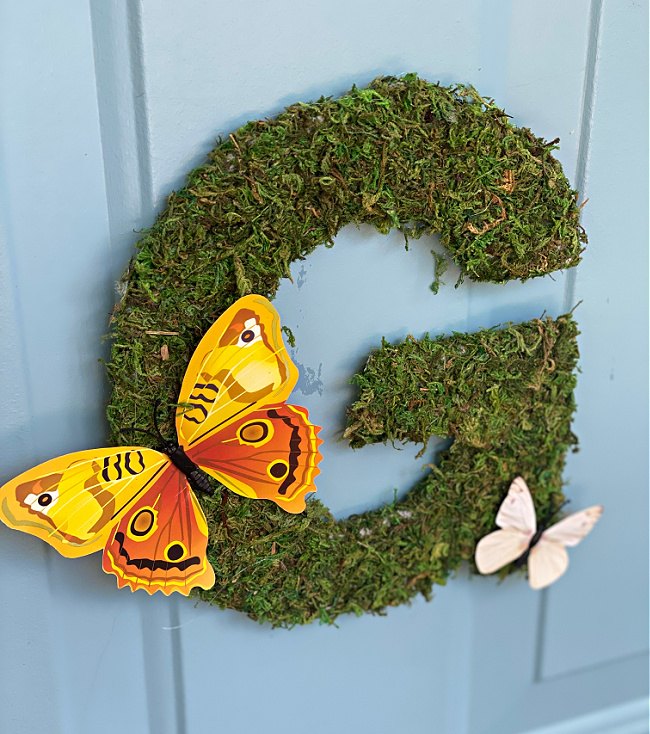
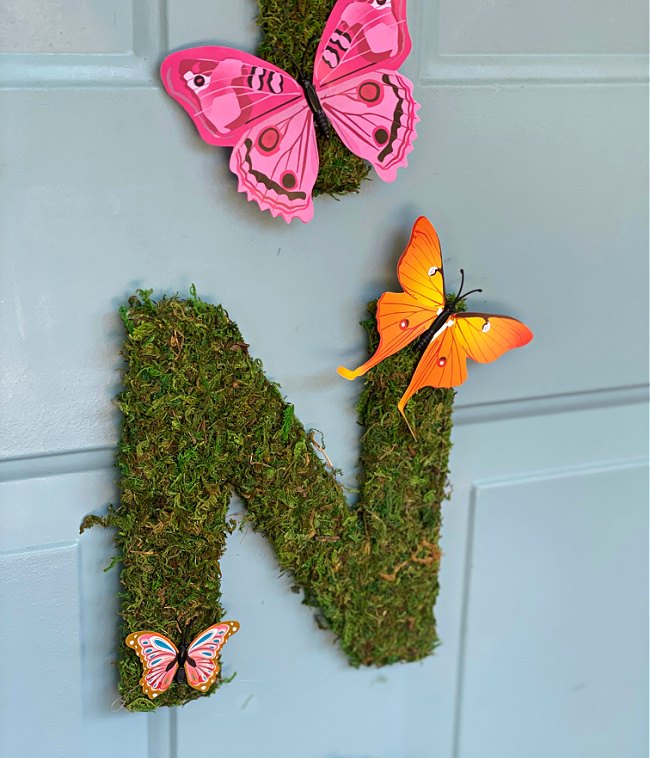
I used Command Picture Hanging Strips to attach the letters to my front door!
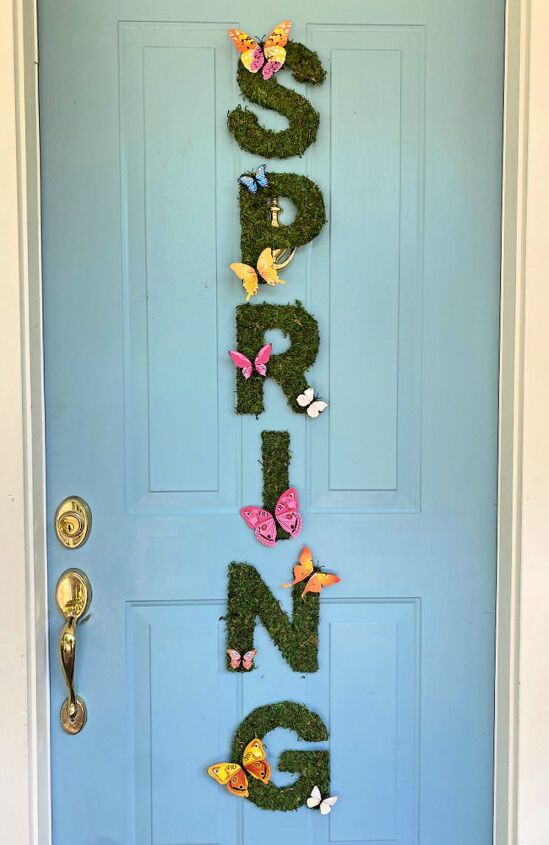
There is no doubt what season it is at my front door! Happy Spring! I hope springtime weather is heading to you in your neck of the woods!
I would love to have you stop by and visit Celebrate & Decorate and check out more of my creative projects!
Resources for this project:


Comments
Join the conversation
-
I love this! But have a problem with the size. So I’m planning on making my own smaller letters. Great idea 😊
-
beautiful!! loved this and had a blast making one for me!


Frequently asked questions
Have a question about this project?
Love this so much!!! This would look great on a porch leaner also!!! My question is: Do you know the paint and color that is on your door? I love it!
how did you hand them on the door?
Do you think chipboard letters would work for this? Love this!