


DIY Blue Hydrangea Wreath
It’s no secret that I love hydrangeas! So, I decided that while I wait for mine to bloom this year, why not make a wreath from some of the dried hydrangeas I had left over from last year.
The only problem was that they were pretty faded from the sun in our family room. I knew that their dull color would not have that summer vibe I was craving. I wanted my flowers to pop… so why not blue hydrangeas for my project!? The problem was I didn’t have any, or so I thought. You will definitely chuckle when you read about what I used to make this DIY blue hydrangea wreath. Can you guess? You can see more of my DIY projects here!

DIY Blue Hydrangea Wreath
Ok I kept you waiting long enough. Would you believe that I used spray paint to turn these dried hydrangeas blue? I know, crazy weird, right?!
But that’s exactly what I did!
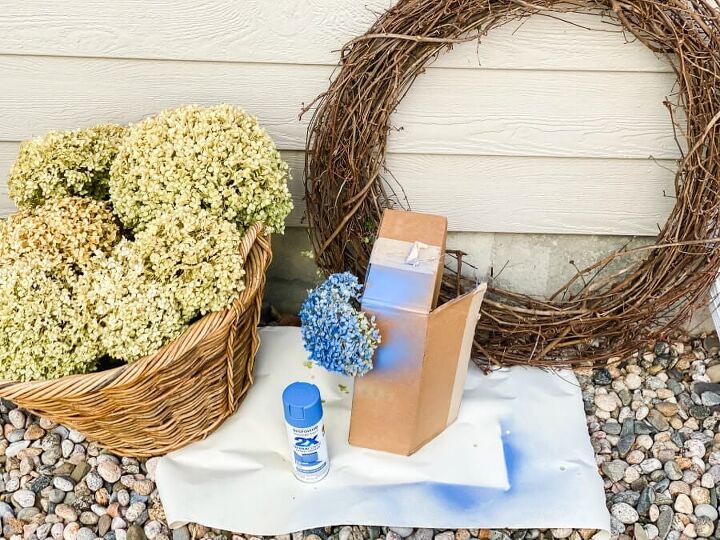
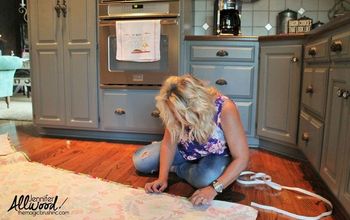
I gathered all of my supplies on the side of my house as my family and neighbors looked on in utter confusion. They asked me several times what the heck I was up to.
Just a blog project…a fun summer wreath with some freshly spray painted blue hydrangeas! I could tell they were skeptical, and to be honest, I wasn’t sure it would work either.
But you never know until you try, right?
The Supplies for This Wreath
Here is just what you will need!
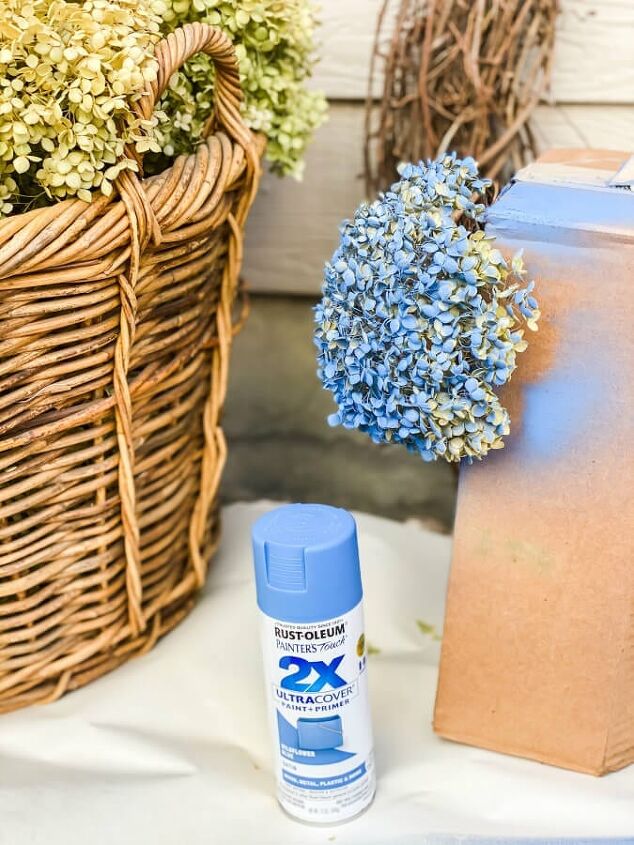
- Spray paint ( I used Rustoleum Painters Touch satin in Cornflower Blue)
- large grapevine wreath ( find a similar one here & the same one I used for my fall wreath)
- dried hydrangeas (read my tips on how to dry hydrangeas!)
- box or floral foam (to hold the dried hydrangeas up while you spray them)
Here’s How To Make It
Honestly, this might be one of the easiest wreaths I have ever made. I started by grabbing my basket of dried hydrangeas. Next, I started poking holes in an old box and sticking the dried hydrangeas in the holes. It held them up perfectly! This allowed the painted flowers to dry easier and me to see all sides of the dried flowers as I sprayed them. I used the spray paint to coat them which also preserved them nicely.
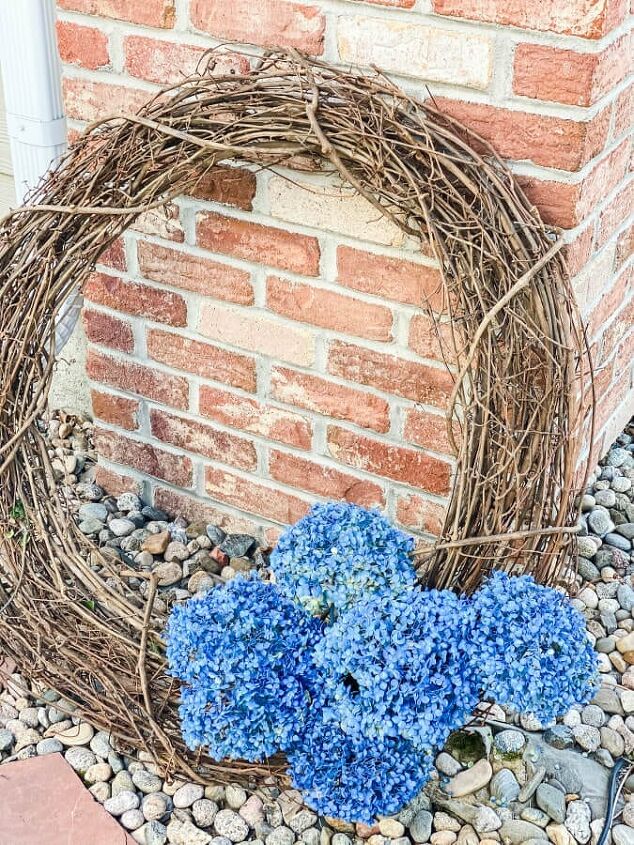
Next, after the flowers dried I started inserting the stems of the hydrangeas into the wreath. I love grapevine wreaths because things stick into them so easily! Be careful because this can be a bit messy between the spray paint and dried petals falling off.
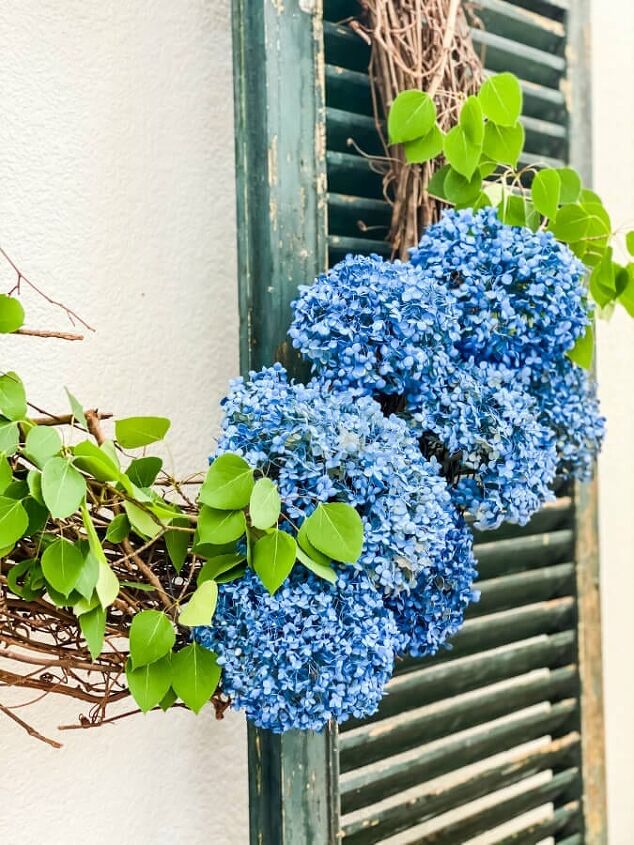
Slowly but surely I added a few more flowers and ended up with a total of six dried hydrangeas. They looked a bit bare so I decided to grab some greenery from our yard. I used aspen leaves but you could use anything from boxwood clippings to evergreen clippings. My advice is to play around until you are happy with the look.
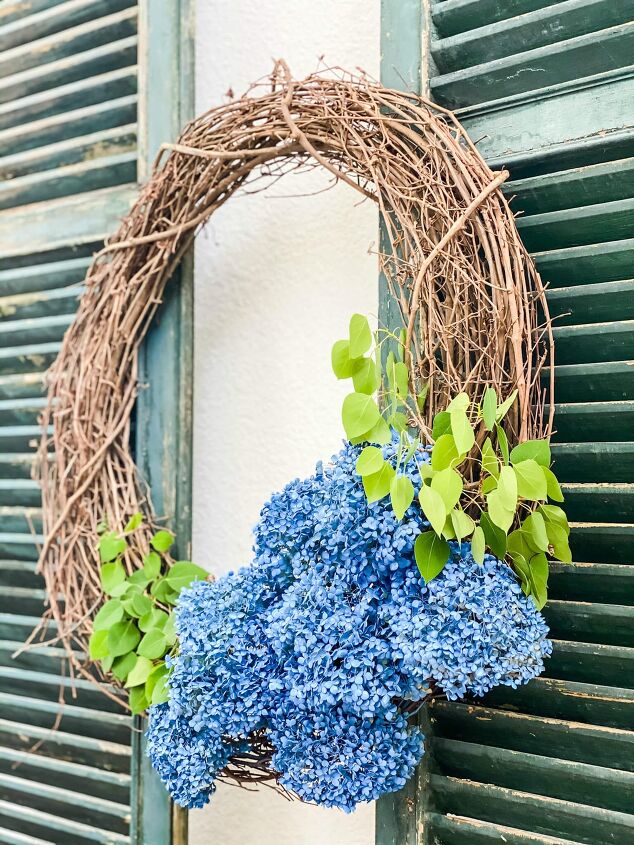
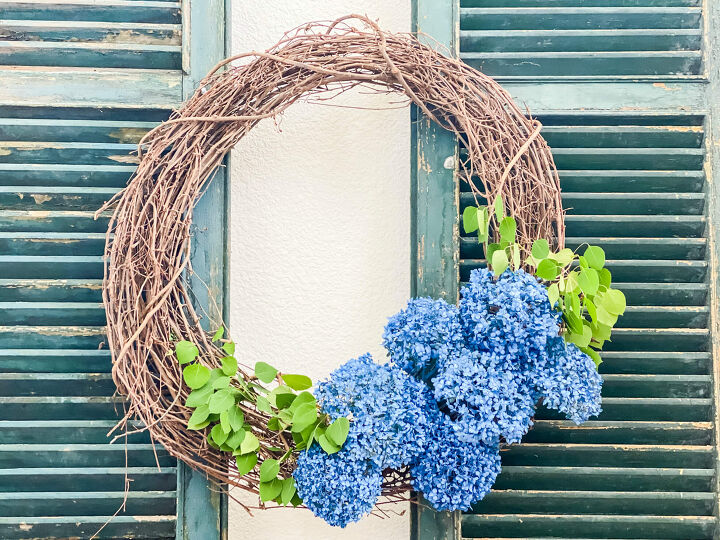
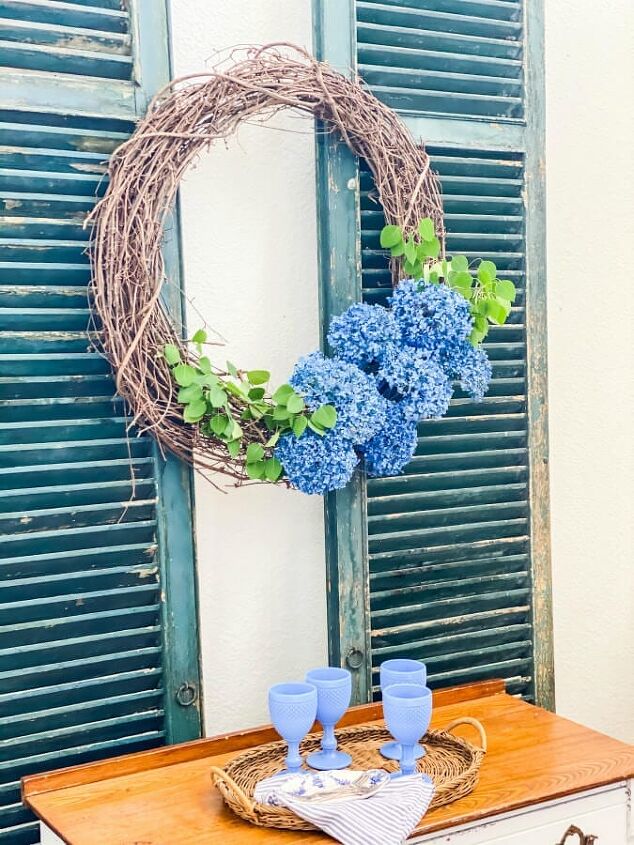
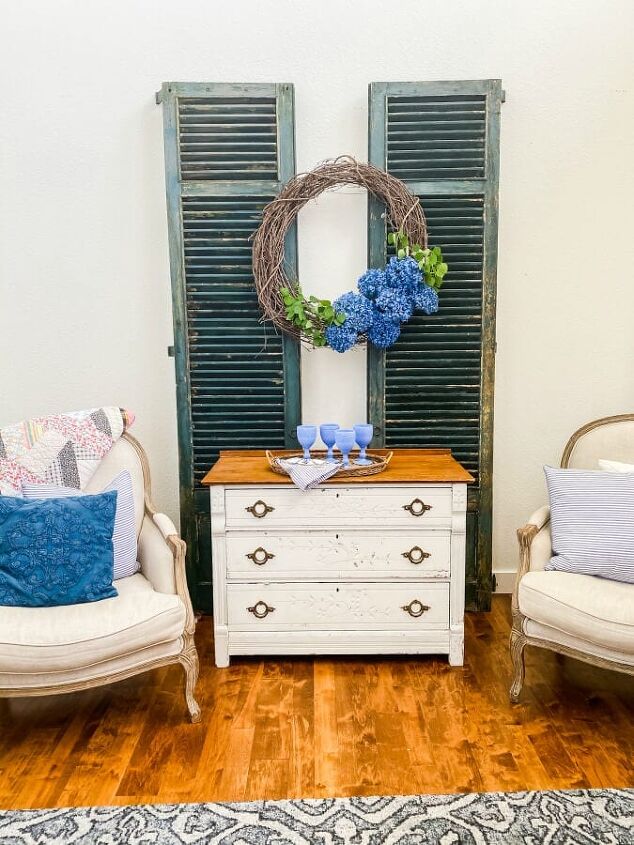
And that’s it! Quick,simple and pretty, just how I like my wreaths! The last thing you have to do is find a place to hang it. I hung mine in our family room on my large vintage green shutters and boy did it pop.
DIY Wreath
So what do you think? Am I a genius for spray painting my dried hydrangeas or a crazy lady? This DIY blue hydrangea wreath turned out way better than I could have imagined. It’s definitely a statement piece! Thanks for stopping by today and I would love for you to visit me over on my blog, The Tattered Pew for more fun DIY projects!
xoxo,Kelly
Resources for this project:
See all materials


Comments
Join the conversation
-
Thank you and thank you for that fabulous tip!!!
-
Lovely!


Frequently asked questions
Have a question about this project?
No link to drying hydrangeas and after spray painting t hem is there not a spray that keeps them from shedding?