


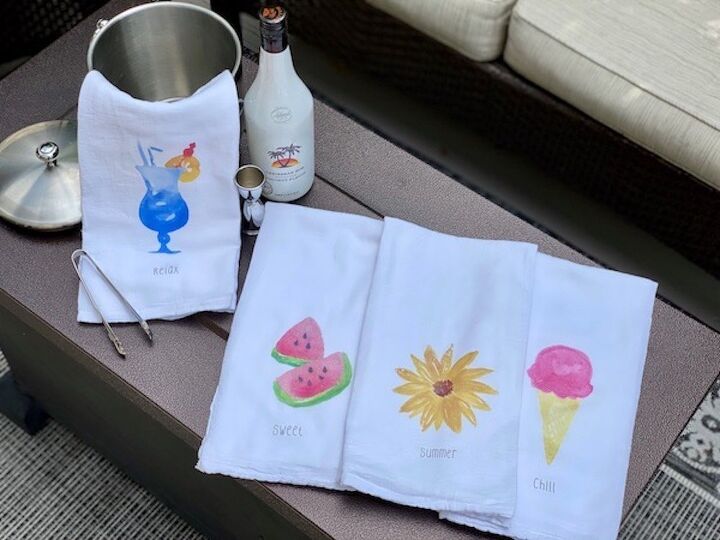
DIY Summer Tea Towels
In my experience, you can never have enough towels. These summer tea towels are so easy to make and only require a few supplies. The graphics I show are free from my blog, link is at the bottom of this post--click on the blue 'go' button, so you can just download and print. Another option is to download and print your own images, the possibilities are endless!
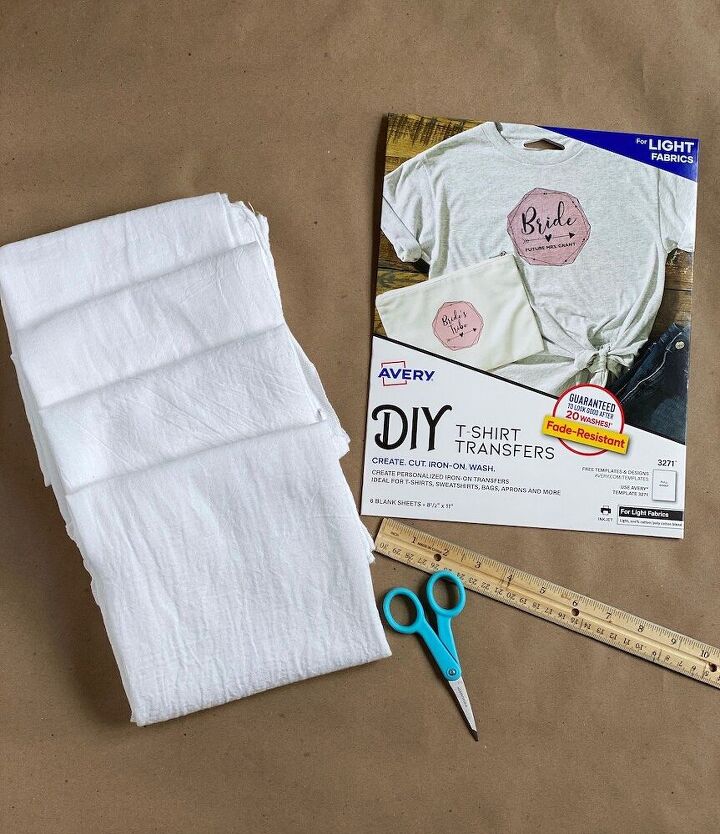
- Flour sack towels
- T-shirt transfer paper
- printer–only works with an inkjet printer
- iron
- scissors
- ruler
- pencil
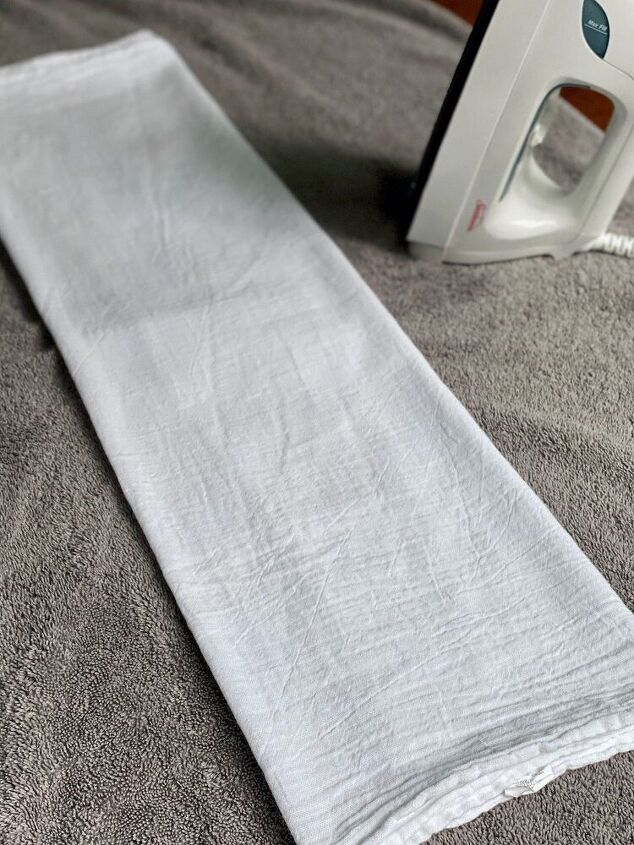
The first thing I did was wash and iron all my flour sack towels. I found it very challenging to get all the wrinkles out, it’s the nature of these thinner flour sack towels. I think if I were to give these as a gift, I’d try to find a thicker towel, but for me, these were fine.
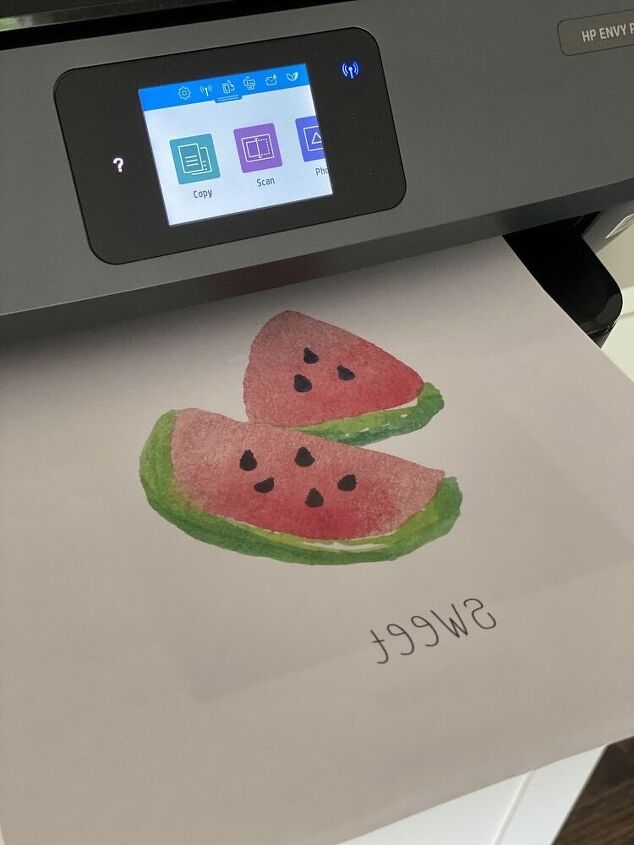
Next I found coordinating summer images I wanted to print on my tea towels. I love watercolors so I chose some fun summer themed graphics I found in Canva and created words that complimented them. I used t-shirt transfer paper to print the image on.
** IMPORTANT: before printing, make sure to set your printer so your image is mirrored.
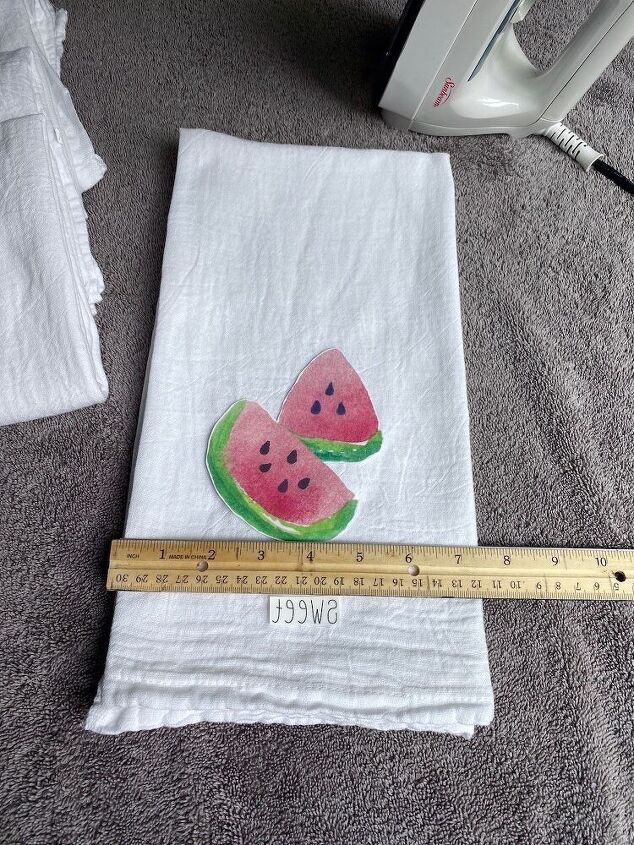
I cut the images and words out, getting as close I could to the borders of the images. The paper leaves a little film in the areas where there is no color so you’ll want to avoid as much negative space as possible.
I folded the towel as if I was going to hang it. I used a ruler to measure up from the seam, remembering the measurement for the other towels so that all my words & graphics would line up if I hung them together.
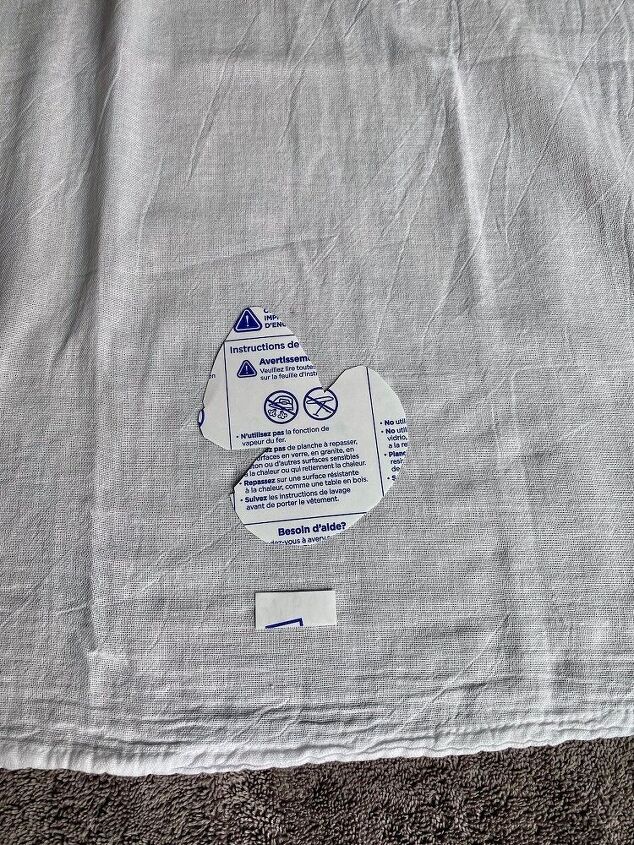
I placed the images face down onto my tea towel. By the way, the instructions on the transfer paper says NOT to use an ironing board because the padding may be too soft so I just put a bath towel on my quartz countertop--don't do it if you have laminate!
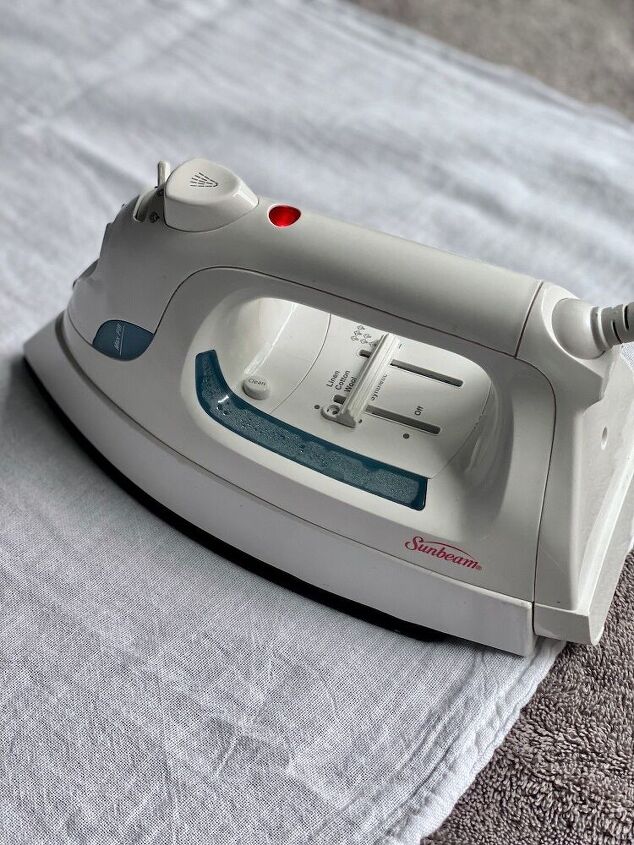
Following the instructions from the transfer paper package, I used the cotton setting on my iron and made sure the steam feature was OFF. Be sure to push down on the iron without moving it for 10-15 seconds. Pick up the iron and set it back down as needed to cover the entire image.
Let it cool for 2-3 minutes, or longer if needed, and slowly peel the backing off. If there are any spots where the image did not transfer, iron those again as needed but be careful not to touch the iron on any of the graphic that is exposed, it could ruin it. You should now see your image!
Resources for this project:
See all materials


Frequently asked questions
Have a question about this project?