


Dollar Store Sign Redo

I saw these cute signs at the Dollar Store and knew it would be great for fall decor! With the cost of wood so high you can’t even make these from scratch for $1 so I figured this would be the most cost effective way to add to my fall decor. This is a super easy DIY that anyone can do, even kids!
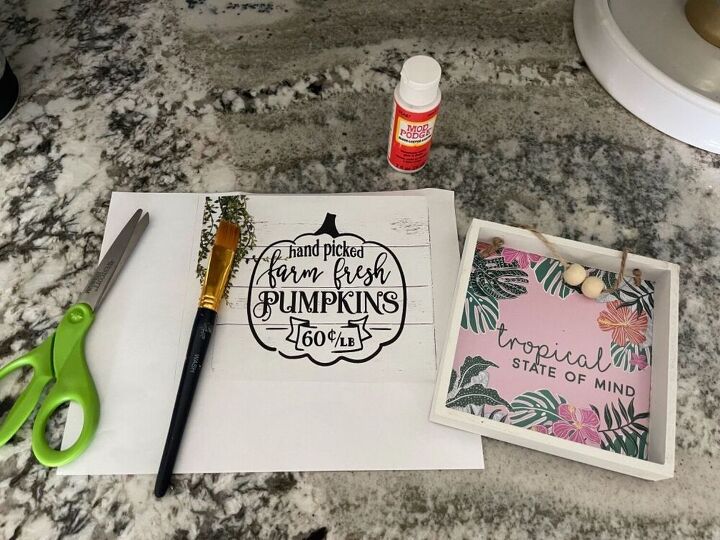
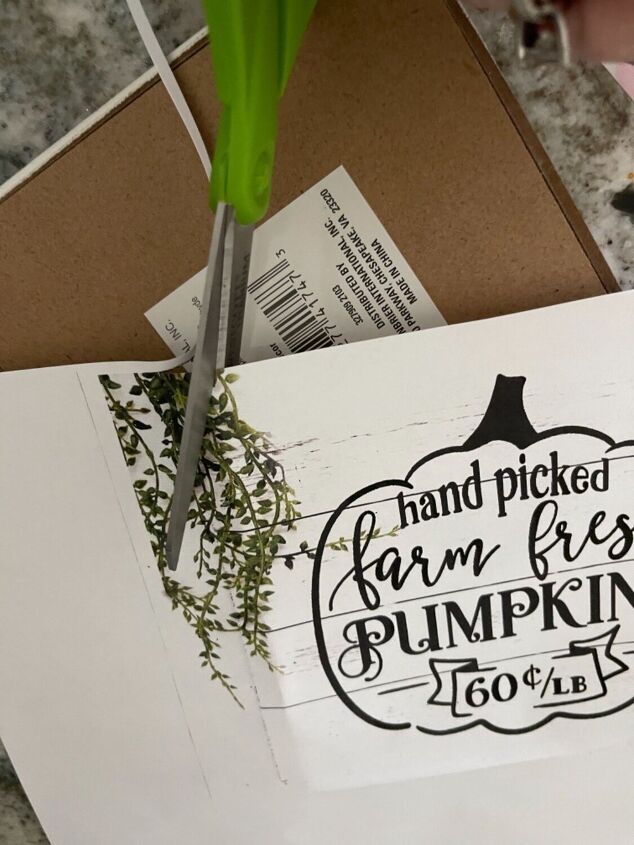
What you’ll need:
Scissors
Printer
Paint brush
Frame
Mod podge
Twine
A little piece of greens
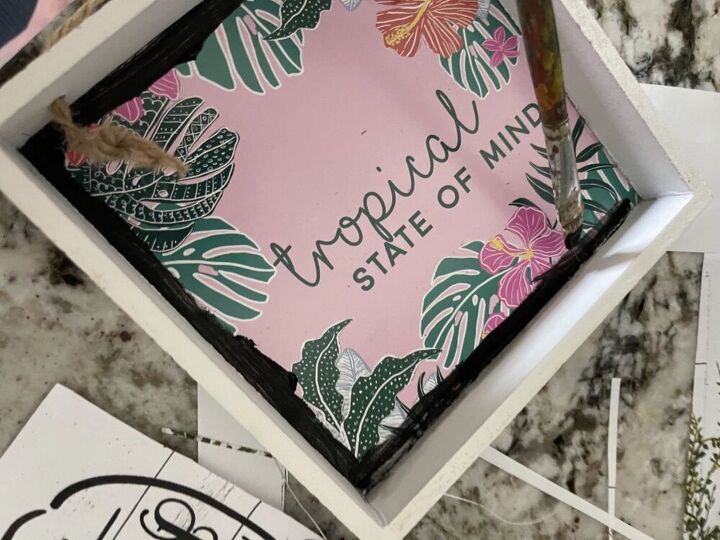
Black paint
Hot glue

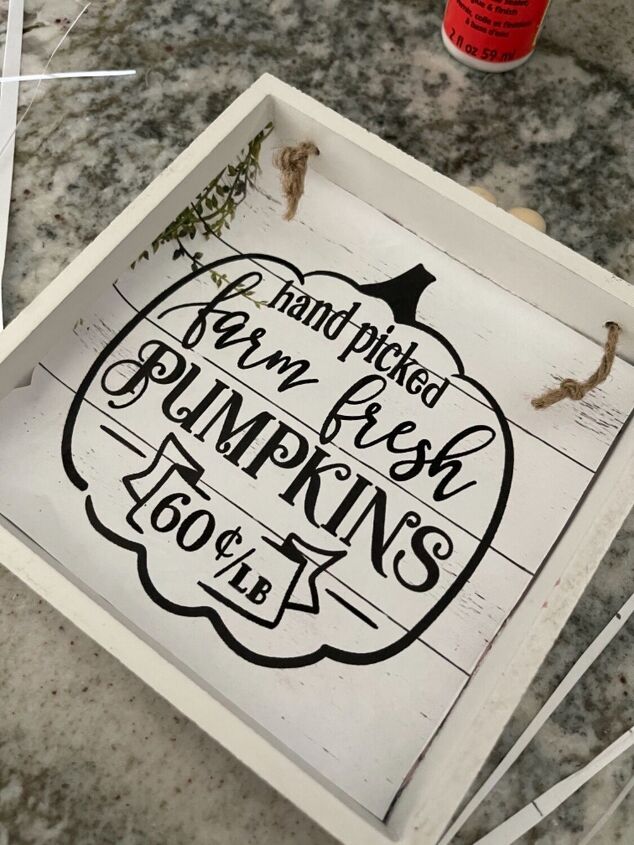
I just found an image online that I liked. I then printed it and cut it to size.
Just flip the frame over.
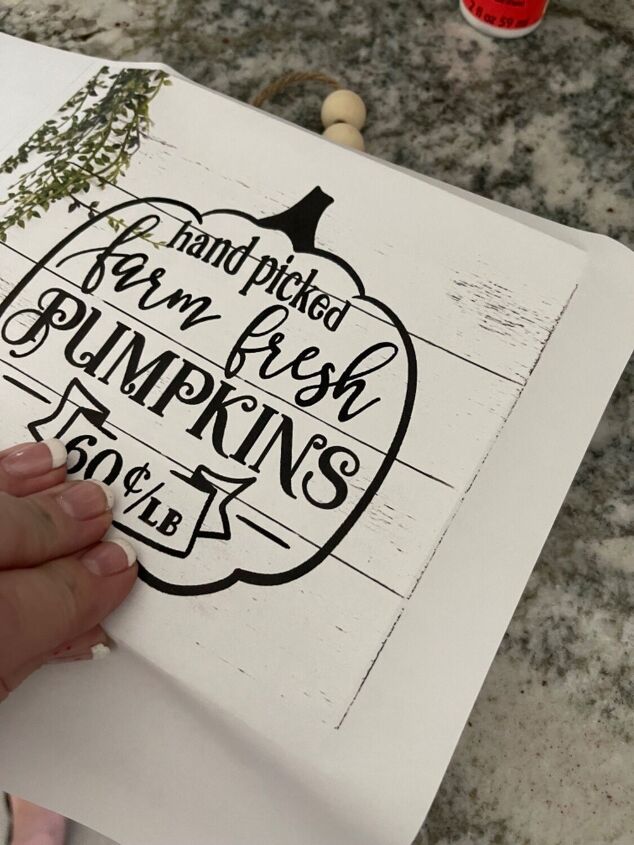
Lay image over the frame and bend the paper to mark where you will need to cut.
Cut just on the inside of the fold.
Make sure it fits inside the frame. If it's not 100% you can use some paint around the edge to hide whatever is underneath.
Like this.
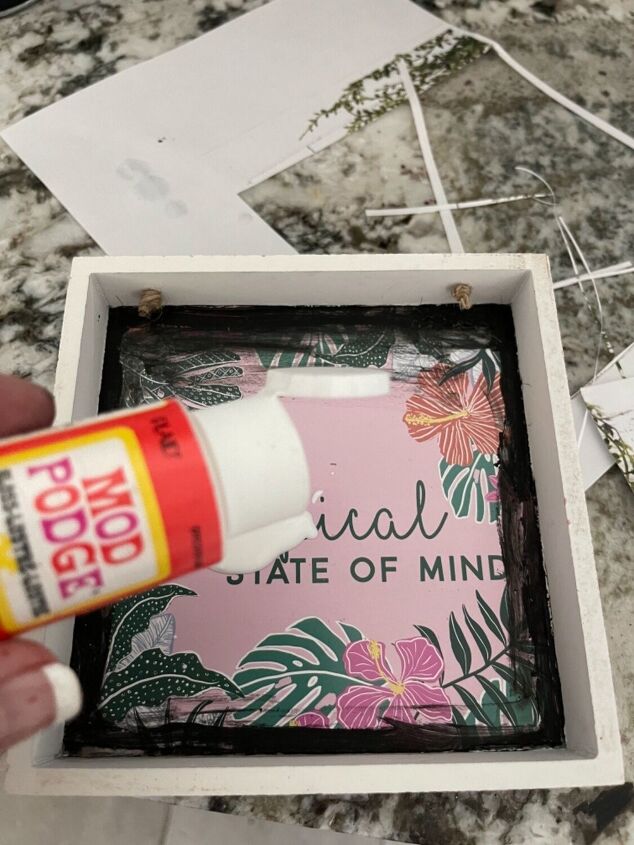
Pour a little mod podge in the center and brush a nice thin coat all over.
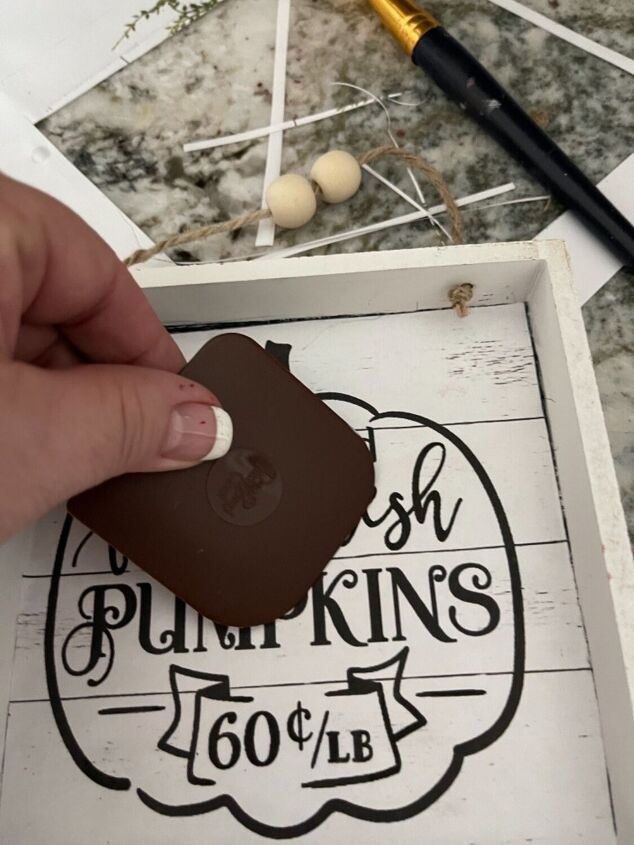
Next, lay your image on the mod podge and use a scraper or credit card to smooth it out so it’s nice and flat.
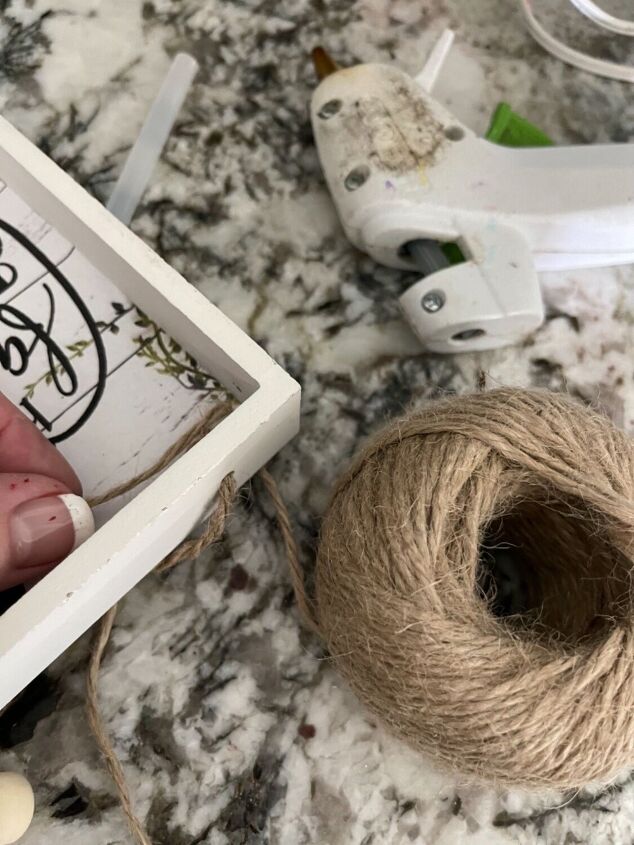
I didn't love how the edges looked so I added twine around the picture using some hot glue.
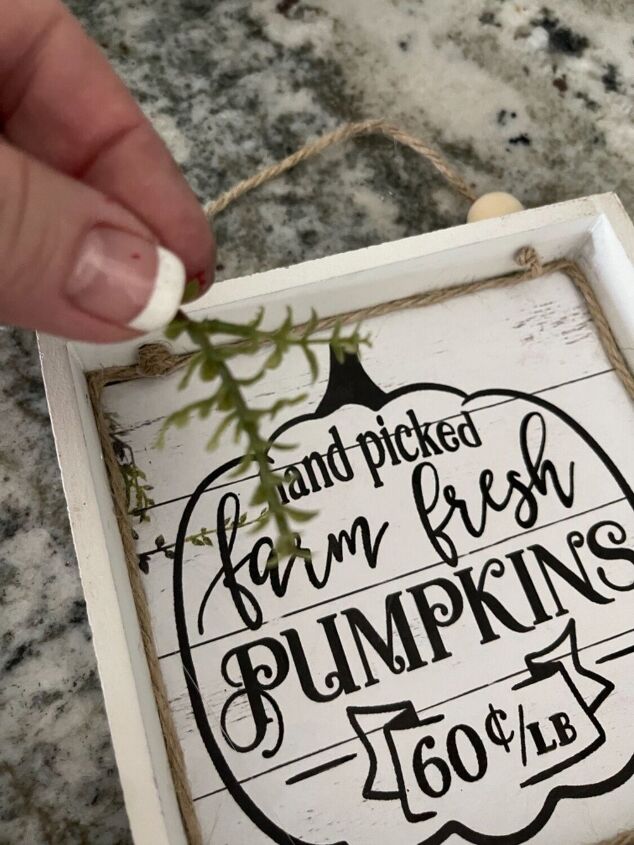
Since the print had some greens in it, I just glued some on to give a 3D effect.
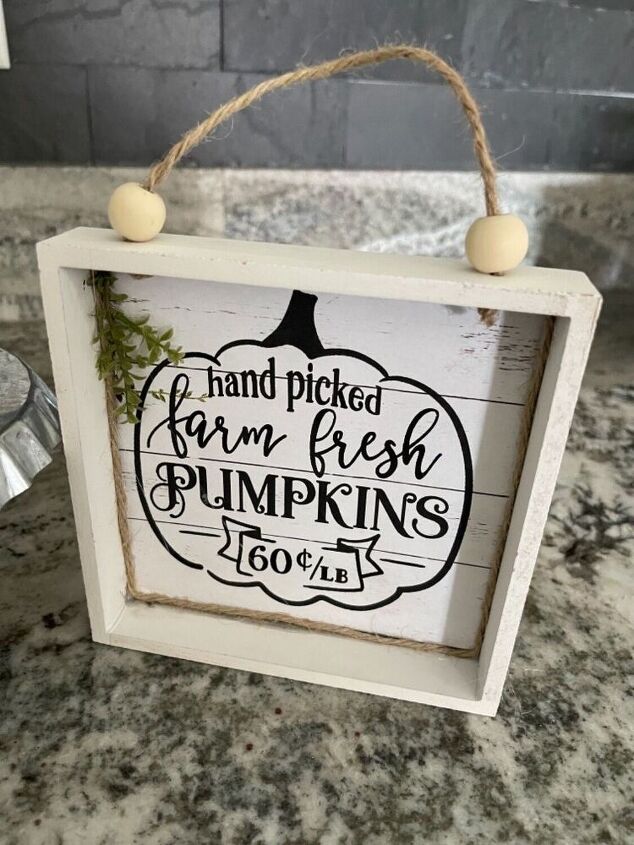
Here it is! This was definitely a win for me!
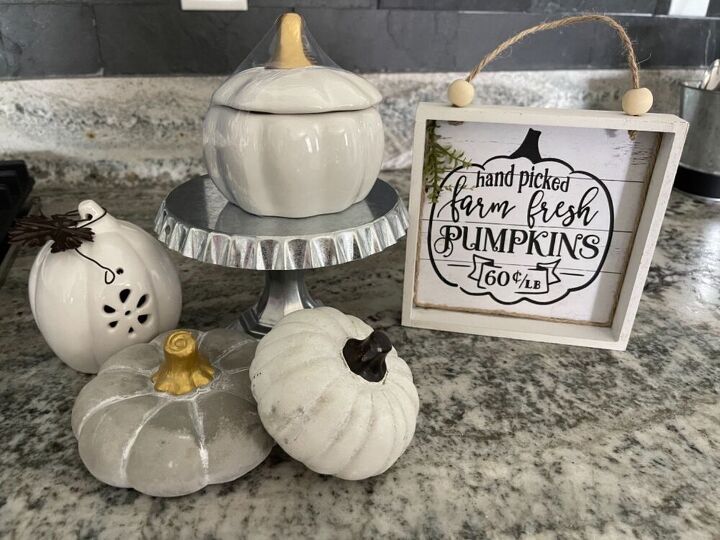
Add some pumpkins and now I have a cute fall vignette! What do you think? See more at Gilbert Marketplace on YouTube for more fast easy DIYs.


Comments
Join the conversation
-
Fun! I think tinting the pumpkin orange would make it pop.
-
Thank you so much


Frequently asked questions
Have a question about this project?