


How to Make Glittered Paper Snowflakes
These gorgeous glittered paper snowflakes are one of the most fun and easy projects you can tackle for the holiday season! The toughest part about this project is waiting through the dry time!
Now, these are not your typical paper snowflakes – these are stiffer and super glam with all the glitter! You can use whatever color glitter you like to match your decor, too!
**Come join me on my blog for more DIY and decorating inspiration!**

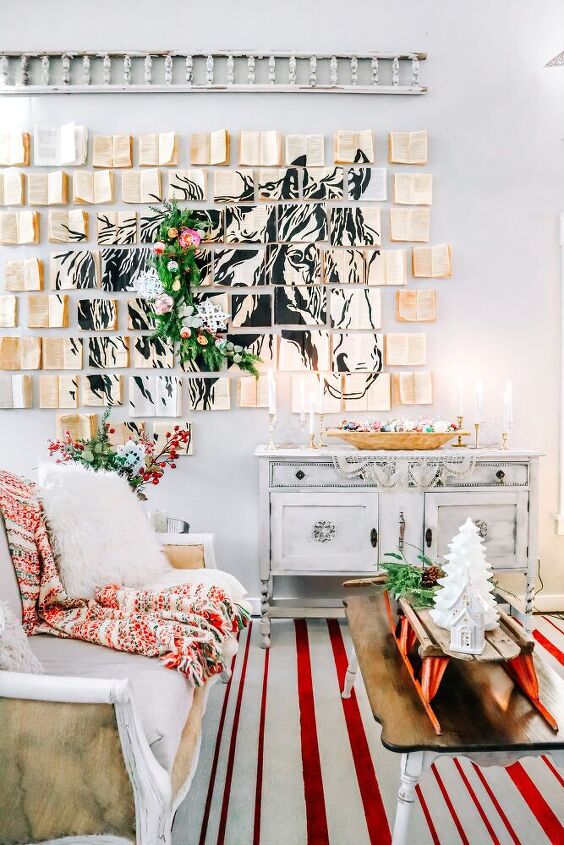
Here you can see my blue and white snowflakes in the tree and on Booker’s (my sweet horse book art) garland.
I have a set of blue and white paper snowflakes my mom made a few years ago, and I just made a set of gold/champagne/white/silver ones too!
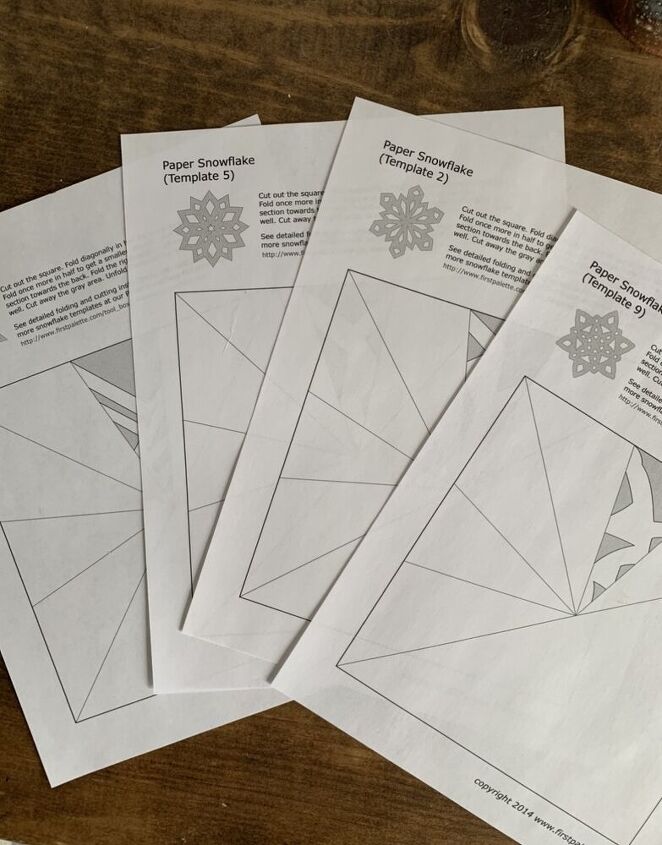
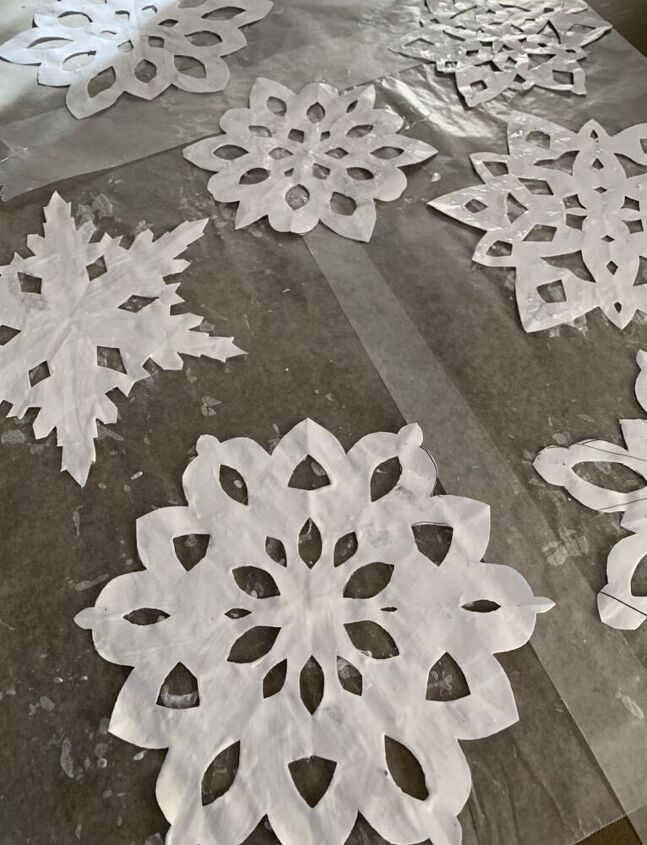
Step 1: Print out your snowflake patterns on heavy computer paper. I got most of mine from HERE and HERE. Once you get the hang of the process of folding and cutting these, it’s really easy to find templates online and just draw them yourself. I really love the templates from First Pallete because they explain exactly how to fold your snowflakes.
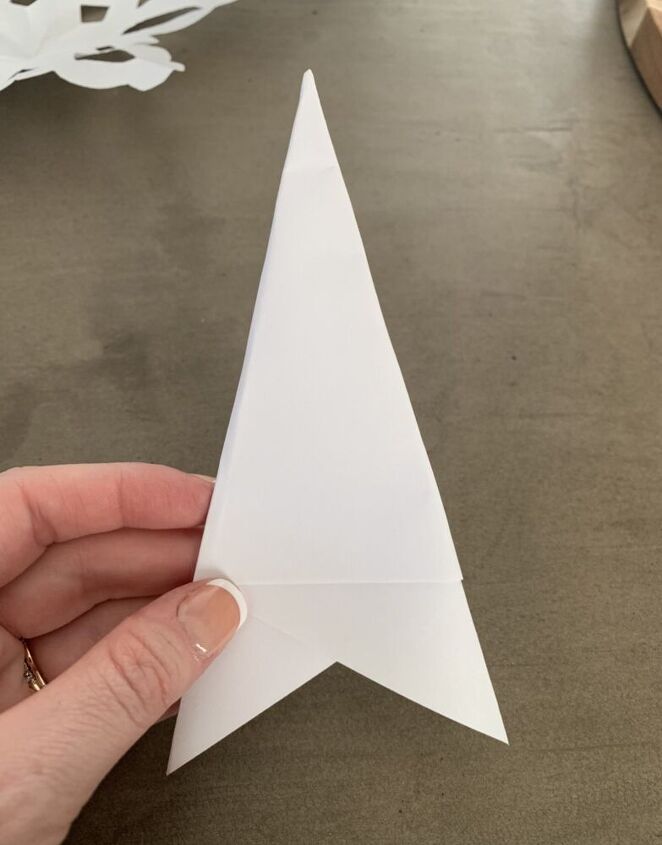
Step 2: Fold your paper according to the instructions HERE. Then using a good pair of sharp scissors, cut out the grey portions of your paper. (If drawing a template yourself, it helps to grey out or color in the areas you need to cut so you remember!)
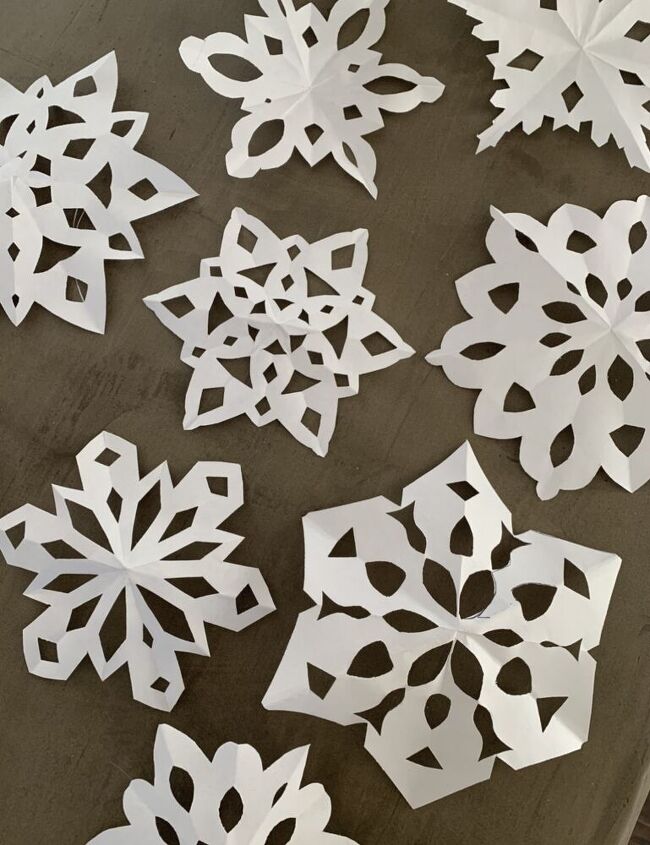
Step 3: Unfold your paper snowflake and set aside.
TIP: It helps to make snowflakes that do not have super intricate details or thin strips of paper, especially when trying this for the first time.
Step 4: Once you’ve made as many paper snowflakes as you’d like, set up several strips of wax paper on a large flat surface. You can use scotch or painter’s tape to tape down the pieces of wax paper if you wish.
Step 5: Use your 1″ foam brush to paint Modge Podge on one side of each snowflake. Do this step on your paper plate, then move the snowflake over to the wax paper. Repeat for all snowflakes. About 5 minutes after you have placed on your wax paper, gently lift each snowflake and move slightly so it doesn’t stick. Your paper snowflakes will be the most fragile during the first few coats, so be gentle here. Now allow to dry for at least 30 minutes, and make sure to wash your foam brush in between each Modge Podge coat!
TIP: It helps to do this project in a warm room so the Modge Podge dried more quickly. And make sure you are doing this on a paper plate and then moving to wax paper, unlike in this photo!

Step 6: Repeat step 5 but on the opposite side of your snowflake. Allow to dry.
Step 7: Repeat step 5 again, alternating sides of the snowflake for at least 14 total coats (7 on each side, but the more the better!) This stiffens up your snowflake, making them less fragile and more easily used in a Christmas tree, on a mantel, etc. They will start seeming rather plasticky as you continue to coat them. Once all your coats are one, allow your paper snowflakes to dry overnight.
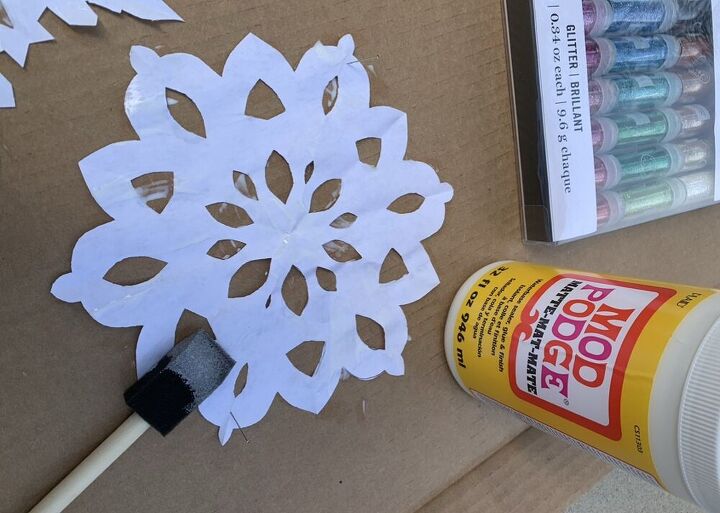
Step 8: Set up new wax paper in a large cardboard box (this helps contain the very messy glitter!) Add another generous coat of Modge Podge to one side of each paper snowflake, one at a time, and then add glitter however you like! Repeat until one side of each snowflake is fully covered in glitter. Allow to dry for at least 3 hours.
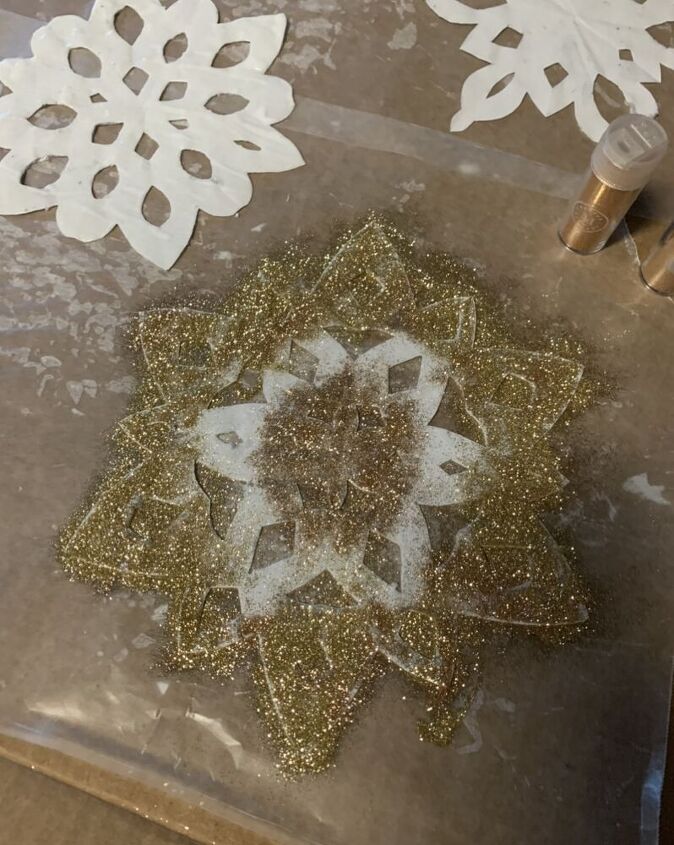
TIP: If one side or your snowflake has ink markings on it from your pattern, no problem! Just be sure to choose glitter that is not white or silver – gold, copper, blue, pink, etc. will all cover those lines with no problem!
Step 9: Remove your snowflakes from the wax paper and tap off excess glitter. Salvage any excess glitter by carefully pouring from the wax paper into a small bowl – it will probably be a mixture of a bunch of colors, but it’s still beautiful and can be reused!
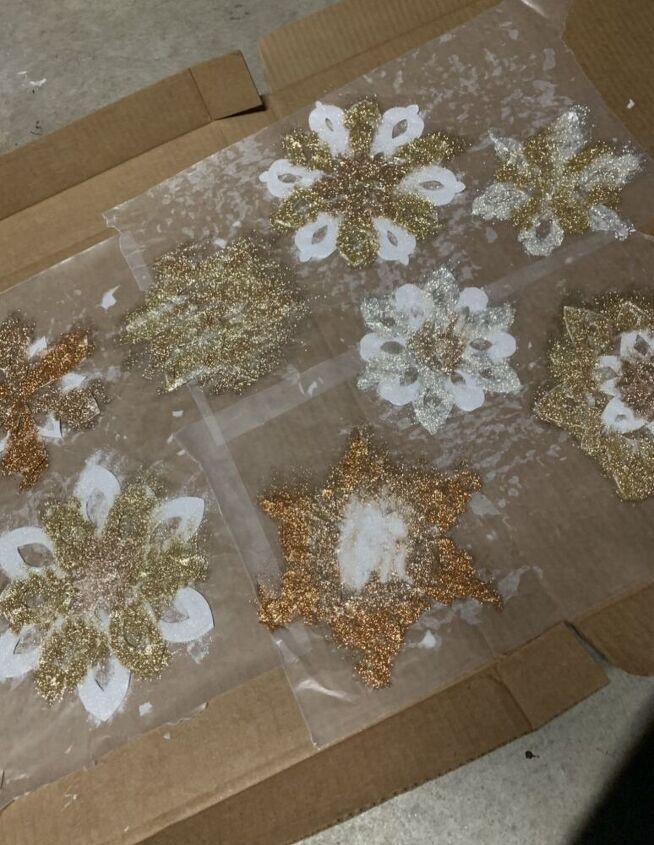
Step 10: Lay down NEW wax paper. This will help prevent random glitter from the last round from sticking to unwanted places on the side of each snowflake that you just glittered.
Step 11: Repeat step 8 on the second side of each snowflake. If you find that there are some bare spots at the end once your snowflakes are dry, you can dab a bit more Modge Podge on the bare spot and add a bit more glitter.
Step 12: Allow to dry overnight. Two days is actually even better, as they do stiffen up as they fully dry out.
Step 13: Use however you like! They do tend to get glitter on things, but what’s Christmas without some glitter?! You could certainly spray them with a high gloss poly if you like. Just keep in mind it may take some of the shine and sparkle away from the glitter. If you try this, I would recommend testing ONE snowflake first to see if you like it and then go from there!
TIP: Store flat and with wax paper in between each snowflake.
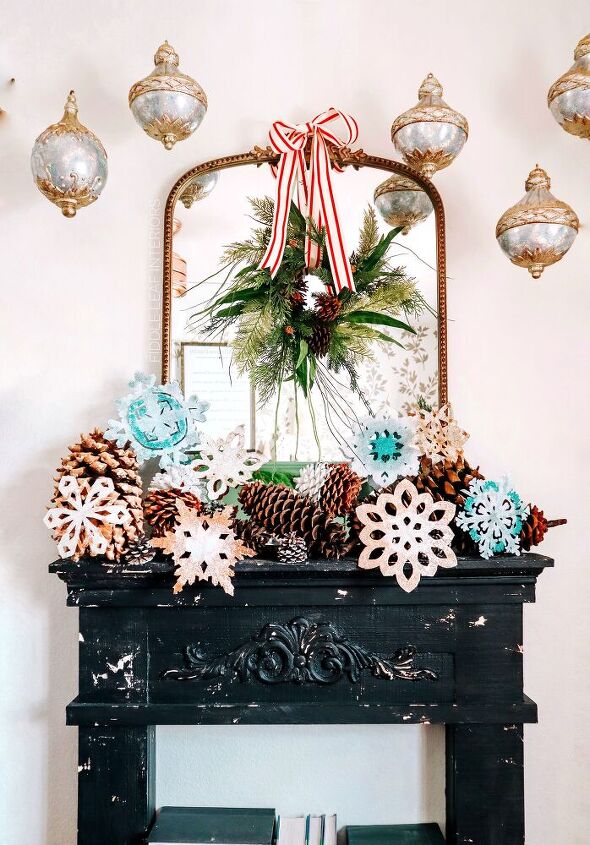
One amazing thing about these paper snowflakes is that you can use them in so many ways. For example – as ornaments, on a garland, on a mantel, in your tree, as a personalized Christmas Card (just glitter one side) – the possibilities are truly endless!
I hope you enjoy and happy crafting, friend! See you over on the blog!
Resources for this project:
See all materials


Frequently asked questions
Have a question about this project?