


Repurposing A Baby Buggy Into Fall Decor

If you follow me on Hometalk you may have seen my Baby Buggy post. Unfortunately my buggy had become rusted, to the point that trying to sand and repaint was impossible. I couldn't bear to part with my buggy though. On a trip home I found a wicker laundry basket in my mom's shed so I brought it home with me with the thought I could use it for something. Turned out it was the perfect size for my buggy!! With fall fast approaching I thought I would try and create something for part of fall Decor.
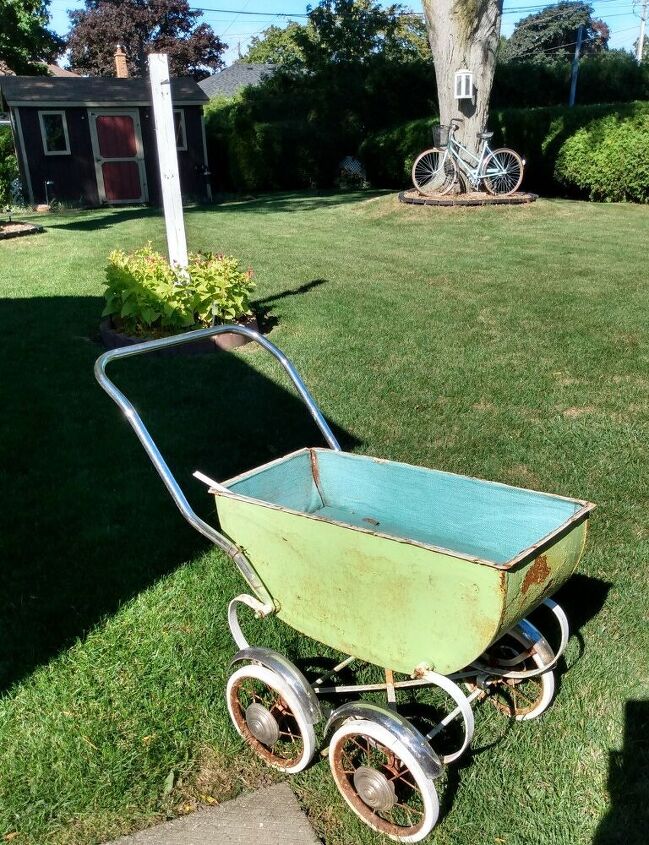
Here is my buggy, you can see the rust spots all over it. It was very thin in places. As I said I couldn't part with it. It was just held together with nuts so it just required unscrewing them to take it apart.
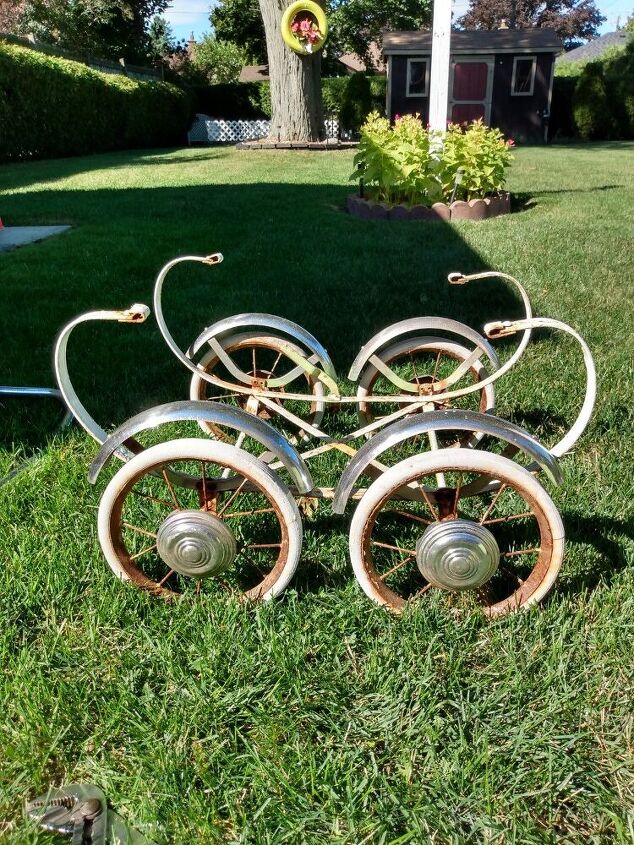
Once I removed the top part of the buggy I was left with this. Initially I was going to leave it but I opted for removing the sides.
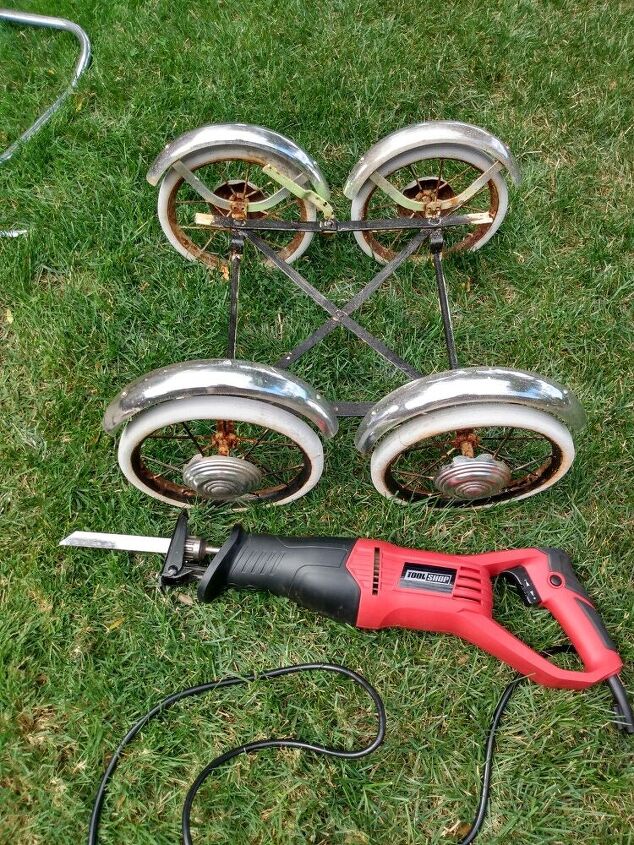
The easiest way to remove the sides was to cut them off at the bottom. I did this using my reciprocating saw with metal blade. This is what I was left with when finished.
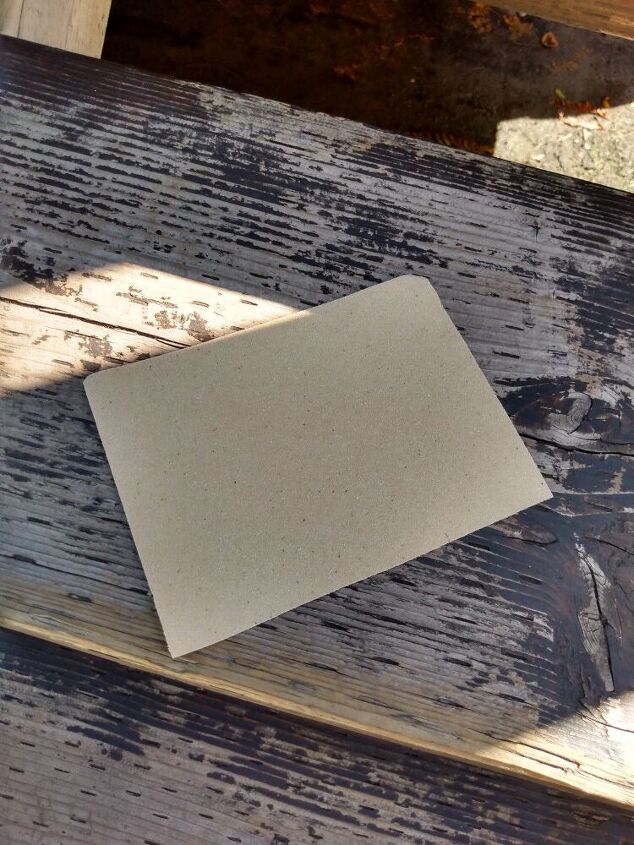
Using fine grade sandpaper, I sanded off the lose rust that was on the wheels and the base.

After lightly sanding I touched up using this black outdoor paint.
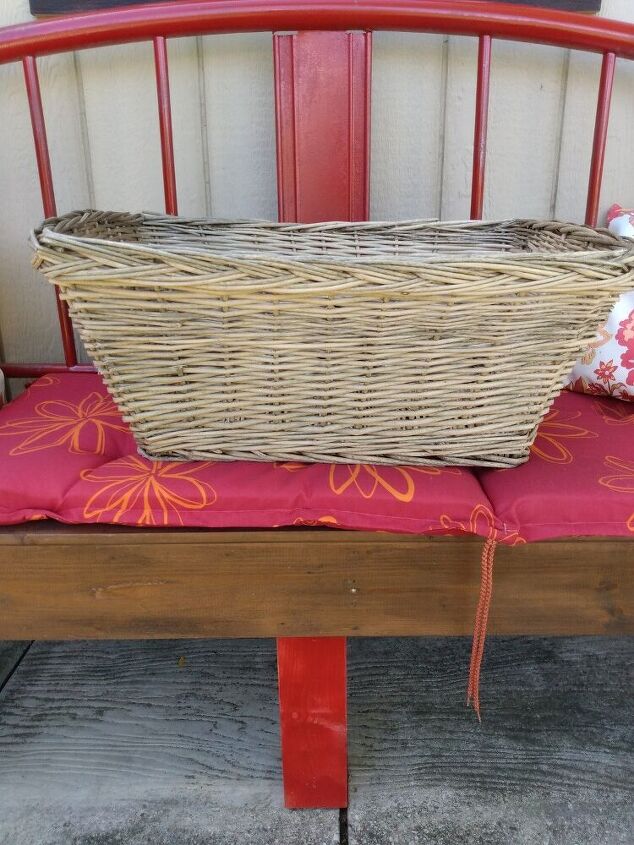
Who hasn't seen or had one of these? I decided to use this basket but first it needed a paint job!
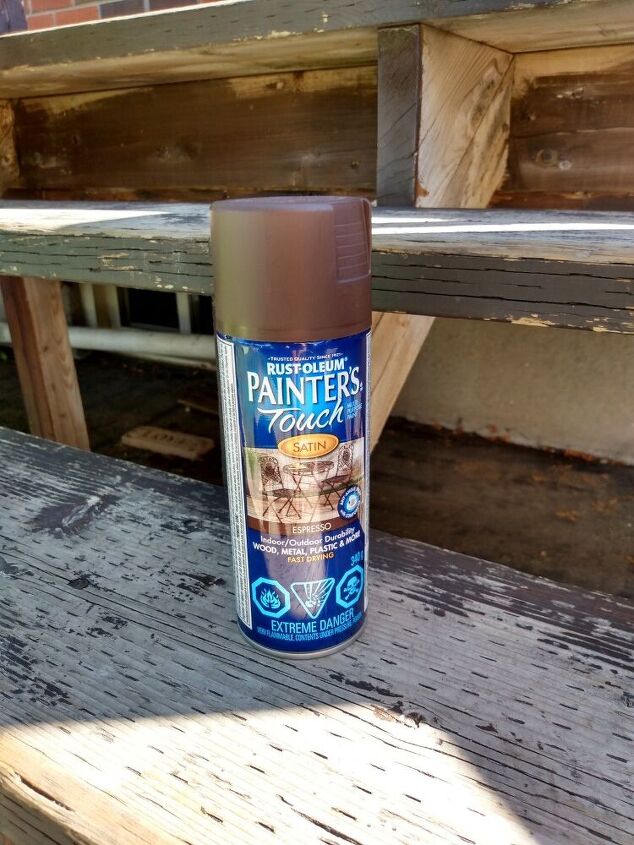
Normally I wouldn't paint anything brown as it is not part of my color scheme but for this project it was the perfect choice. The color is Expresso Brown .
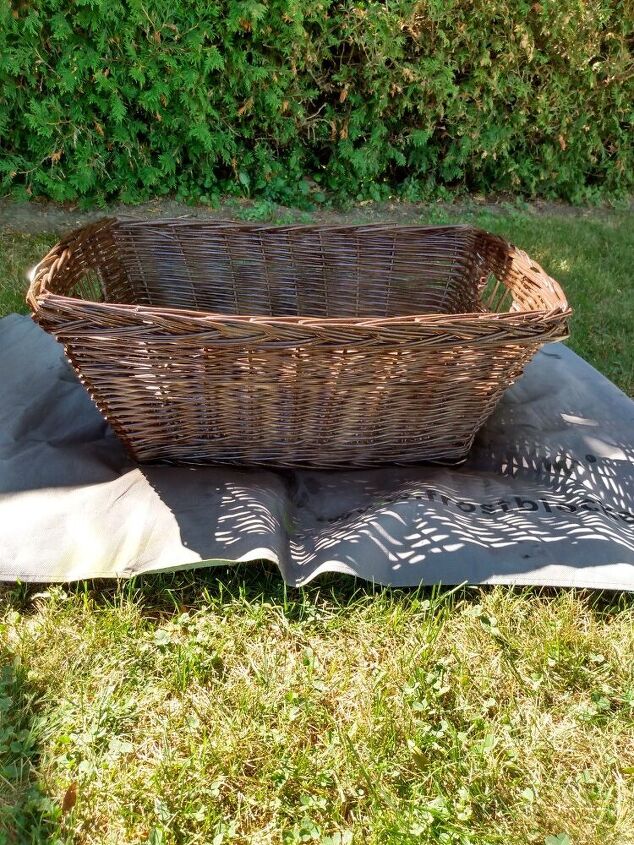
So I put down this piece of canvas to protect the grass and the basket from getting dirt and paint on both. I began lightly spraying back and forth on the outside then did the inside of the basket.
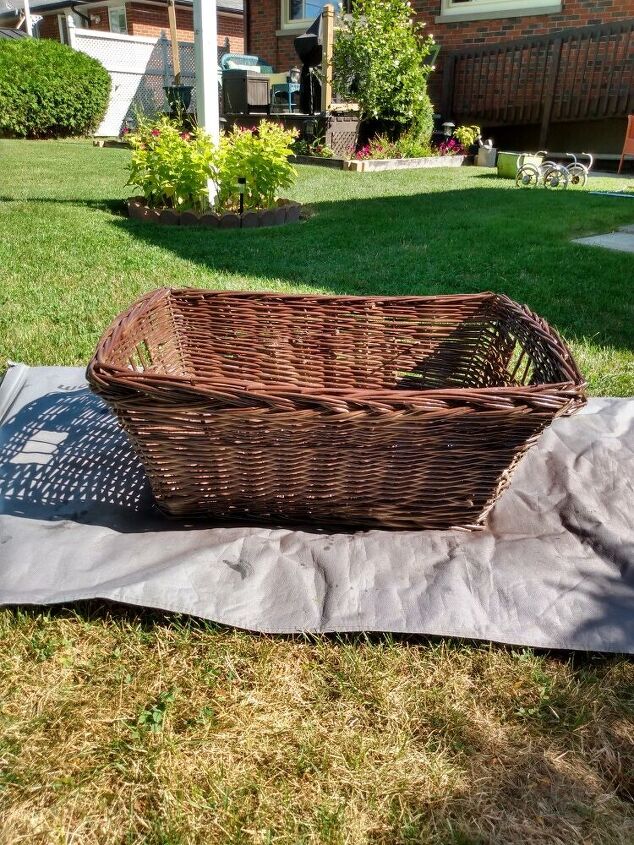
So this is after the first coat. To do the second coat I turned the basket upside down , this ensures getting total coverage. Let dry.
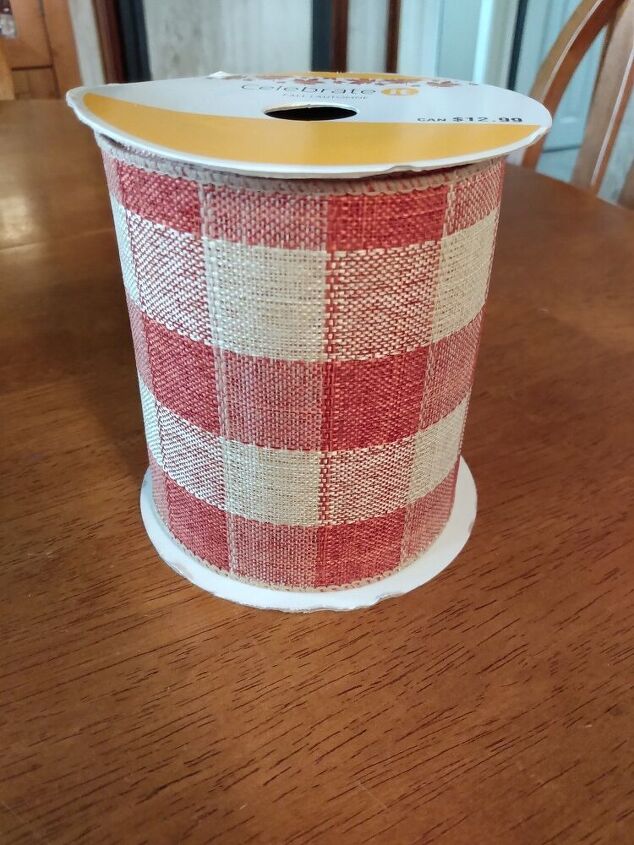
I picked up this ribbon at Michaels. I loved the color. I bought the ribbon first. It helped in determining the basket paint color. I wrapped it around the basket and secured with my glue gun.
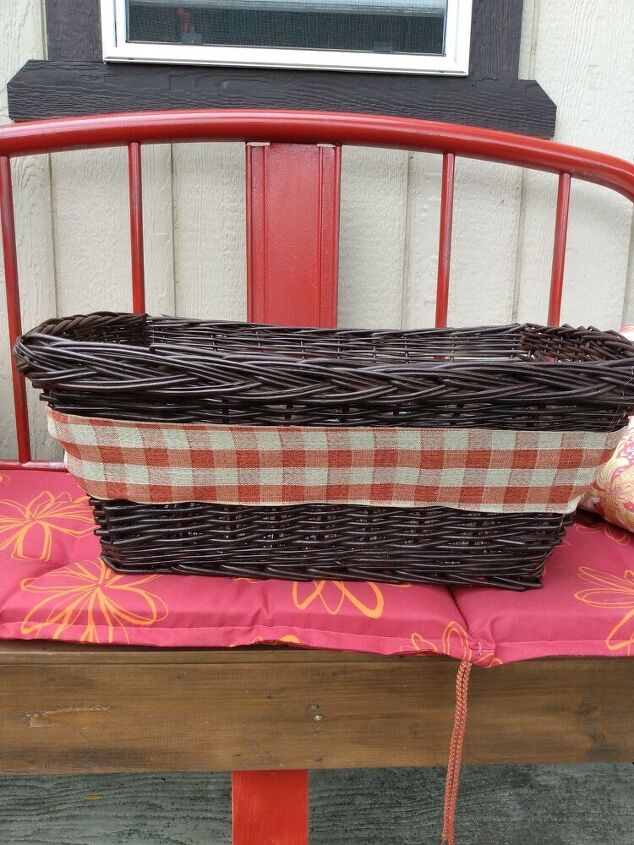
So here is my basket complete. I love my color choice.
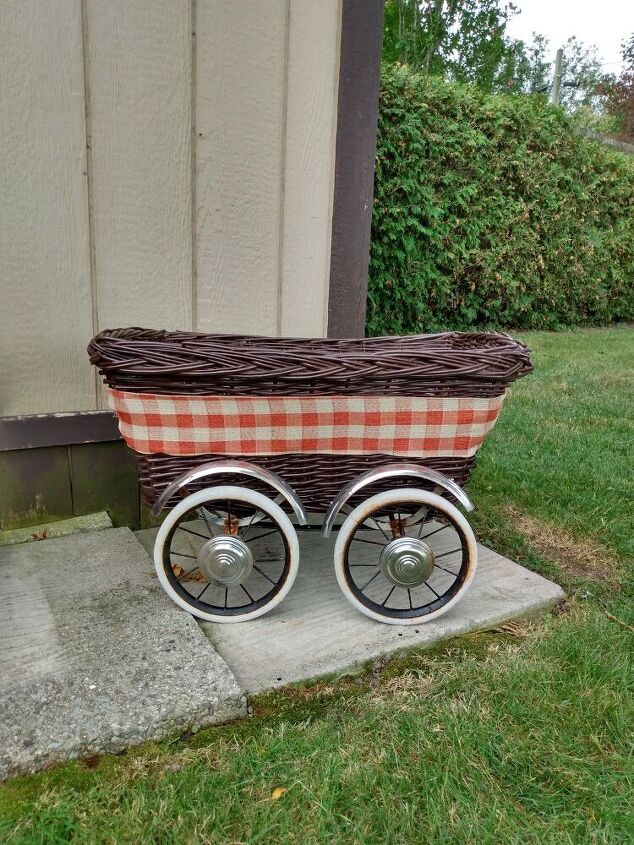
The basket fit perfectly between the wheels.
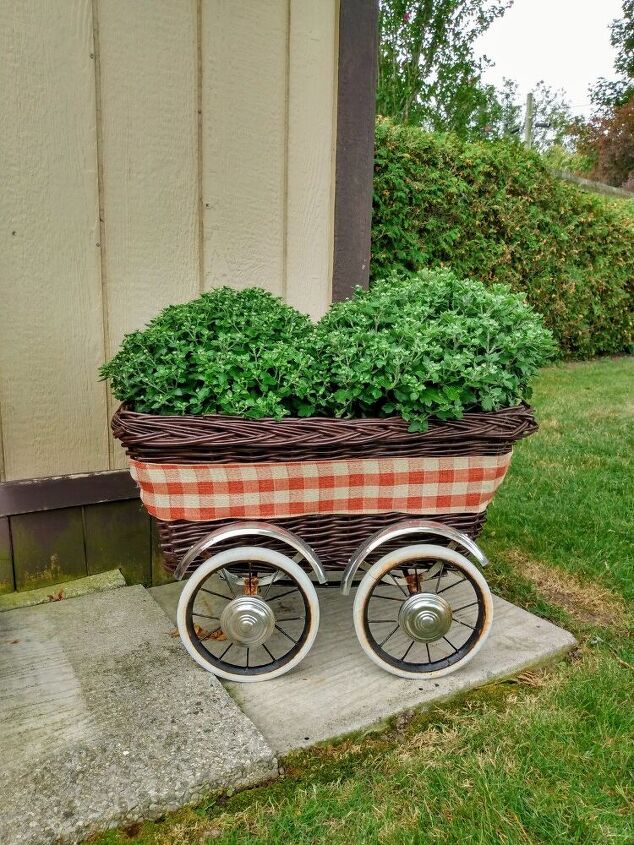
I picked up two fall Mums at my local garden centre and simply placed in my basket. If you want your Mums to last all season buy them with the buds not open. Buying them already open they will only last a few weeks. I love how this project turned out. There is so much I can do with it. Glad I was able to save part of my buggy!
Resources for this project:
See all materials


Comments
Join the conversation
-
How cute is this?! You totally transformed that buggy!


Frequently asked questions
Have a question about this project?