


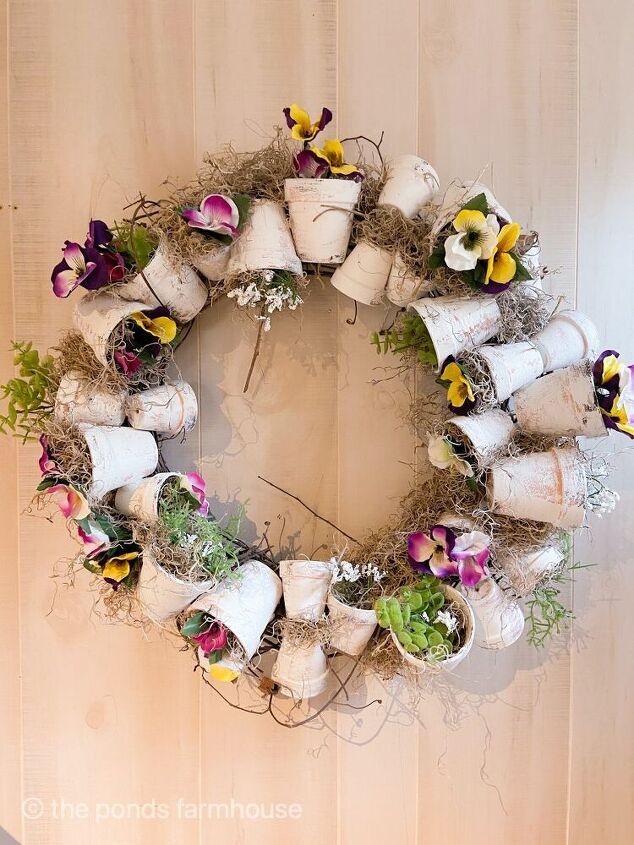
Terra Cotta Pot Spring Wreath-Easy DIY
I love Aged Terra Cotta Pots and I recently saw a wreath made using old terra cotta pots. Although I have a large collection of terra cotta pots, I didn’t have the required amount to make a wreath. So here’s what I did. Today I’m sharing how to make a Terra Cotta Pot Spring Wreath using new pots that are aged using a simple technique. This is an easy DIY step by step tutorial.
Terra Cotta Pot Spring Wreath – Supplies
First let’s gather our supplies.
- Grapevine Wreath – Size will depend on where you plan to use it. My wreath is 24″ in diameter.
- Terra Cotta Pots – Small and Medium sized
- White Chalk Paint
- Black Chalk Paint
- Jute Twine
- Faux Flowers & Greenery of your choice
- Spanish Moss
- Hot Glue
I found my pots at the Dollar Tree. The smallest size came three to a package and purchased 9 packages. I used 17 of the small pots so I estimated pretty close to the correct amount. The medium size came two to a package and I used 12 pots or 6 packages. The number you will need to complete the project will depend on the size of your grapevine wreath.
Aging the Terra Cotta Pots
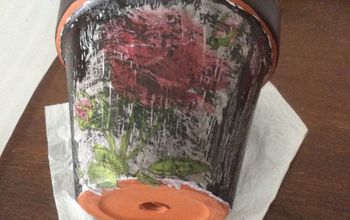
In order to age the terra cotta pots, you only need white and black paint. I used chalk paint because it leaves a mat finish which appears more naturally aged.
Begin with the black paint and just randomly swipe the paint onto the pots.
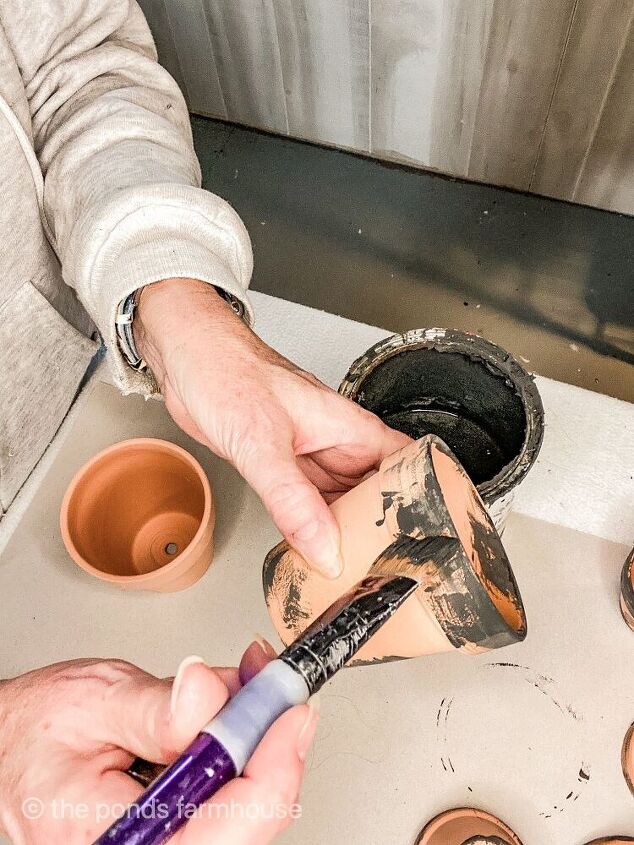
Once the black paint has dried, apply the white paint using slightly more coverage. You still want to see touches of the black paint and terra cotta color coming through the paint.
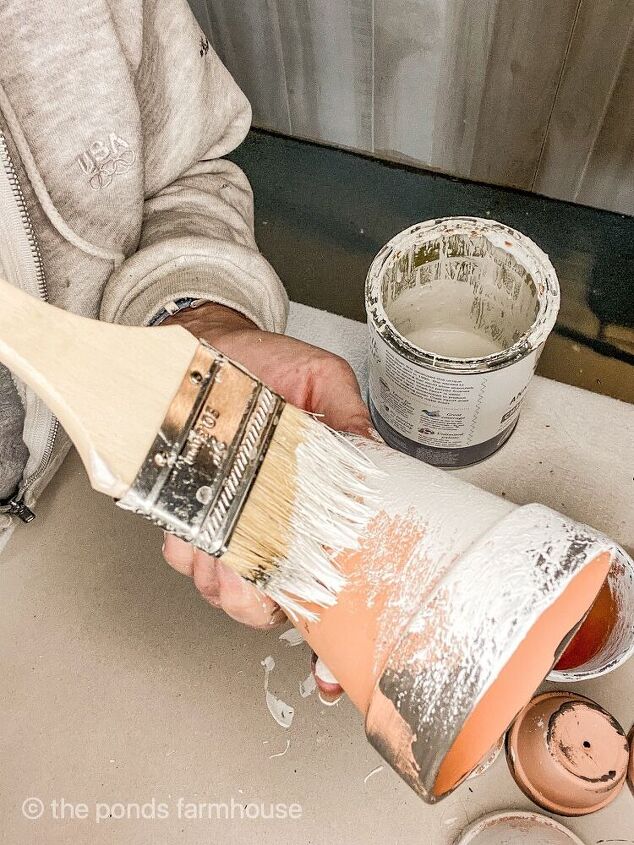
This process should go very quickly. Chalk Paint dries fast and therefore, you will be ready to begin the next step soon.
Last year I shared How to Age Clay Pots and although I love that technique, you don’t want to do anything that involved for this project. That tutorial is more suited for your larger pots.
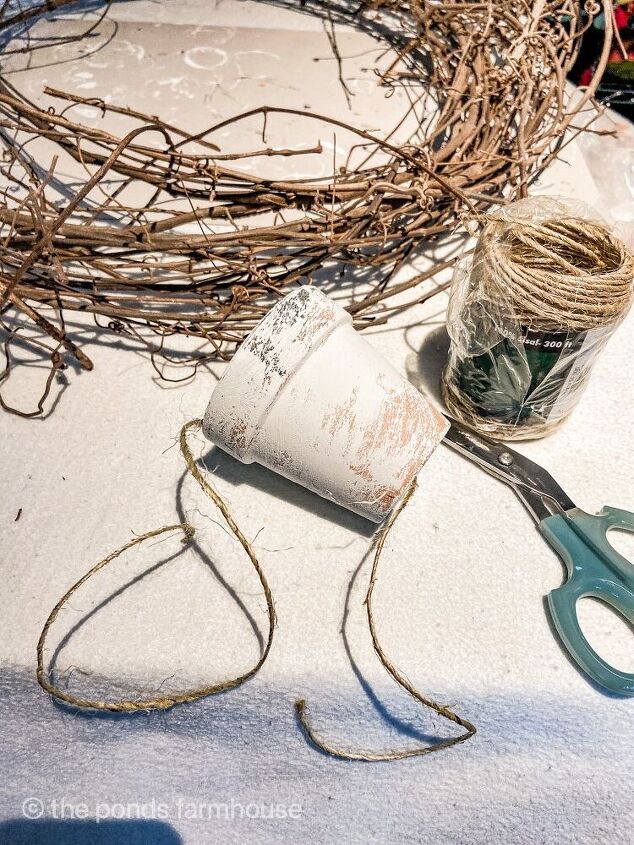
Next, you will begin to attach the terra cotta pots to the grapevine wreath.
First, cut lengths of the jute string approx. 3 ft. long. This allows you plenty of string to work with.
Run the jute sting through the hole in the bottom of the pots. I choose to add two of the small pots to one length of jute string in some areas.
Begin adding the terra cotta pots to wreath
Next, you will want to attached the terra cotta pots to the wreath by securing them tightly with the jute sting.
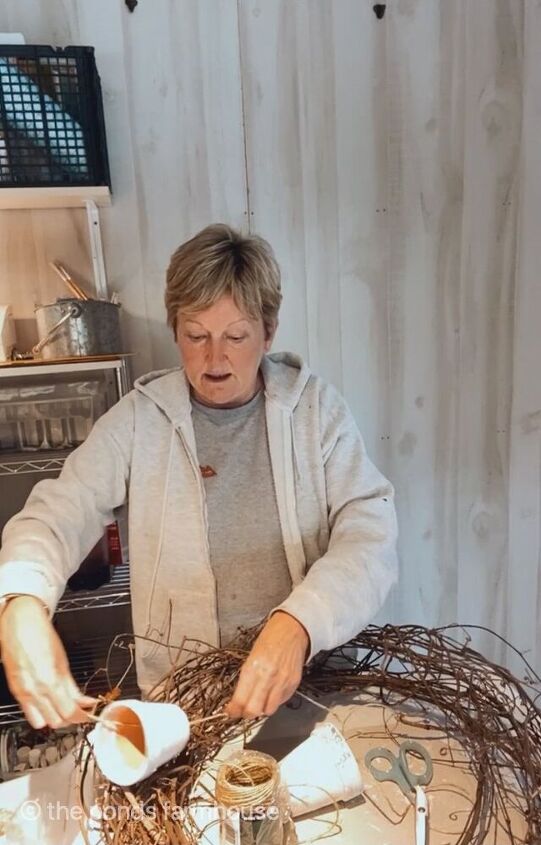
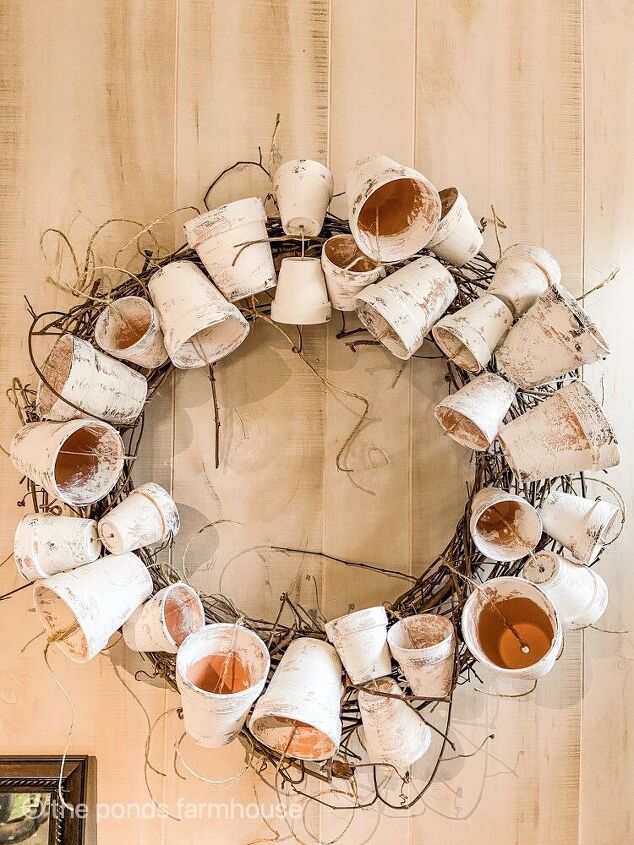
In order to fill the wreath tightly with the pots, I alternated between medium and small pots. In addition, be sure to place the pots facing inward and outward randomly around the wreath. You can see how closely each pot is place in the photo below.
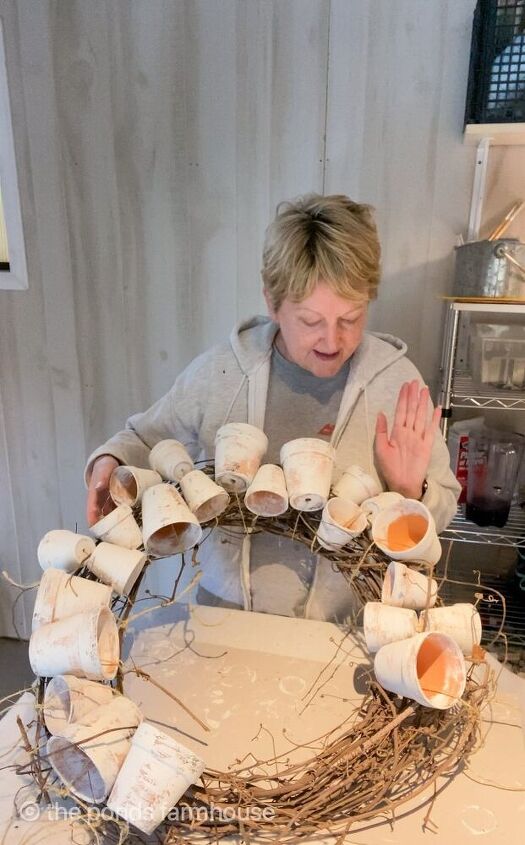
After all the pots are secure, hang your wreath to make sure it looks balanced and that all the pots are securely tied.
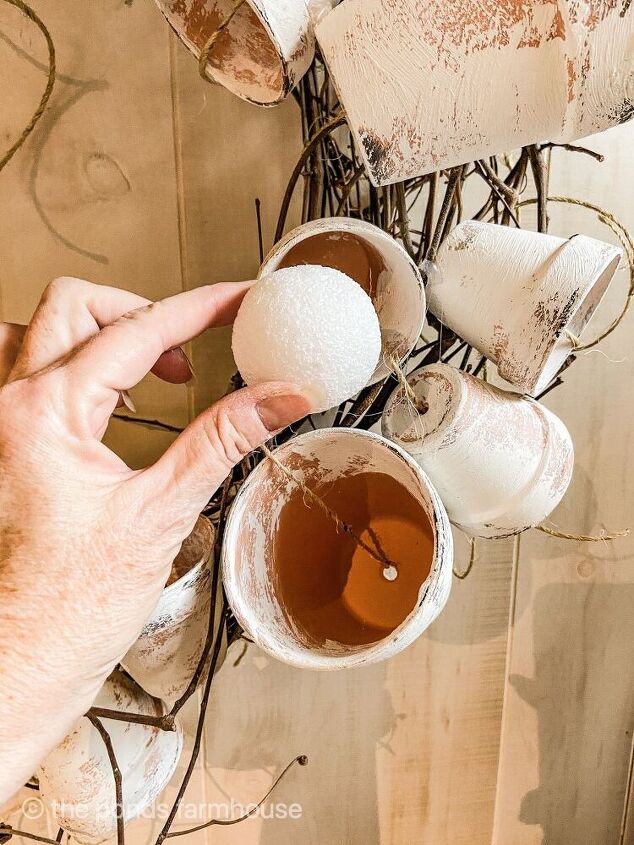
Add Flowers and Greenery
Finally, you are ready to start adding some color.
Begin by securing styrofoam into random pots with hot glue.
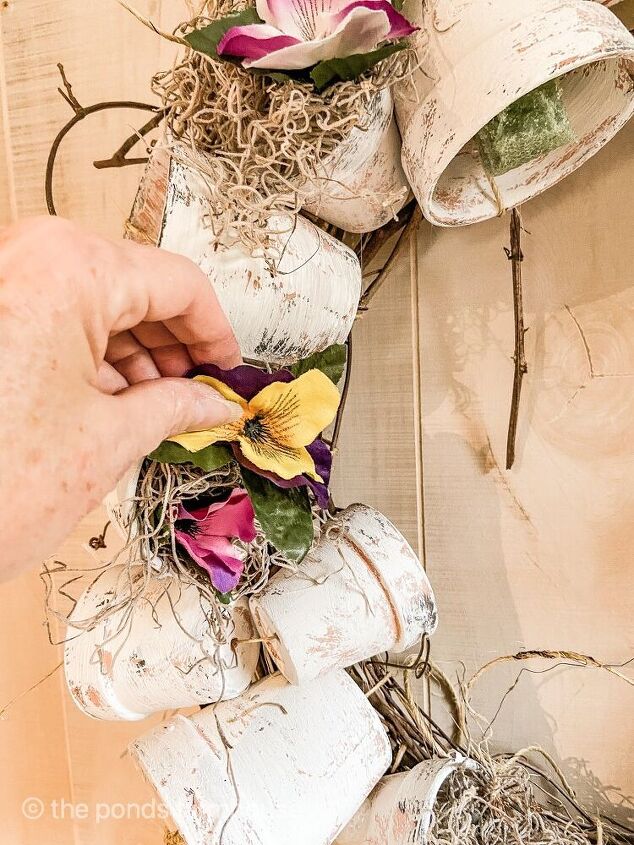
Next, add spanish moss to some pots and to cover the styrofoam by applying hot glue. In addition, begin adding flowers and greenery randomly.
Cut the flower stem close to the actual flower bud using wire snips. You don’t want a long stem. Then push the wire stems into the styrofoam or hot glue into the spanish moss.
Use Your Creative Eye to Finish the Wreath
Finally, hang your wreath again and see how it looks to you. I try to make sure it looks balanced and that any excess jute strings have been cut away. Add more spanish moss or flowers to any area that looks bare or exposed.
The perfect spot for this wreath will be on my DIY Greenhouse which you can see here. Thanks for stopping by.
Resources for this project:
See all materials


Comments
Join the conversation
-
I made this, it was too heavy to hang
Love the idea tho!
-
I wanted to make similar couple years ago. Those pots are outrageously expensive. I like the terra-cotta look. Had no intention of painting; never occurred to me to paint. But if painting, I’d just buy cheap plastic or look at paper cups with same shape lighter and less expensive. A light once over with sand paper will remove shine to get paint to adhere or leave some areas untouched to allow a resist to paint and go for shabby look. But your wreath is pretty


Frequently asked questions
Have a question about this project?
How much does the wreath weigh?