


DIY Fall Raffia Wreath
Create a simple nature-inspired with inexpensive raffia, floral picks and pumpkins!
Fall may not officially be here, but I'm slowly starting to add some touches to our new home. Since I always start with our front door, I decided now was a good time to create a pretty fall wreath. I wanted something simple and inexpensive so I looked through my craft supplies to see what I had.
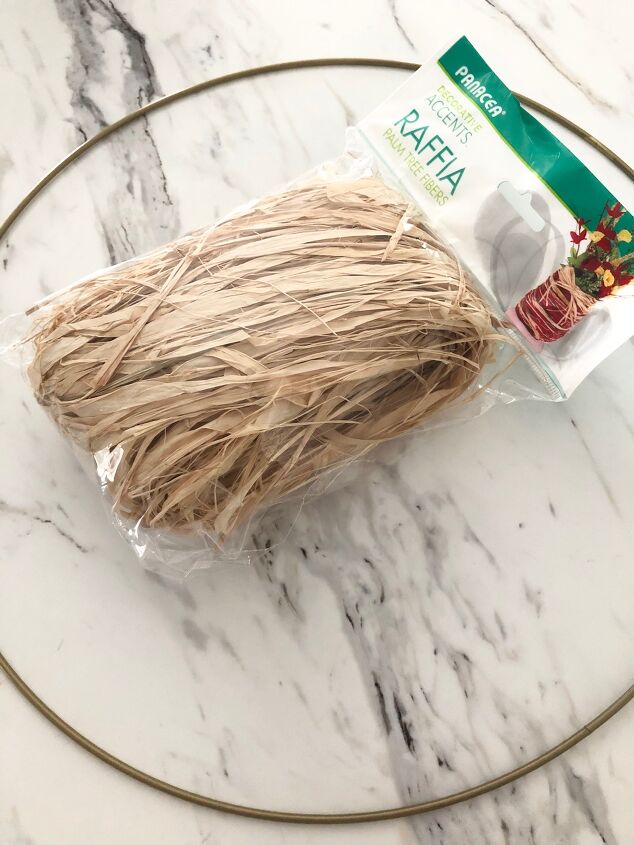
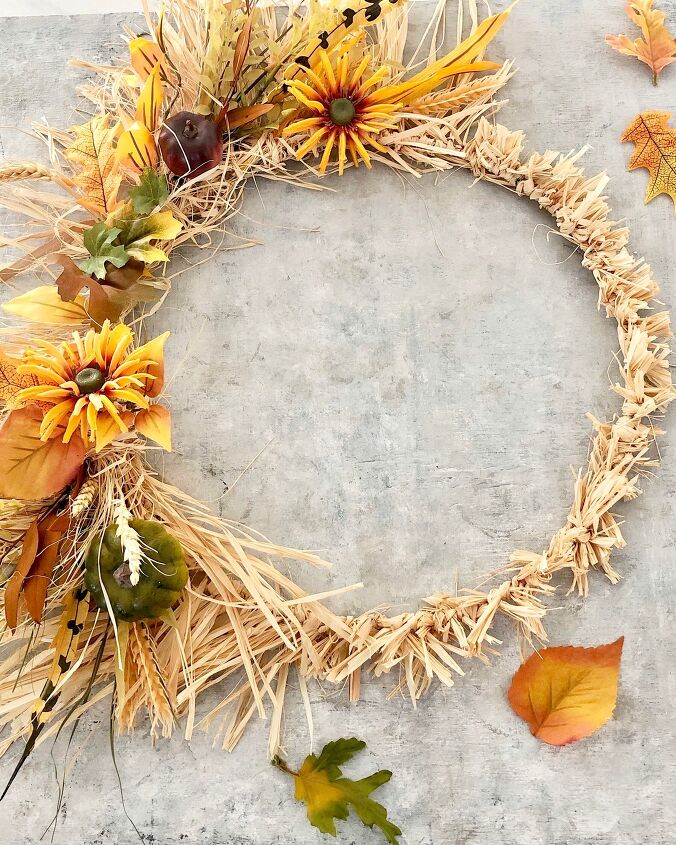
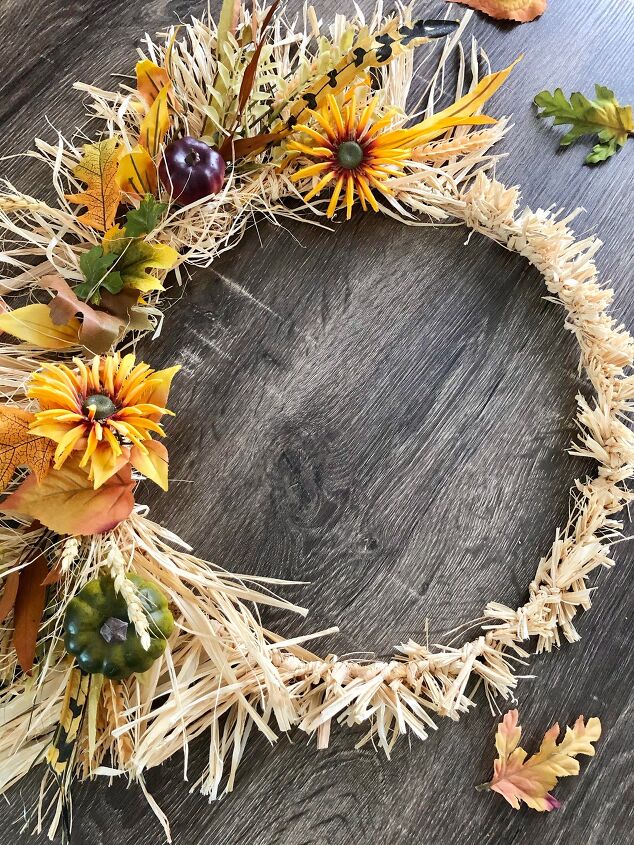
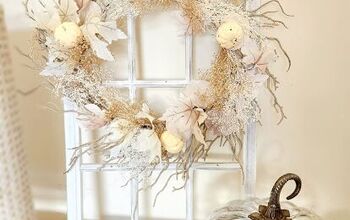
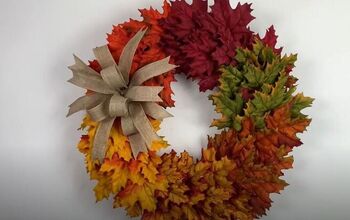
The first items I found were a gold hoop wreath and some raffia. Although I'd seen raffia wreaths online, it wasn't exactly the look I was going for. I liked the natural part of it, but they looked more 'beachy' than fall to me. Still, I thought I could make it work so I gathered some more items like fall florals, faux leaves and pumpkins, and a few dried stems.
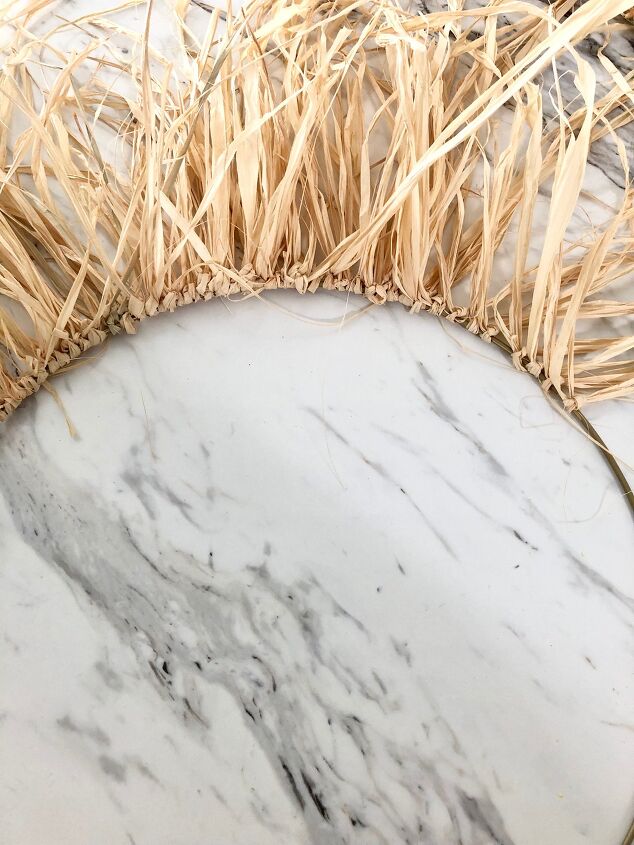
The first thing I did was unravel all of the raffia. Then I separated each one. Next, I took each strand and cut them in half. When I had all my strands cut it was time to start tying them onto the wreath hoop. TIP: This process is VERY time-consuming so I would highly recommend doing it while watching TV or some other boring event. I did so while my hubby watched Sunday football. LOL!
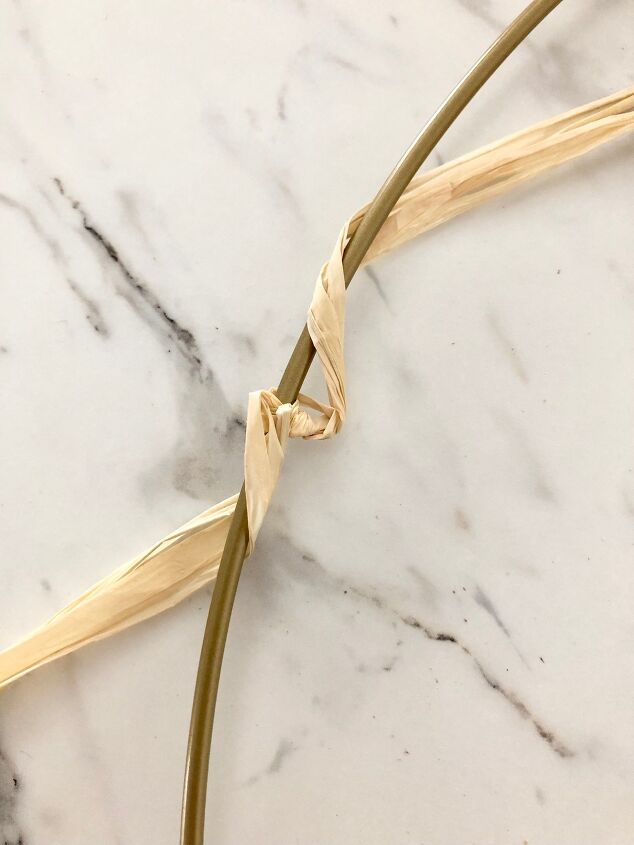
To tie the raffia onto the wreath hoop, I simply grabbed two pieces and tied them on. Then I took each end and wrapped them over the hoop, pulled them together, and tied another knot.
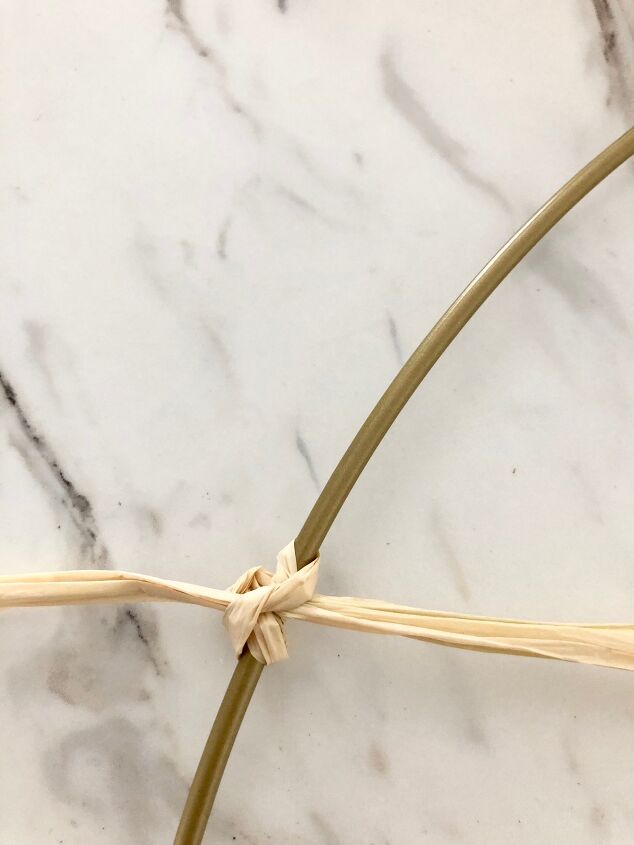
I continued this process all the way around the wreath hoop until it was full. Once it is, you will notice that the wreath is extremely top-heavy. As in, when you lift it up the raffia falls forward and is droopy.
That's okay. Because now it's time to give your wreath a quick haircut.
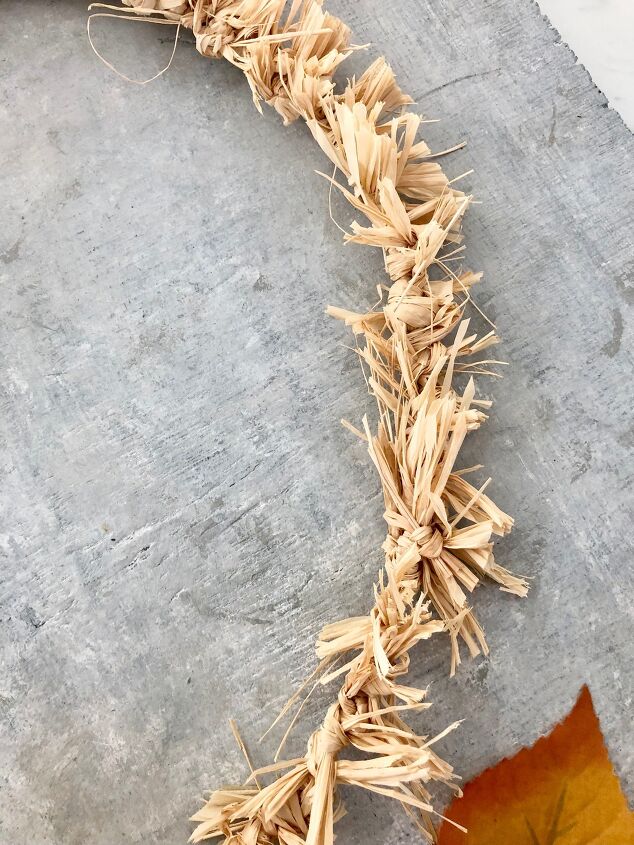
There are several ways you can do this, but since I wanted to make an asymmetrical wreath, this is how I did mine. I took a pair of scissors and first trimmed all the raffia down a bit so it was easier to work with. Then I cut one side down SUPER short so there was just enough raffia to look full and fluffy. About two inches or so.
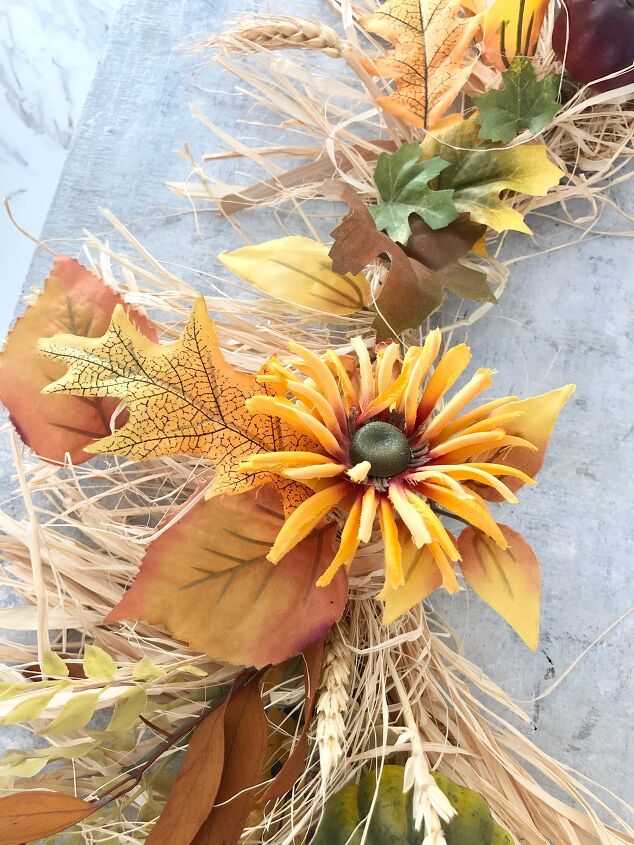
Next, I trimmed up the other side a bit more (this is totally an eye-balling kind of thing) until it looked the way I envisioned. Now it was time to decorate with all my fall finds.
To do this I simply laid out each item until it looked how I wanted it to, and then I used my hot glue gun and glued the items onto the raffia.
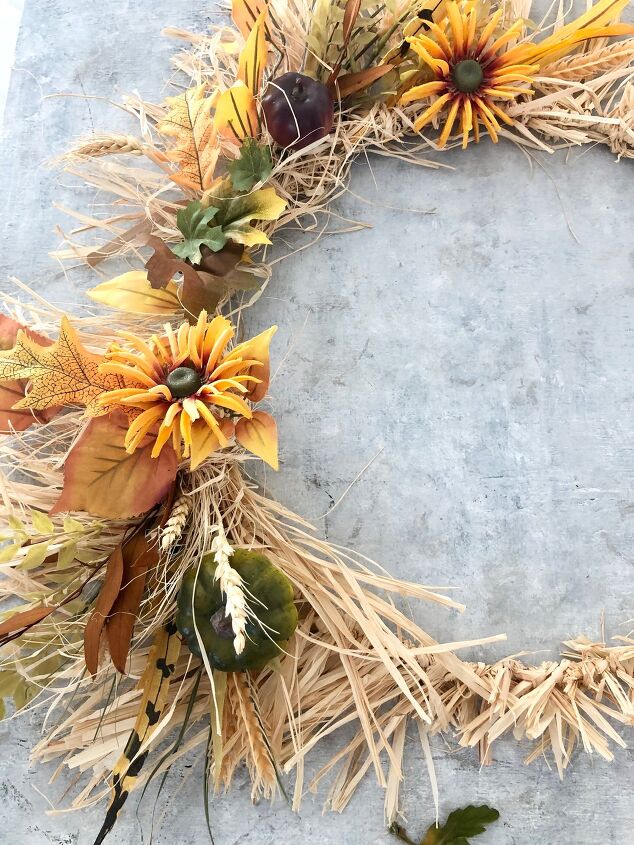
Lastly, I tied a piece of burlap on the hoop for hanging.
This was a SUPER simple project and since I had everything on hand it didn't cost me anything. But you could totally buy all the items at the Dollar Store or thrift store and spend little or nothing to create it.
You can find my full tutorial and more fall decor inspiration over on the blog!
Resources for this project:
See all materials


Comments
Join the conversation
-
I love your vision for this project, I will definitely be doing this! Thank you for sharing.
-
I can see it was time consuming but so totally worth the outcome. Love it!


Frequently asked questions
Have a question about this project?