


DIY Christmas Countdown Made From An Old, Wood Ironing Board
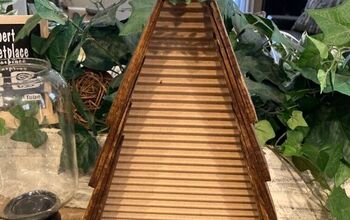
I love picking up old, wood ironing boards because you can do so many things with them. I like old ironing boards because the wood usually has the best patina that you can’t easily replicate. You can repurpose the wood into so many things because it is thick and sturdy. My price point is $10. If I find an old, wood ironing board in great condition under $10, it is usually coming home with me.
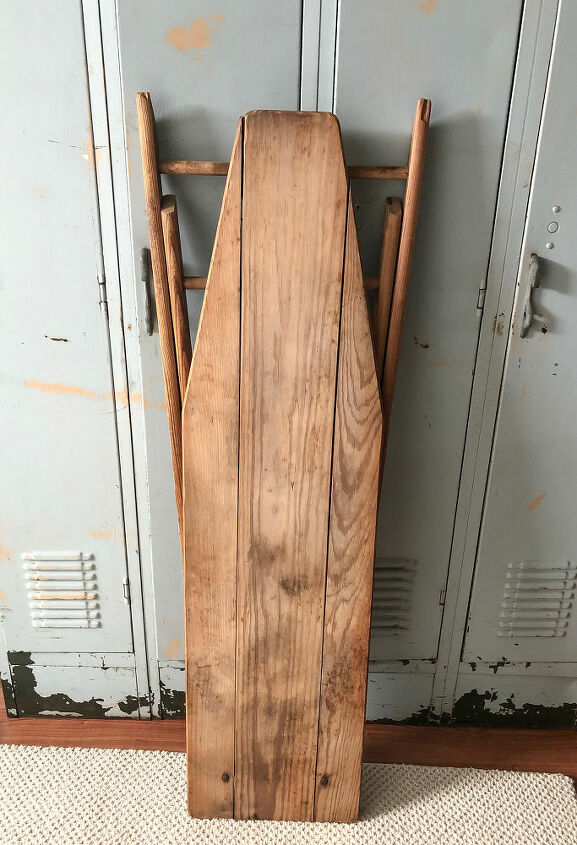
I found this ironing board a few months ago at Goodwill for $6. The wood was perfect and the price was right. I brought it home without any plans for it. I just knew I would use it for something. Once the Christmas season started rolling around, the project came to me. This ironing board would become a DIY Christmas Countdown that is perfect for the season of life our family is in.
The Christmas season changes when your kids get older and we are in that stage where “believing” has taken on a whole new meaning. Our Christmas season doesn’t include Elf on The Shelf or visiting Santa anymore. It is all about the real reason for the season and what we can do as a family to make it the best season we can.
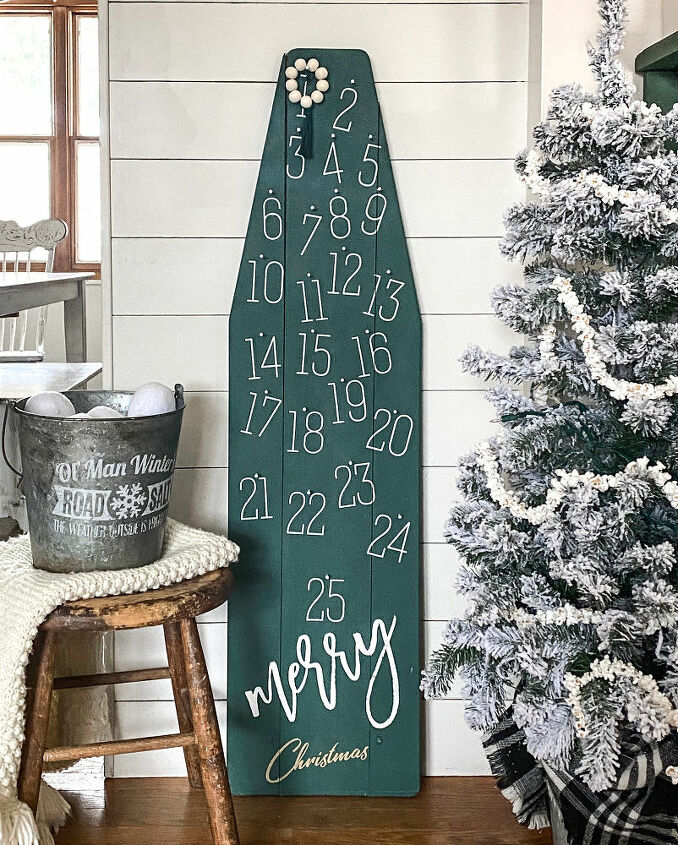
So, this year, instead of an Advent calendar, I made this Christmas Countdown. The kids aren’t going to get little trinkets and toys inside an Advent calendar this year. We are going to count down the days and do something different each day. Things like – baking cookies, watching a Christmas movie, making ornaments, wrapping gifts, etc.
I will also include ways we can give back – buy gifts for kids in needs, take food to someone in need, give cookies to an elderly neighbor, etc.
Here is a short video showing you how I added the numbers to the ironing board:
Easy Steps To Make This Christmas Countdown
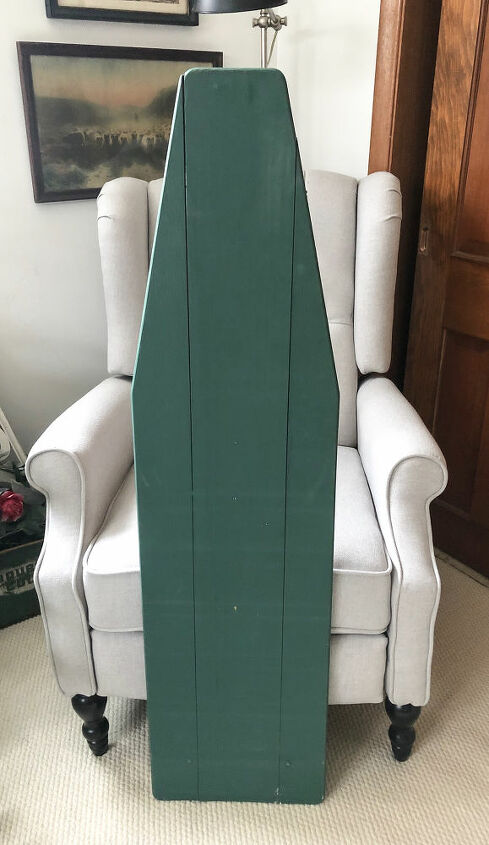
- The first thing I did was remove the legs from the ironing board.
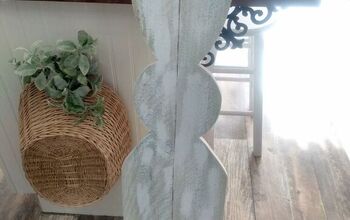
- Then, I painted the ironing board in “Palmetto” from Dixie Belle Paint.
- When the paint dried, it was time to add the countdown. I used the Chalk Couture Christmas Countdown Transfer and white Chalkology Paste . This made the process so easy.
- Once the paste was dry, I hammered one white nail above each number.
- I used a wood bead ornament I found in the dollar spot at Target as the “marker” for the countdown. You could use anything for this – a favorite ornament, a homemade ornament, a tiny wreath, etc.
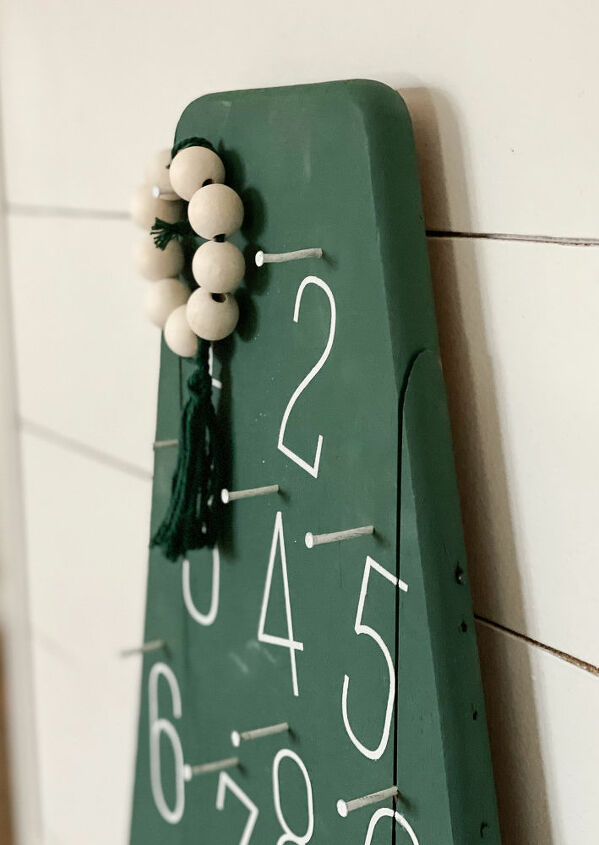
Chalk Couture makes projects like this a breeze. I didn’t want the numbers perfectly spaced on the ironing board. I wanted it to look more whimsical and fun.
Now that the DIY Christmas Countdown is done, it is time for me to sit down and plan out the things that is going to make this season special for our family. The years are going by fast, so making the most of the years we still have with the kids at home is very important to me.
To find the full supply list and more details about this project, head to my blog: https://mycreativedays.porch.com/diy-christmas-countdown-on-wood-ironing-board/
Resources for this project:
See all materials


Comments
Join the conversation
-
Thank you!
-
Love this! Only wish I saw sooner! Saw a wooden iron board recently at a house sale.


Frequently asked questions
Have a question about this project?