


HOW TO CREATE A DIY SHAGGY TREE
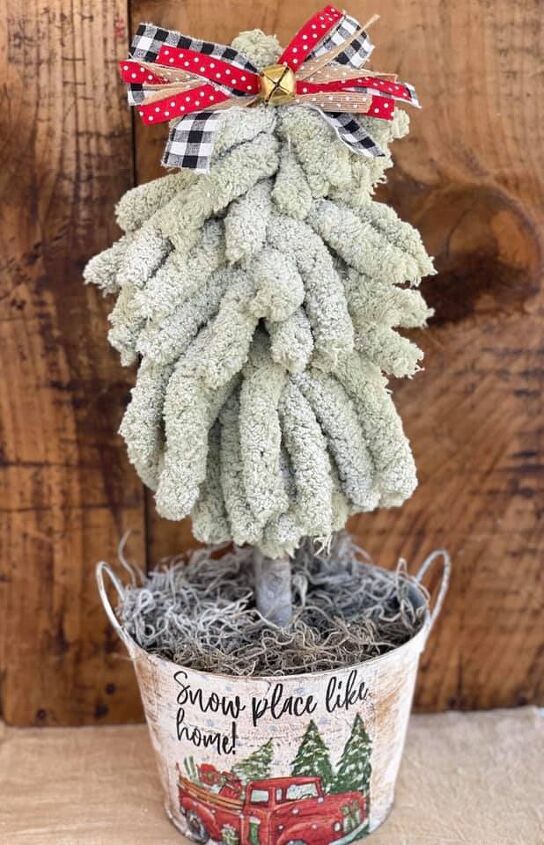
Today, I will be sharing with you how to create a DIY shaggy Christmas tree. This adorable shaggy Christmas tree craft is such a fun and budget-friendly DIY. This beautiful Christmas tree décor is made using a cute Dollar Tree tin and some chunky yarn from Hobby Lobby. This cute Christmas craft is a great way to use any leftover yarn you have lying around your craft room. Wouldn’t this shaggy Christmas tree also make an awesome Christmas gift?!
Today, I will be sharing with you how to create a DIY shaggy Christmas tree. This adorable shaggy Christmas tree craft is such a fun and budget-friendly DIY. This beautiful Christmas tree décor is made using a cute Dollar Tree tin and some chunky yarn from Hobby Lobby. This cute Christmas craft is a great way to use any leftover yarn you have lying around your craft room. Wouldn’t this shaggy Christmas tree also make an awesome Christmas gift?!
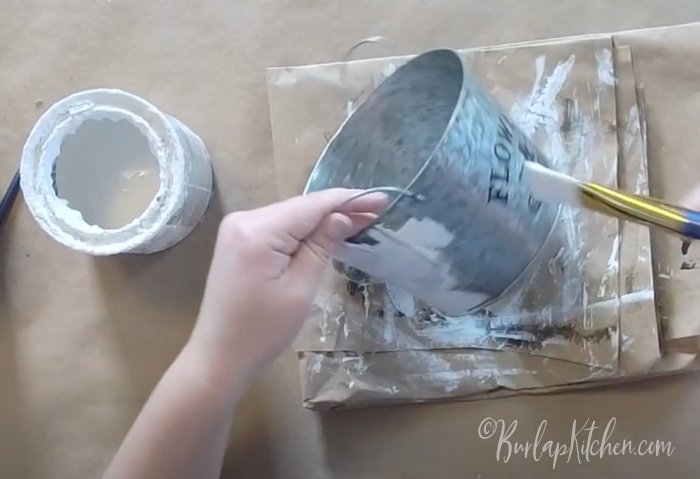
Step 1. Using an old tin bucket I had from The Dollar Tree, feel free to use any tin bucket of your choice, use white chalk paint and a paint brush to paint over the outside of the tin. Dry with a heat gun, but be careful when drying tin with a heat gun as it does get very hot. Then, add a second coat of the white chalk paint, and carefully dry it again using a heat gun.
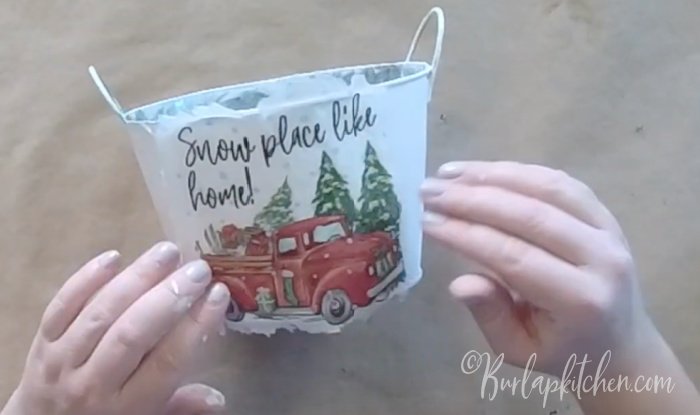
Step 2. Next, use a festive Christmas print napkin of your liking, and peel of the back layer of the napkin. I prefer to carefully rip around the edges of the print portion of the napkin I want on my project. This just gives a more rustic look I feel. Then, after you have the print portion of your napkin prepared, use Mod Podge to adhere the napkin print directly onto the front center of your white chalk painted tin bucket. Gently dry with a heat gun. Then, use a sanding block to sand off any napkin pieces that may still be hanging over the top and bottom of your bucket.
Step 3. Next, dip a chip brush in some antique wax, wipe some of the antique wax off of your paint brush, and then go over your entire bucket gently with the remaining antique wax on the paint brush. This will add a rustic look to your project. Allow to dry.
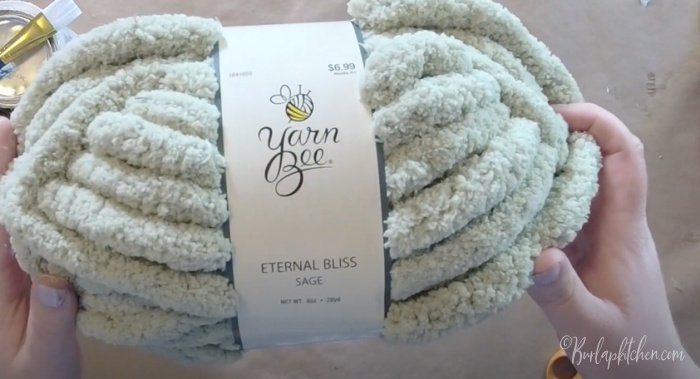
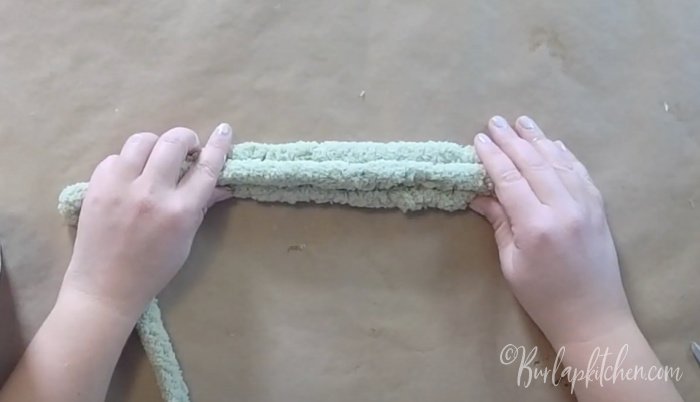
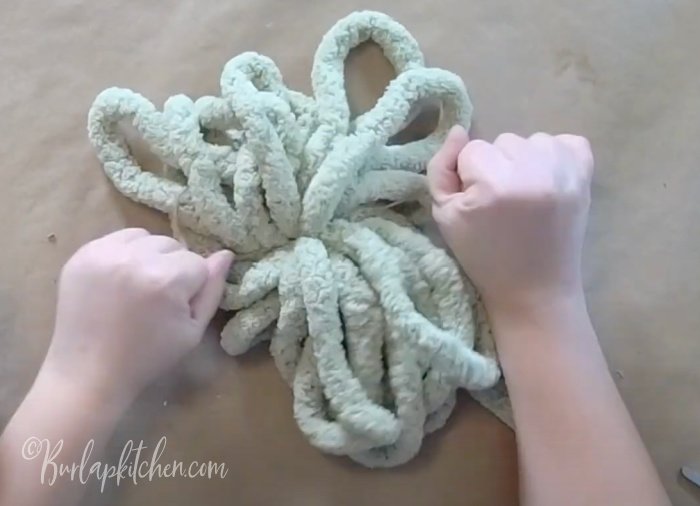
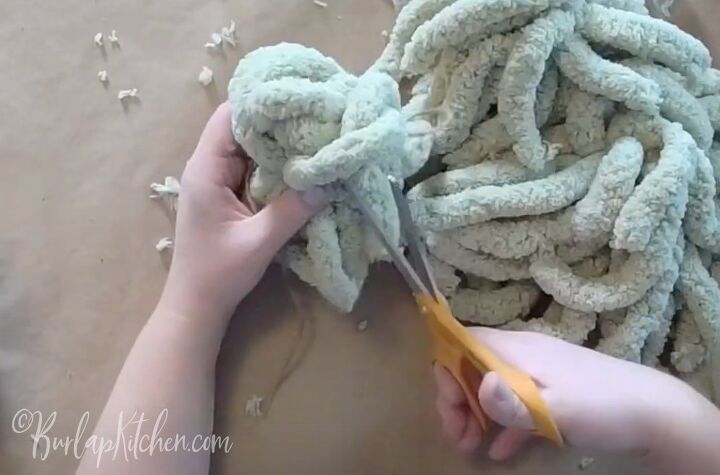
Step 4. Take some green chunky yarn, I purchased mine from Hobby Lobby, and zig zag the chunky yarn back and forth, and then tie it in the middle using some twine. Next, repeat this process, but make this yarn cluster a bit smaller than your first yarn cluster. Next, repeat this process again, making another small yarn cluster. So, you should have 3 yarn clusters that are tied together in the middle. Next, use scissors clip off the ends/loops of each yarn cluster, almost like you are making two pompoms. Set aside.
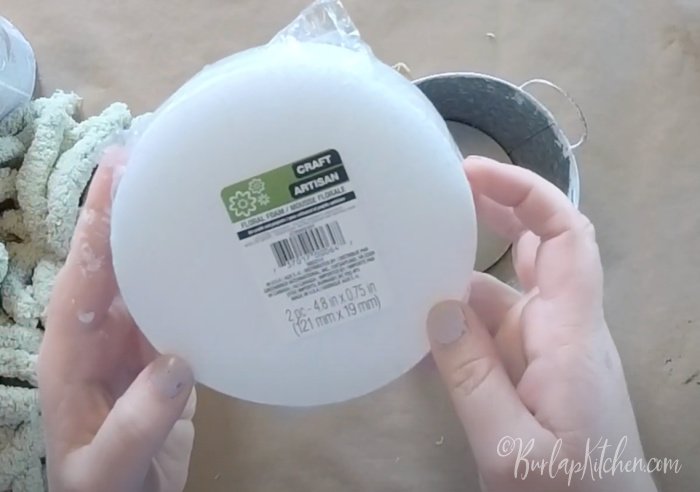
Step 5. Take two round pieces of foam, I purchased my foam rounds from Hobby Lobby. If they do not fit inside the bottom of your bucket, you will need to trim the foam using scissors. Hot glue the first piece of foam down inside the bottom of the tin bucket. Then, hot glue the second piece of foam down on top of the first piece of foam.
Step 6. Find a good size stick from outside, and push it down through the center of both pieces of foam, creating a hole. Then, secure the stick into the center of the foam using hot glue. Allow to dry.
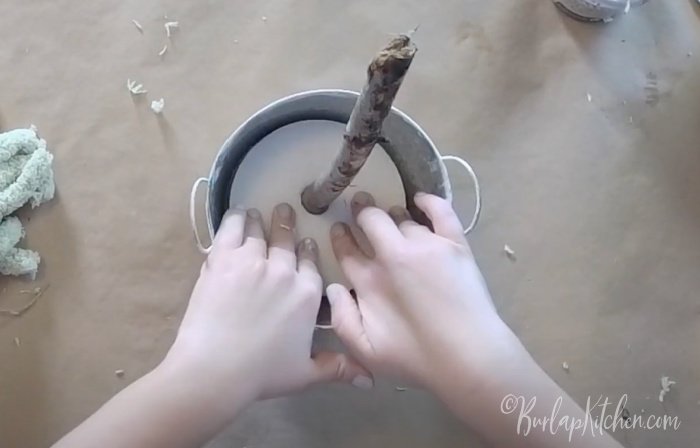
Step 7. Add some rocks to the top of the bucket, around the stick, for some weight to the project so it does not tip over.
Step 8. Use twine to tie on the first/largest chunky yarn cluster you made around the stick. You can use hot glue for this part if you prefer. Then, add/tie on the second smaller yarn cluster over top of this cluster, and then hot glue the smallest yarn cluster over top of this one, as the smallest yarn cluster will be the top of your Christmas tree. Allow to dry.

Step 9. Use hot glue to add some Spanish Moss over top of the rocks at the top of your bucket, going all around the bottom of the shaggy tree.
Step 10. Go through your project and use scissors to trim/shape up anything that may need adjusted.
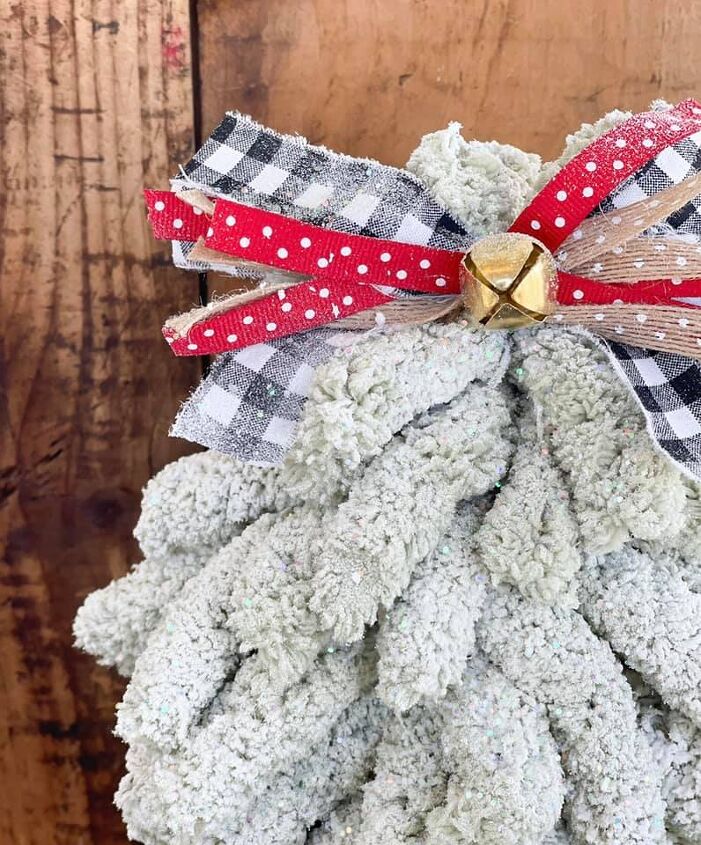
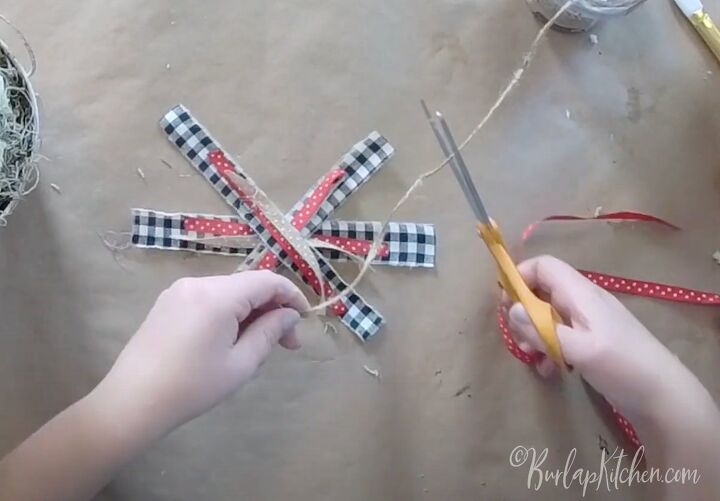
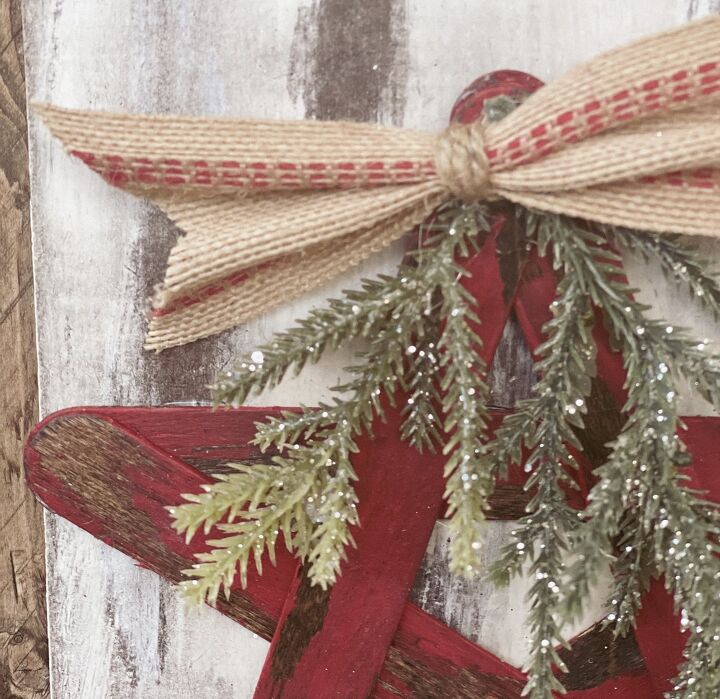
Step 11. Using ribbon of your liking, lay the ribbon down on an “x” pattern starting with your thickest strip of ribbon going to the thinnest, making sure each strip of fabric is visible when laying on tip of the other, and make a layered bow. Tying the bow together in the center using a piece of twine. Trim away any excess.
Step 12. Hot glue a small jingle bell to the center of your layered bow. Allow to dry.
Step 13. Take some fake spray snow and spray over the shaggy tree branches. Then, add a bit of glitter over top of the fake snow you just sprayed on.
Step 14. Hot glue the layered jingle bell bow to the very top of your tree for the tree topper. Enjoy!
Tags: burlap kitchen, Christmas-2021, Christmas-craft, Christmas-tree, Christmas-tree-decor, DIY, Dollar Tree, dollar tree crafts, Dollar-tree-crafts-diy, gifts-for-her, home-made-gifts, Unique-gift-ideas, Yarn-crafts

Comments
Join the conversation
-
Sweet!
-
Very cute, and so quick and easy.


Frequently asked questions
Have a question about this project?