


How To Make A Christmas Tree Wall Hanging From Twigs
I love making projects with branches. Here is a cute one using twigs to make this cute Christmas Tree Wall Hanging.

This is easy to gather. Just take a walk in your back yard or at your local park and find any branches ranging from 5 to 12 inches long. Some of them you may have to break in half. Make sure they are thin and not thick around 1 to 2 inches in width.
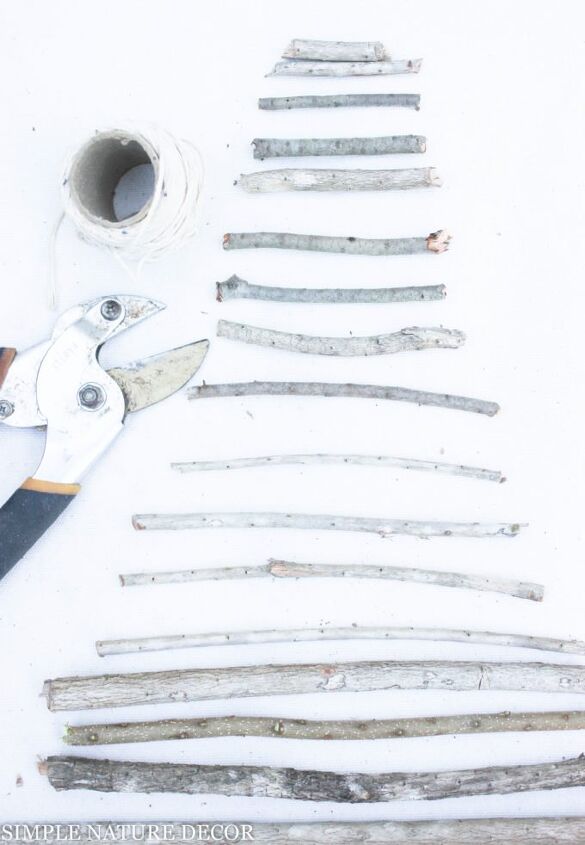
On a large table arrange the twigs from longest to shortest until you form a Christmas Tree. I used 12 branches of any size you like, just make sure they are similar in width.

Start from the bottom and tie the twine around the first twig in a knot and keep bringing it around each twig twice until you reach the top.

Make sure that you check each twig that the rope is tightly tied around it twice. You do this on both side and when you reach the top have about 4 inches leftover to use as a hanger.

Use small round colorful ornaments and bells on the tree. Take some ribbon of any color and tie the ornament on the tree. Tie about 5 to 6 ornaments on each branch. Add the bells too.

When you finish adding all the ornaments and bells. Take the top 4 inch of twine and tie both side and create a loop to hang on the wall.I added a star which is optional.

Resources for this project:
See all materials


Frequently asked questions
Have a question about this project?