


Make Your Own Miniature Envelopes
I want to show you how to make your miniature envelopes. I’ve seen these referred to as a coin envelope size and we are going to make them from larger 6 X 9 envelopes. I came up with this tutorial out of desperation for the advent calendar. Small envelopes are hard to find or the stores want way too much money for a small package of eight, meaning I would have to buy three. I would rather spend my money on the treats that go inside!
The girls and I love a countdown to Christmas, or advent calendar. It truly is something I love to put together for them. Shopping for small gifts, candy and creating “coupons” for special outings was something I did most of the year as I shopped for holidays year round.

Advent Calendar Filler Ideas
- Create Coupons for Outings
- Pajama tour of Christmas lights with hot cocoa and popcorn or cookies (wear your pajamas and seek out the best Christmas Light Displays
- Watch a Christmas movie, this usually comes with movie snacks and root beer floats
- An ice cream, coffee, or dollar store date
- Something to eat
- These chocolate coins are favorites of my girls
- Fold a packet of apple cider or hot cocoa in half for the miniature envelopes
- Money to buy the “forbidden” snack in the lunch line!
- Something Digital and Fun Odds & Ends
- A choice of an app or game for their phone or device
- A new book for their kindle or device
- Waterproof stickers for water bottles, laptop and playtime. Like these, these or these.
Make Miniature Envelopes From Big Envelopes
Tools you’ll need
- 6 X 9 Envelopes
- Twine
- Paper Trimmer
- Stapler
- Hole and Border Punches
- Small Christmas Stickers
- Adhesive Runner
- Christmas Countdown Calendar
- Christmas Story Advent Calendar
Making Miniature Envelopes – Step by Step
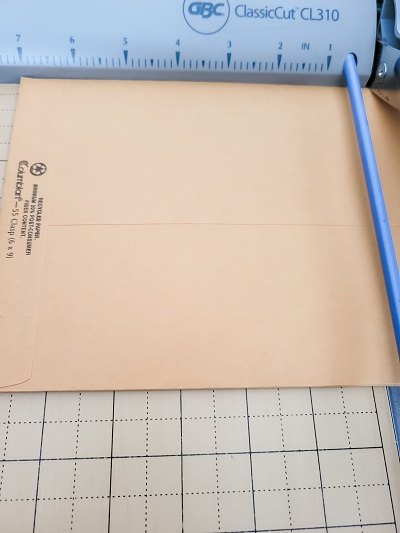
- Cut the top of the envelope off – line the bottom of the envelope up with the 7-inch marking on your paper trimmer.
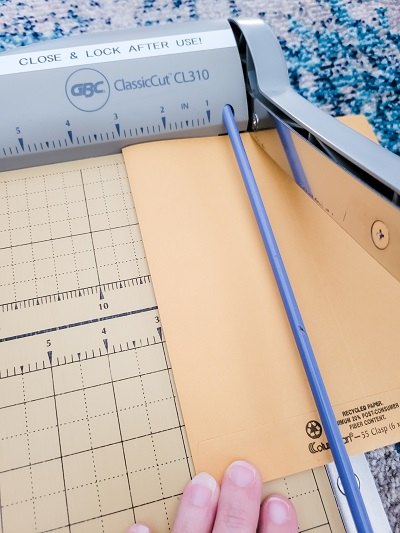
- Cut your envelope in half – this cut will be at 3 inches.
- Using your adhesive runner apply a line of adhesive along the open side of the envelope. Press shut. I found liquid glue is not too great for this project. With adhesive tape you can control where the seam is. With liquid glue it would squish into the envelope sealing it shut. And how could you possibly put treats in your envelopes!?!?

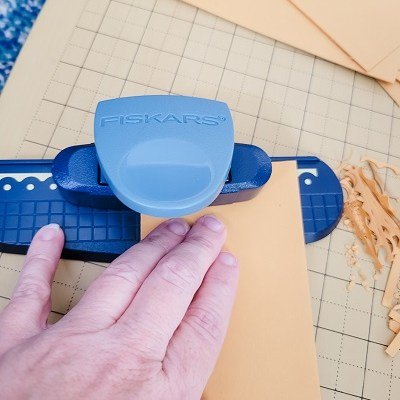
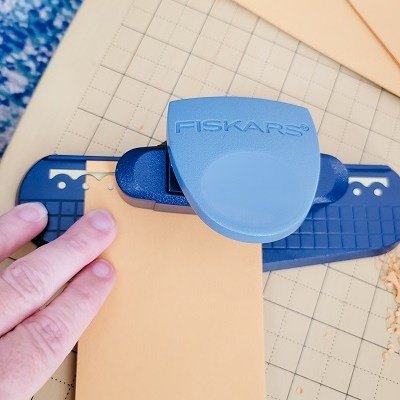
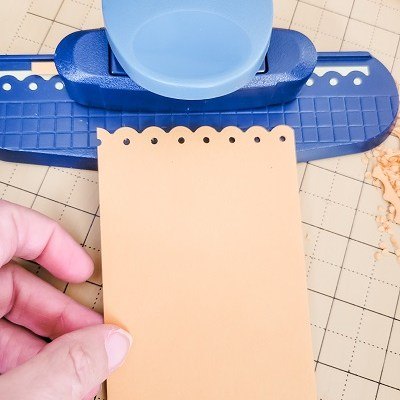
- Punch a decorative border at the top of your envelope. I found if I started on the right side by placing my envelope one scallop in and then moved it to the left side and placed it one and a half scallops in it cut it perfectly. See pictures for visual explanation!
- Fold this scallop border down one inch.
- Closing your envelope –
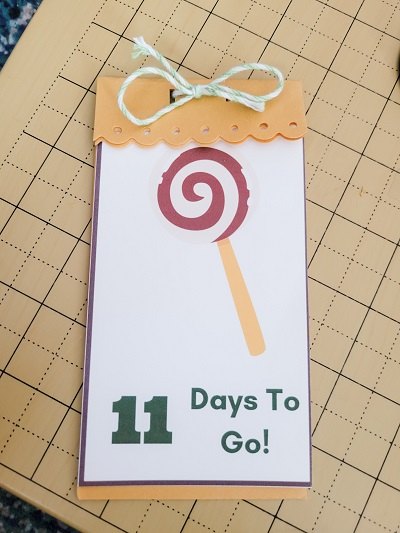
- Punch two holes side by side and tie twine through the holes
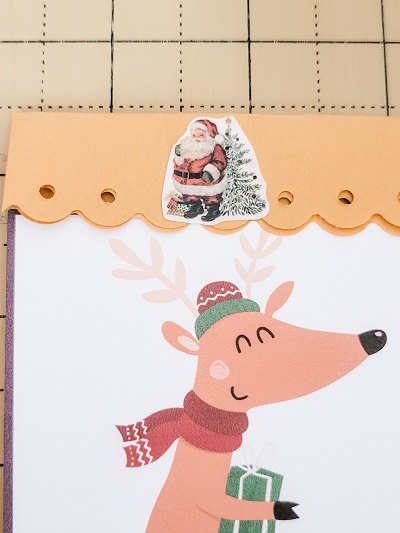
- Staple closed and place a sticker over the staple.
- Cut apart the Christmas Countdown Calendar cards or the Christmas Story Advent Calendar cards along the lines in the printable.
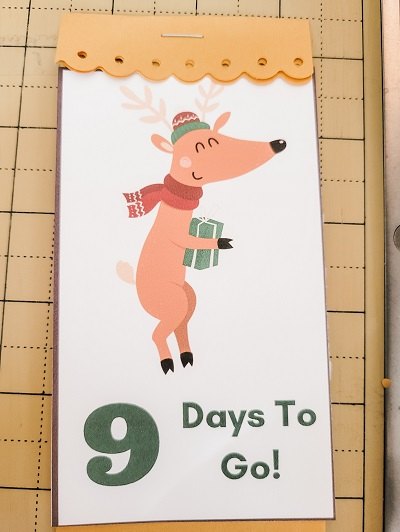
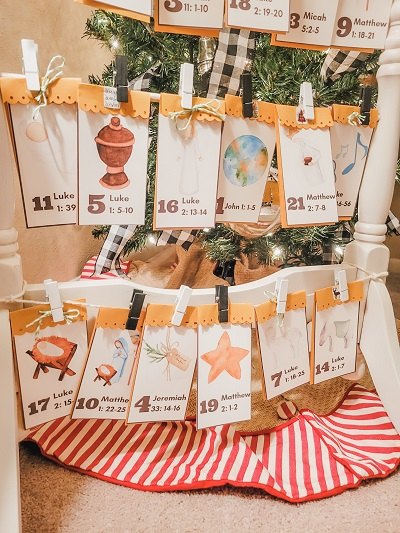
- Attach either the Christmas Countdown Calendar cards or the Christmas Story Advent Calendar cards to the front of the envelope tucking under the scalloped border.
- Get your Christmas Countdown Calendar & Christmas Story Advent Calendar in Twigs & Fluff, the online store at The Fifth Sparrow No More!
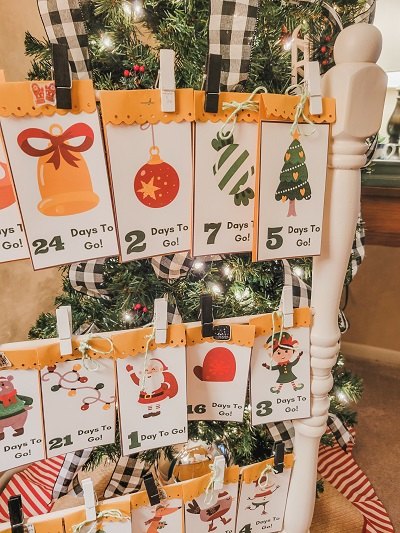
- AS A BANNER – Create this chalkboard, attach twine across (stapling in the back) and attach your cards with miniature clothespins.
- IN A BASKET OR BOWL – Save space and make it fun! Let them dig for the day and the treat attached. Make your own firkin for your miniature envelopes!
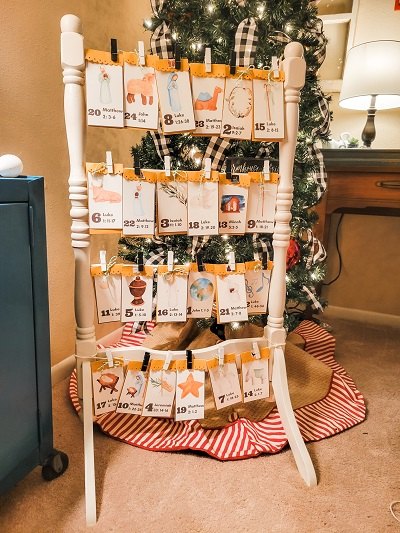
- ON A STAND – Use a quilt stand or this one built from a mirror stand!
Save This Miniature Envelope Idea!
Make sure to save these miniature envelopes because they are not only good for advent calendars and Christmas countdowns but they are good for a gift topper, a gift tag, or for small gifts at other holidays!
Resources for this project:
See all materials


Comments
Join the conversation
-
This takes talent, something I lack, a good share.
-
Very cute😻


Frequently asked questions
Have a question about this project?