


Ribbon Trees for Christmas

A few months ago, a couple of close friends cleaned out their craft supply stash – and gave me some of their items.
You know I can’t turn down craft supplies and especially free ones!
In the stash were eleven dowel rods and wood slices already glued together to make a tree base.
I don’t remember what type of tree they had planned to make using the dowel rods and wood slices but when I saw them in the stash I immediately thought of a ribbon tree.
Ribbon trees are so easy to make and you can finish one in less than 10 minutes.
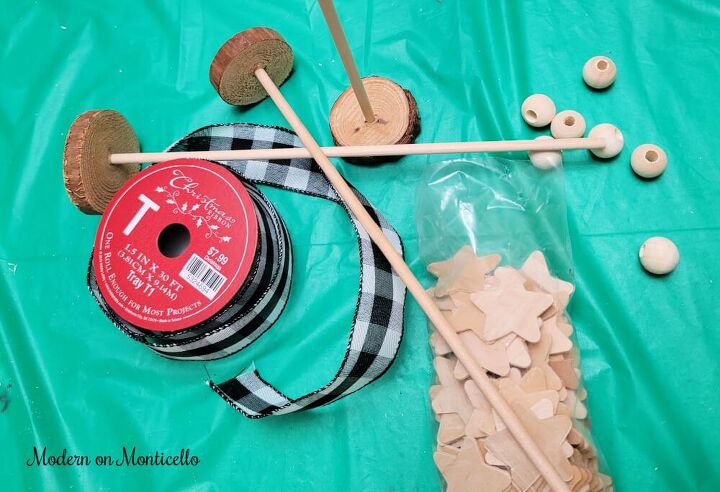
My friends had done the hardest part of the project for me by already gluing the 1/4″ dowel rod to the wood slice. They actually drilled a hole through the middle of the wood slice and inserted the dowel rod in with glue.
To make your own version you don’t have to drill a hole in the wood but could easily just apply glue to the end of the dowel rod and glue it and a wood bead in the center to create the base.
Like I said, they had already taken care of this part for me.
Even without needing a wood bead to hold the dowel in place, I still slid a bead over the dowel to the wood slice to be the base of the ribbon tree.
My ribbon of choice for you to see is a 1 1/2″ inch wide black buffalo plaid.
You don’t even need glue to attach the ribbon to the dowel rod.
I started by cutting a small slit in the middle of the ribbon.
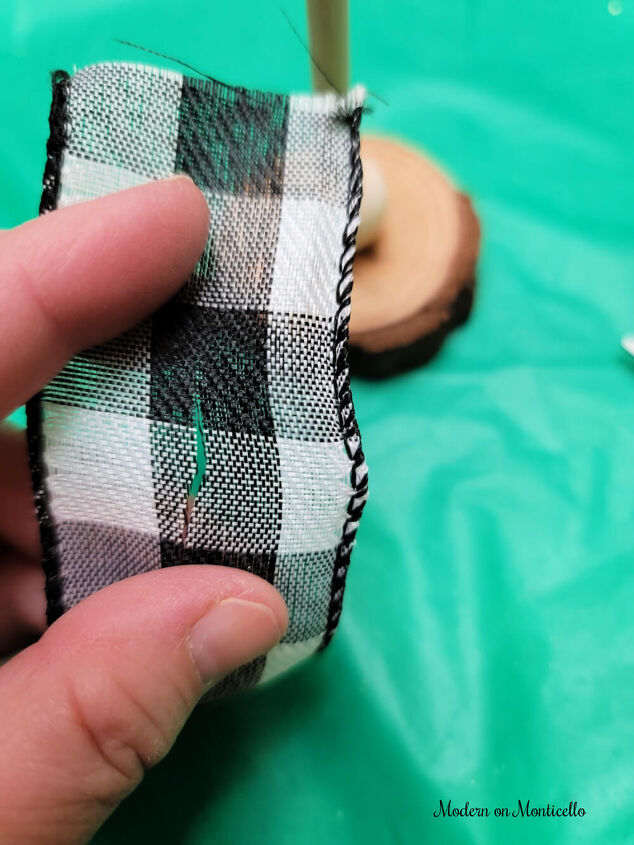
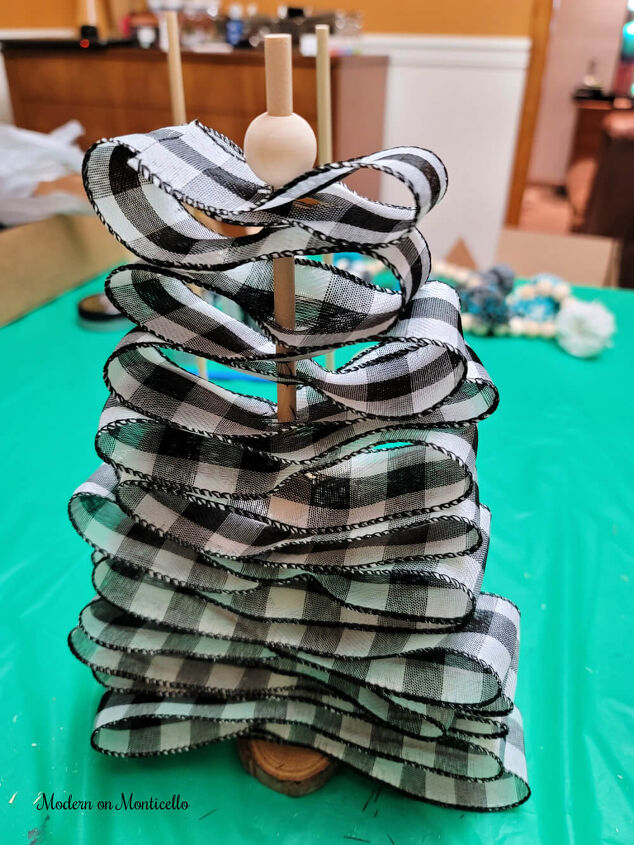
Then I slid the ribbon on the dowel rod and folded it over on one side to create a loop.
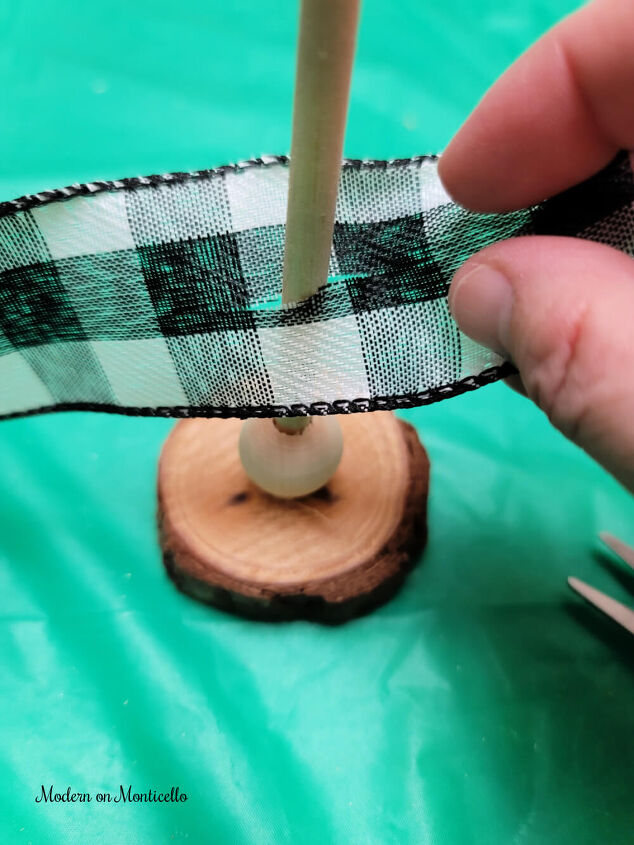
Cut another small slit in the ribbon and slide it over the dowel rod to create a loop on the opposite side of the first loop. This is the basis of the whole process to create the branches of the ribbon tree.
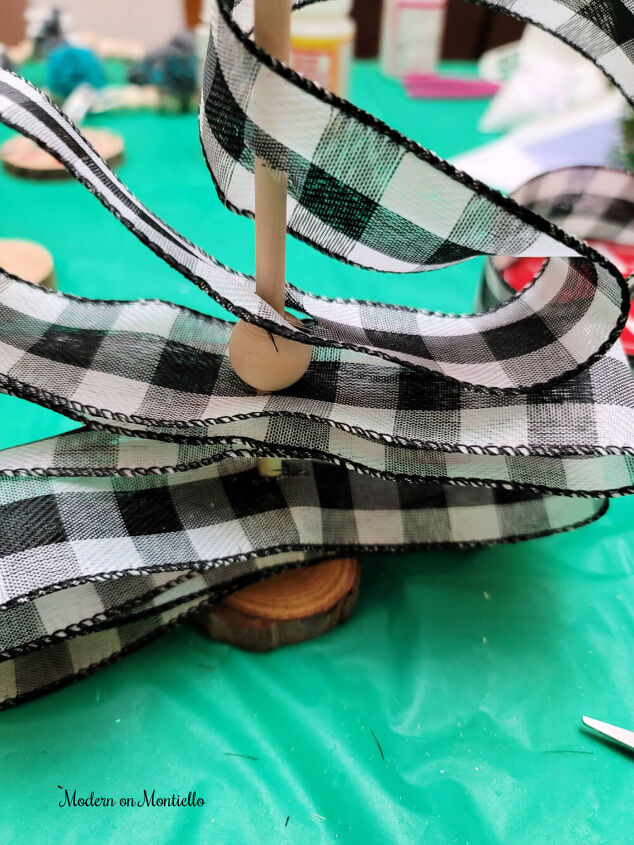
You cut another slit in the ribbon, slide it over the dowel rod, create a loop on one side, and repeat the process for the next side of the loop.
The loops of ribbon stack up on the dowel rod to create the tree. I also made the loops smaller and smaller as I moved up the tree and also inserted a wood bead about every fourth or fifth layer. Just to add a little something extra.
To finish off the top of the ribbon tree, I added one last wooden bead and hot glued on a wooden star.
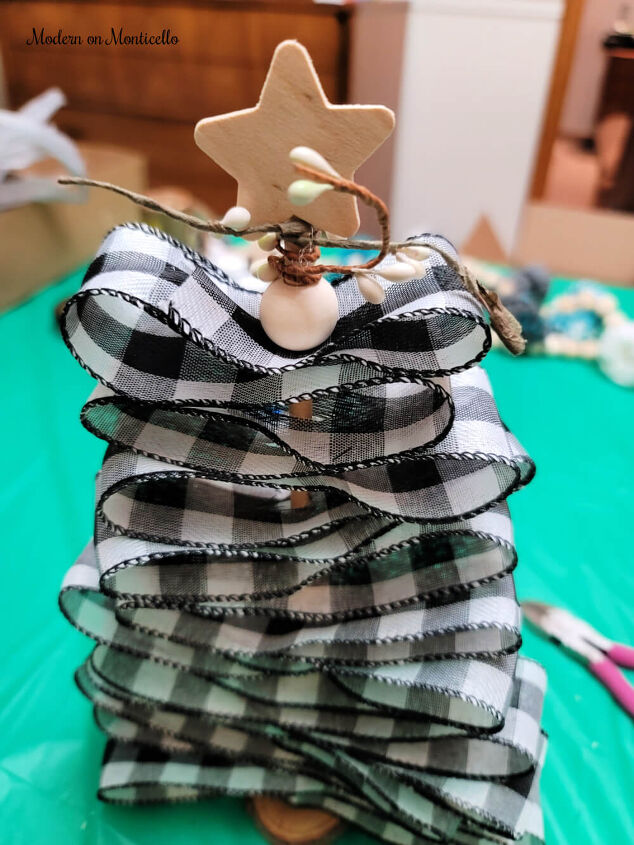
I had some seeded twine in my stash so I twisted a couple of those around the top of the tree as well.
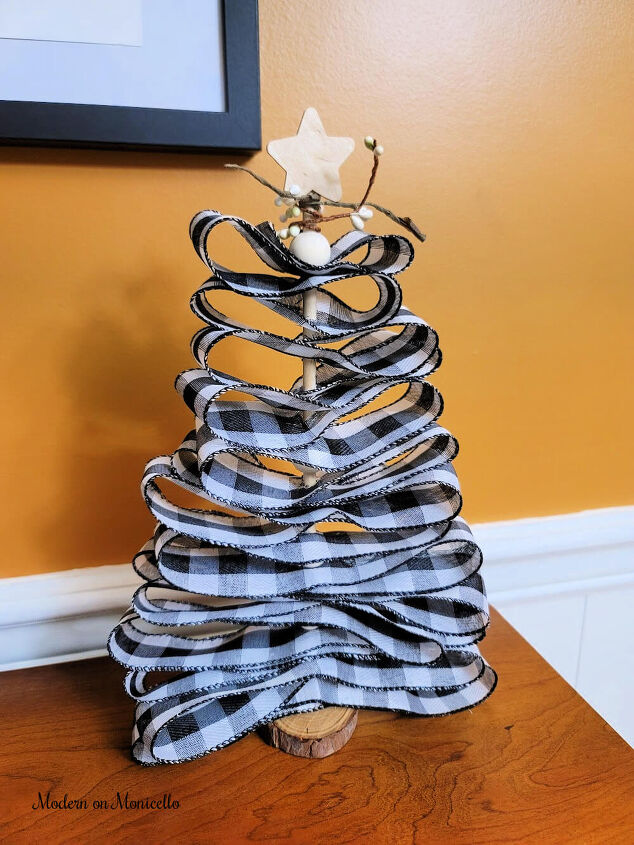
That’s it!
With very little time or effort you have made a beautiful ribbon tree for the holidays.
These are great for gifts or craft fairs too. Easy to make, low cost, and decorative. I sold almost all of them within a week of putting them in my vendor craft booth.
Of course I saved one for myself too. These ribbon trees are so fun and festive.
Comments
Join the conversation
-
These are super cute!! Will definitely try this project, thanks for sharing!


Frequently asked questions
Have a question about this project?
Hello. I was wondering how much yardage I would need of the ribbon. It's very cute. Thank you for sharing.