


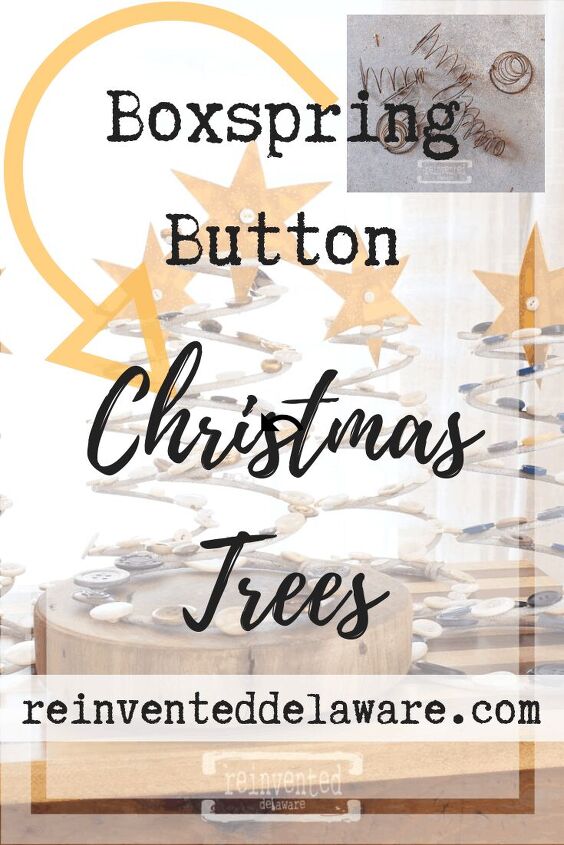
Used Box Springs & Button Christmas Trees

Today I am showing you how to upcycle used box springs and a few buttons to make the cutest Christmas Trees for your thrifted holiday decor!
As a Dixie Belle Paint Company Affiliate (and other companies including Amazon), we earn a small commission on products sold through affiliate links. Your purchases through those links help to support this blog at no additional cost to you. In purchasing the supplies we use and recommend via our links, you help to support the free tutorials we offer you and our other readers. Thank you so much! Read my full disclosure here.
where to find used box springs
We live in the country and enjoy the simple things in life like an afternoon walk in the wooded areas around our home. There are plenty of trails that farmers have created to get from one field to the next and also for local hunters who track through the wooded areas during hunting season.
One section of woods near us, in particular, is our favorite path to take. It is a good 1 1/2 mile walk and we use the path year-round. A couple of years ago we went off the beaten path to explore some areas with downed trees. My hubby cuts our own firewood and these fallen trees are perfect for him. It also keeps the woods tidy.
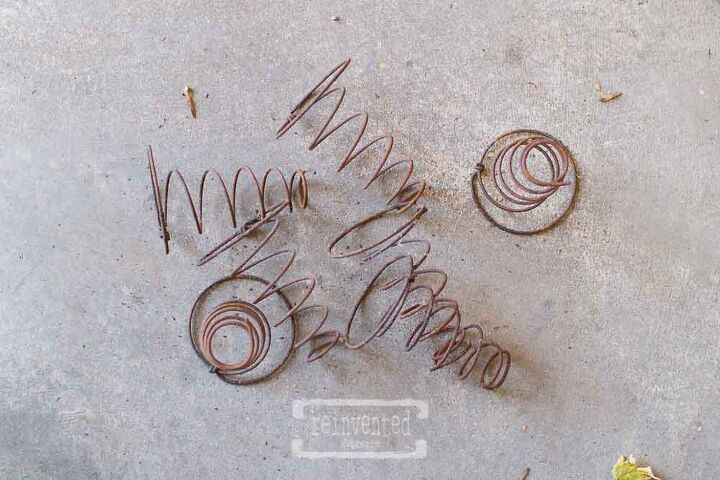
As we were trekking through the underbrush, we came across an old box spring bed! The fabric had completely deteriorated and all that was left were the metal springs. Of course, my mind started racing with ideas of using the used box springs for something! I had no clear idea of what I would do with them but I knew I needed them in my life 🙂
After going back home for tools, we headed back to the spot and began to take apart the used box springs. Photos were the last thing on my mind because it was a chilly day and I just wanted to get the springs back to the workshop.
We used pliers and wore heavy work gloves. Much of the box springs was buried under a bed of leaves (hehe!) and I didn’t want to touch any critters that might be hiding! The gloves also protected against any sharp edges we might come across.
old box spring ideas
Honestly, I don’t remember how this idea popped in my head, but after scrolling through Pinterest for a bit, I realized the shape of the boxsprings was similar to a Christmas tree! That was all I needed to get the idea of how to turn these little buggers into Christmas trees.
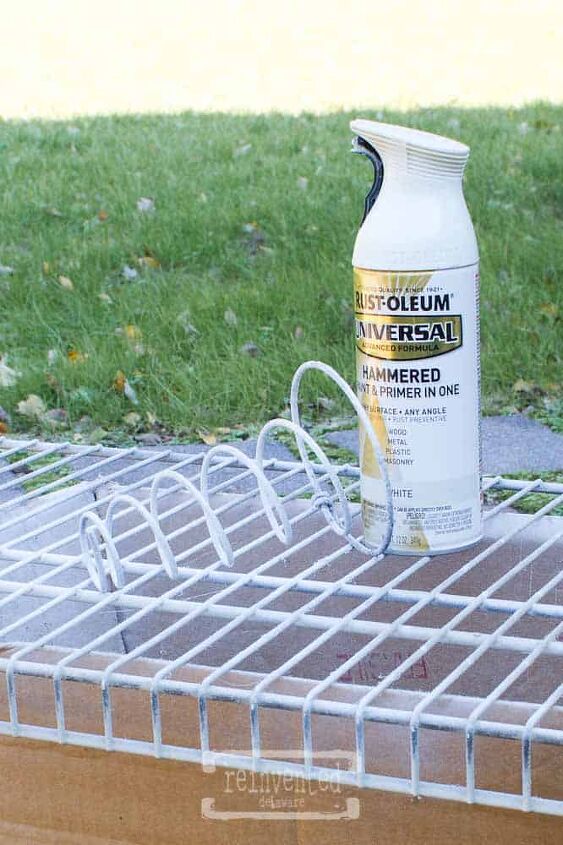
spray paint the old bed springs
I wanted the look of snow so, obviously, I chose white. But first primer…Rust-Oleum 2X Ultra Cover in Flat White is always stocked in my workshop.
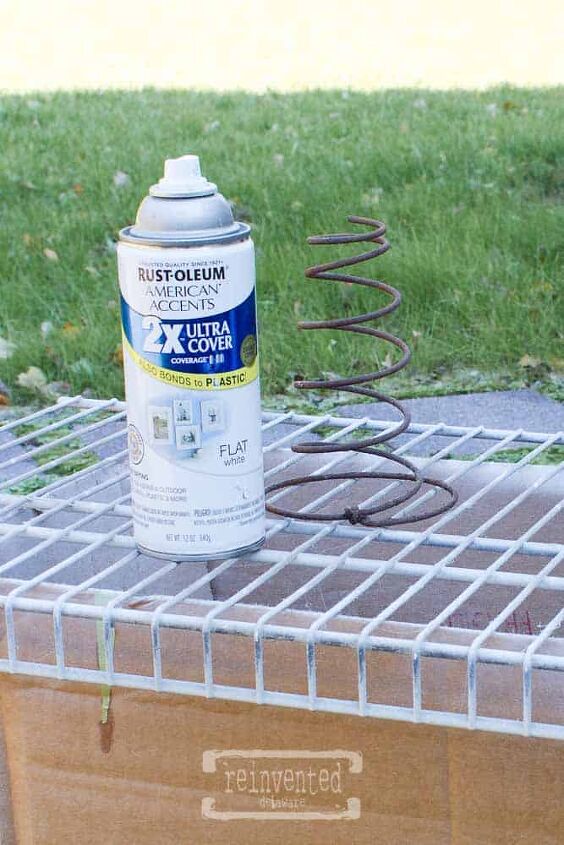
The primer did a great job of covering the dark rust and I knew it would save on the cost of the final coat of Rust-Oleum Hammered Paint & Primer in White. The hammered finish paint leaves a great texture and I have used it in many of my projects.
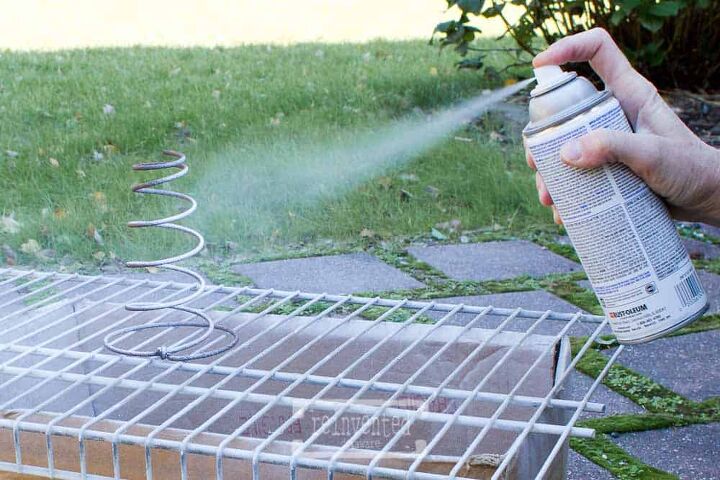
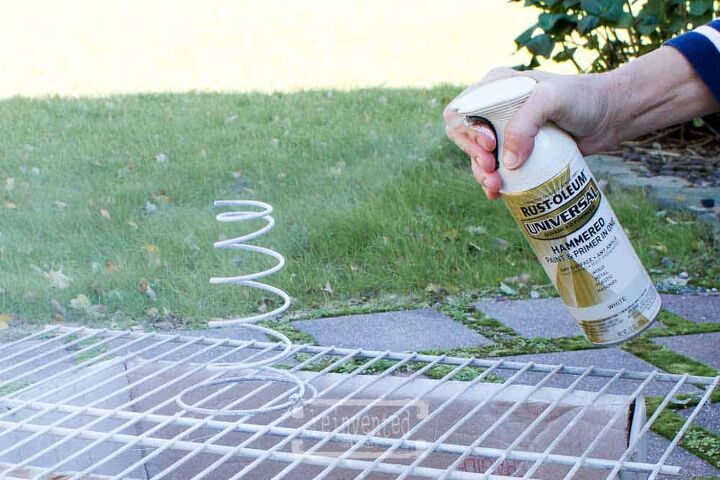
Turning the used box spring on its side made it easy to spray the underside.
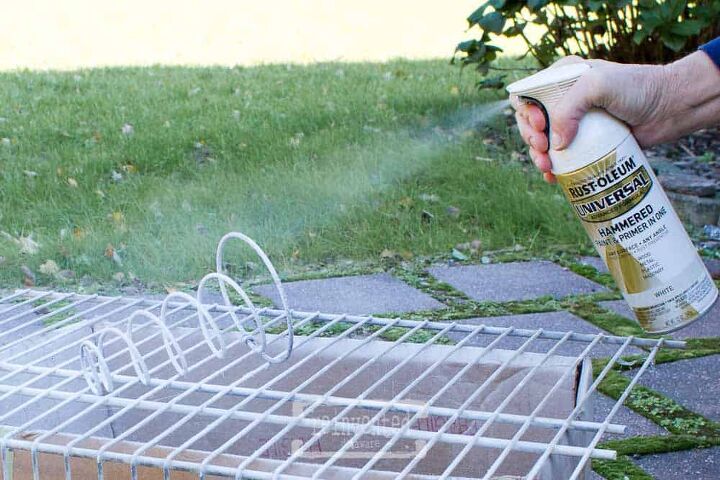
Then I flipped it right side up and finished spraying. To prevent runs, spray about 10-12″ away from the project and keep the can moving evenly across. Spray the whole piece until it is completely covered. If you want to make several of these used box spring button Christmas trees, spray them all at once to save time!
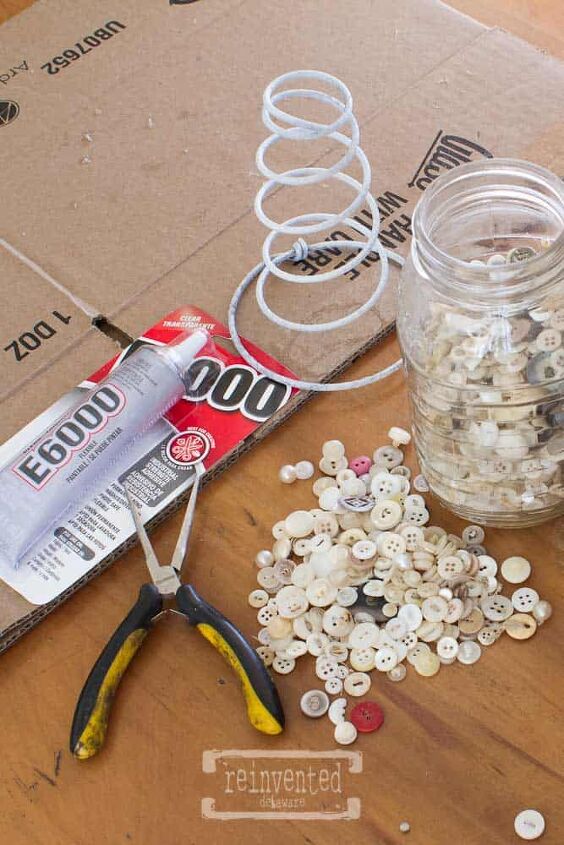
supplies:
- vintage buttons in neutral colors (wood buttons linked below)
- E6000 glue
- needle nose pliers
- Rust-Oleum Hammered White
- Rust-Oleum Primer in Flat White
what to do with old buttons
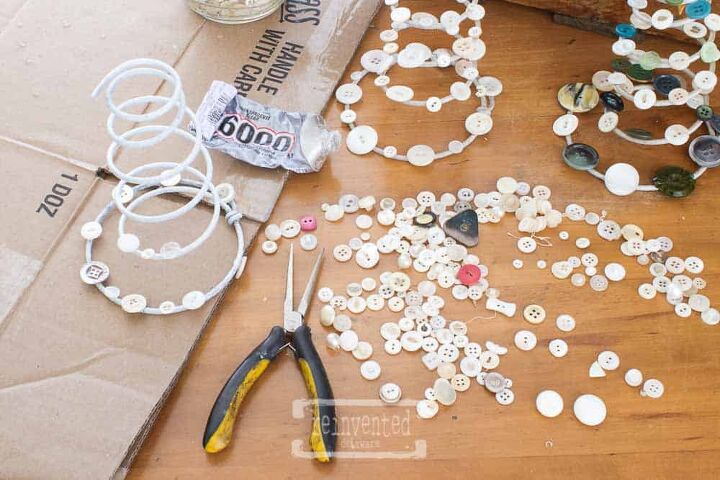
It doesn’t require a lot of concentration to put these together so I put in an audiobook and started gluing!
The cardboard box will protect the furniture you use to assemble the trees. Using the pliers to hold the button, put a dab of glue on the back of the button, then place it on the spring.
Try to keep each button level. If there is too much glue, the button may slip or turn sideways. Just reset the button with your finger or pliers and move along to the next button. Periodically, check the buttons to make sure they are not sliding off.
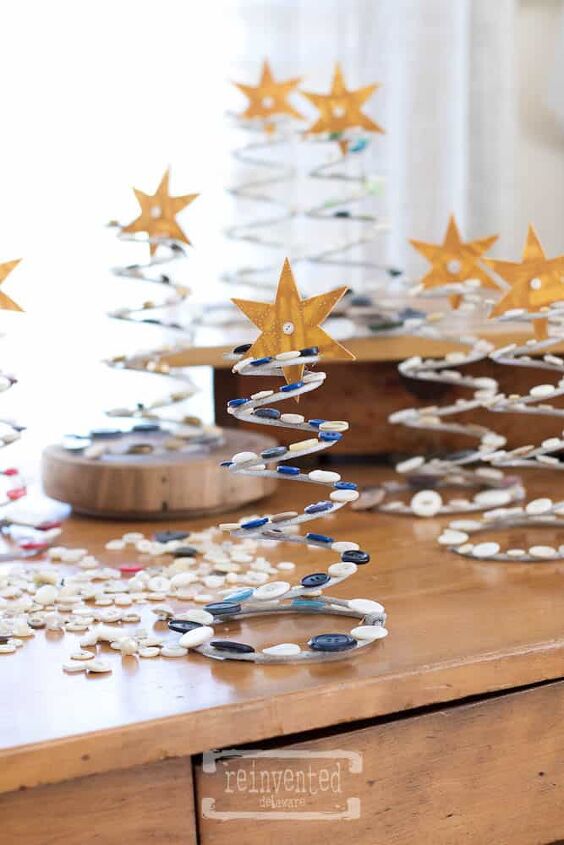
The larger buttons are on the bottom of the spring and as I moved upward, I varied the size of the buttons with the smallest at the top.

The buttons were originally spaced about 1-1 1/2″ apart but as I moved toward the top, I decided to add tiny buttons between the larger buttons. Put the used box springs button Christmas trees in a place where they can dry undisturbed. I allowed mine to dry overnight.
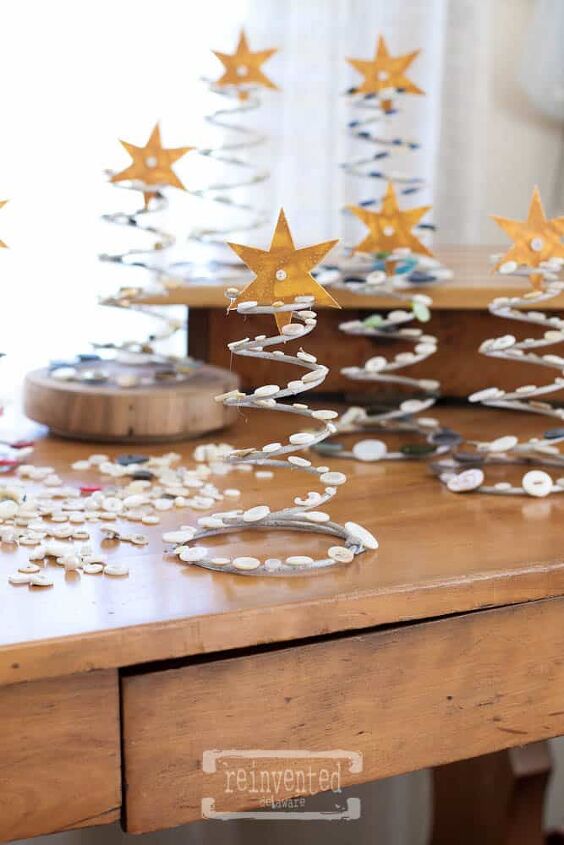
how to make a star tree topper
The stars were made using card stock that I printed using a 6-pointed star shape in the Pages app on my Mac. I resized them to scale with the used box springs button trees and fit as many as I could on a page and printed several copies.
Here are the steps to take to create the stars:
- print stars on card stock
- cut each star out
- glue each star to the wrong side of the fabric
- after it has completely dried, cut each star again
- glue the paper side of each star to the wrong side of the fabric
- after it has dried, cut each star out.
If you want a simpler way to create the stars, just purchase wooden stars at the craft store and paint them! I just like using what I have on hand 🙂
See the little ‘strings’ hanging down? They are just glue and can be cut off when the glue sets completely.
vintage doll buttons
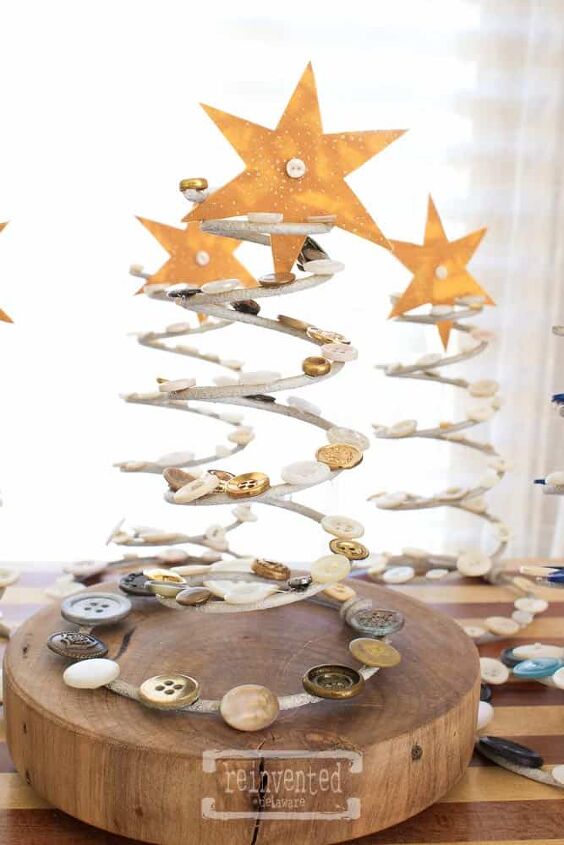
At the last minute, I decided the center of the star needed a little button! The smallest buttons I have are for doll clothing! They are teeny, teeny, tiny!
more vintage buttons
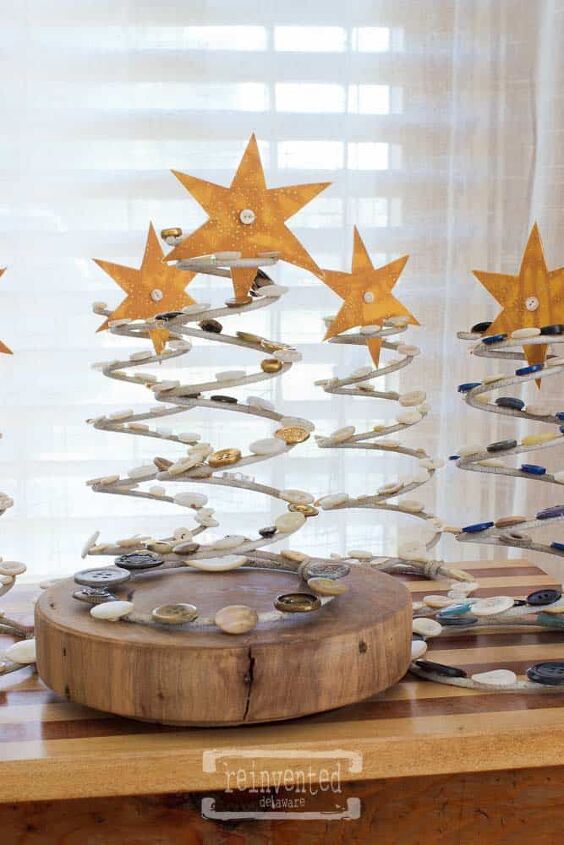
Just for variety, I decided to add some colored buttons with neutral buttons. I really like the look of the colors and especially the gold buttons!
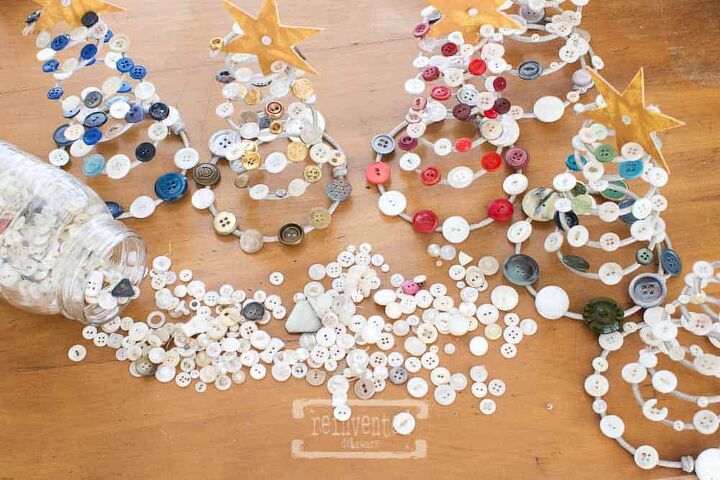
The blue, red, and green bring a festive touch!
The trees would be cute anywhere you need a little Christmas cheer
- your desk at work
- the fireplace mantle with some candles
- the bathroom counter
- even use them in a dining table centerpiece
How fun is that!!
repurposed box springs idea
Thanks so much for stopping by for this DIY project on Boxspring Button Christmas Trees! I hope you enjoyed this fun upcycled Christmas craft project!
I encourage you to take a walk in the woods! You never know what you might find and what you might reinvent!

Happy Reinventing!
Be sure and follow along on Instagram and Facebook where I share more behind the scenes of our reinventing journey! Save this project on Pinterest for inspiration!
Until next time…

Resources for this project:
See all materials


Comments
Join the conversation
-
Adorable!!!
-
I've seen springs in places like thrift stores, junk yards, antique stores and of course everything seems to be at Habitat for Humanity stores.
I wonder how they would look with tiny colored beads glued on them; except for the bottom they would look like ornaments.
Very cute and original idea. Thank you for sharing.


Frequently asked questions
Have a question about this project?
I’ve got my great grandmother’s box of buttons. I know my son will throw them out when I’m gone so this is a neat way to up cycle them and see them while I’m still alive!