


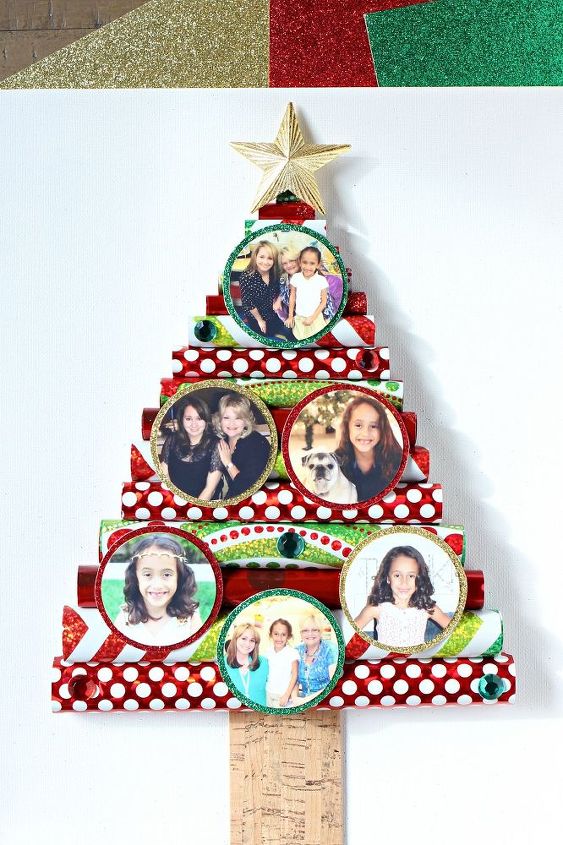
Wrapping Paper Christmas Tree Canvas
Easy
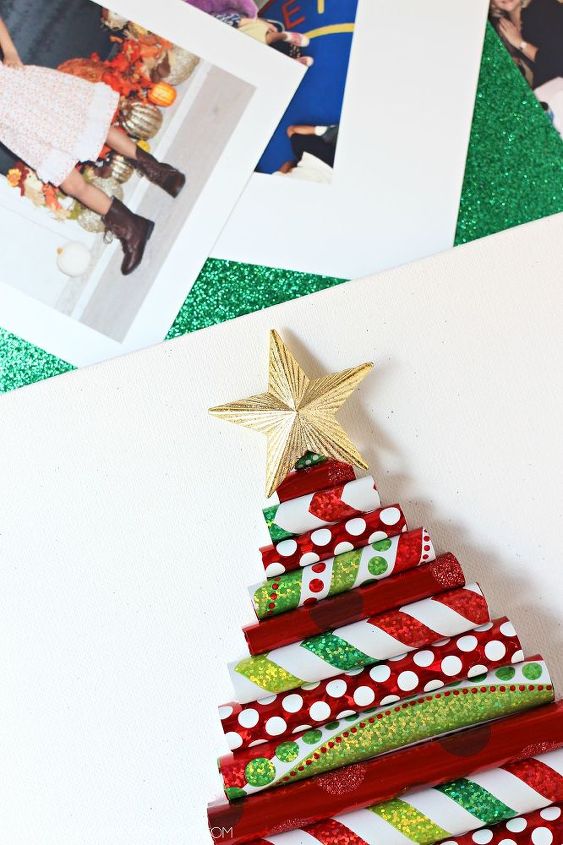
Looking for a homemade gift to spread the holiday cheer? This festive Wrapping Paper Christmas Tree Canvas is the gift that keeps on giving, especially with the adorable photo ornaments it's decorated with.
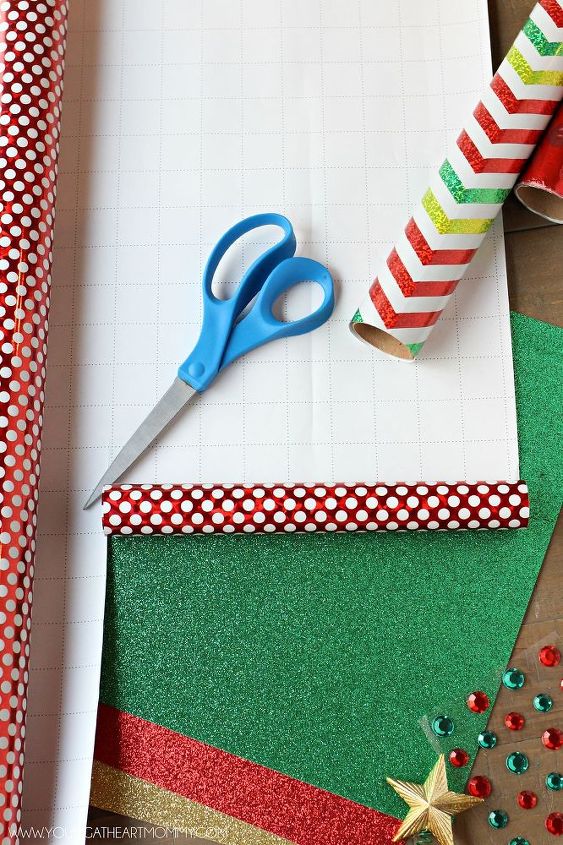
To create the tree's layers you will need to cut out various sizes and lengths of wrapping paper. The bottom layers should be the longest. As you cut them I suggest using a ruler and leaving a half an inch in length between each piece so that they begin to get smaller and smaller as you move up the tree.
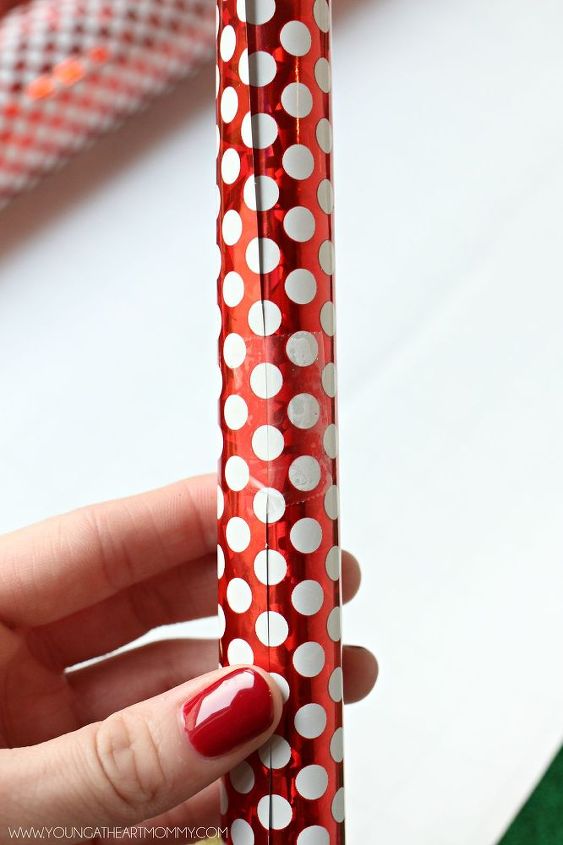
Once your layer is cut, roll it up until it looks like a scroll. Make sure it isn't too tight because you want the tree to look full and not thin. Once rolled up to your liking, use a small piece of tape to secure it. This will not show once it is attached to the canvas.
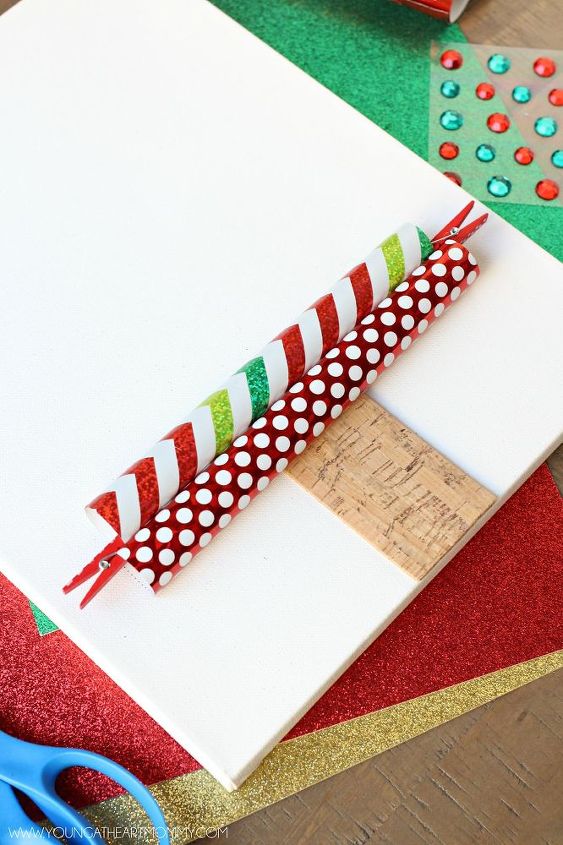
Use a hot glue gun to secure paper rolls to the canvas and begin forming your tree. Put a generous line of glue on the bottom of the roll, where the tape is, and place down gently. Add a small amount of the glue in between the rolls so there isn't any white space showing. Once you do this, mini clothespins should be attached to both ends to hold the layers together until glue has dried.
Attach a gold or silver star to the top of your tree.
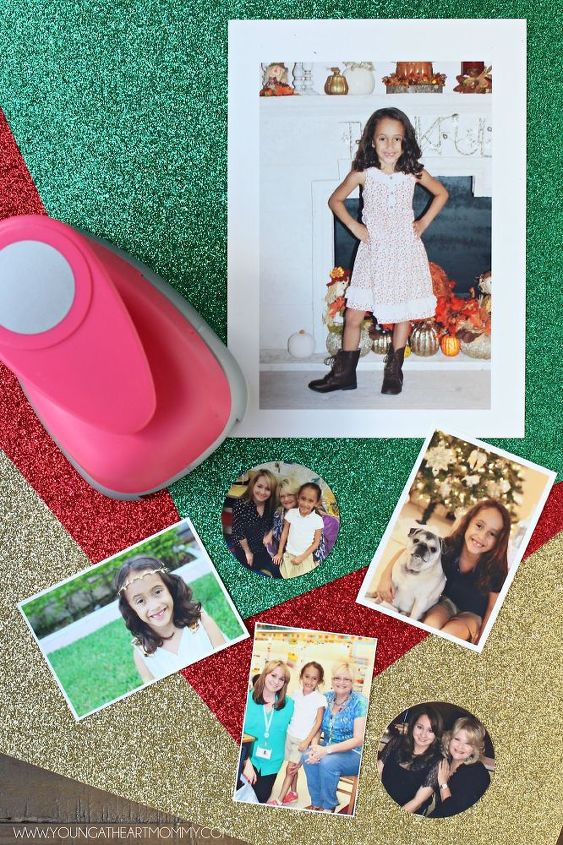
Print your favorite photos throughout the year and use a 2 inch circle punch to create the shape of an ornament. Attach to glittered card stock and glue onto the tree for decor.
This Wrapping Paper Christmas Tree Canvas is the perfect gift for that one person who is difficult to shop for during the holidays or grandparents who live far away!

Want more details about this and other DIY projects? Check out my blog post!
Comments
Join the conversation
4 comments
-
Oh so cute! Love this idea :) Hope you had a wonderful holiday!
-
This is absolutely adorable!


Frequently asked questions
Have a question about this project?