


Decorate a DIY Resin Tray With Pressed Flowers for Custom Home Decor

I love working with resin and I’m always looking for creative ways to incorporate it into my home decor. This resin accent tray with dried flowers is the perfect way to perfect some resin techniques and create a beautiful piece of custom home decor at the same time. I’ll teach you how to add color to your resin, use pressed flowers in resin, and a few tips and tricks along the way. These techniques can be used on a multitude of home decor pieces, so if a tray isn’t your thing try it on a coaster, canvas, or even a side table! Check out my step-by-step tutorial down below to get started!
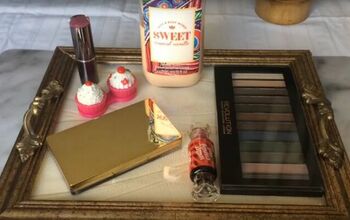
Tools and Materials:
- Serving tray
- Resin
- Dried pressed flowers
- Culinary torch
- Gold pigment paste
- Gold glitter
- Popsicle sticks
- Plastic cups
- Gloves
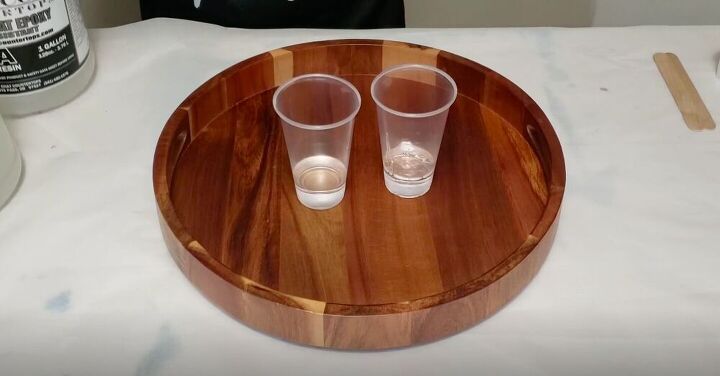
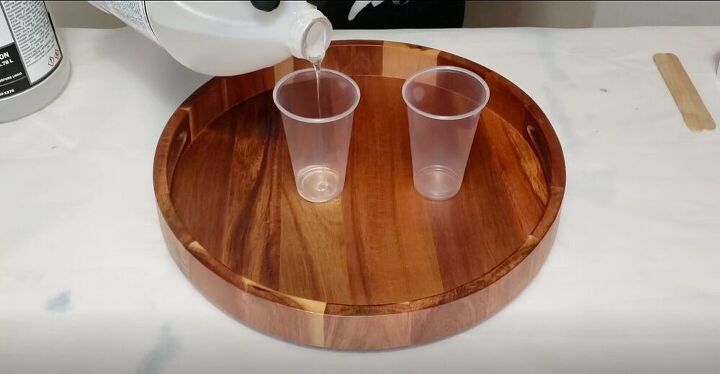
When working with resin, you generally need around 3 ounces of resin per square foot. The resin I’m using requires equal amounts of resin and hardener. I measured first in separate cups and then mixed them together.
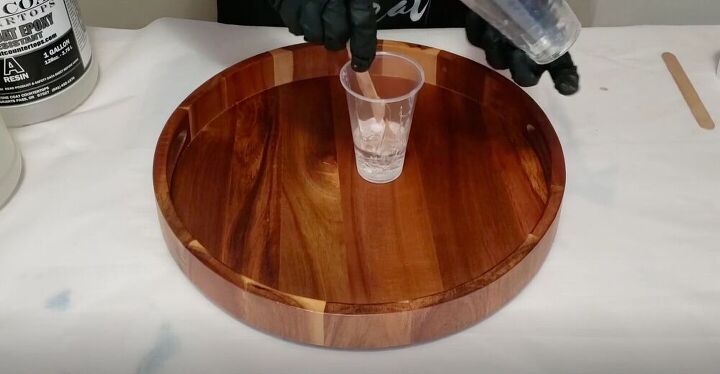
Make sure to stir your resin for the amount of time called for on the packaging, you don’t want any bubbles or unmixed resin or your project won’t set properly.
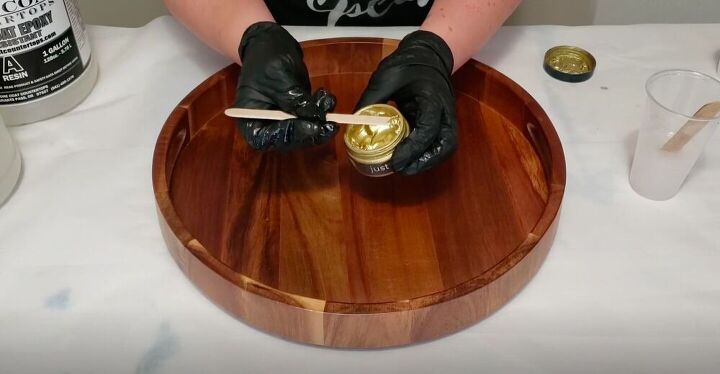
I removed a bit of the resin and mixed it with a gold paste made specifically to color resin.
Tip:
When coloring resin don’t use more than 15% pigment or the resin won’t set properly.
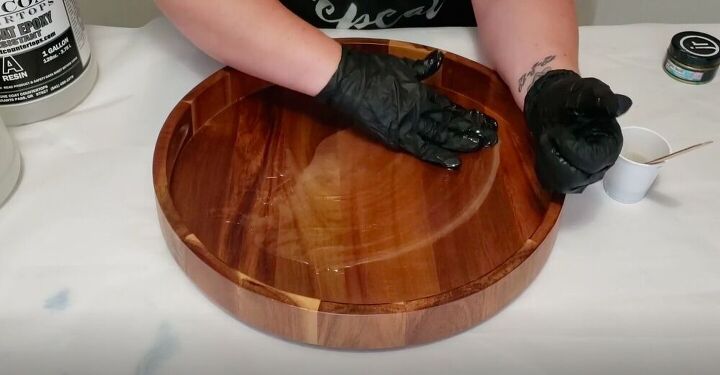
I got started by spreading a layer of clear resin onto my tray. You can do this using an offset spatula, however I like to use my hands. Make sure to wear gloves when spreading resin with your hands.
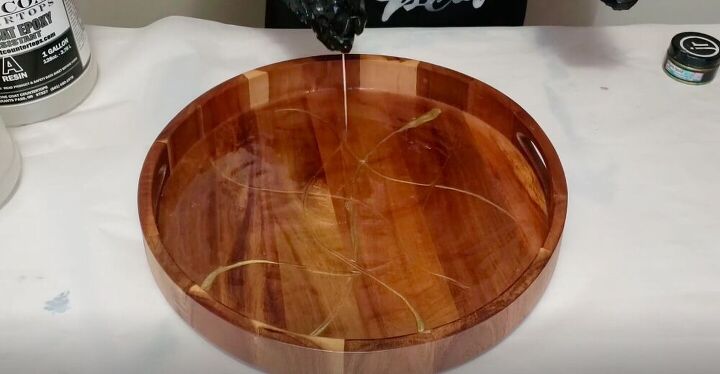
Using a popsicle stick I created some lines of gold resin. Don’t worry about things being perfect, once you hit it with heat everything will move around a bit anyways.
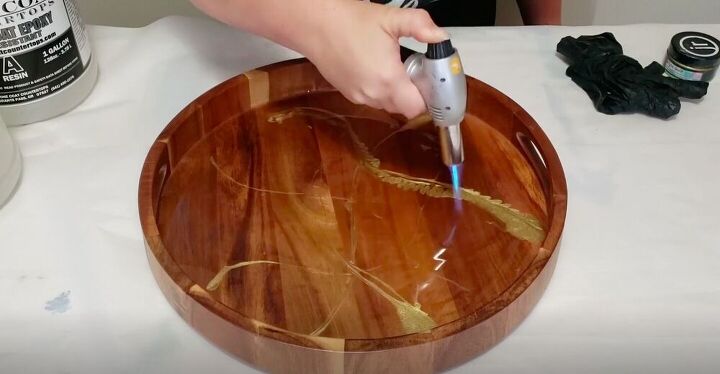
I like to work with a culinary torch for this part. You can use a heat gun, but don’t use a hairdryer as it doesn’t get hot enough and it blows a little too strongly to work with resin. I moved the gold around just enough until it created a bit of a marbled effect.
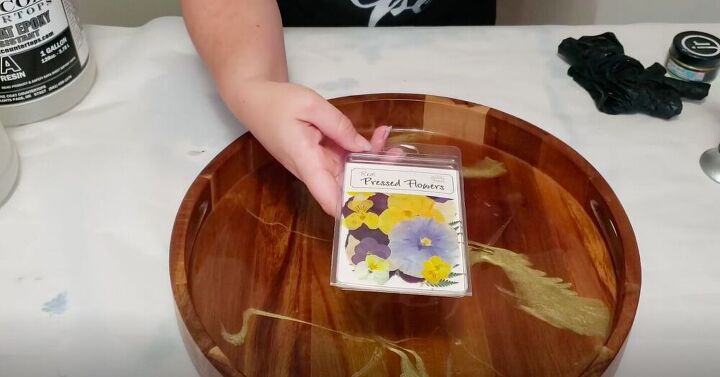
With my first layer of resin applied I was ready to add the pressed flowers. I found my flowers from a seller on Etsy, but you could even press your own if you have the time and patience.
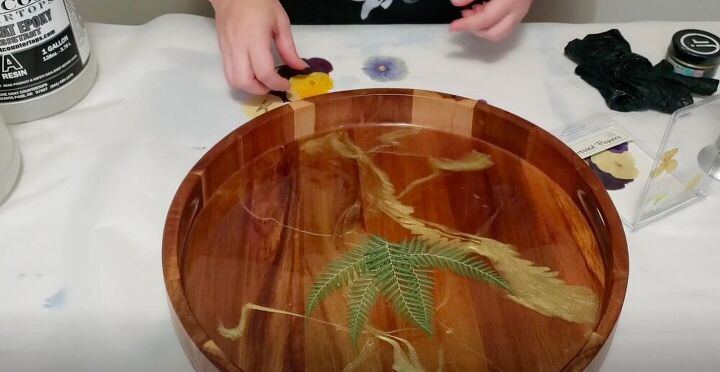
Make sure that you have a design in mind beforehand, as it’s pretty hard to move the flowers once they’ve been placed on the resin.
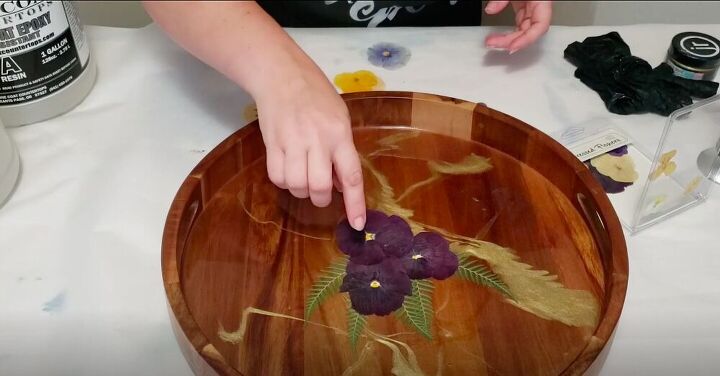
If you like you can use tweezers to more precisely place your flowers.
If you’re layering the flowers on top of each other, you can dip them in a bit of the resin off to the side before laying in place. This helps to keep the flowers from moving around too much when you add the next layer of resin.
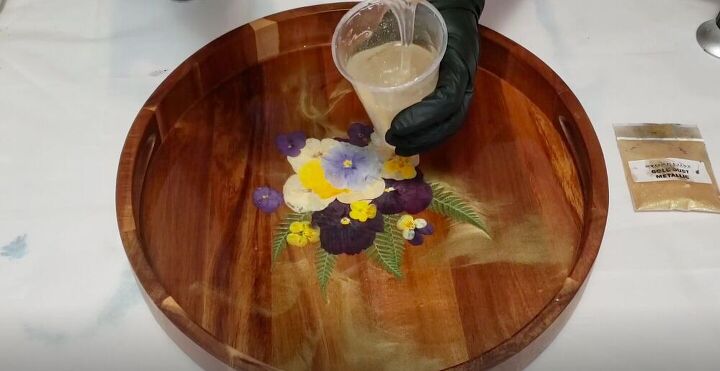
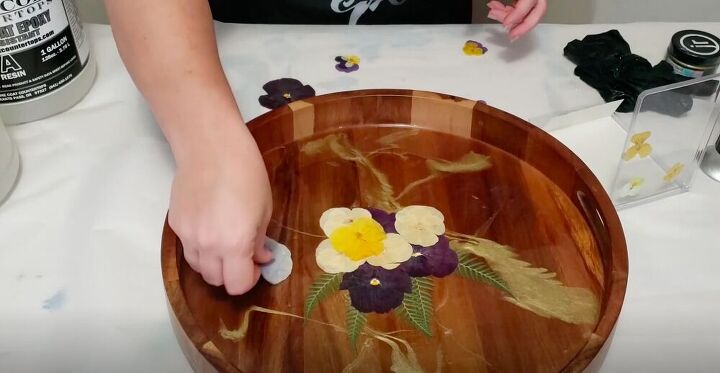
Once I had let the resin on the tray harden I mixed up another batch of resin. I mixed some gold glitter into this resin to add a bit of sparkle and dimension.
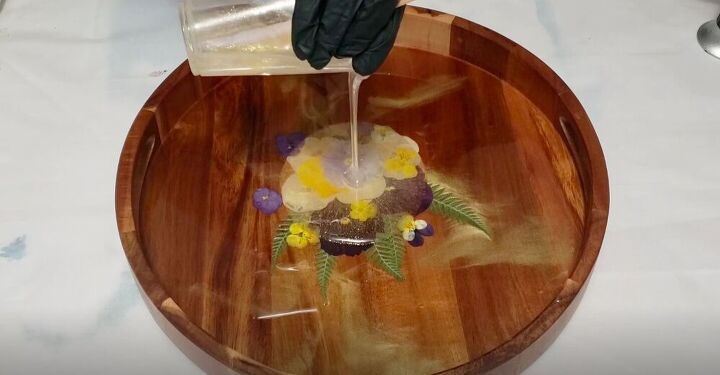
I dumped it all right on top of the flowers, hit it with a bit of heat, and then spread it all over the tray.
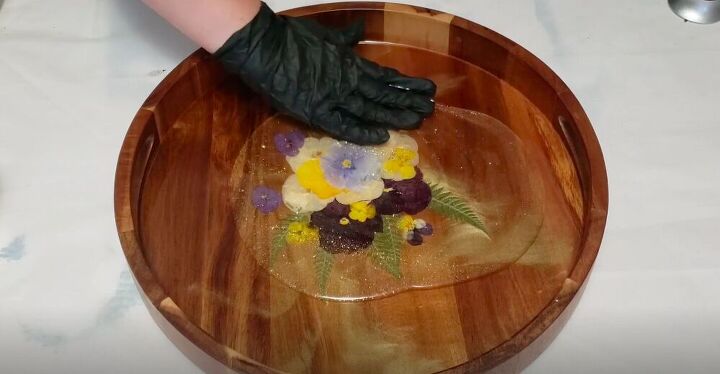
Make sure to be careful around the flowers.
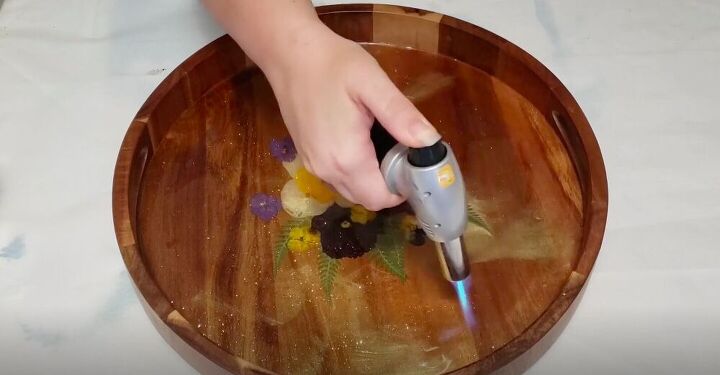
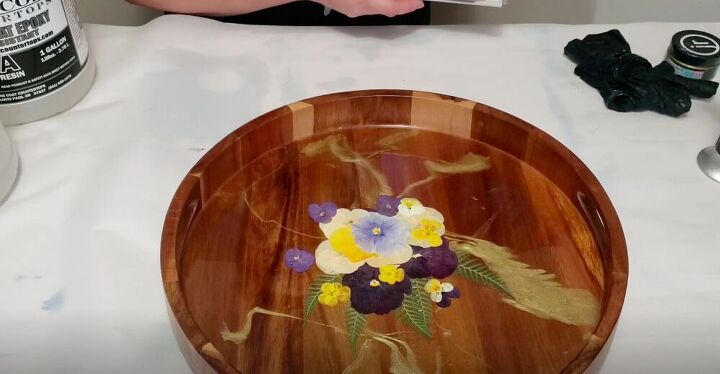
Resin is self leveling, so if you see a few spots here or there that are higher or lower they will level out by themselves. I hit it with a torch one last time and then left it to completely dry for 24 hours.

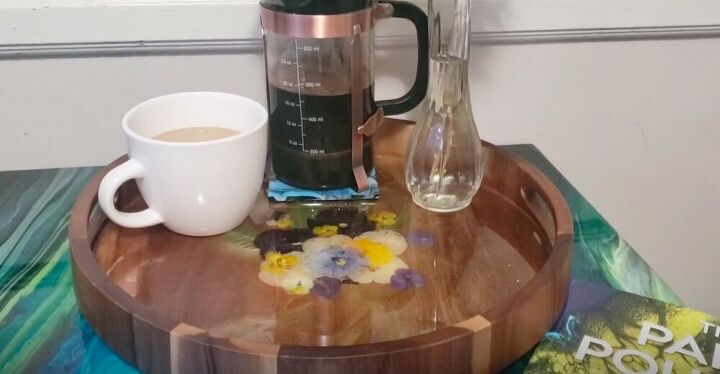
And here it is! What a beautiful piece of custom home decor! How would you decorate your own resin accent tray? Let me know in the comments below!
Resources for this project:
See all materials


Comments
Join the conversation
-
Nice ...and the flowers add a beautiful touch to the tray ....Love it
-
I think if you added legs this would make a great small end table.


Frequently asked questions
Have a question about this project?
what brand of resin did you use and where did you buy it?
Hey! When you "dump" the second resin batch in the middle of the flowers, you say "hit it with a little heat", from what does this heat come? Your torch? a heat gun? Other?
Your tray is wonderous! I will probably try the craft, but on something other than a tray. Except for the above question, which I may well have misunderstood or something, your directions are clear and simple. Thank you.
Shari
I have done 4 different trays. The first came out great. All the rest have spots where the resin did not stick at all. Big spots small spots. The last one I wiped it with alcohol and let it sit with a dish towel lightly draped over it once I thought it was dry so it wouldn't get any dust since I was not going to pour it right away. I still got spots. I use the same resin I always use which works perfect in almost all pours I have done and rarely has bubbles, I love the resin brand because it is so easy to work with and is sparkling clear or the colors are very shiny when dry. But the results on the trays is awful. I tried pouring into the spots where it didn't stick and just those spots and it still didn't stick. I don't know what else to do. All the trays have rub on transfers on the wood or the painted tray which is probably something like MDF or particle board. Anyone have suggestions on how I can fix the trays now and why you think it might have not stuck in places?? HELP. Like I said all the other items I have done end up great, I even use it on wood earrings that I make and don't have any issues with them.