


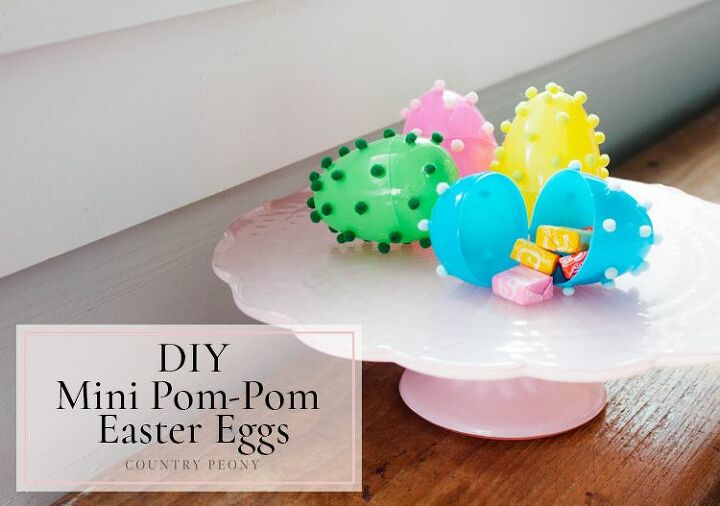
DIY Miniature Pom-Pom Easter Eggs
DIY Easter Eggs inspired by the old-fashioned candy buttons and hobnail designs. See the very simple step-by-step pictorial and video tutorial to make your own DIY Miniature Pom-Pom Easter Eggs using 3 products and less than 1 hour of your time! Happy Easter Egg Crafting & Hunting!
Easter is about one month away, and my children are already asking to bring out all of the Easter eggs so they can start practicing Easter egg hunting. So, this time of the year I always think about new and fun ways to decorate those Easter eggs since they will be visible on my kitchen table.
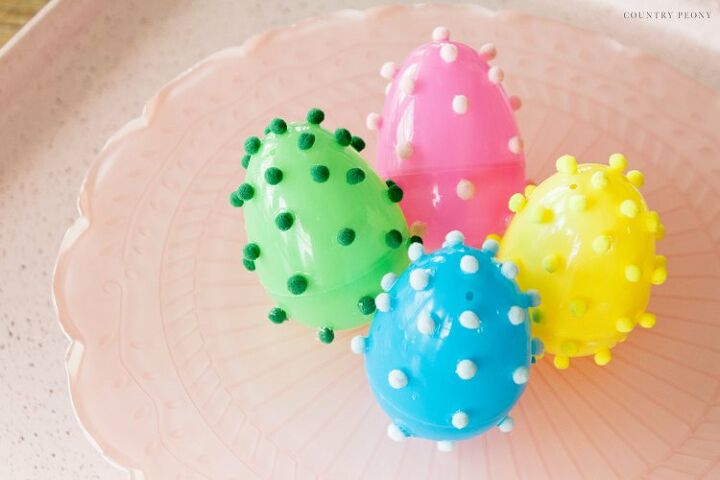
So today I am excited to show you a fun take on the classic Easter egg: DIY miniature Pom-Pom Easter Eggs. I was inspired by hobnail designs and those cute, old-fashioned candy buttons for this project. This DIY is great because with only about 4 materials and a couple of steps, it is so easy and inexpensive to make. If you have the patience, you can even get your children involved.
Below, please enjoy a fun video that features the step-by-step process, along with pictures and more detail to create your own DIY Miniature Pom-Pom Easter Eggs.
I hope you enjoy decorating and hunting for your own eggs this Easter season!
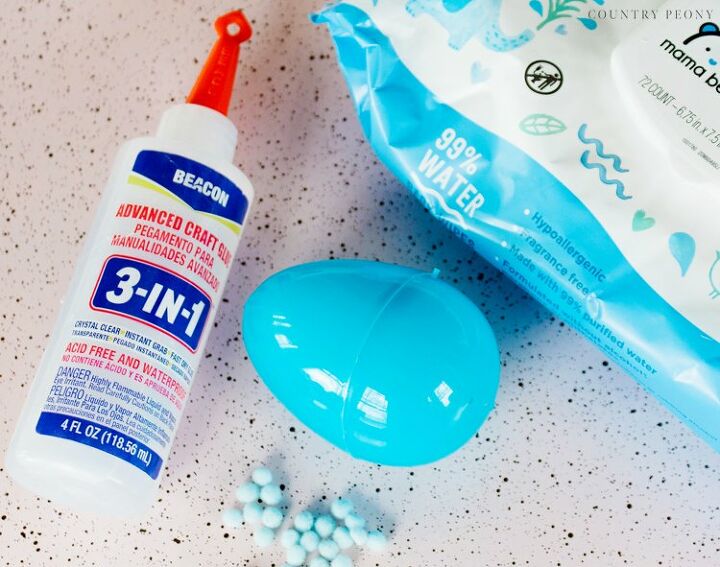
To make your own miniature pom-pom Easter eggs you will need:
- Miniature Craft Pom Poms. Same color family as the Easter Eggs. (affiliate link)
- Plastic Easter Eggs. Same color family as the Miniature Craft Pom-Poms
- Beacon's 3-in-1 Advanced Craft Glue (affiliate link)
- Wipes. To keep your hands and glue applicator tip clean.
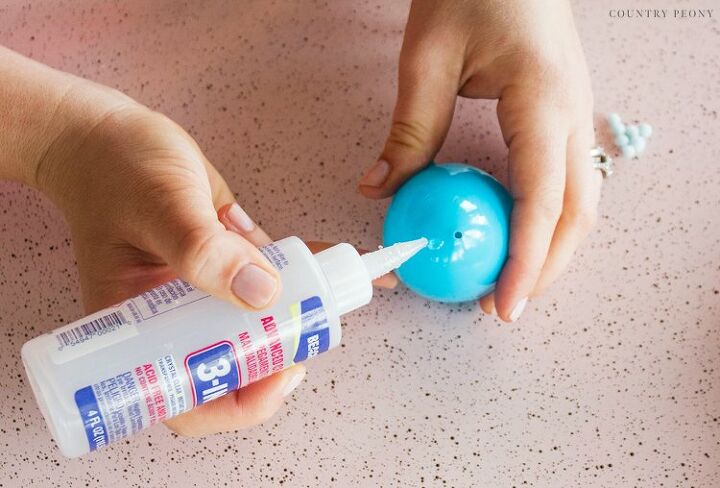
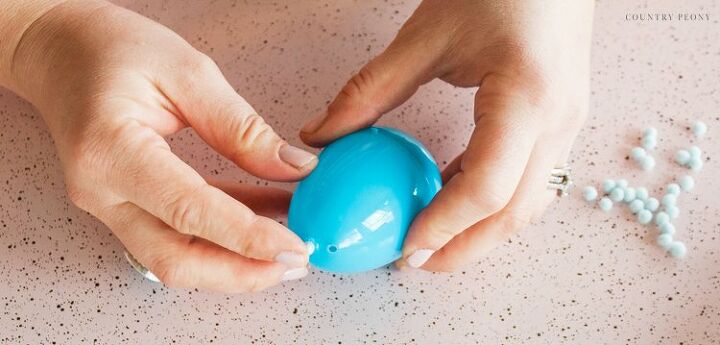
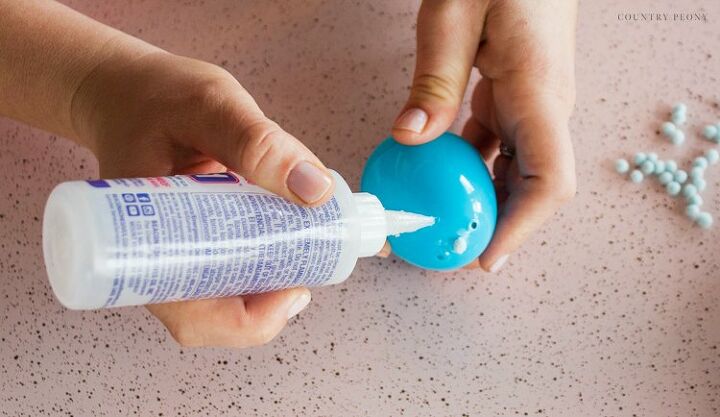
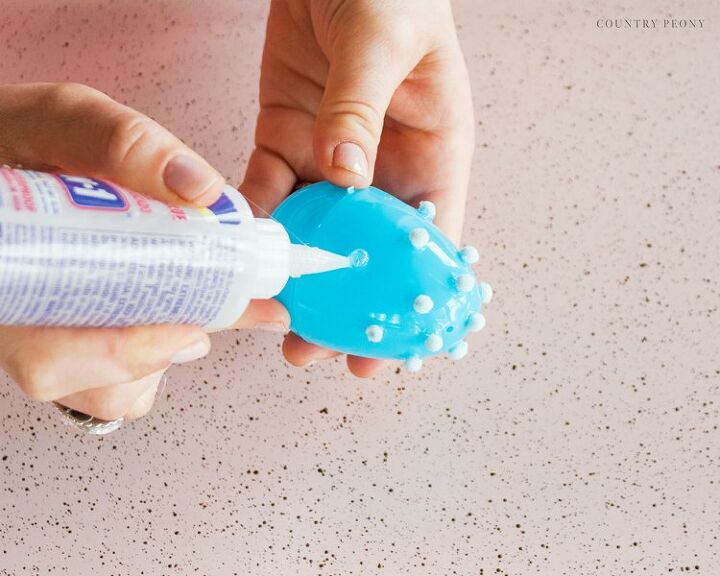
Step 1: Choose a miniature pom-pom color that is in the same color family as the Easter egg. Glue the miniature pom-pom to the top of the egg with the craft glue.
*The more glue you add, the better the pom-pom will hold. The glue will dry clear and you can always wipe off excess glue with the wipe before the glue dries.
*If you prefer, before you start gluing you can map out and pencil in (so you have a guideline) where you would like for your pom-poms to go. I honestly had a lot of fun eye-balling the placement of the pom-poms, and knew that I could remove the glue with the wipes if I didn’t like where I placed them.
Either way, please keep in mind to have fun and enjoy the process!
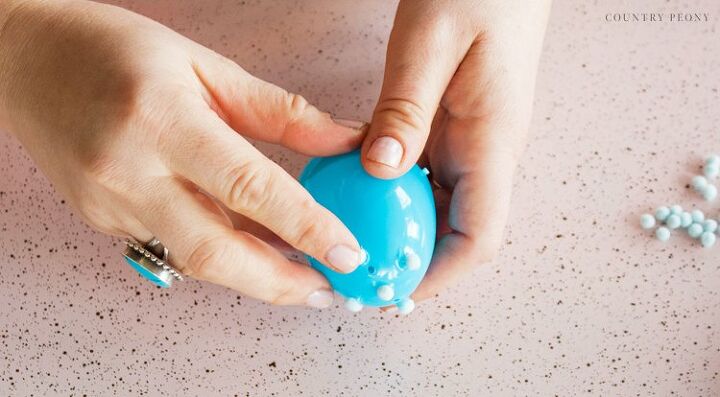
Step 2: In a diamond pattern, glue pom-poms around the egg.
Continue to glue the craft pom-poms down the sides of the egg.
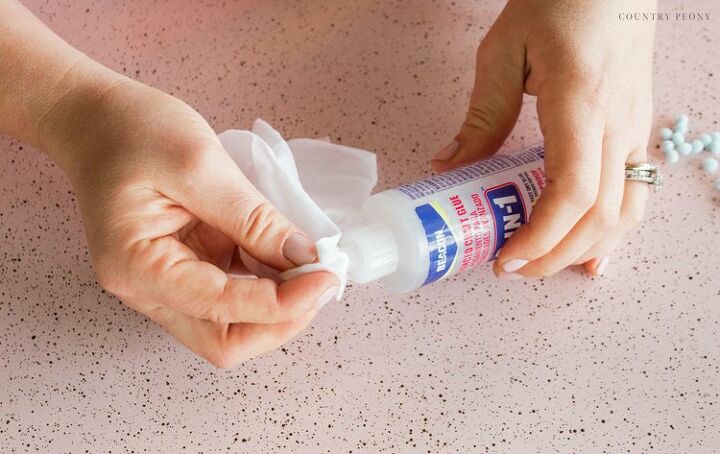
*Keep your hands and the tip of the glue applicator clean for best application. Otherwise the pom-poms will stick to your hand, and the glue drops will not be as precise.
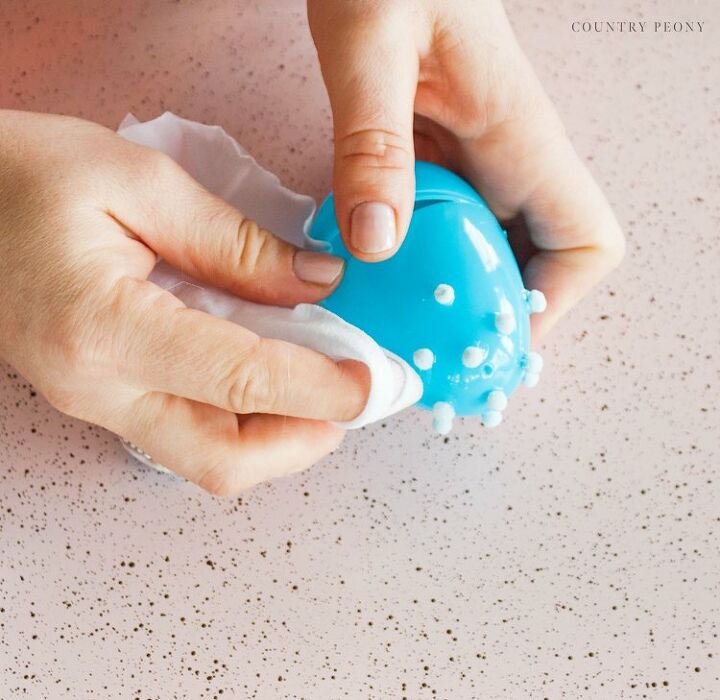
*This glue dries pretty quickly. It is helpful to remove any excess glue whiskers with the wipe before the glue dries.
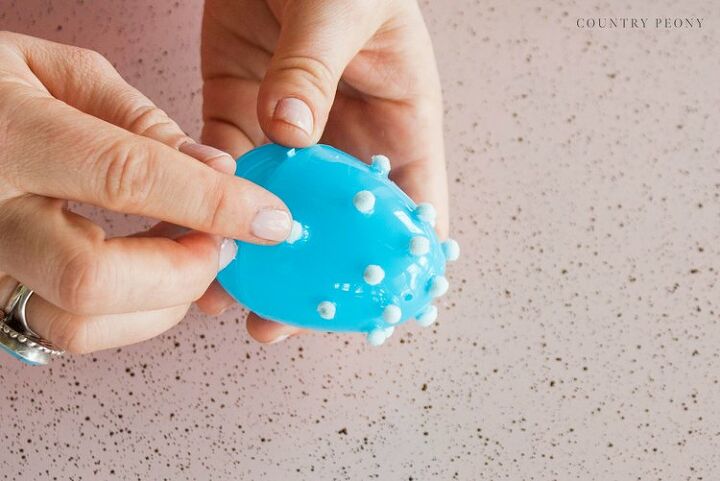
Step 3: Increase the distance from pom-pom to pom-pom as you go down the the egg, and as the egg gets larger.
*Avoid gluing directly onto and right next to the egg opening so you can still open and close the egg.
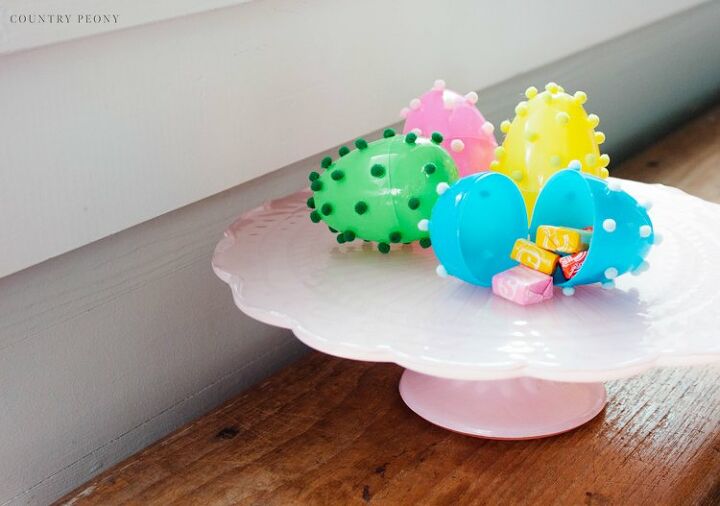
Step 4: Add candy to your egg, and enjoy your custom and whimsical creation!
I believe crafting is more fun when we share our projects. Please email me at elizabeth@countrypeony.com, or please tag me @thecountrypeony to show me your beautiful, custom creation!
Happy Crafting!
Resources for this project:
See all materials


Frequently asked questions
Have a question about this project?