


Easy, Quick, DIY Hanging Sign on a Budget
Sometimes, I just hate seasonal décor.
Yep, there I said it.
Oftentimes, it’s stupid expensive. Not to mention, it can only be used for a handful of months before it has to go back to taking up my limited storage space.
That’s why I’m so excited to show you what I found this morning.
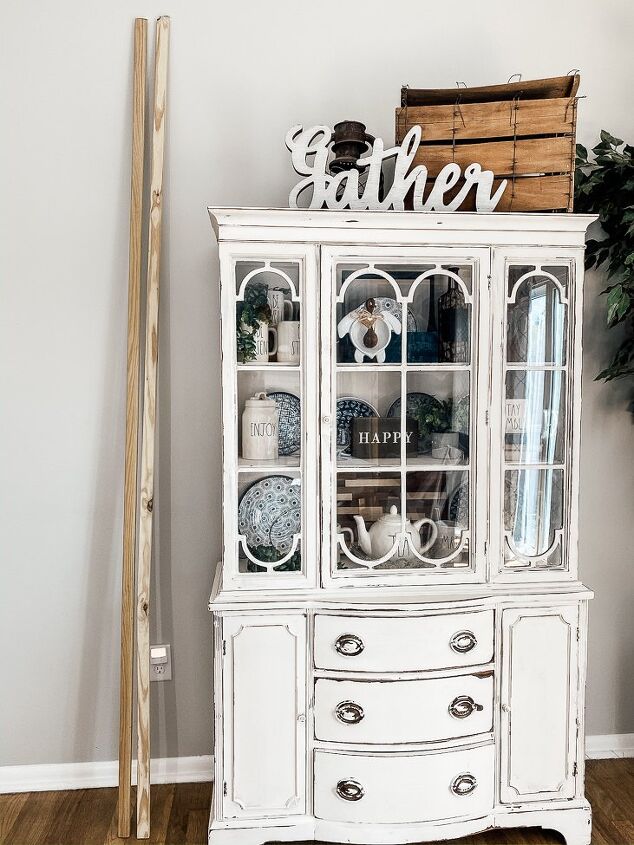
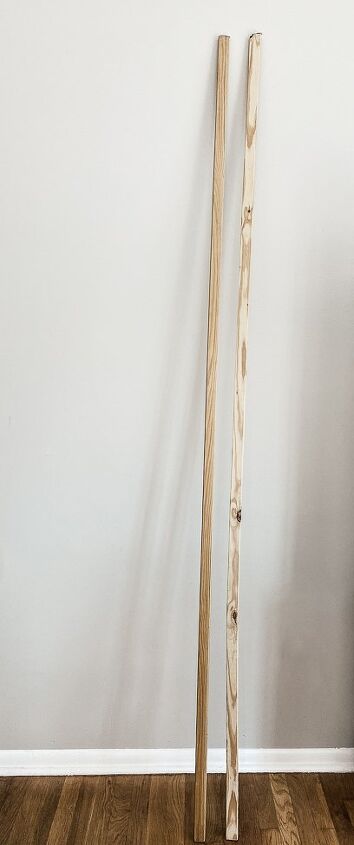
See those two lonely strips of wood leaning by my hutch there…
I found them on my garage floor. All alone, covered in sawdust, and basically begging me to turn them into something cute.
Obviously, I couldn’t just leave them, I mean, LOOK at them.
So I decided a super quick, super fun, CHRISTMAS craft was in order and it turned out…
Very Halloween-like, because it’s October.
I’m crazy, but I’m not THAT crazy!
Or, am I?!
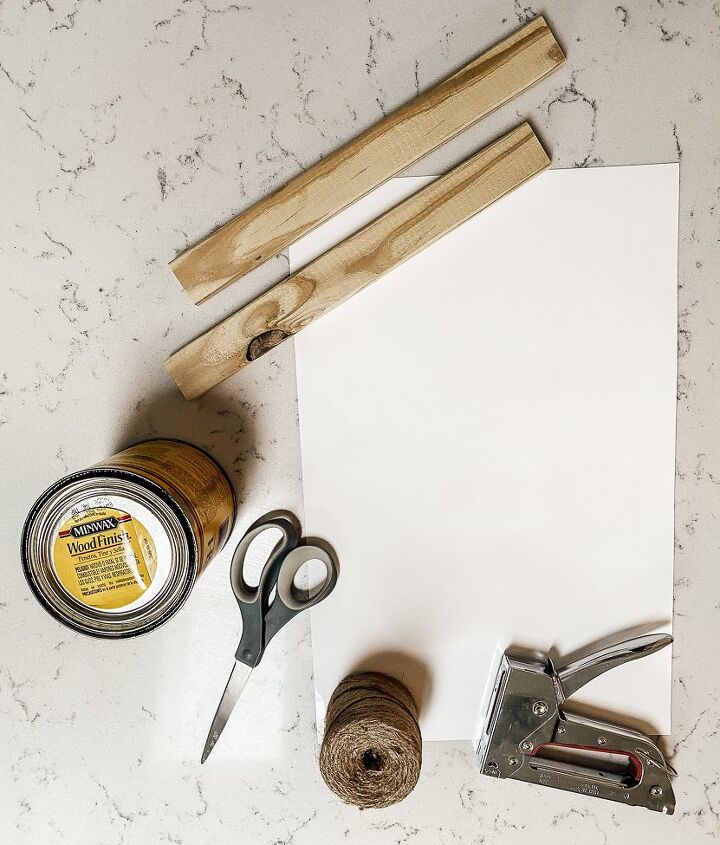
- 1"x2"x8' furring strip
- Wood Stain
- Staple gun
- Jute cord
- Scissors
- Decorative print
A NOTE ON DECORATIVE PRINTS:
I seriously found THE BEST HACK for getting super cute decorative prints for next to nothing.
The one I’m using here cost $1.01 & that was because I did an express pickup. It could have actually been LESS.
I am so excited about it that I’m writing an entire BONUS BLOG POST on how you can get your own decorative prints for a fraction of what you normally pay!
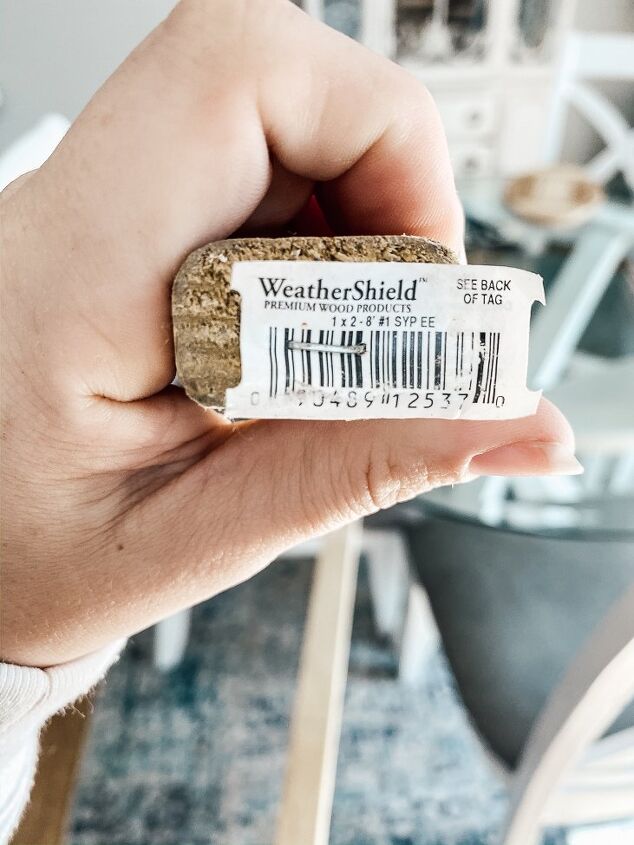
I found these wood furring strips on my garage floor. Turns out, they’re less than $1.50 at Home Depot and they come in 8ft lengths.
Since the print I was using was 11″ wide, I decided to cut my top and bottom slats at 12″. I used my miter saw for this, but Home Depot (or Lowes, Home Depot is just closer to my house) will also cut these down to size for you.
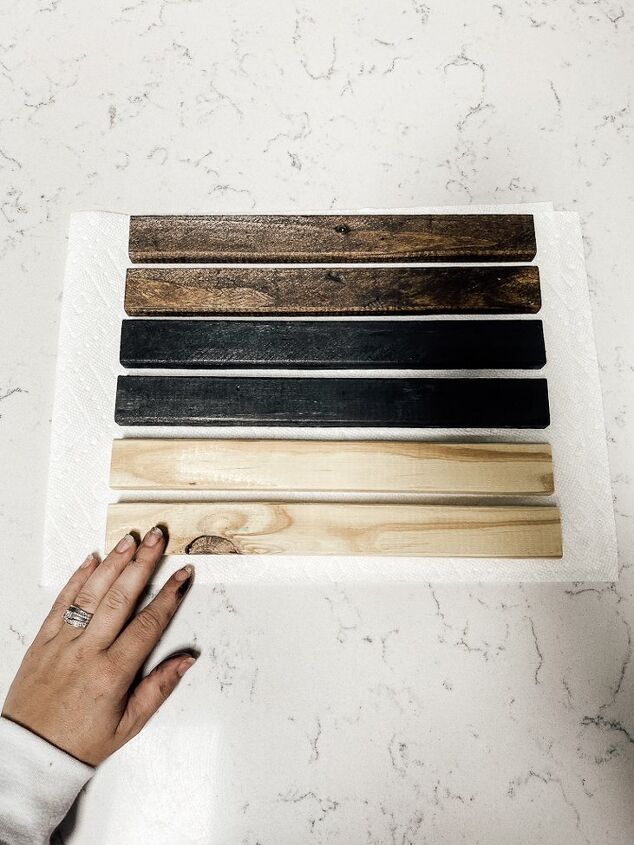
In total I was able to cut fourteen slats, seven from each board. Enough to make seven hanging signs. All for less than $3, I think I’m in love with this project.
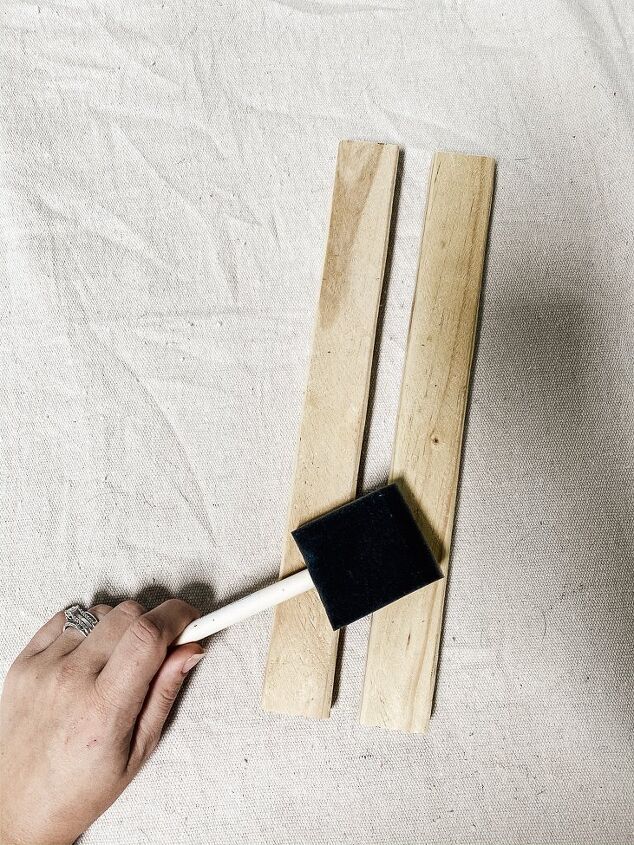
I had some wood stain on hand already from previous projects and I chose to use Minwax penetrating wood stain in Dark Walnut and Black.
Home Depot and Walmart both have mini cans of wood stain for $5-6, if you aren’t a hoarder of all things like I am.
I brushed it on with a foam brush, then immediately wiped it off with a paper towel. This wood is porous enough that it soaked the stain right up and dried rather quickly.
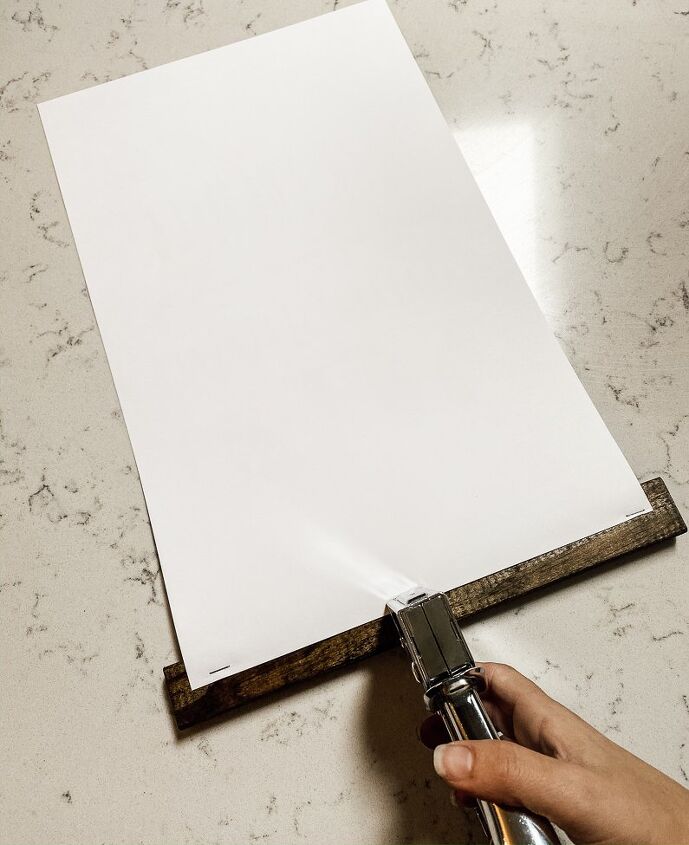
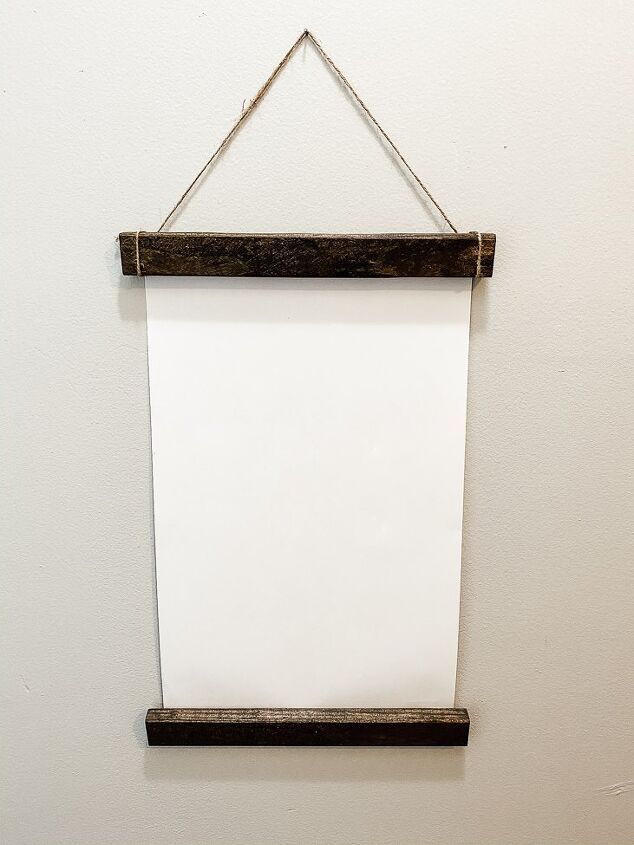
Flipping both the print and the wood over to the BACK sides, I centered my print to my wood and attached it with a staple gun.
Honestly, if you don’t have a staple gun, a regular old office stapler would probably work just as well. This wood is pretty soft.
Repeat for the top and bottom.
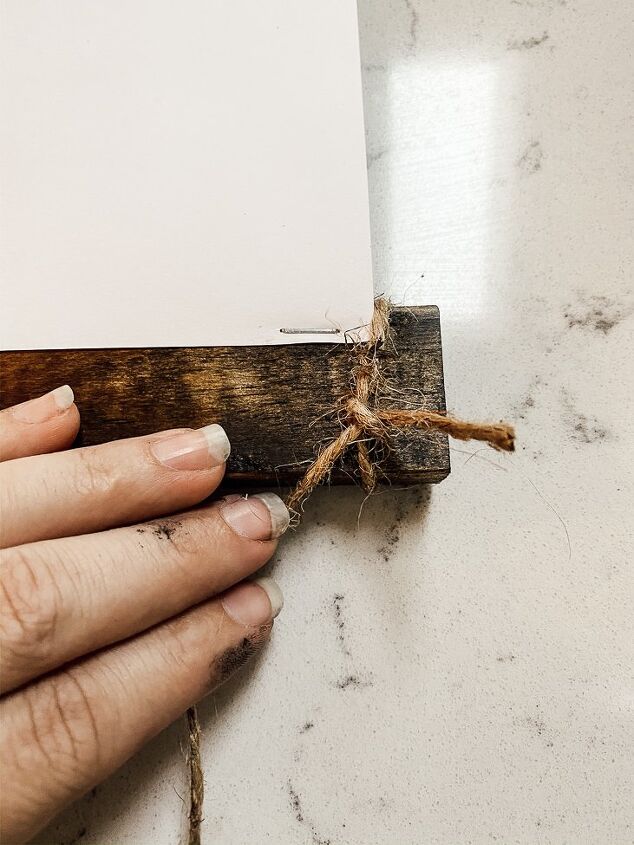
I debated long and hard on how I was going to attach this cord. In the end I decided to simply tie it snug around the end of my wooden slat.
Decide how long you want your hanger to be. Then, repeat on the other side.
This was supposed to be a quick and easy DIY hanging sign, and I was determined to keep it that way.
So, now the real question is…
What print did I decide on?
Halloween?
Or did I go with Christmas after all
CHECK OUT MY FULL BLOG ABOUT THESE QUICK EASY SIGNS TO FIND OUT!
& while you're there check out some of the other projects I'm working on.
Resources for this project:
See all materials


Comments
Join the conversation
-
I really like this!! Imagine the money saved by not having to buy frames!! I've got so many prints and no frames for them. Thank you again. I'm definitely going to do this!!
-
Clever & useful.


Frequently asked questions
Have a question about this project?