


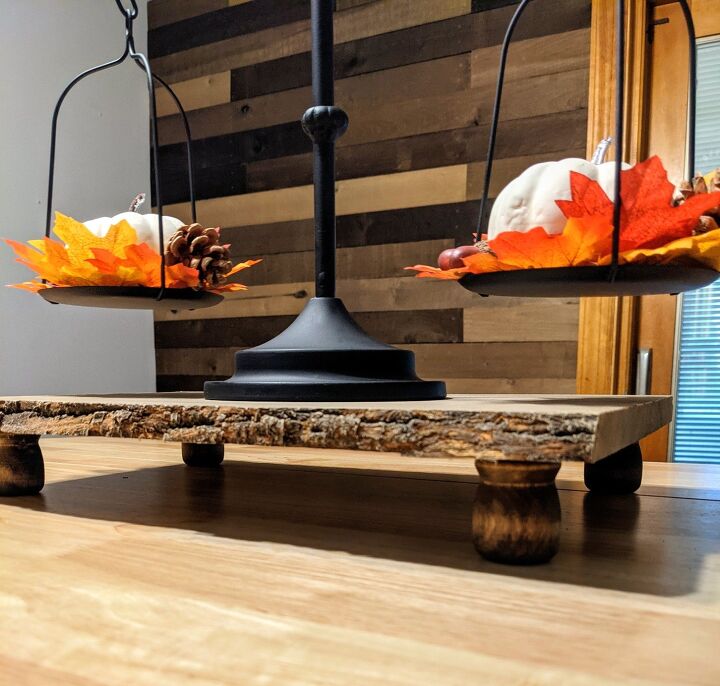
Make Your Own Wooden Live Edge Riser For Less Than $20

Let's talk risers for a second....
They are expensive! But so cute! You can decorate them in so many different ways, use them for on the dinner table for unique food displays (don't place the food directly on it unless treated for food use), even to raise up your computer monitor a few inches.
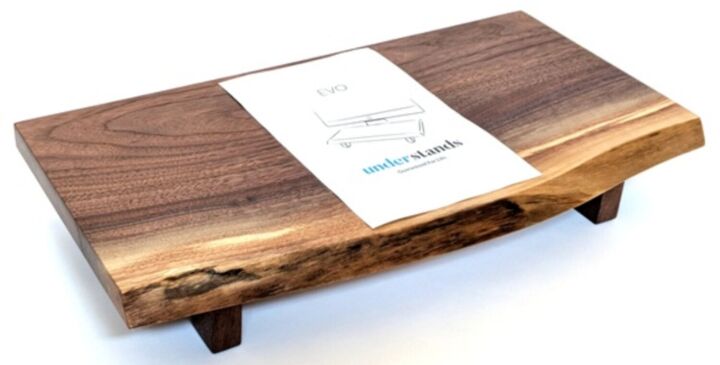
This one pictured below sells for $109. It's the same size as the one I'll be making. Granted, it's a walnut slab, whereas mine is just basswood. But, with the price difference, I just can't justify it 🤷🏻♀️
Price listed is for the amount of product used, not the initial cost.
Time posted does not include dry time, it is work time only
The one that I made is pretty close and only cost a fraction to make! Here's how I did it.......
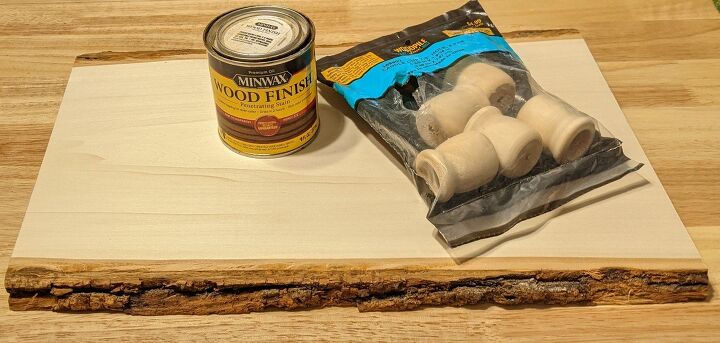
Gather your supplies....
I bought everything from hobby lobby...
Basswood love edge slab 16"x12.5"
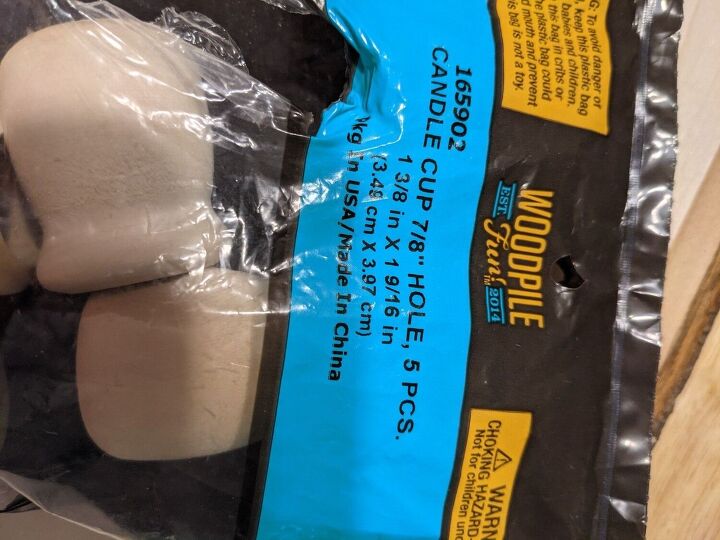
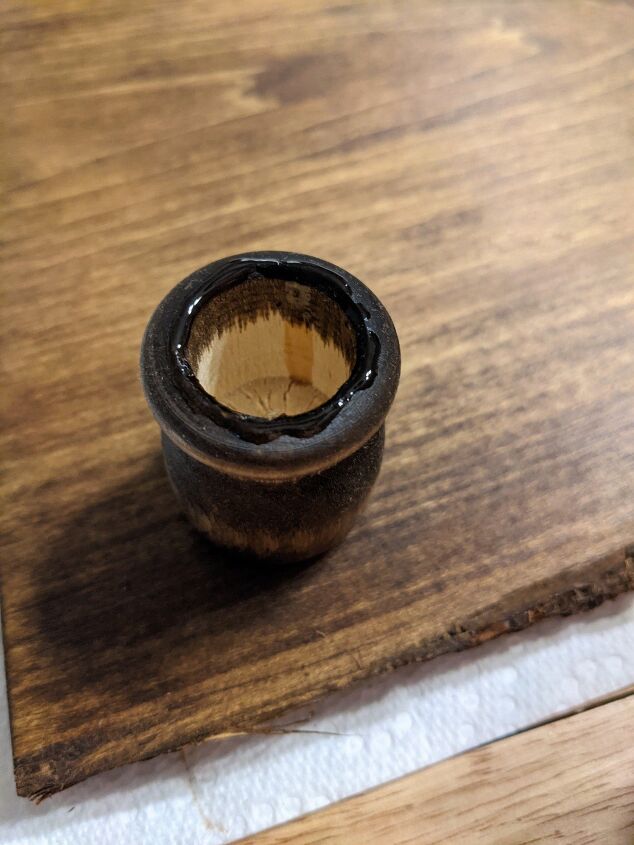
Wooden candle cups
Honey colored wood stain
Off white paint
Chip brush
You'll also need...
Super glue
Paper towels, rags, or sponge brushes (whatever you prefer to apply stain with)
Gloves to protect your hands
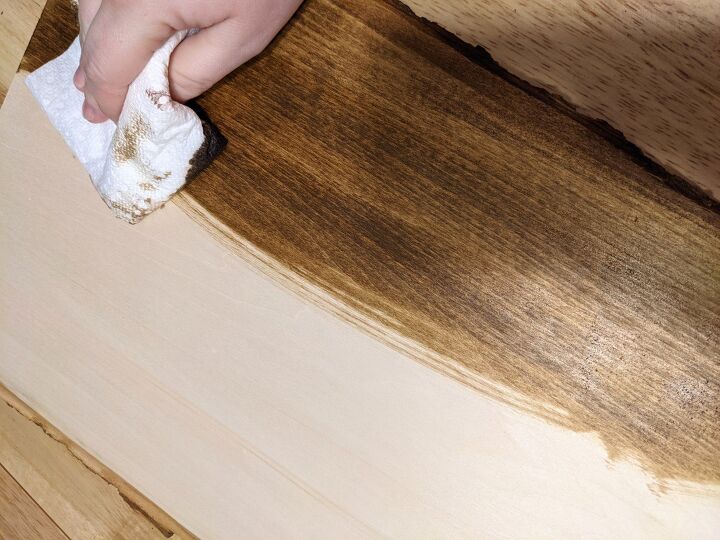
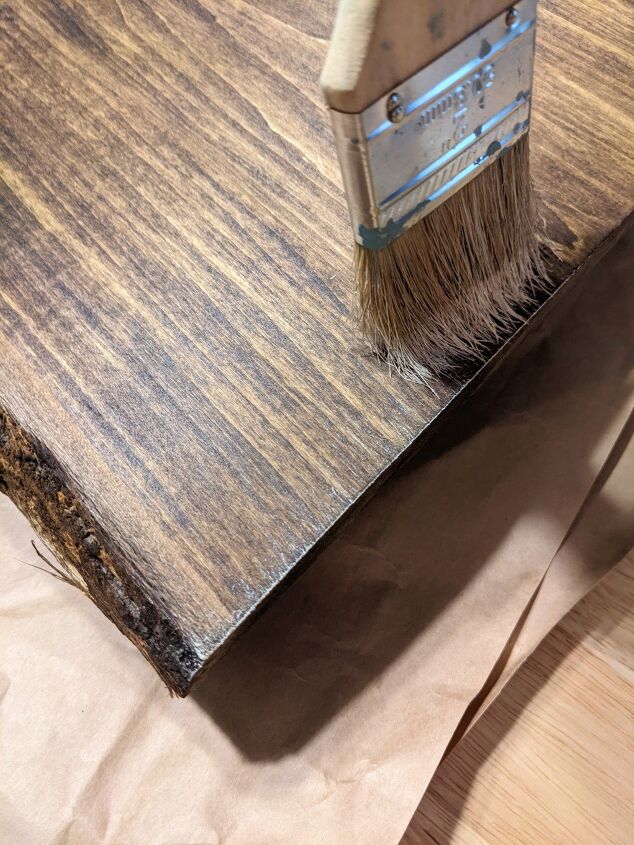
First, stain the wooden slab. I used paper towels, but use whatever you prefer for application.
Apply the stain in one direction going with the wood grain.
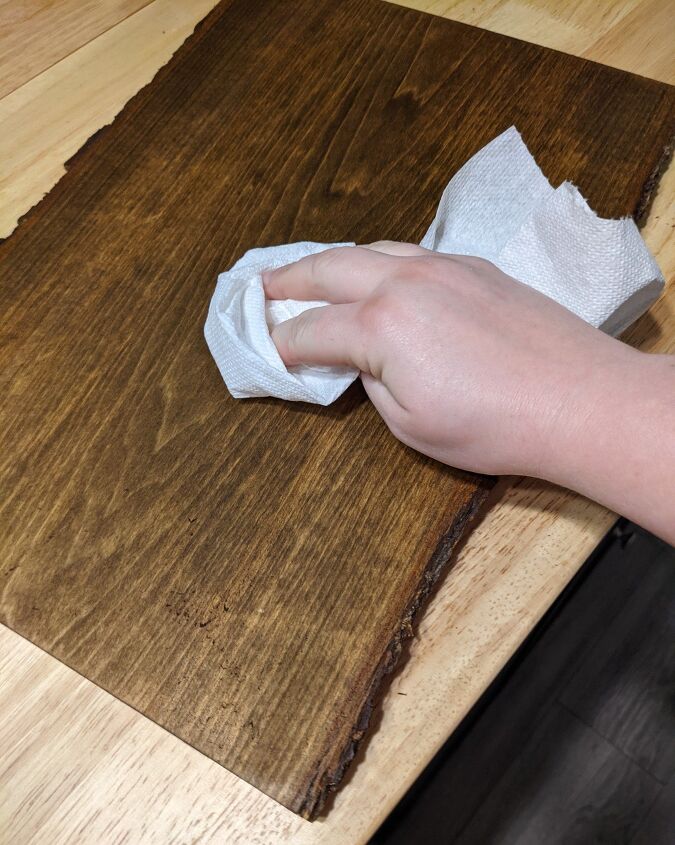
Take a paper towel and wipe off excess stain
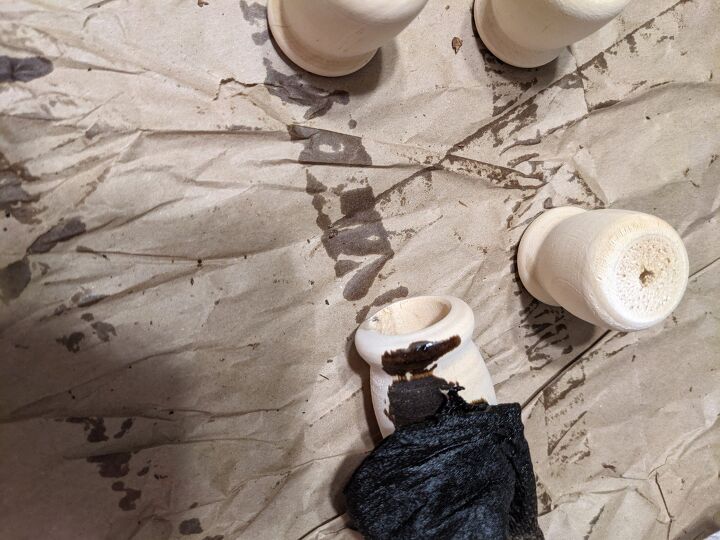
Also stain the wooden cups, wiping away any excess stain.
Allow everything to dry overnight
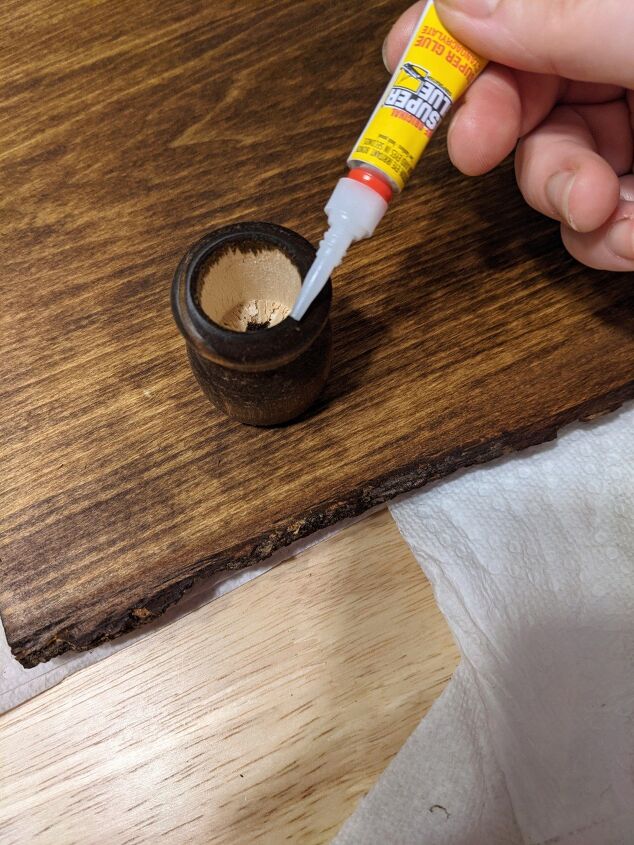
Now that the stain is dry, we can glue on the cups.
Apply a ring of super glue around the rim of the cup

Then flip it over and press it onto the corner of the underside of the wood slab.
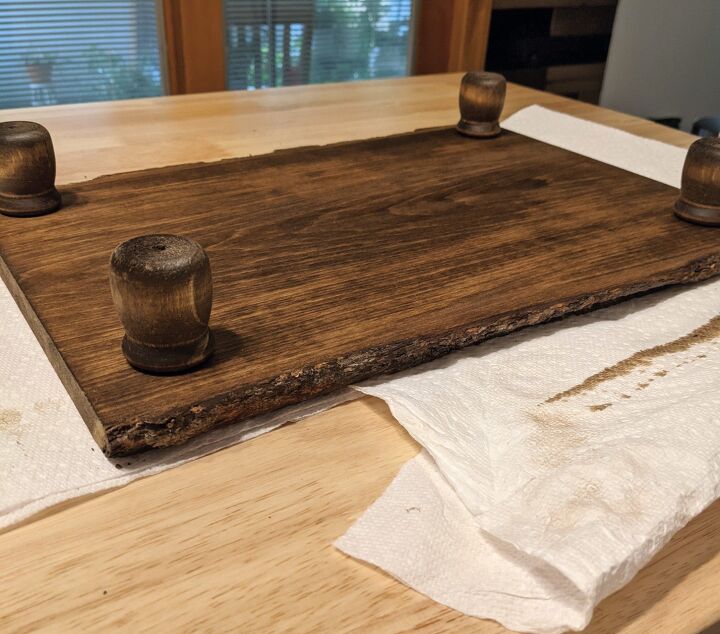
Continue this process until all 4 cups are in each corner. Allow to dry for 10 minutes and then flip over and allow to dry for another hour
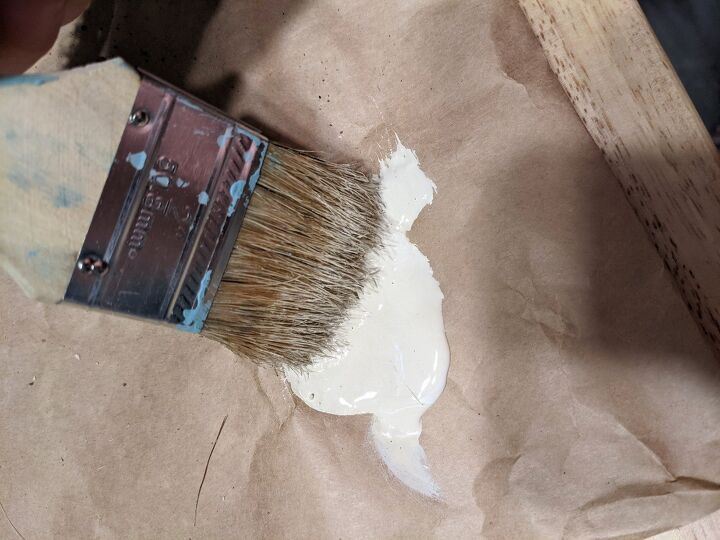
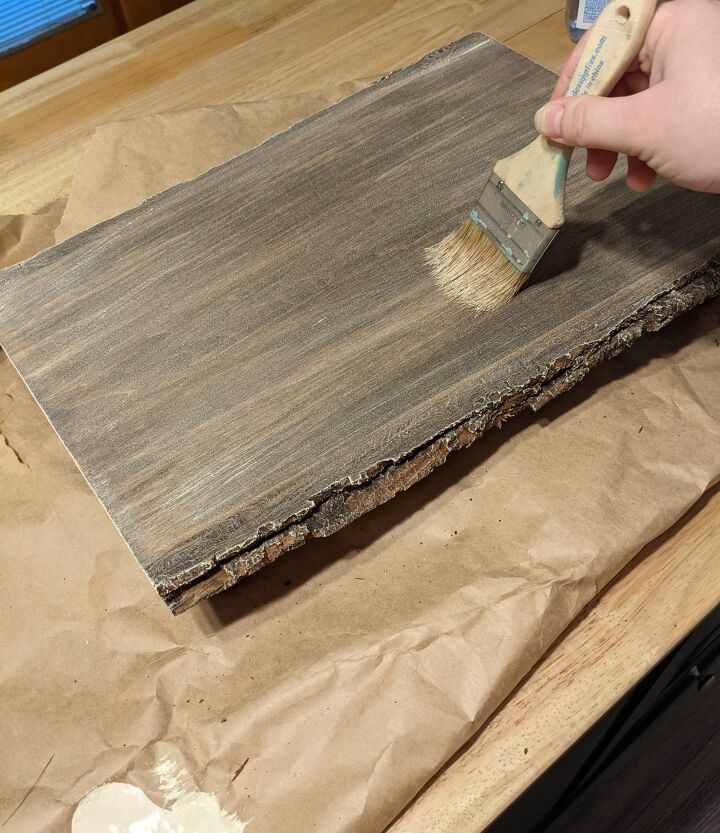
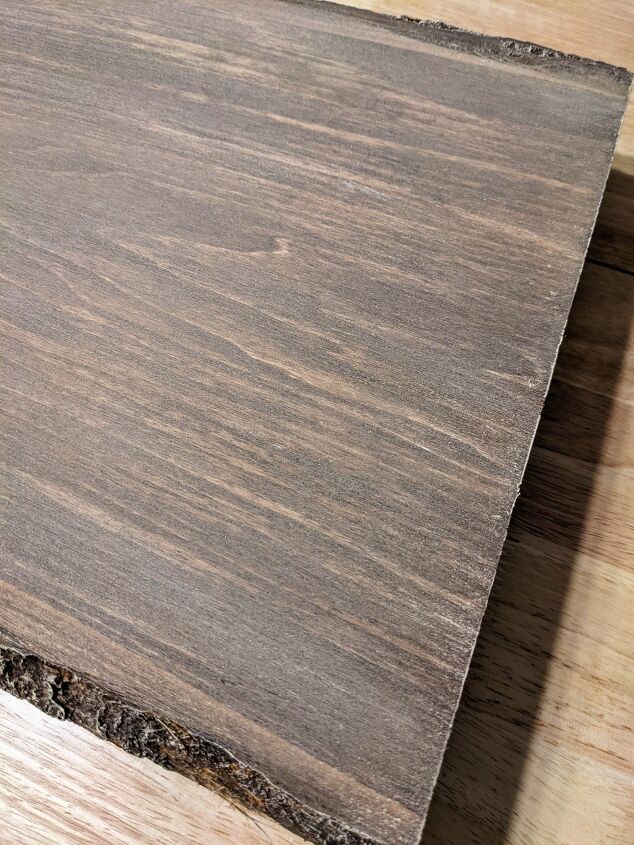
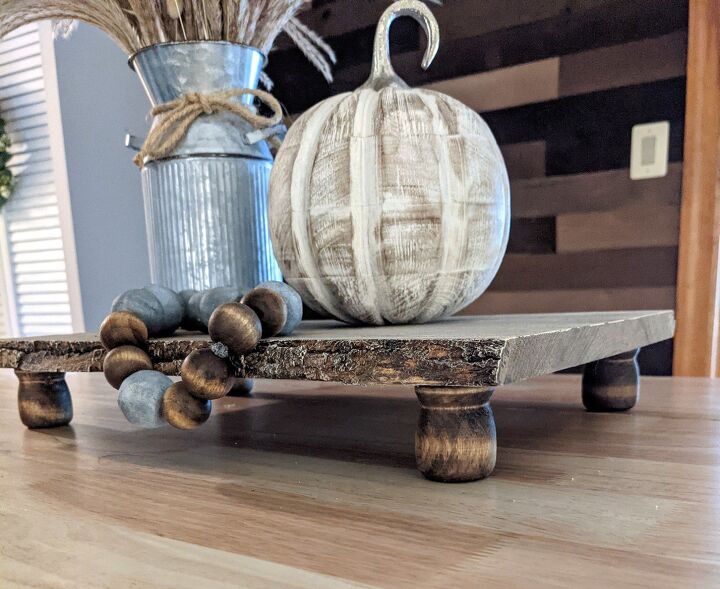
Now, dry brush the wood slab.
Dip the chip brush into an ivory colored paint. You don't want much paint on the brush, so only dip the tip
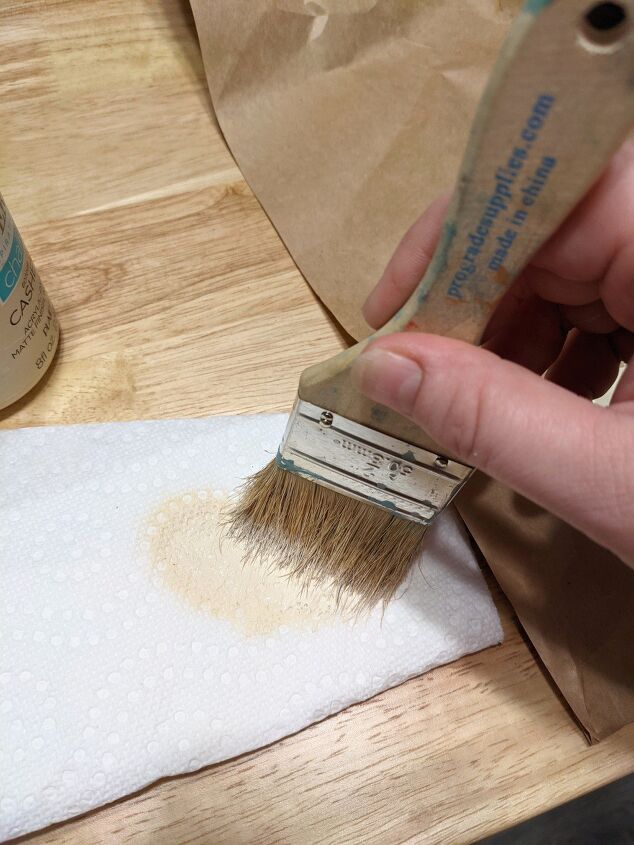
Then wipe majority of the paint off onto a paper towel
Now, brush it onto the slab, first dousing on the edge, then dragging the brush to the other side. Continue this process until you're satisfied with the look
Tip:
If you apply too much paint in an area, take a wet rag and immediately wipe it away. Paint takes time to dry completely so there's usually a little bit of work time where you can remove it if necessary

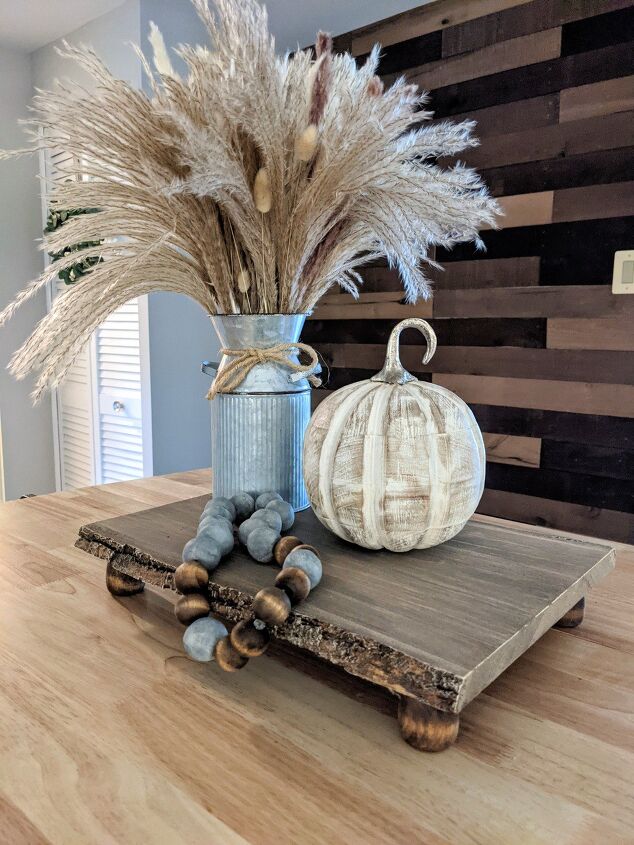
Allow to dry for 30 minutes, decorate, and enjoy 🥰
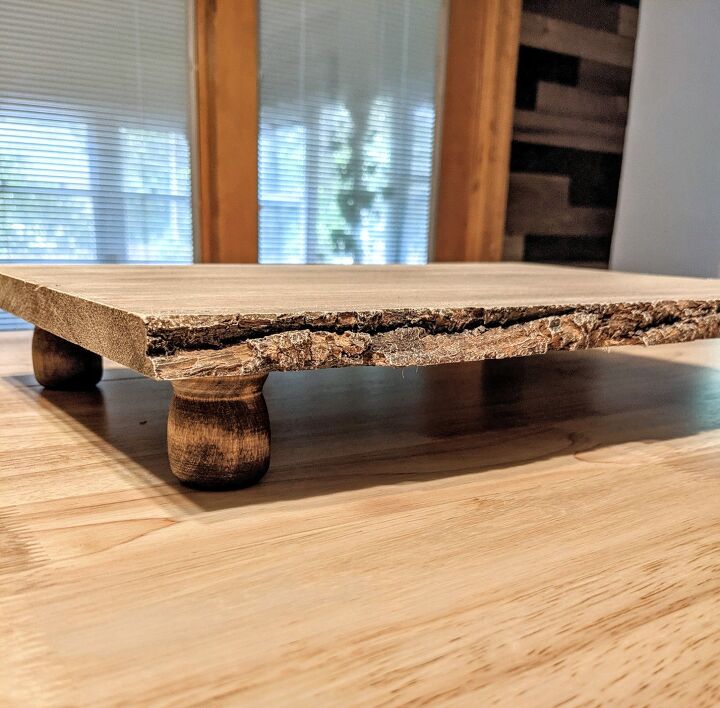
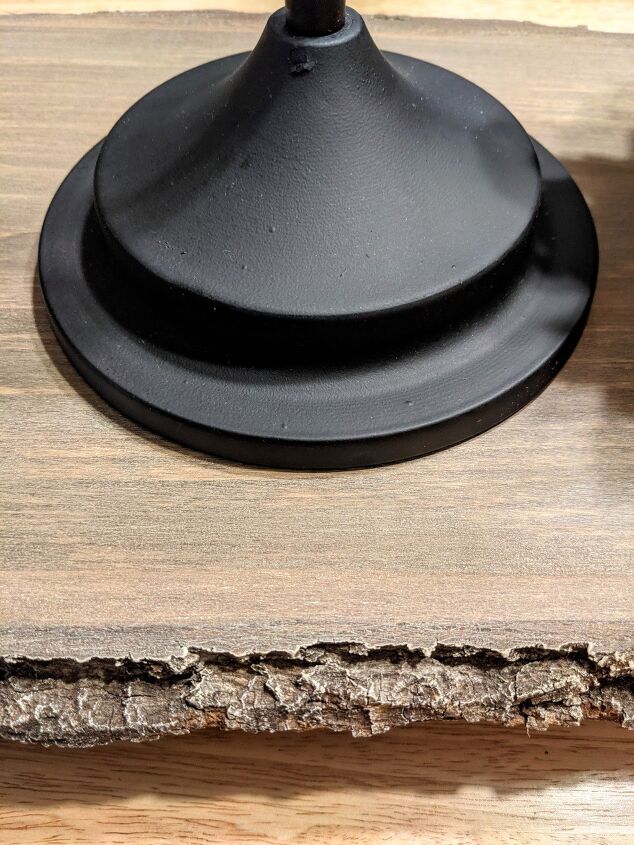
The candle cups can be used either way for a different look (rim side down)
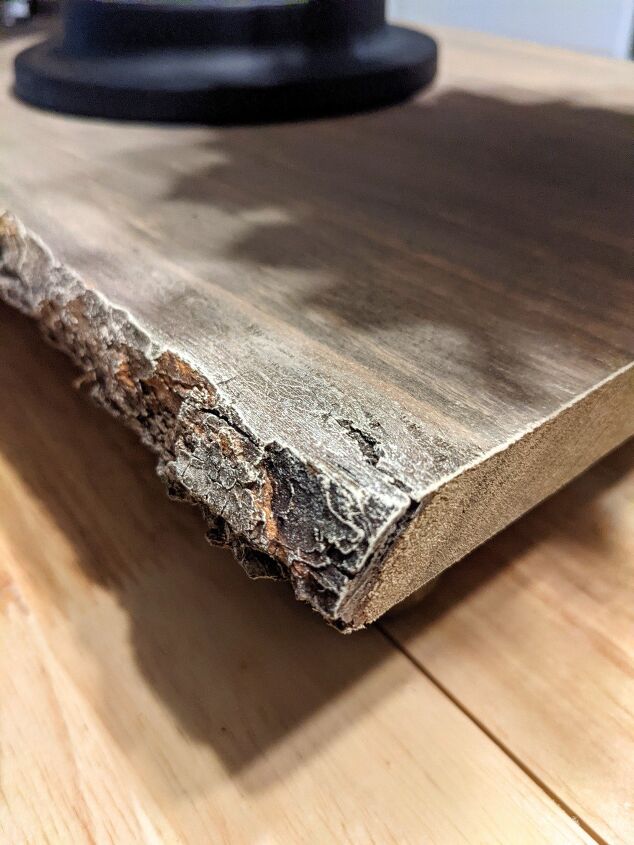
I love the way the dry brushing has highlighted the rough bark
There's so many different ways to decorate these risers
Check out our Facebook page to see more projects

You can find over 400 different craft items, designs, brands and products for all of your project needs ☺️
I hope you've enjoyed reading this tutorial and are inspired to create something beautiful ♥️♥️
Resources for this project:
See all materials


Comments
Join the conversation
-
Great piece! ❤️
-
Turned out nice. Now need counters large enough to accommodate


Frequently asked questions
Have a question about this project?