


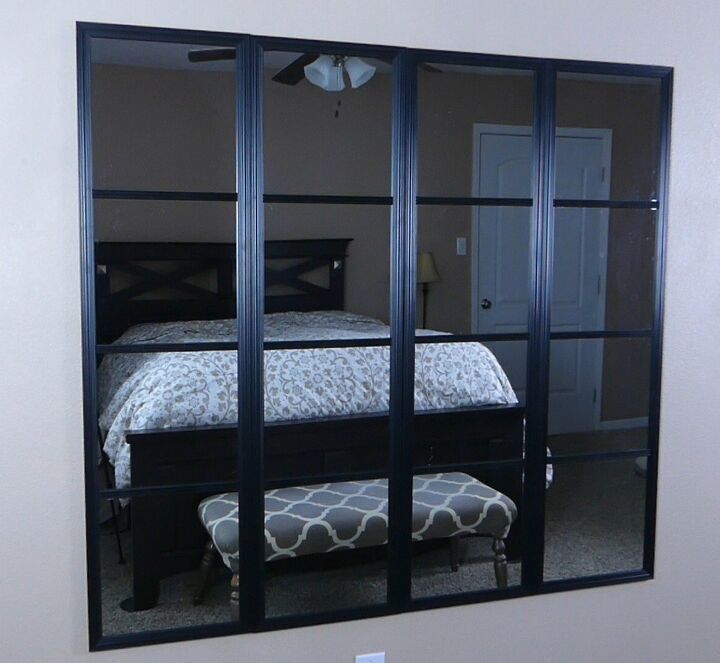
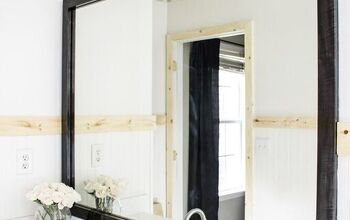
How to Make an Easy Grid Mirror

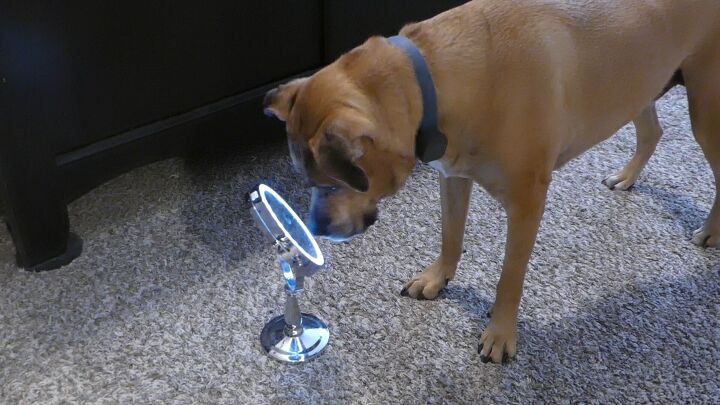
This handsome guy needs a bigger mirror!
We love the look of the large black grid mirrors but all of the DIY projects we’ve come across so far involve lots of mirror square gluing and frame cuts and a heavy plywood backing.

Our version is much easier, faster to create, and way less heavy!
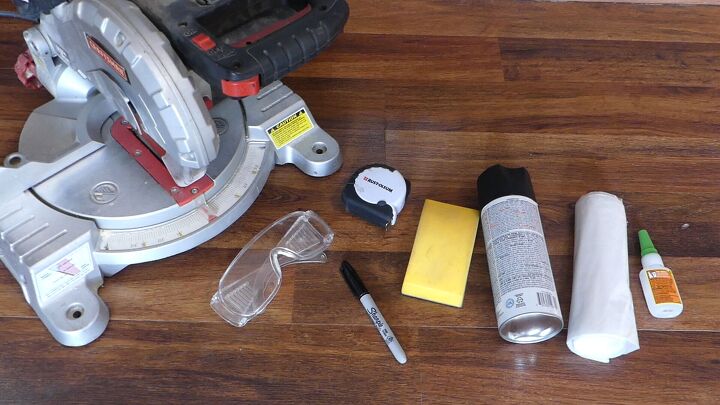
You’ll need: (affiliate link proceeds on my blog support no-kill animal shelters and rescue organizations. Shopping through these links help raise monthly donations ❤)
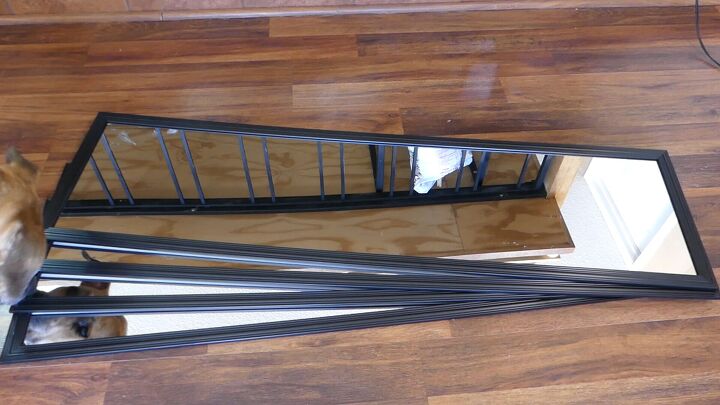
Four full length mirrors – these are 13.5” by 49.5” and already have a black frame, which will make this project even easier!
A miter saw, safety glasses, a marker, measuring tape, a sanding block or sandpaper, black spray paint, a drop cloth, and glue.
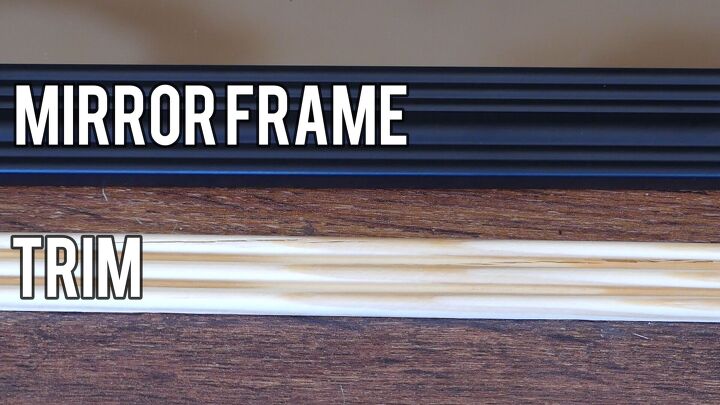
Trim – the type of trim depends on the mirror’s existing frame. My mirror’s frame is about an inch wide, a quarter inch thick, and has some textural elements. So I purchased some trim that had a similar size and look to it.
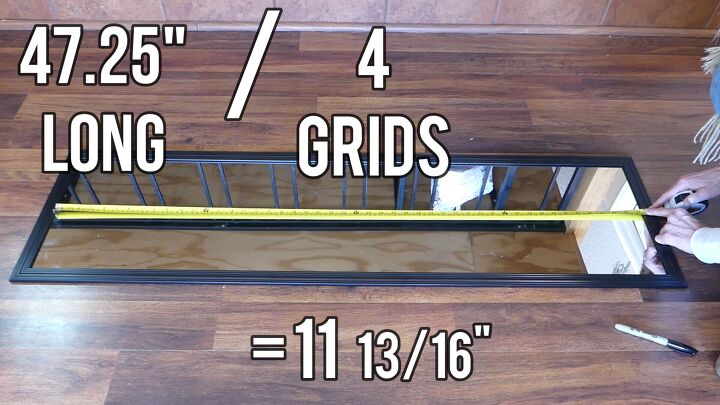
First, measure the length of the actual surface of the mirror. It measures 47 and a quarter inches long. I’m wanting four grids on each mirror so I’m dividing 47.25 by 4. This equals 11 and 13/16ths inches.
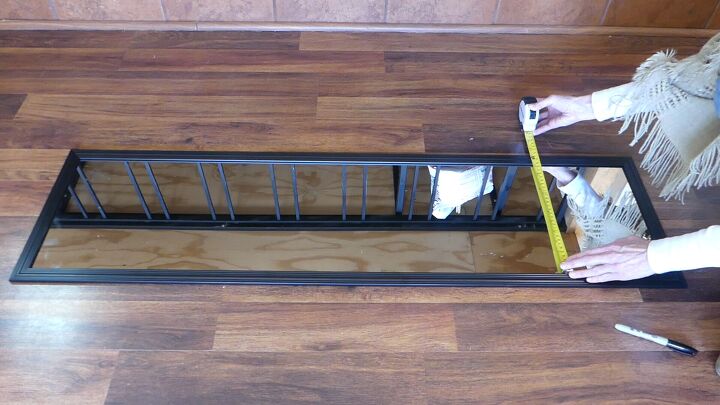
So starting at the top, measure down 11 and 13/16s and mark with the marker. From there, measure down another 11 and 13/16ths, mark, and measure down a final 11 and 13/16ths and mark.
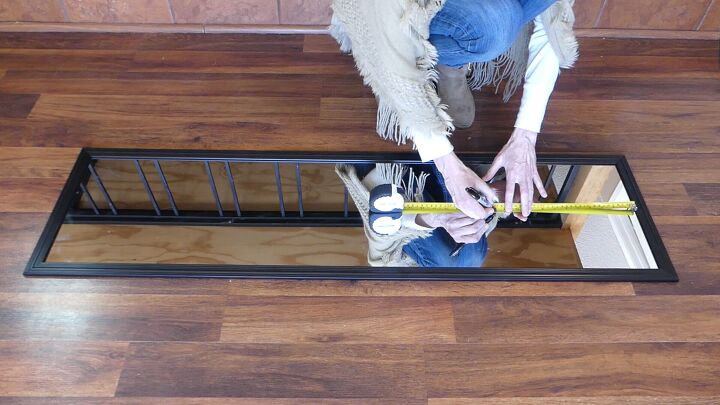
Measure across the surface of the mirror for the length of the trim. My mirror is 11 1/4s inches wide.
Cut the trim with the miter saw to the mirror’s width. Each mirror will need three pieces of trim total to make the grids.
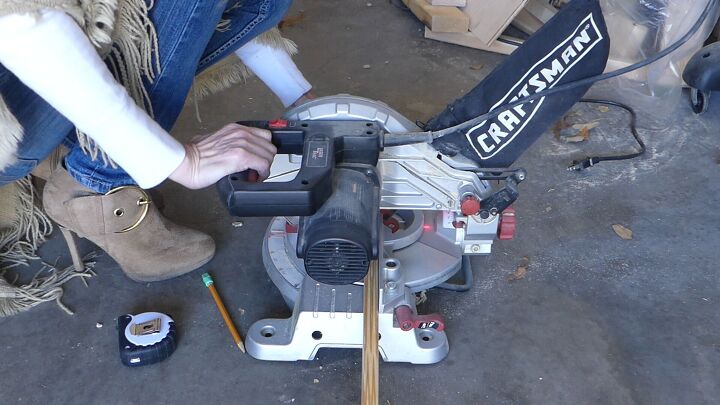
Lightly sand the cut ends of the trim with the sanding block.
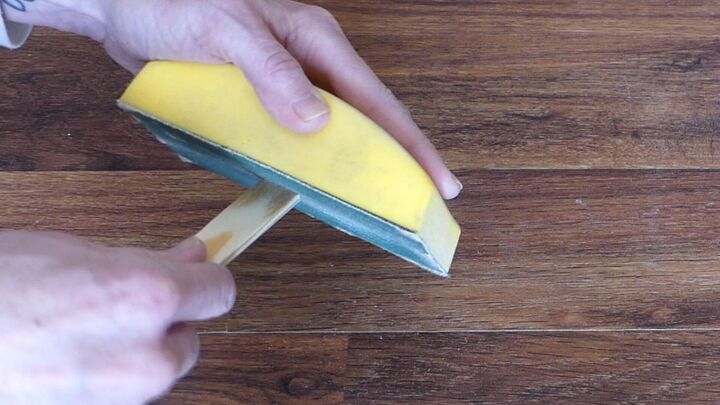
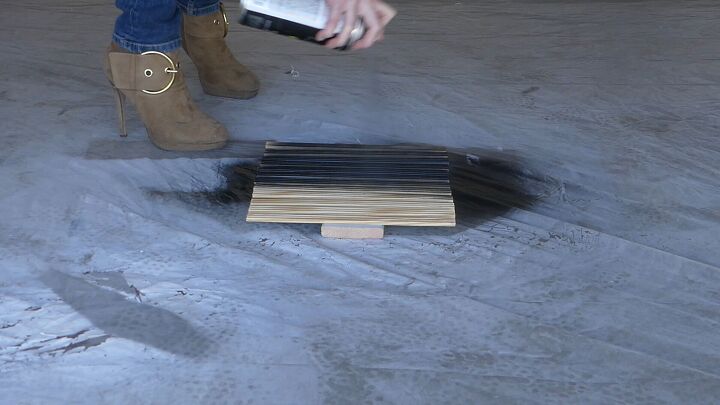
Spray paint the trim over a drop cloth.
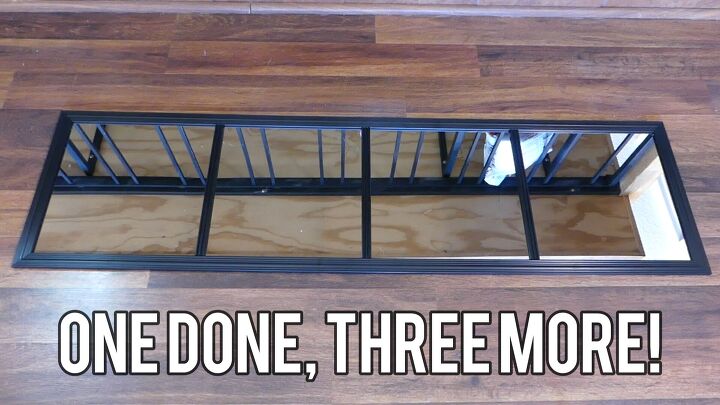
Once the paint has fully dried, glue the trim over the marks on the mirror. Ensure the marks sit dead center underneath the trim.

One down, three more to go!
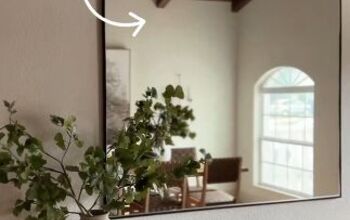
After the glue has dried, the mirrors can be either propped up next to each other…
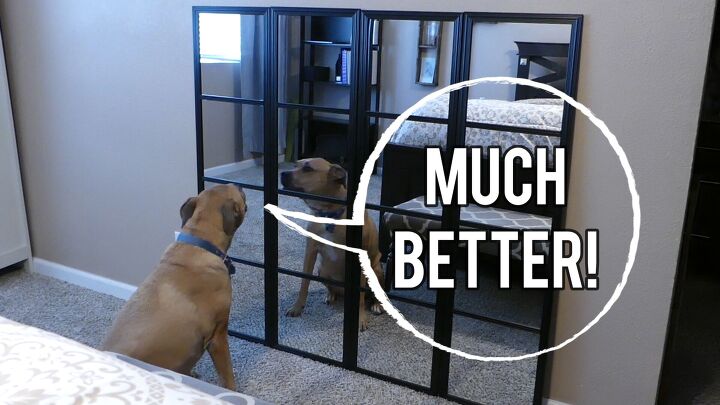
Or mounted on the wall.
Watch the step-by-step video tutorial below! Watches, likes, shares, and subscribes also help raise monthly donations for no-kill animal shelters and rescue organizations ❤
Resources for this project:
See all materials


Comments
Join the conversation
-
Running a SAW with that scarf around your neck with all those fringes hanging down - NOT A GOOD IDEA!!!!!!!
-
Posing in anything but safety gear is a BAD idea.


Frequently asked questions
Have a question about this project?
That is so cute how you started with your dog licking in the little mirror and finished with him looking in the big one. Good job.
What was your technique hanging them on the wall. Did u use a French cleat or what. They look entirely flush on all sides.
This is a great idea, thanks for your inspiration 💕