


Easy Envelope Cover Pillow With NO Zipper or Button (for Beginners!)
What better way to personalize your home than to sew up your own super simple throw pillow covers! The envelope cover style is incredibly simple to sew and perfect for beginners!
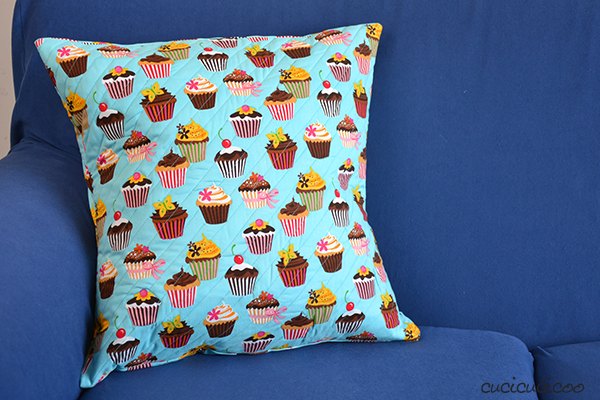
I made this quilted pillow to match my living room couch, but now I'll show you how to make the most simple style of envelope closure for your throw pillows.
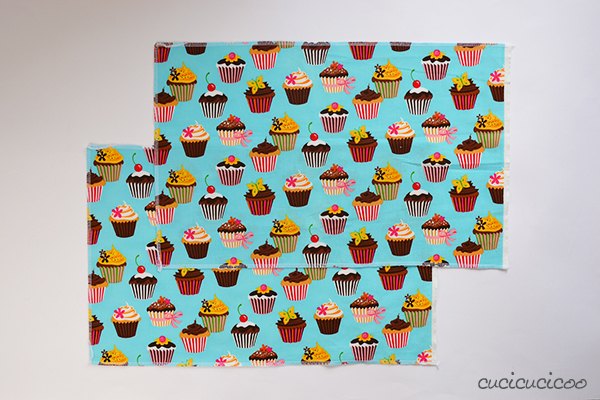
You can sew a cover for any size pillow insert, but I will show the sizing for a 50 x 50 cm (20 x 20 ") insert. Cut out:
- one 50 x 50 cm (20 x 20″) square
- two 32 x 50 cm (13 x 20″) rectangles
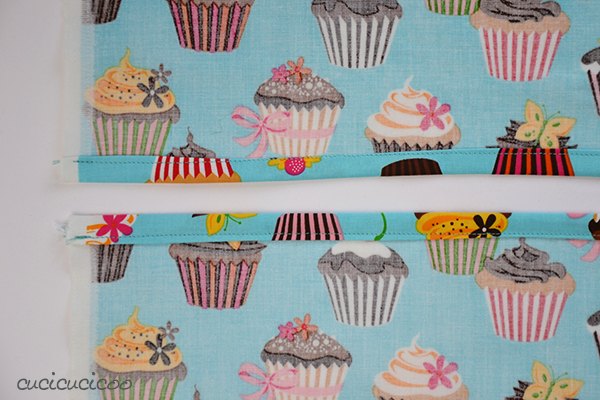
Fold the top edge of one rectangle and the bottom edge of the other inwards by 1 cm, then again 1 cm.
Pin the folds down and sew them down. Iron them flat.
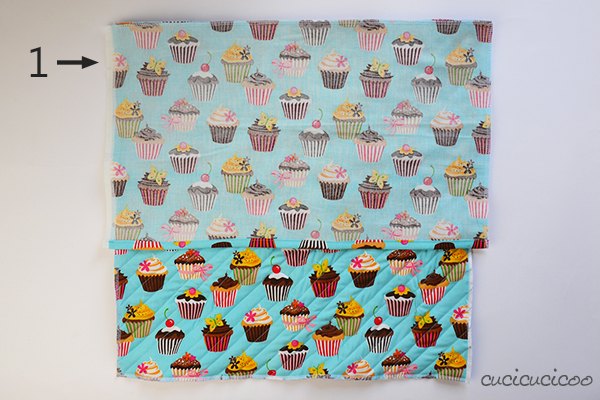
Place the square right side up on a flat surface. Position the rectange with the hemmed bottom on top of it, right side down, aligning the top and side edges. Pin in place.
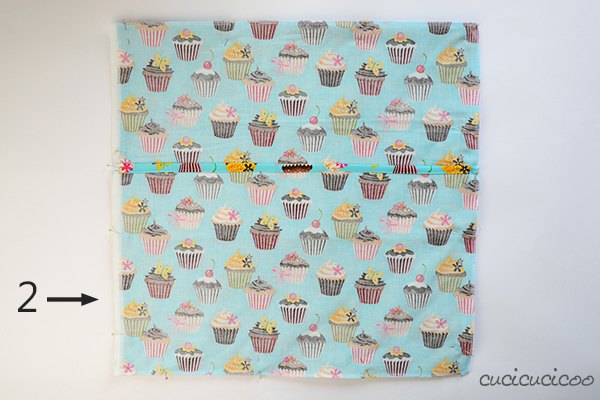
Now position the other rectangle (with the top side hemmed) on top of those, right side down, aligning the bottom and side edges, and pin in place.

Sew all the way around the square. You might want to sew back and forth a bit over the overlapping sections (shown with the arrow above).
Sew around the edges with a zig zag stitch (or overlocker) to keep the fabric edges from fraying in the wash. (Not necessary if using a non-fray fabric.)

Turn the pillow cover right side out and stuff the insert inside. Now throw it on your couch and it'll soon become a favorite for the whole family!
Find more details on this project here: https://www.cucicucicoo.com/2014/12/how-to-sew-an-envelope-pillow-cover-tutorial/
This project is perfect for beginner sewers. If you do not know how to sew, you can learn the basics in my free online course for beginners here: https://www.cucicucicoo.com/2014/06/learn-to-machine-sew-free-sewing-course-for-beginners/
Resources for this project:


Comments
Join the conversation
-
You can make an envelope cover with 1 piece of fabric. Hem at top, hem at bottom. Adjust the material so the top piece has a flap, and the bottom has pocket. Invert and sew the sides


Frequently asked questions
Have a question about this project?