Dollar Tree Pumpkin Makeover

by
DeeDee
(IC: blogger)
6 Materials
$2
30 Minutes
Easy
I love a good dollar store find. Especially when I can make a fun craft that turns out like this one did!
I got this idea from a fellow blogger and you can find the link to her cute version on my blog (look for the "GO" button down below).
She chose to leave hers plain, which is extremely cute, but I decided to decorate my pumpkins on top for a little more fun look.
These pumpkins are kind of cute to start with, but as is, they don't quite fit into my decor looks. So I'm going to show you how I fixed that.
You will need the following items:
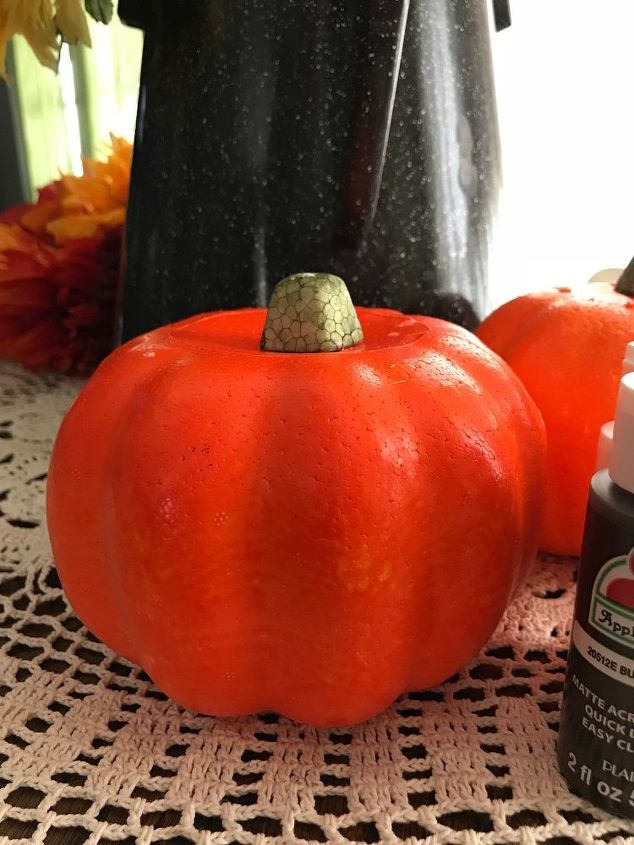
Dollar Tree $1 pumpkins
Acrylic paint in white, tan and brown
Paint brush of your choice
Stick from the yard for stems - I used our tree pruning shears to cut them to length. (optional)
Decorations for the top (optional)
Hot glue gun
First you will want to remove and discard the stem that comes on the pumpkin, unless you choose not to use a stick from the yard, then keep it.
Grab the white acrylic paint and a larger brush. Using a paper plate for quick clean up, squeeze out a pretty good amount of paint on to the plate.
Paint the entire pumpkin with white paint. I found that it took two coats because the pumpkin is made of foam and foam is porous and it absorbs the paint a little. Let each coat dry completely before proceeding to the next step.
Next grab the tan paint along with a smaller brush and squeeze a very small amount onto your paper plate. Paint lines in each ridge of the foam pumpkin. These lines do not have to be perfect. You're trying to mimic the look of a real pumpkin.
Let these dry really well before you go on to the next step.
While the pumpkins are drying, grab the dark brown paint and touched up the cut end of the "stem". The other "stem" was naturally dark on top and I liked it better, so I chose to add the dark color to the other one. Of course, this step is optional.
After the tan lines have dried, take the large brush you used for the "all over white paint" and dab it into the white paint puddle again using a dry brush method. Dry brush method is: dabbing most of the paint off the brush until its almost dry. Now, go over the entire pumpkin one more time. This will soften the harshness of the tan lines you made. Let dry completely.
Using the hot glue gun, add the "stem" to the pumpkin. Hold in place until it cools.
Now you can either be done or you can decorate the tops like I did, its your choice.
I used a vintage crocheted piece, some raffia, a bit of wrinkle ribbon and a sprig or two of dried eucalyptus stem that I saved from a flower arrangement. I tied the raffia and ribbon around the stem and added all the other items using the hot glue gun.
I really love how they turned out and I'm seriously thinking about going back for more, they are so cute! Did you make any pumpkins for your Fall decor?
You can see more of my Fall decorations by clicking right here.
Enjoyed the project?
Suggested materials:
- Foam Pumpkin (Dollar Tree)
- Acrylic Paints (Craft stash)
- Hot Glue Gun (Craft stash)
- Paint Brushes (Craft stash)
- Stick from the yard (Our Yard)
- Ribbons (Craft stash)

Want more details about this and other DIY projects? Check out my blog post!
Published September 9th, 2018 8:11 AM
Comments
Join the conversation
4 comments
-
-
-
 Mammaw
on Sep 11, 2020
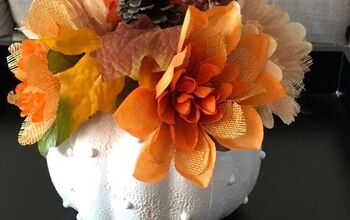
Your pumpkins turned out really cute. Here’s what I did with one of the dollar tree orange pumpkins. I hope you like it.
-









Frequently asked questions
Have a question about this project?