


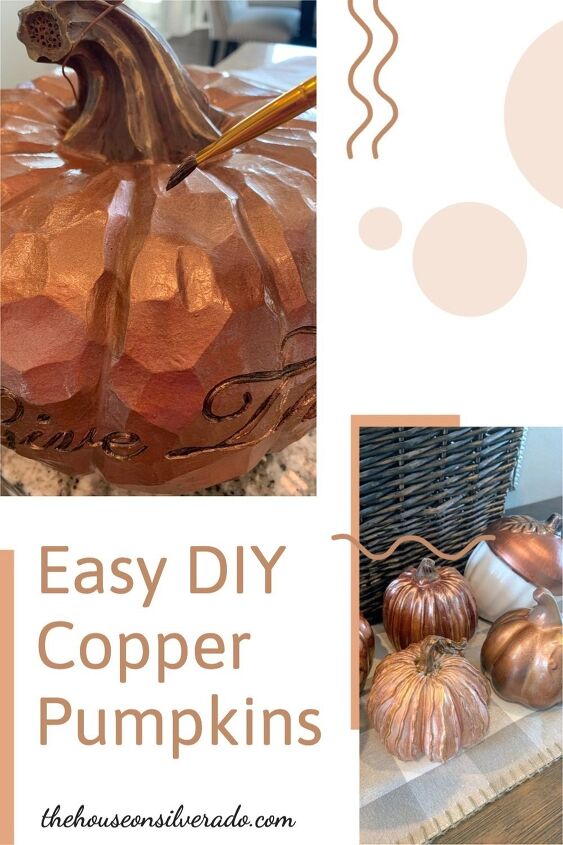
Easy DIY Copper Pumpkins
Have you heard? Copper is the new orange. These Easy DIY Copper Pumpkins are the perfect project if you want to incorporate some less-flashy fall colors into your fall home decor.
I love white pumpkins, and I use a lot of them in my fall decorating. But this year, I was itching to incorporate just a bit more color to my neutral fall color scheme, without resorting to the traditional pumpkin orange.
All the Copper!
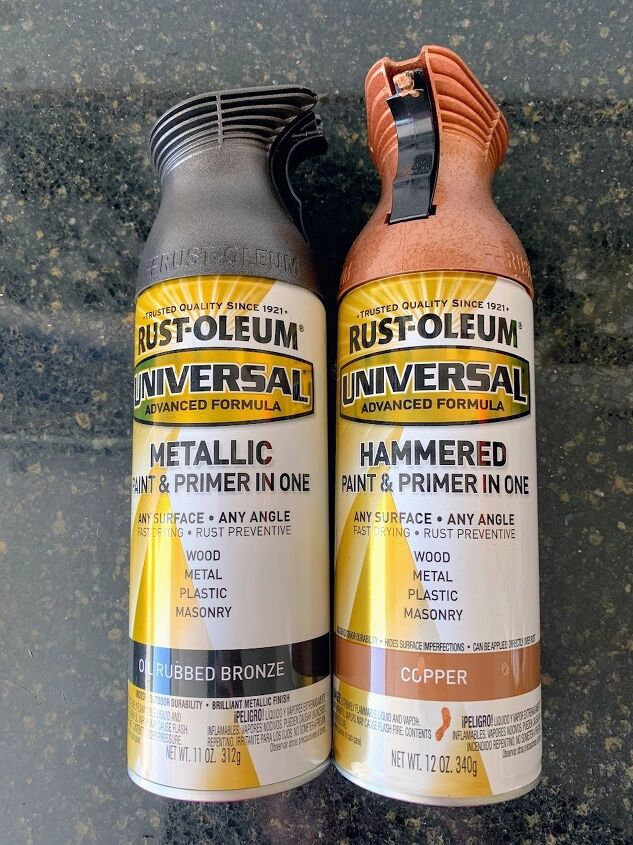
Lately, I’ve been having a bit of a love affair with copper. I bought my first can of Rust-oleum’s Hammered Copper spray paint this past spring for my Pinterest Challenge Birdhouse project.
I loved it so much that I also used it on my DIY Garden Bench.
Copper Pumpkin Bucket
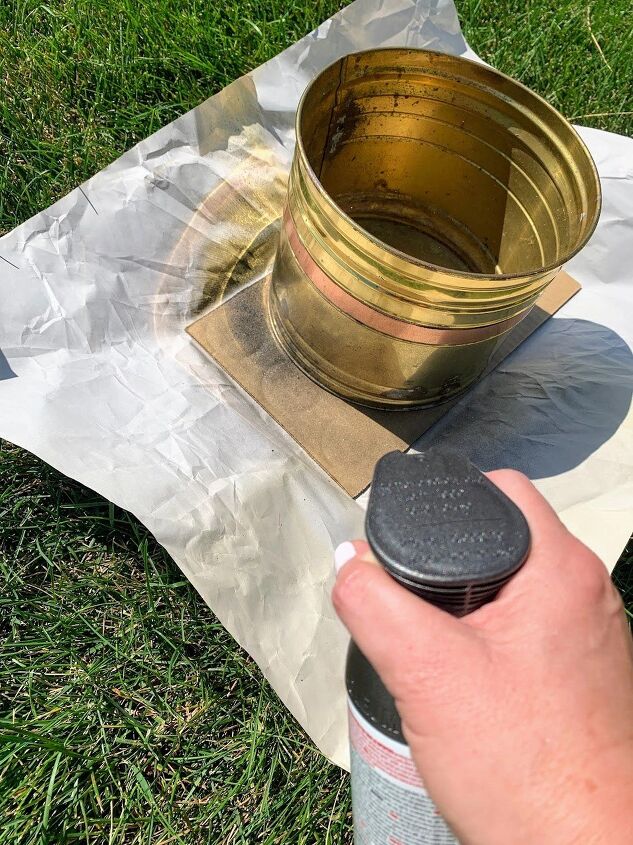
When I started thinking about this year’s fall decor, I pulled that same can of copper spray paint and used it to add a little coppery bling to a planter bucket on my front porch.
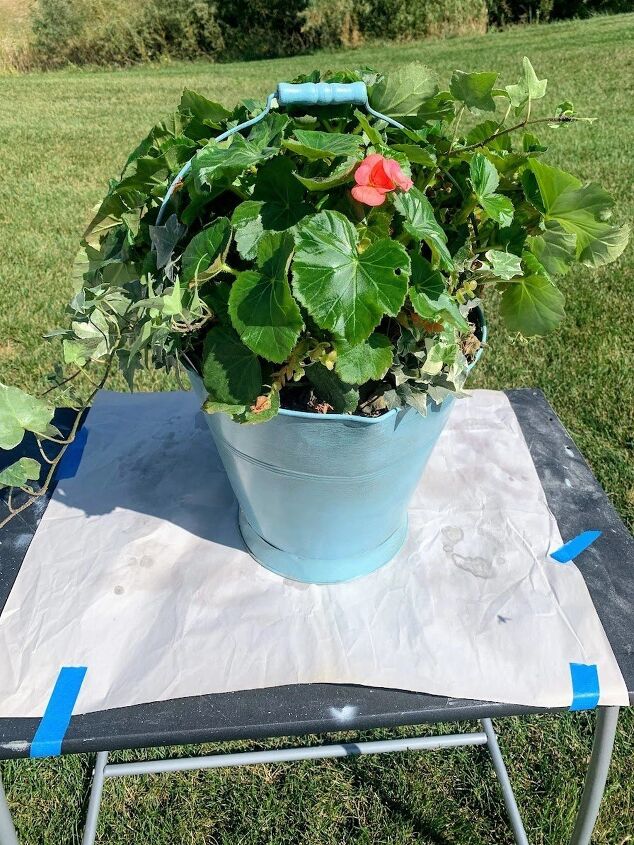
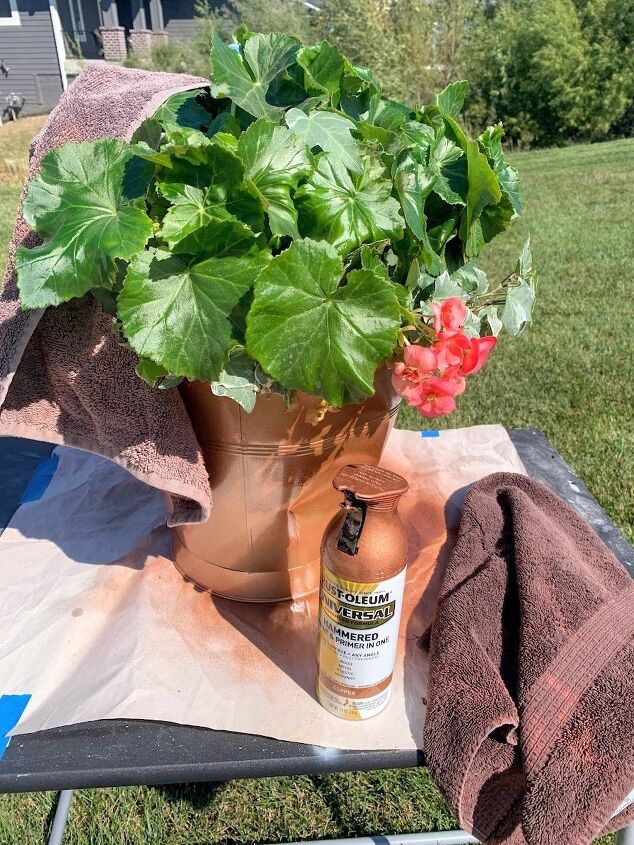
It’s so easy to update the look of your fall decor with spray paint that I didn’t even have to remove the plant that was already in the bucket. I just projected it with a towel and sprayed right around it! Talk about easy.…
How to Make Easy DIY Copper Pumpkins
Real Pumpkins
Before I knew it, half of my real white pumpkins were also getting a coat of copper paint.
Usually, the regular orange pumpkins are the cheapest, so if you plan to spray your pumpkins in copper (or any other color of your choice) just get the cheapest orange pumpkins you can find.
It’s so easy to make copper pumpkins.
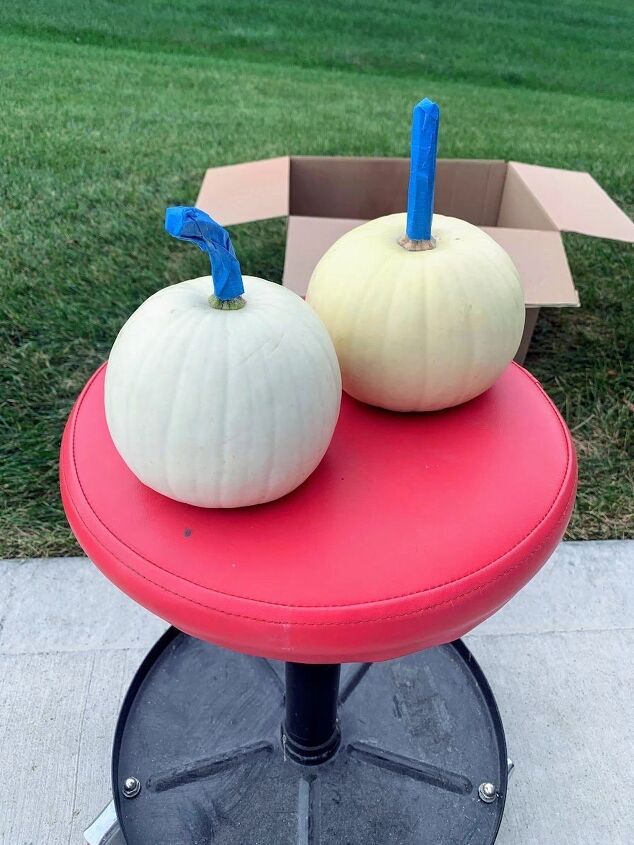
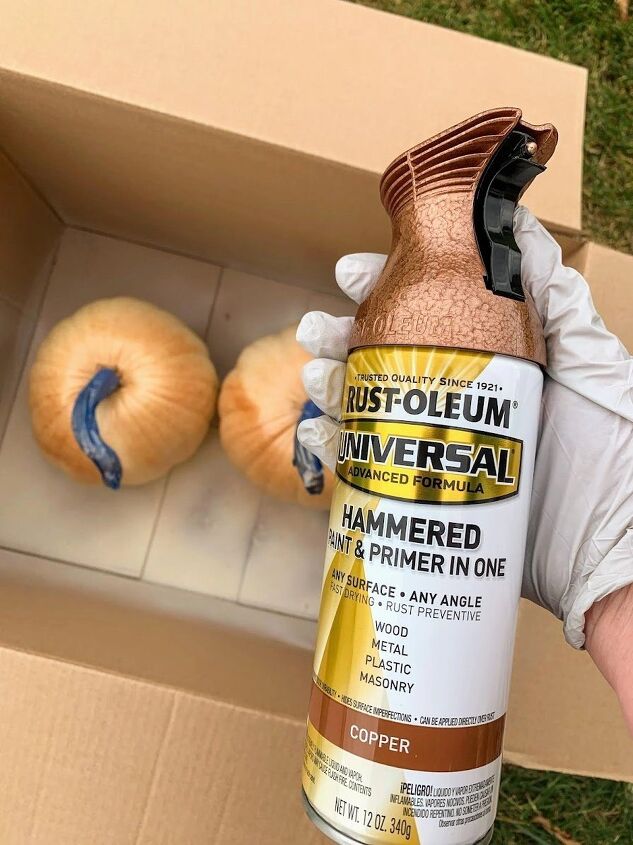
I taped the stems off with blue painter’s tape, because I wanted them to keep real-looking pumpkin stems.
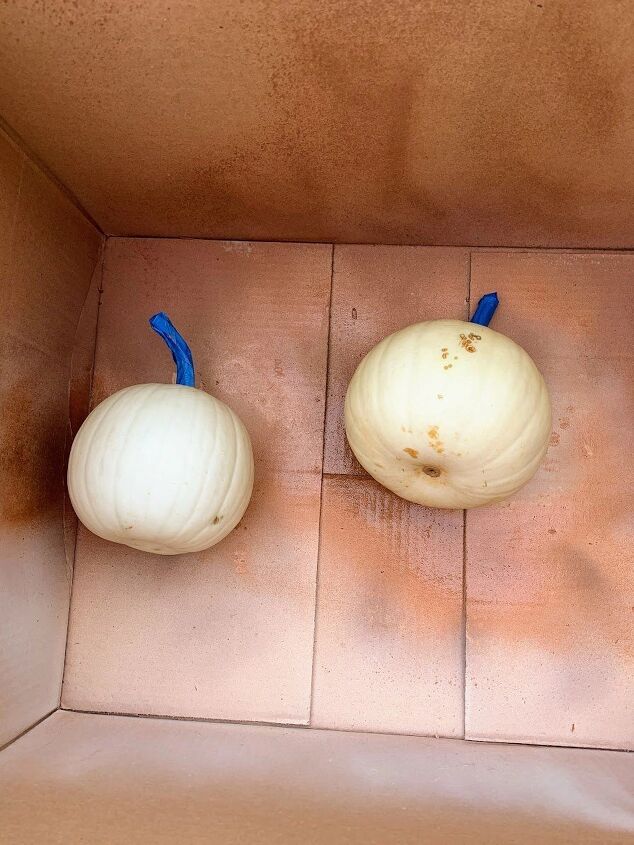
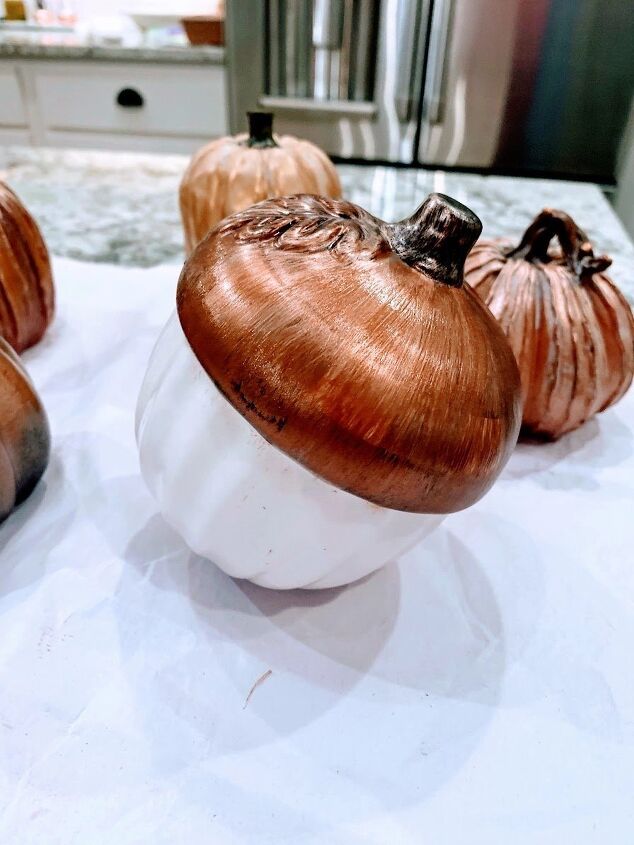
I placed my pumpkins in a box, to keep the spray contained, and then gave them a thin coat of paint and let it dry about 10 minutes. I continued this painting and turning technique until I had 2-3 thin coats on all sides.
Using copper spray paint (or any spray paint for that matter) is a great way to preserve your pumpkins and make them last longer using THIS technique.
I often spray my real heirloom pumpkins in clear spray paint, but you can use any color you want to give your DIY pumpkins a custom look.
Faux Pumpkins
You can also use this same method to paint some cheap Dollar Tree pumpkins, or any old, out-dated fall decor that is in need of a makeover.
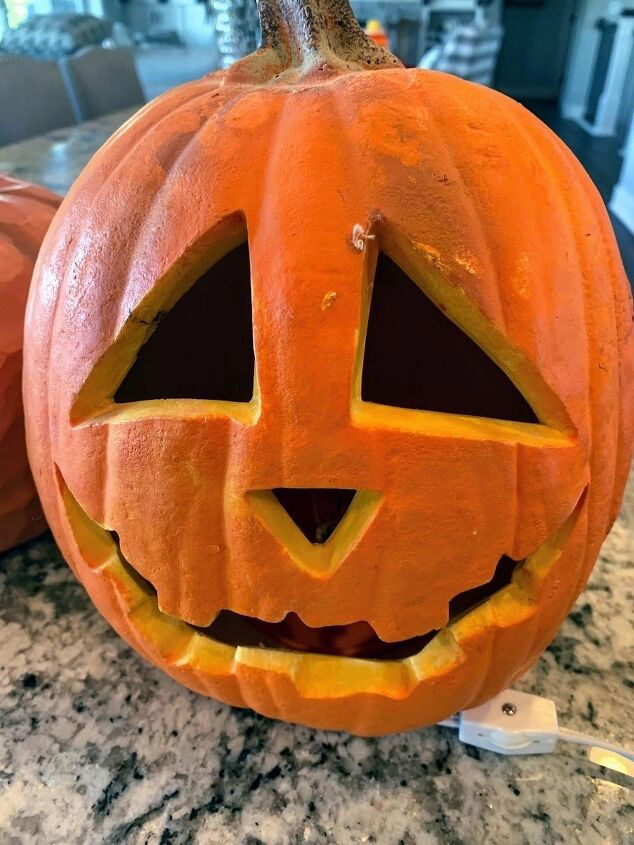
I had these orange pumpkins in my Thanksgiving and Halloween stash in the basement that were perfect for this DIY Copper Pumpkin treatment.
Again, I taped off the parts that I didn’t want painted (the cord and the stem) and gave both orange pumpkins a couple of light coats of copper spray paint.
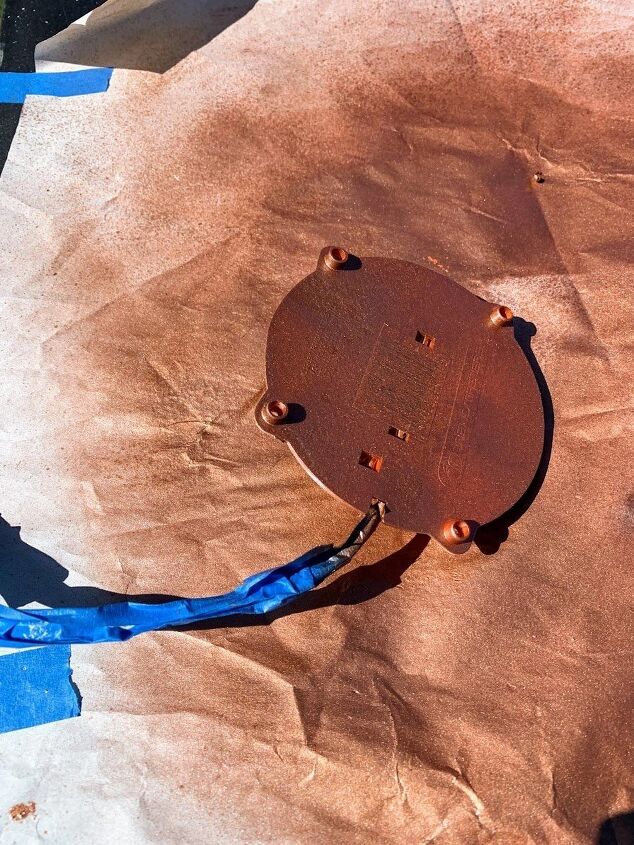
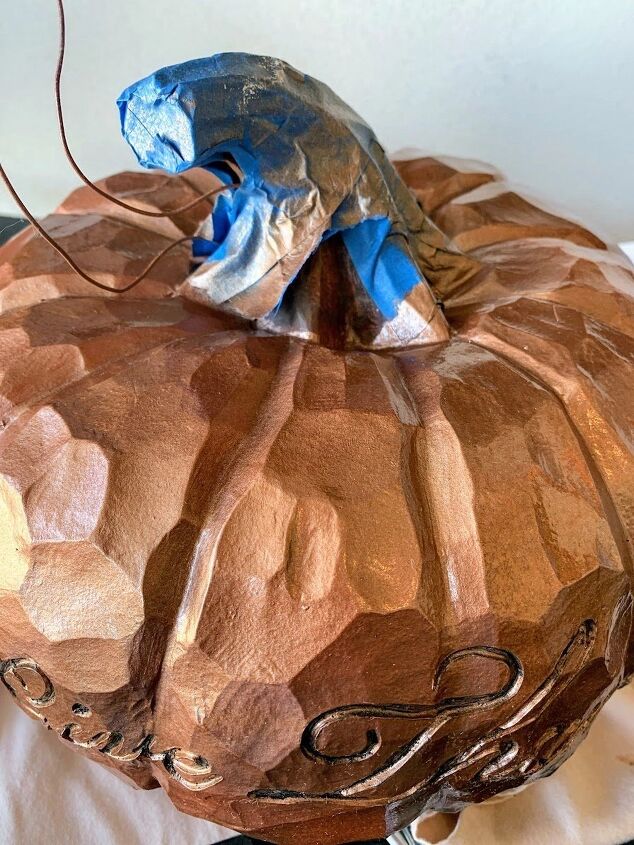
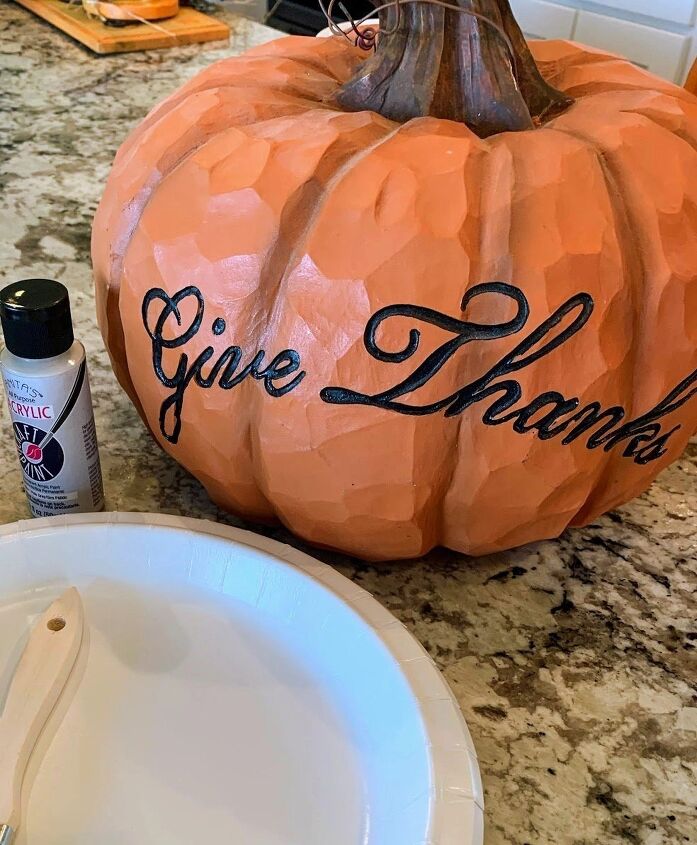
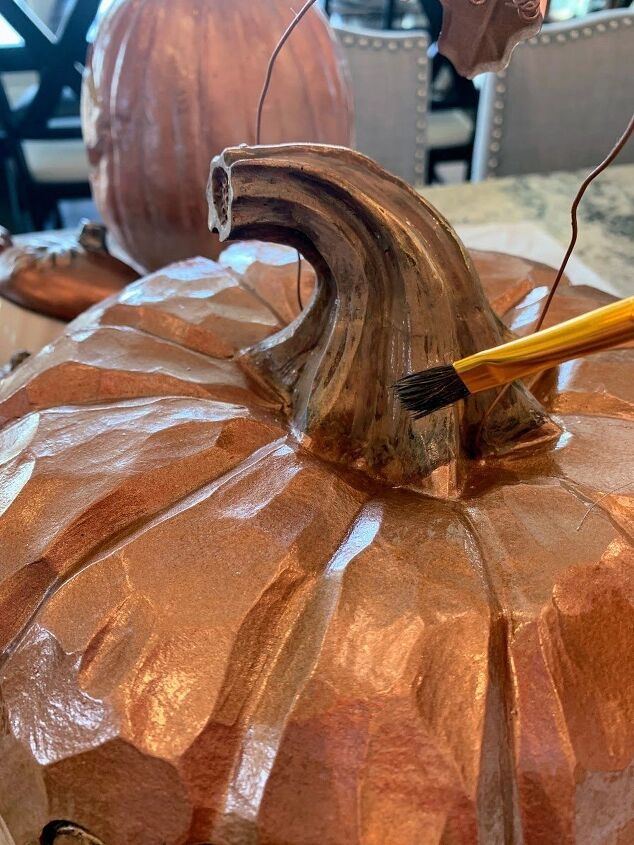
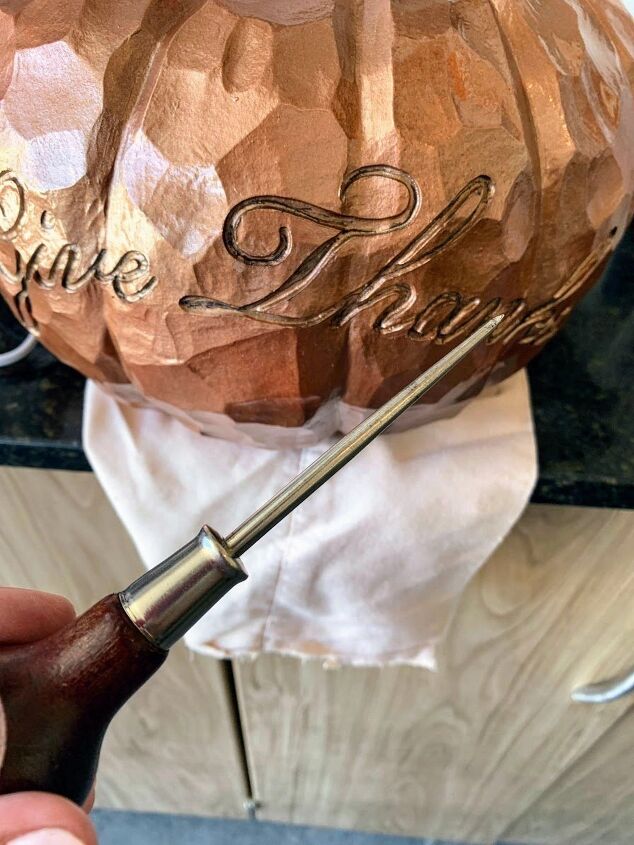
The Thanksgiving pumpkin is made from wood. I’m using it now with the “Give Thanks” words turned toward the back, and then when November arrives, I’ll just switch it around. How’s that for easy?
I didn’t bother trying to tape off the intricate detailing of the wording, but instead used an awl to scrape some of the copper paint out while it was still a bit on the sticky side and not completely dried. It worked perfectly.
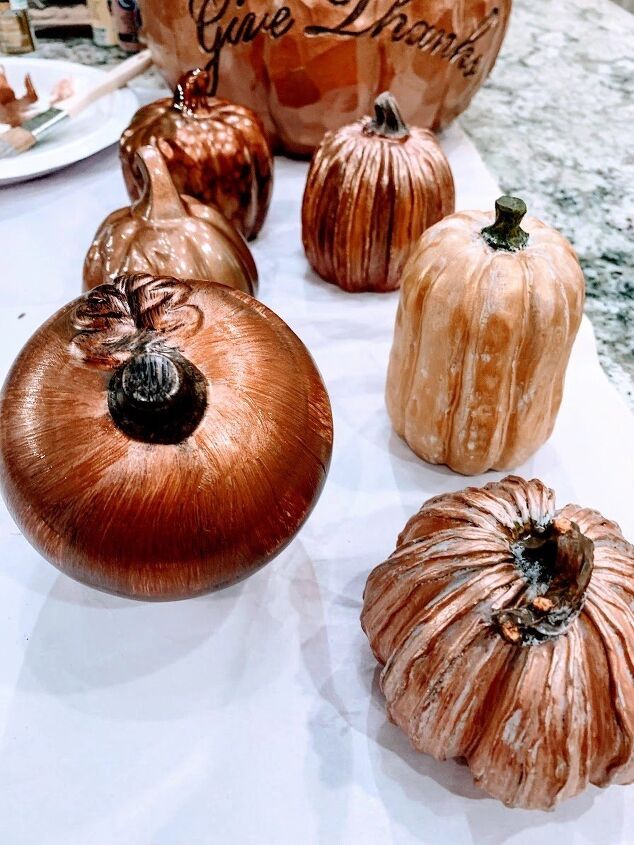
Next, I had all of these various Dollar Tree and Hobby Lobby pumpkins from years-gone-by that weren’t working with my current decor.
More paint to the rescue!
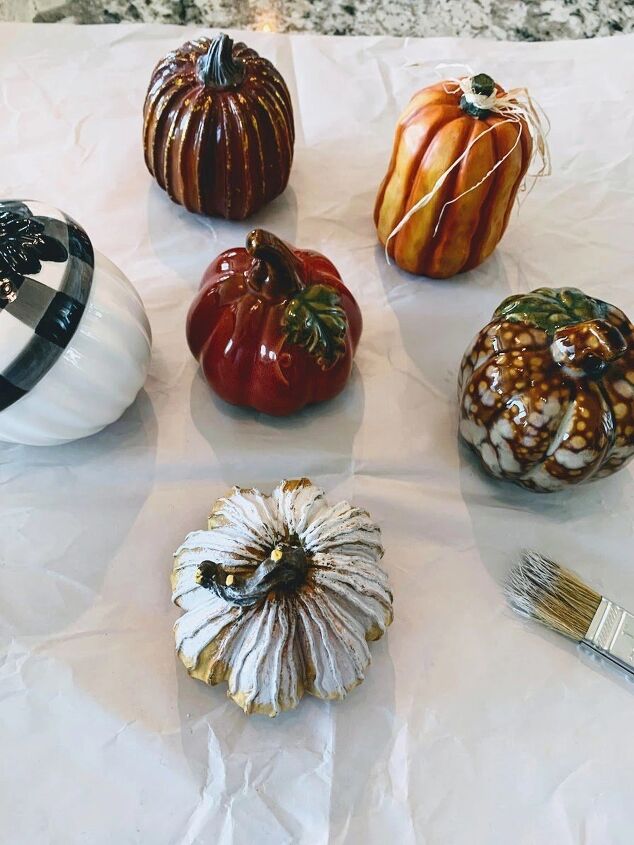
This time I used FolkArt Metallic craft paint from Hobby Lobby.
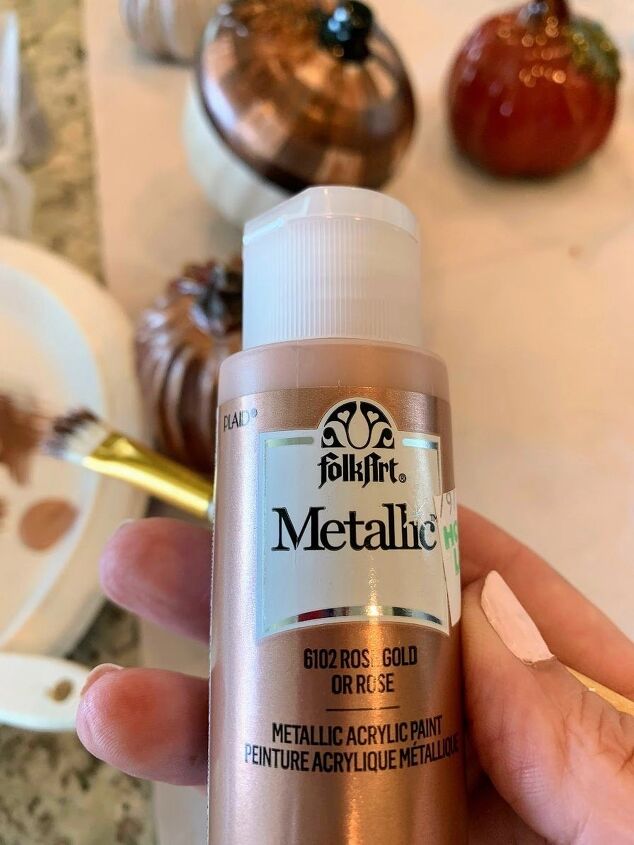
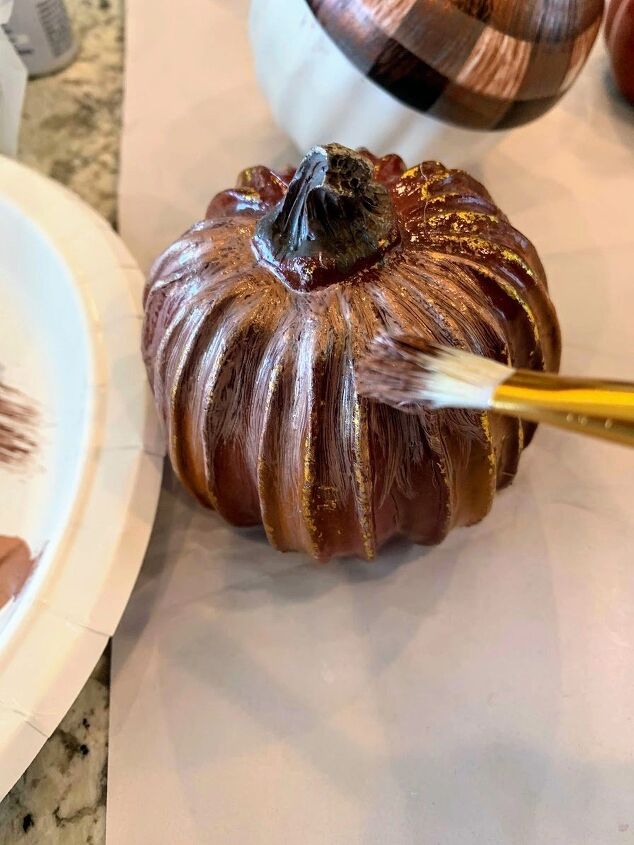
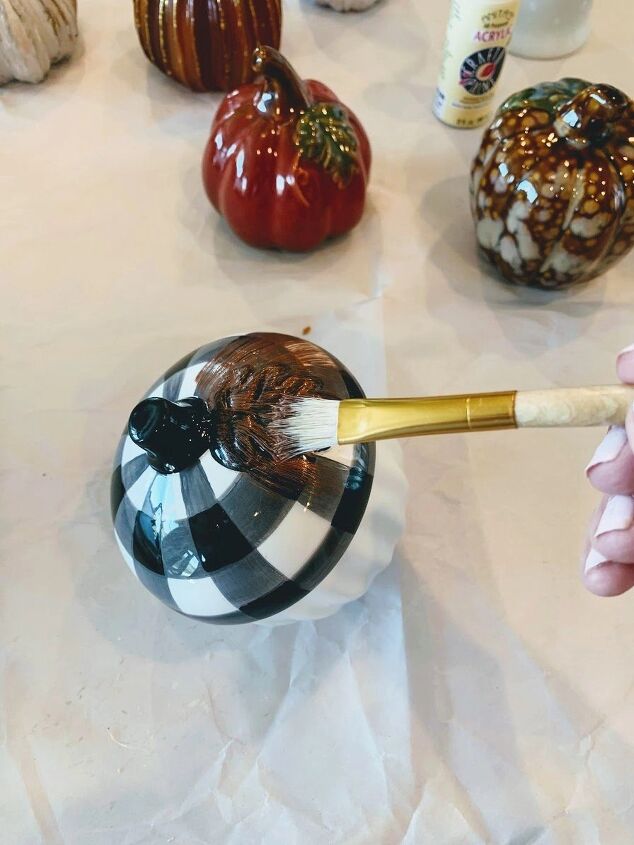
I used Antique Copper, Rose Gold, and Solid Bronze on these old pumpkins to give them an updated look.
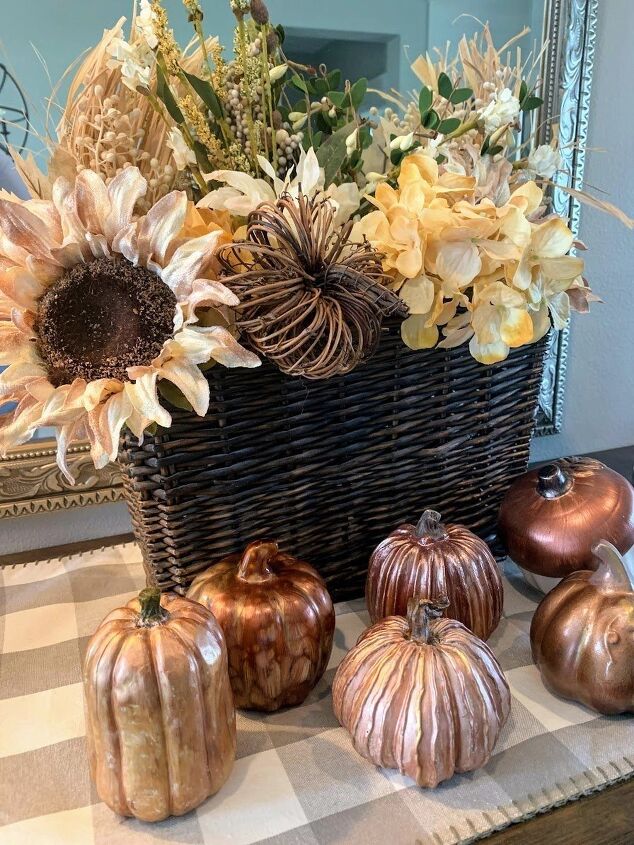
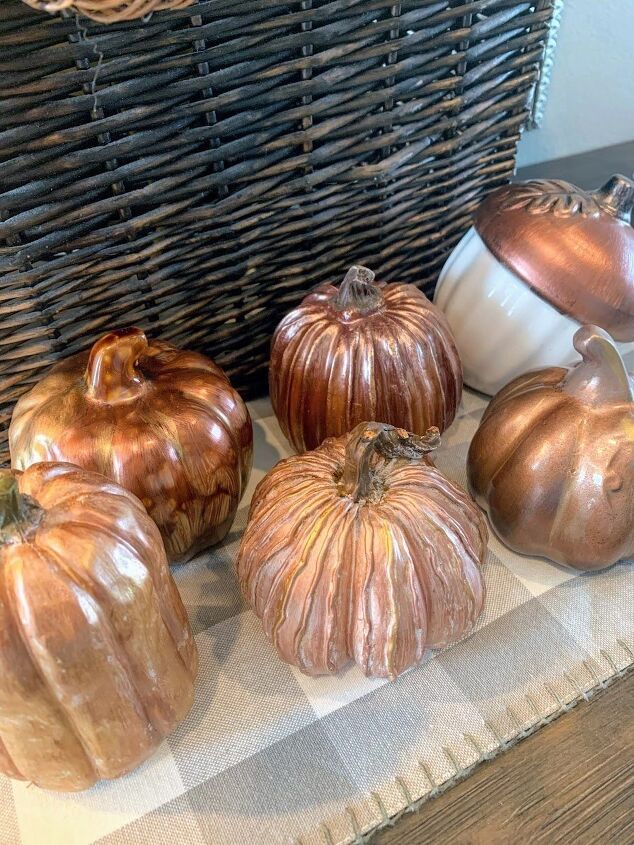
I have them displayed on my entryway table right now, but I plan to use these on my Thanksgiving table this year for the family dinner.
I already have a plan in mind for my tablescape, and it involves a lot of copper!

Front Porch with Copper Accents
Here is my front porch decor this year. I went with purple and white mums, with white pumpkins and copper accents. (You can see last year’s front porch HERE.)
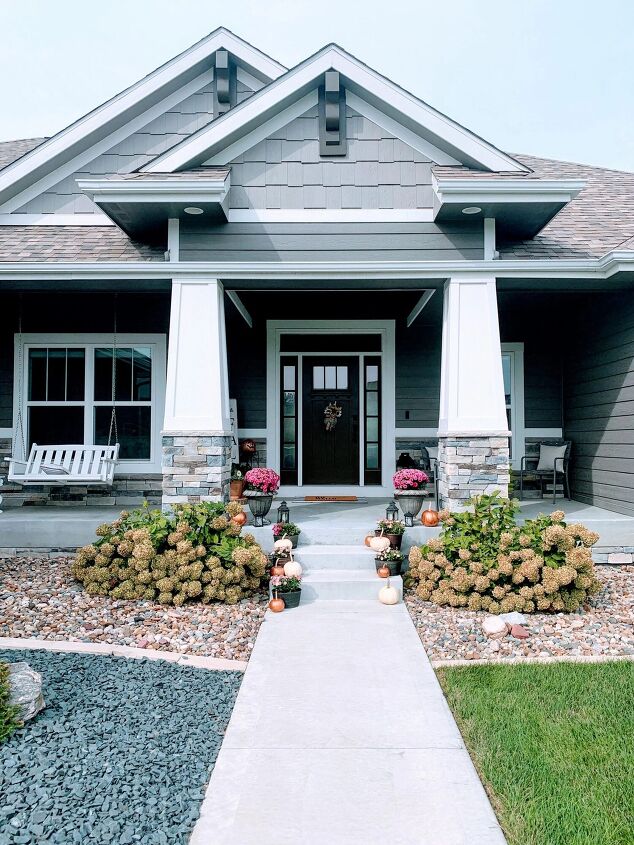
I wanted several smaller mums to cascade down the steps this year, mixed in with my white and copper pumpkins.
I pulled some old planters from the shed and gave them a quick makeover with Rust-Oleum spray paint in both oil-rubbed bronze and copper.
My DIY Front Door Basket is HERE. It’s filled with neutral fall florals, and tied with a coppery ribbon.
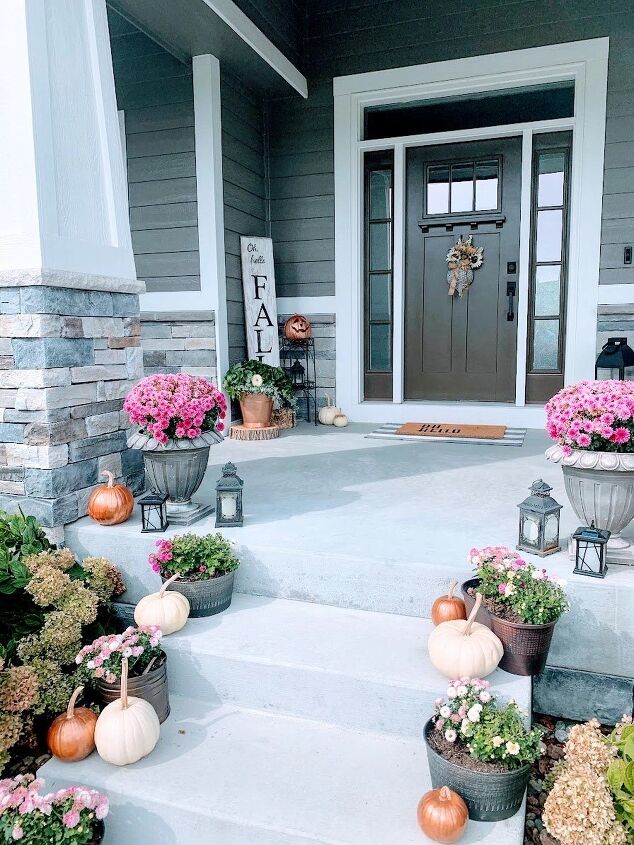
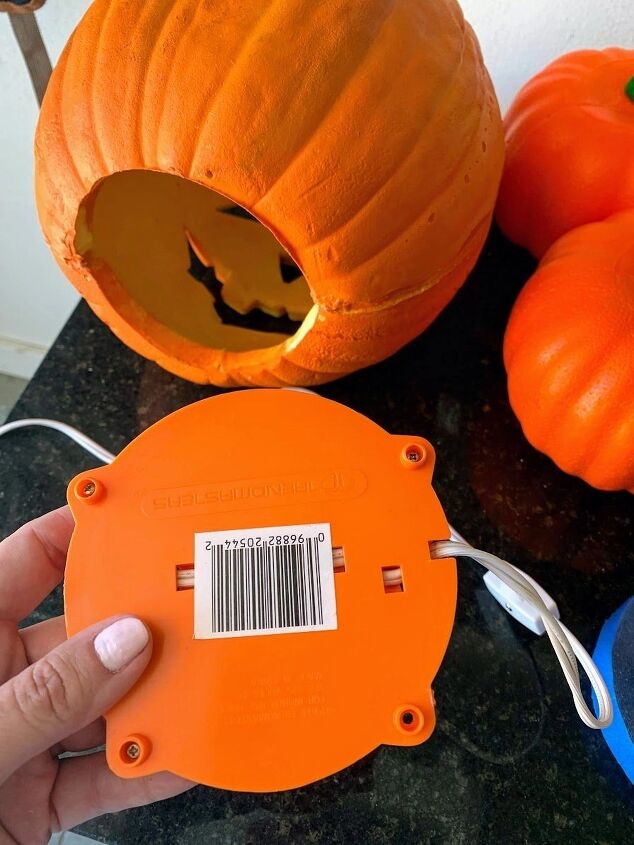
Can you see the Halloween jack-o’-lantern I sprayed copper back there? It is set to light up at night with a timer hidden behind my fall porch sign. (You can see how I made my DIY Fall Porch Sign HERE).
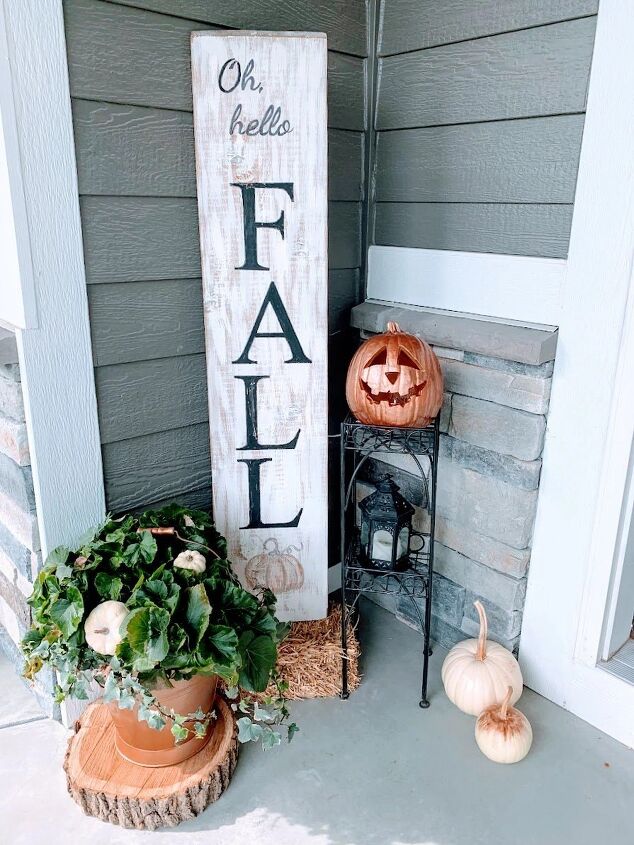
The bucket of flowers that I sprayed copper is also here in this corner of the porch.
Those florals are from May, and although they aren’t blooming anymore, the greenery is still going strong, so I couldn’t bear to dump them out yet. Instead I just tucked a couple of white pumpkin picks into the leaves.
With the newly-sprayed copper bucket, it works for fall just fine.
Add some lanterns, wood slices, and a hay bale to the DIY Copper Pumpkins, and it all comes together to create this copper-inspired fall home decor.
See what I mean? Copper really is the new orange.
Let’s stay in touch! You can subscribe to The House on Silverado by visiting my blog https://thehouseonsilverado.com/ and using the box on the top of the page, and follow on social media, so you won’t miss a thing!
Facebook —– Instagram —– Pinterest
@thehouseonsilverado
This post contains affiliate links. Thank you for reading and supporting my blog.


Comments
Join the conversation
-
Fabulous - where were you a month ago when all I did was hang a fall wreath on my door? At 87 I normally don't do much decorating, and then only seasonal, but for this I would make an exception. Thank you so much for the inspiration.
-
Awww, thanks so much, Pat. You’re so kind.


Frequently asked questions
Have a question about this project?