


Easy Peasy Pumpkin Pleasy

Most everything I make these days has a coastal look. I happen to live at the beach. But you don’t have to live near the sea to have a soothing beachy vibe in your home.
Lets get started
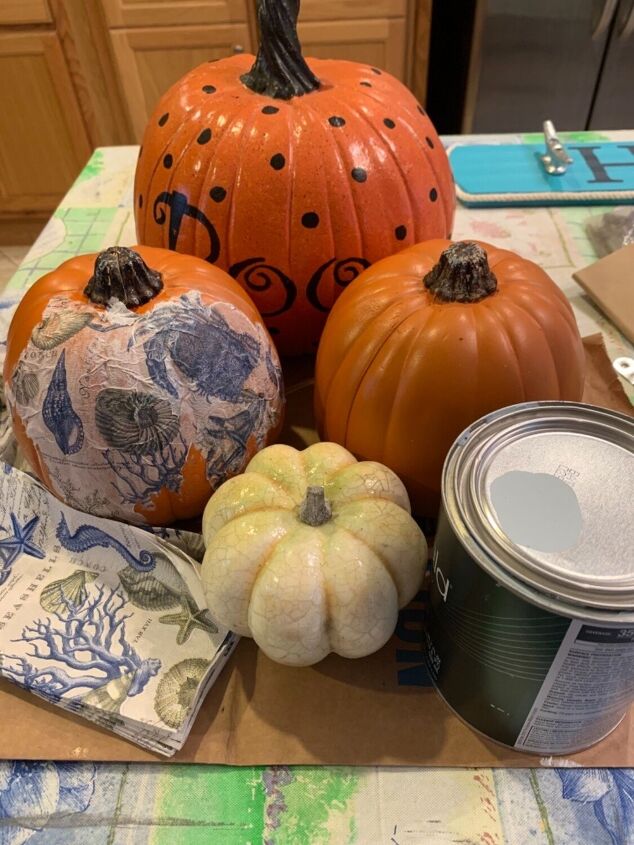
I have been collecting faux pumpkins over the years. It’s time for me to do something different with them. The plan is to mod podge with paper napkins. I quickly found out that the ugly orange will show through.
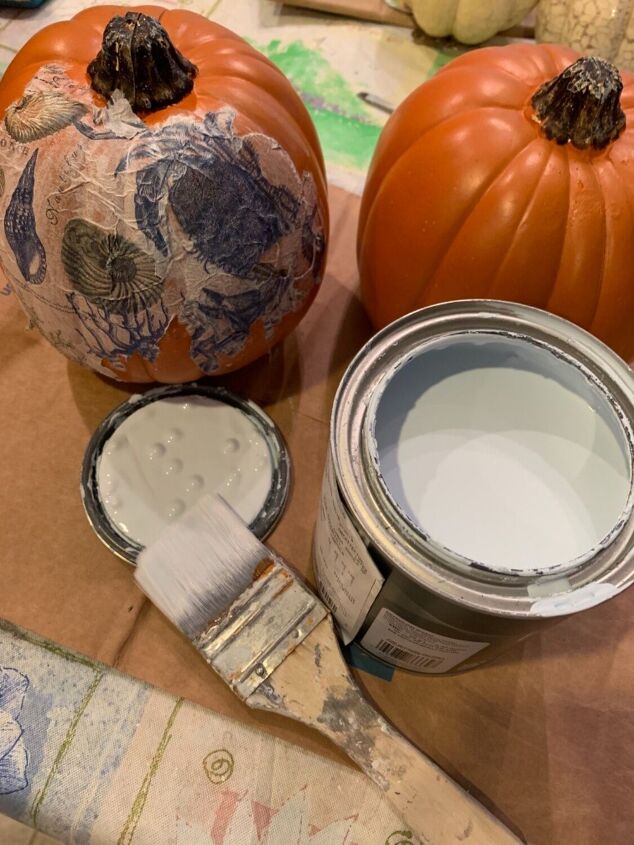
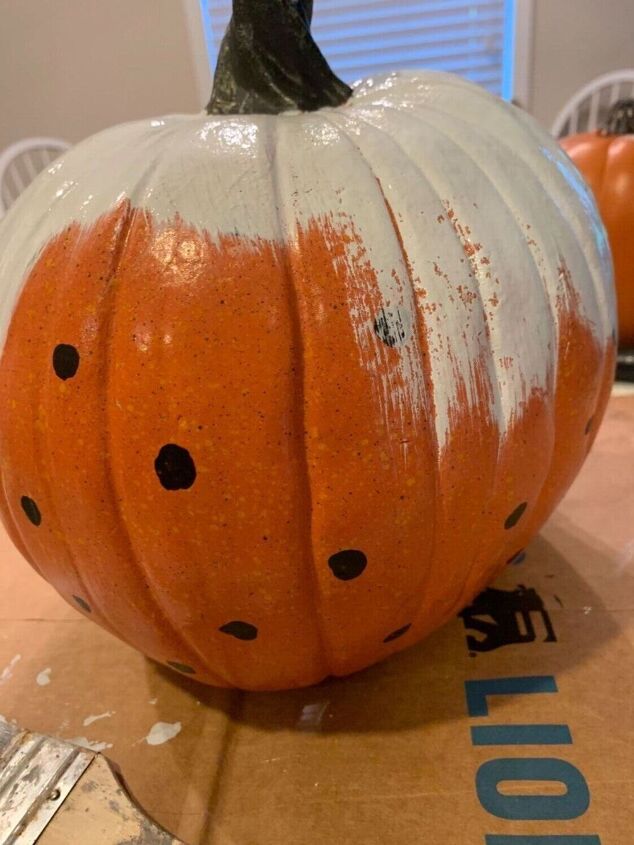
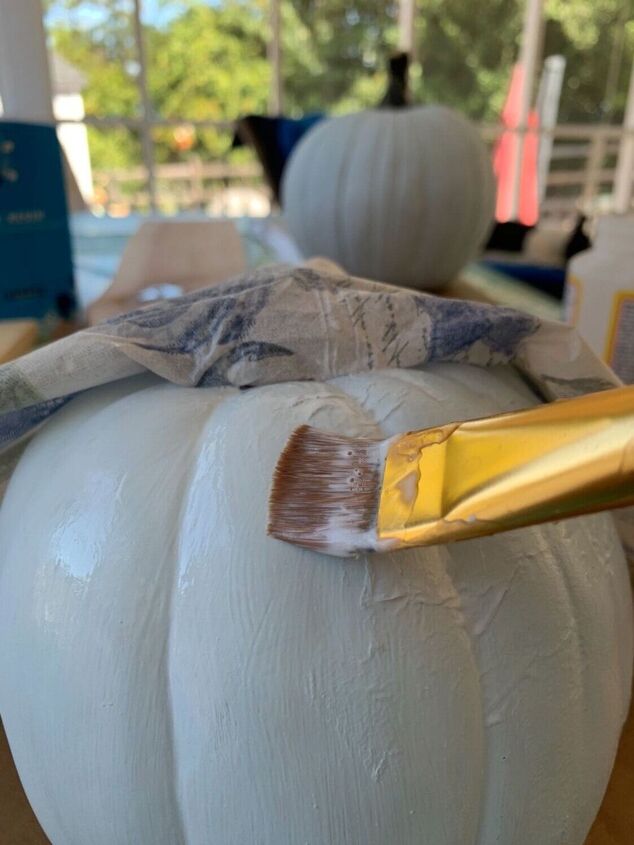
I decided then to base paint each pumpkin with either a white or a light blue color.
This step was quick and easy. I painted most of the pumpkin and then as soon as it dried I turned it upside down and placed it in a cup so I can paint the bottom half.
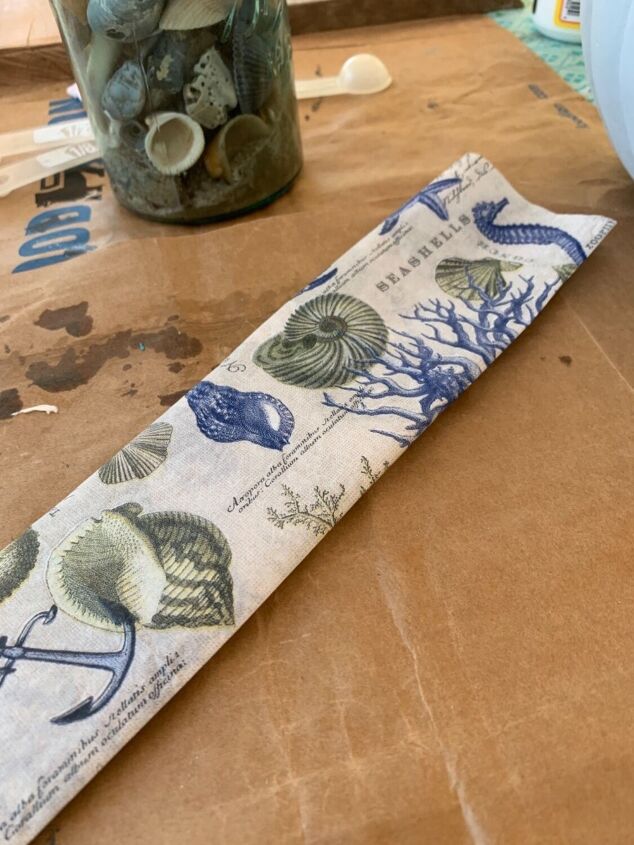
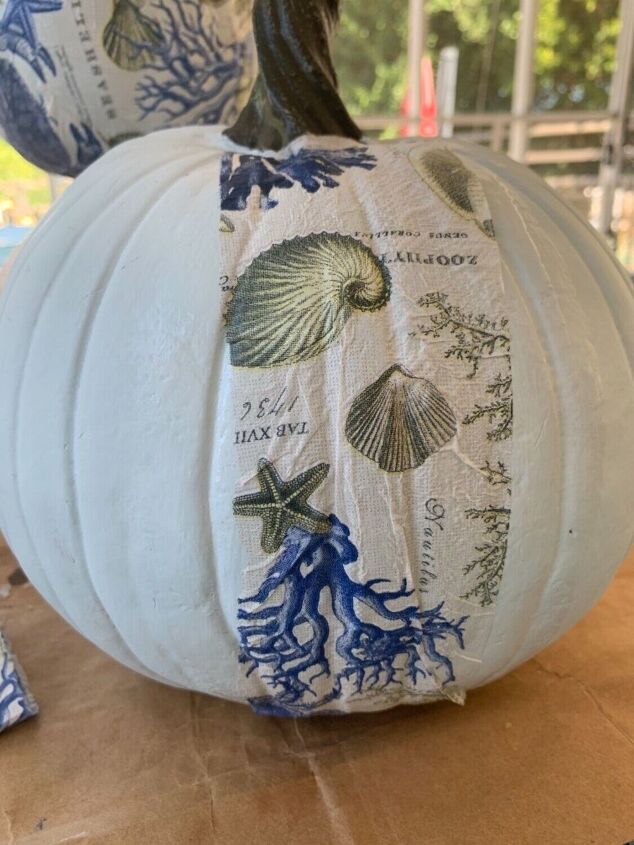
I love these nautical 3 ply napkins. It’s real easy to remove the first white ply but a little more tricky to remove the next white ply that is stuck to the printed piece. A little bit of water in the corner plus using a sewing needle helped me to remove it.

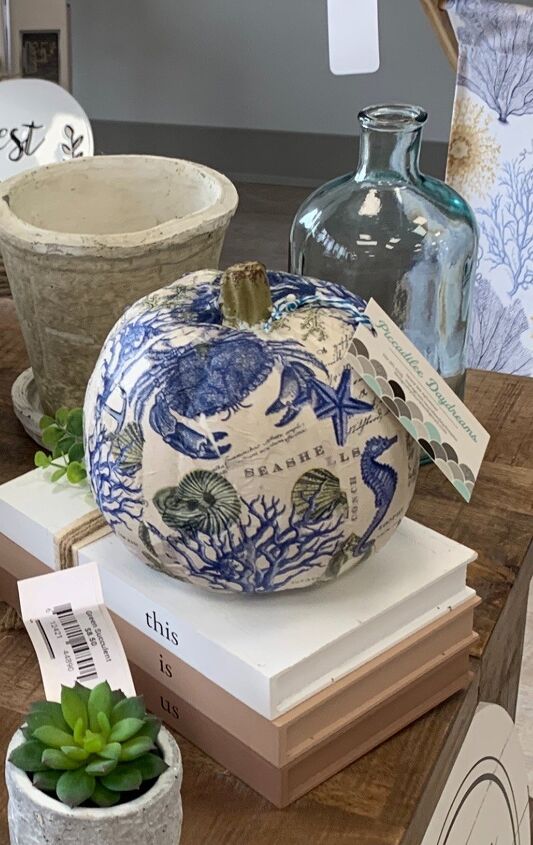
This napkin had a very random pattern with the design elements upside down and right side up. This is a good thing. I just tore postcard size pieces in no particular order for the first pumpkin. I then glued the pieces on with mod podge in a hap-hazard way. I ptefer the napkin not lay smooth. I like wrinkles and folds. It gives it dimension, texture and interest and is so easy peasy. You definitely don’t need to have the pieces lineup.

However I decided to try something different and I folded the napkin up. Then I tore it in about five pieces keeping them lined up. This time I applied the napkin in strips matching up the design. But don’t worry. It definitely was not perfect at all. I just wanted to make sure that you can make out a seahorse here and a blue crab there.
Here you can see that I just brush on a whole lot of mod podge first. Then with the same brush I smoosh the piece of napkin down. My goal is to cover every inch of pumpkin.

And there is Miss Abigail. She is always close by.
Isn’t she pretty!
The napkin looks so good with the light color showing through.
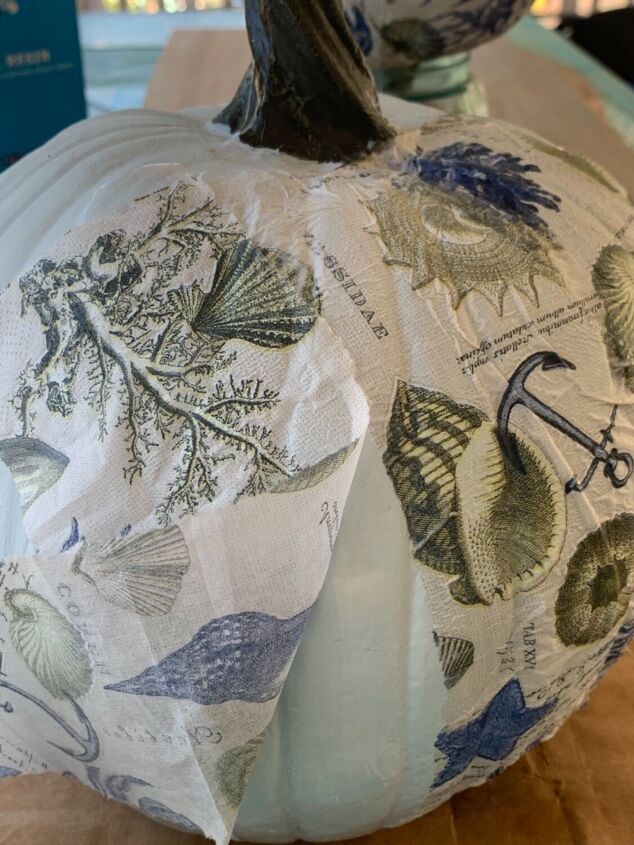
You always end up with holes because the pumpkins are round. I just tear up more of the napkin to cover the exposed areas.
Here’s one sitting pretty in the consignment shop.
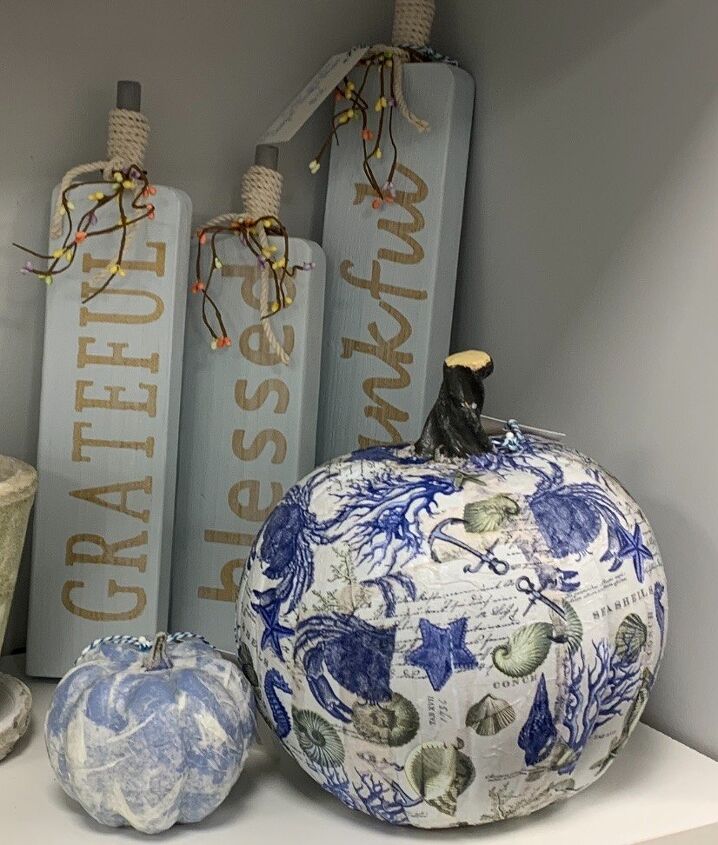
I made the wooden pumpkins in the background too.
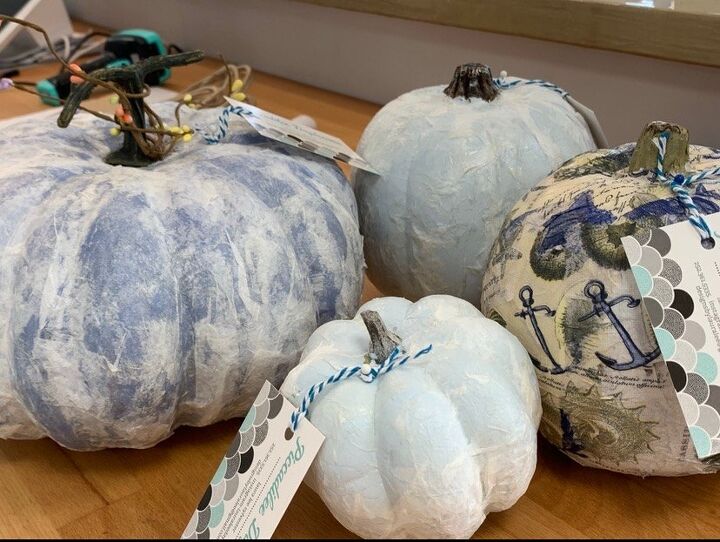
I ran out of the printed napkin but had more pumpkins left. So I decided to paint them a little bit darker blue and mod podge them with the leftover white napkins. Having a variety of sizes is the way to go.
I hope you enjoyed this. Let me know if you have any questions.
Comments
Join the conversation
-
I'd hate for these beautiful pumpkins to rot, all this work. Do you think if cement were applied it would attach? Than it could be scooped out,, they be lovely to put in the yard.
- See 2 previous
-
I only use fake foam pumpkins. They are not real.


Frequently asked questions
Have a question about this project?