


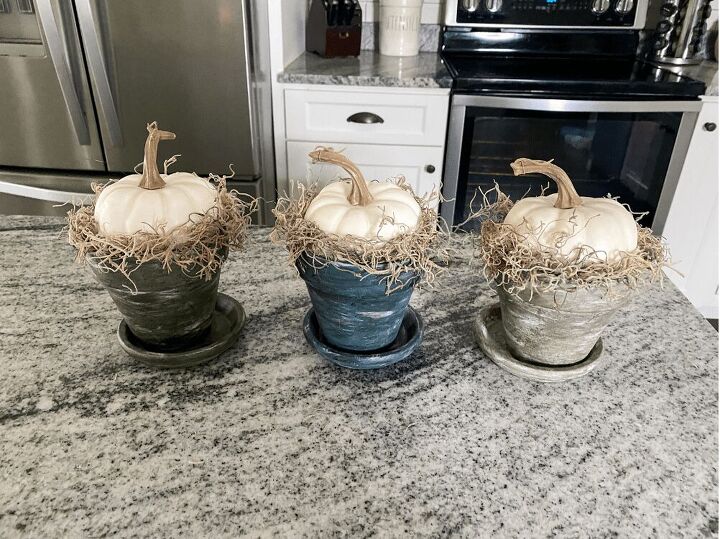
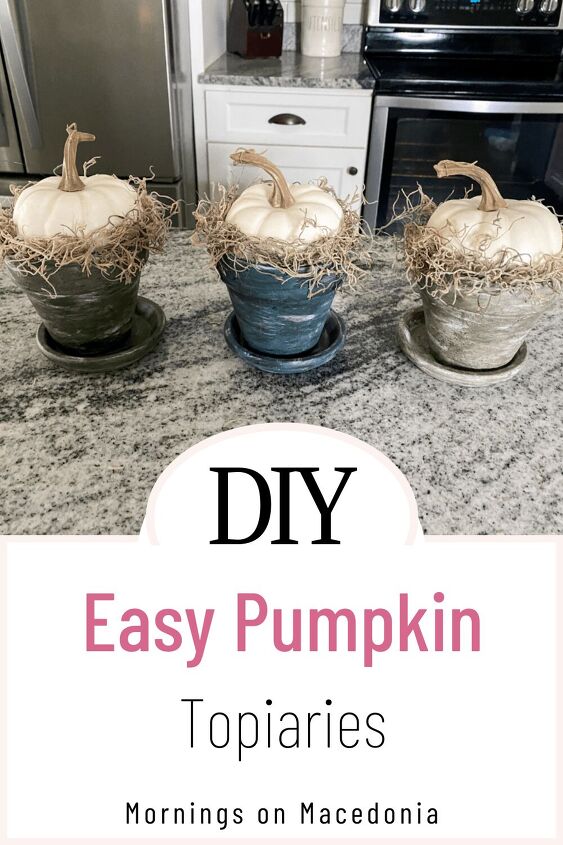
Easy Pumpkin Topiaries

I had my cute painted terra cotta pots all empty and sad after all my summer flowers died. And I wasn’t really feeling replacing them with any fall plant, because I already have enough mums to water on my front porch! So I came up with this idea to create easy pumpkin topiaries with them instead. Since the pumpkins are faux, I don’t have to worry about rotting either so that’s less stress for me! You could easily have these displayed inside your home or outside on the porch like I did. All you need are a few supplies and a little bit of time and that’s it!
This post contains affiliate links. Click here to read my disclosure policy.
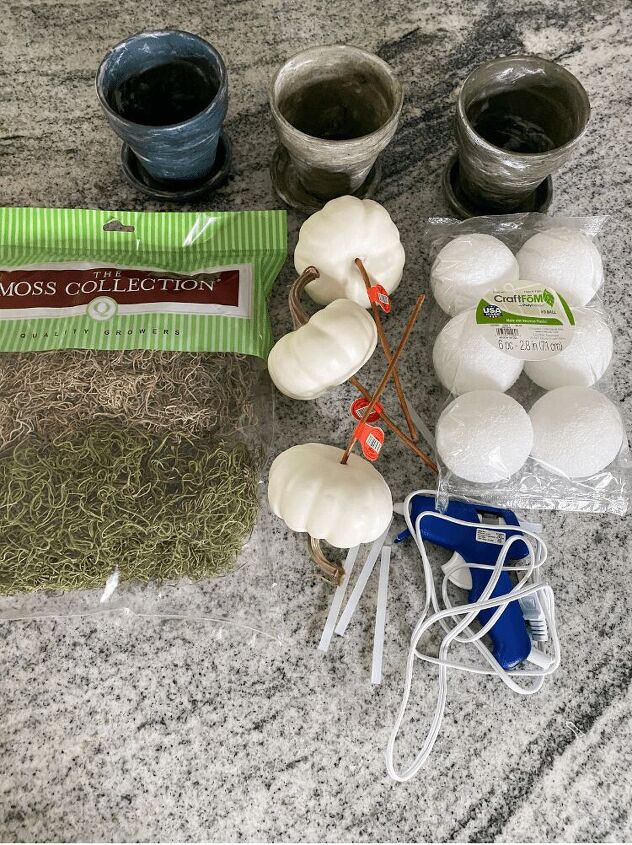
- Faux Pumpkin Stems (I used white to keep it neutral but if you want to go for color, you totally can!)
- Small Styrofoam Balls
- Faux Moss
- Hot Glue Gun
- Hot Glue Sticks
- Terra Cotta Pots
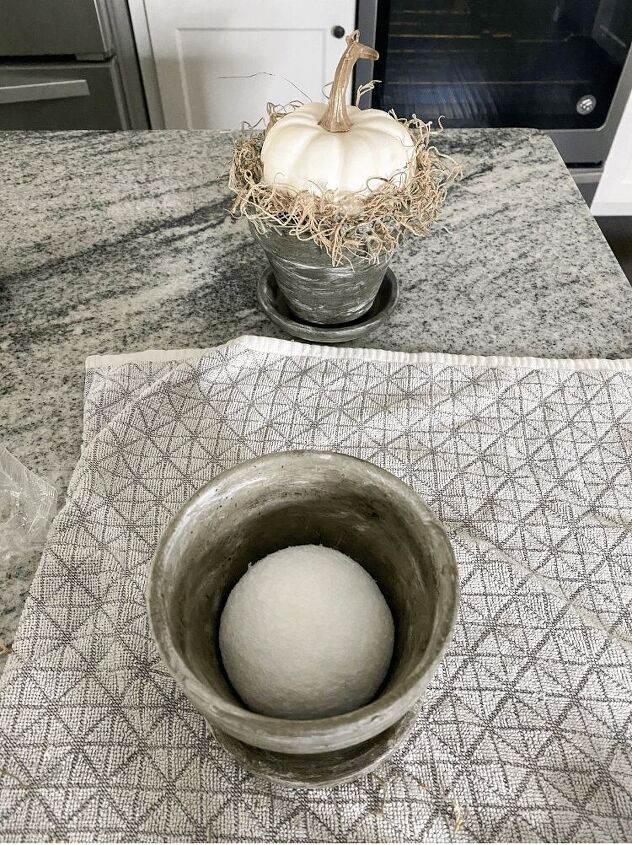
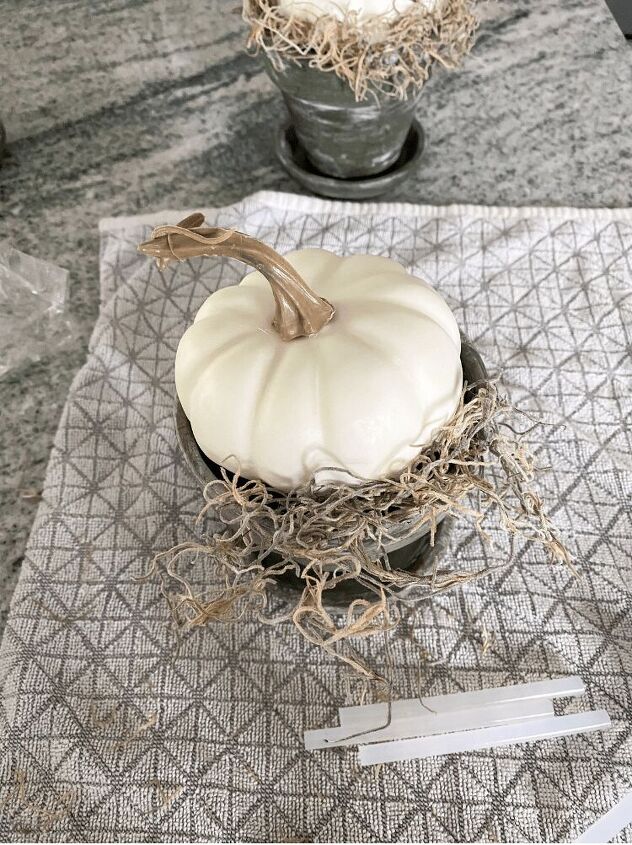
I didn’t want this to be a permanent thing for my terra cotta pots. Especially since I use them for actual flowers during the spring and summer. So to secure these easy pumpkin topiaries to the pot, I simply placed a styrofoam ball into the bottom of it. And then I just stuck the faux pumpkin stem right into it. I did have to trim the stems down a tad because they were too long for my pot.
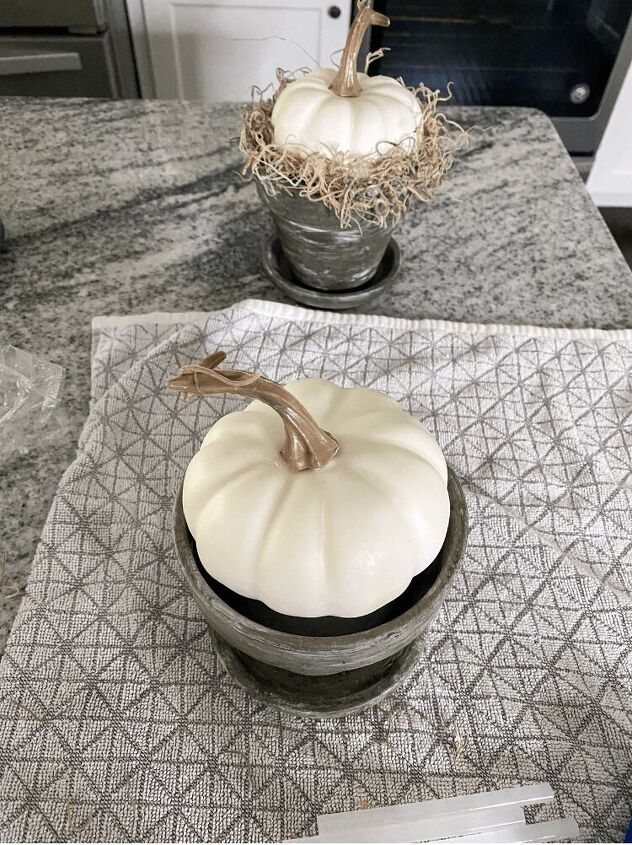
After trimming the stem down and placing it into the styrofoam ball, you may notice there is a tad bit of gaping around the rim. The pumpkin almost fit completely on top of the pot, but I didn’t like the slight space around it. I decided that this was where the faux moss and greenery would come in handy!
Like I said above, I wanted this to be temporary so I can easily remove the pumpkins after fall is over. So I decided to use my hot glue gun and apply some hot glue right on the pumpkin and not on the rim of my pot. Working quickly, I attached the faux moss on the pumpkin while the glue was still warm. Be careful not to burn yourself though. Let the hot glue dry for a few seconds before you place the moss on.
After I had glued the moss on the pumpkins, I noticed some of the pieces were a tad bit longer than others. I went back with scissors and just trimmed up the crazy pieces. I wanted it to have a nice, uniformed look. After that, they were completely finished! How easy is that?! And the fun part with these is you can make it your own. Like I stated above, I wanted to keep mine neutral since I was going to place them on the porch when I finished them.

However, if you want to use colored pumpkins, go for it! Or, if you don’t want to use a painted terra cotta pot like mine, use the original one. The options are completely endless and you can definitely make it your own. You could even use bigger pots and bigger pumpkins if you wanted a larger topiary.
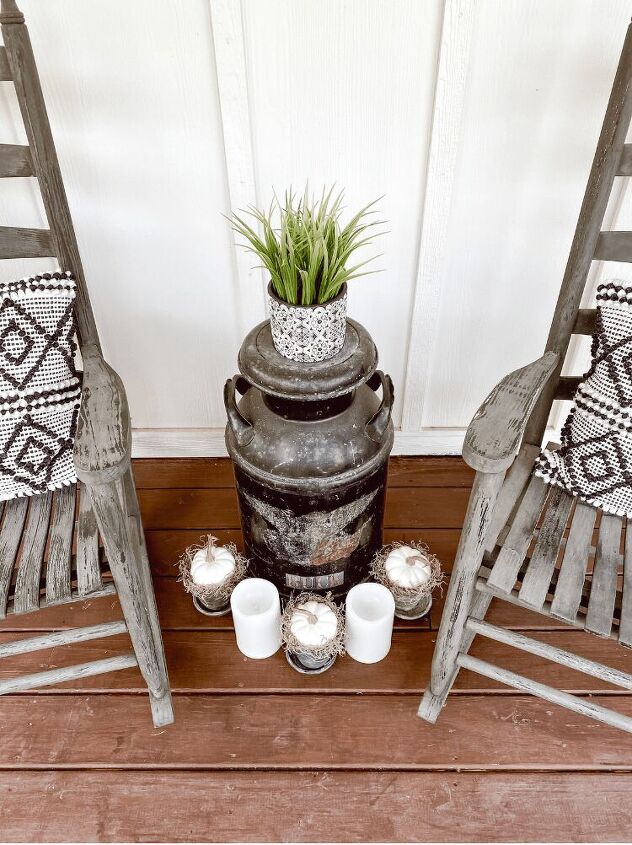
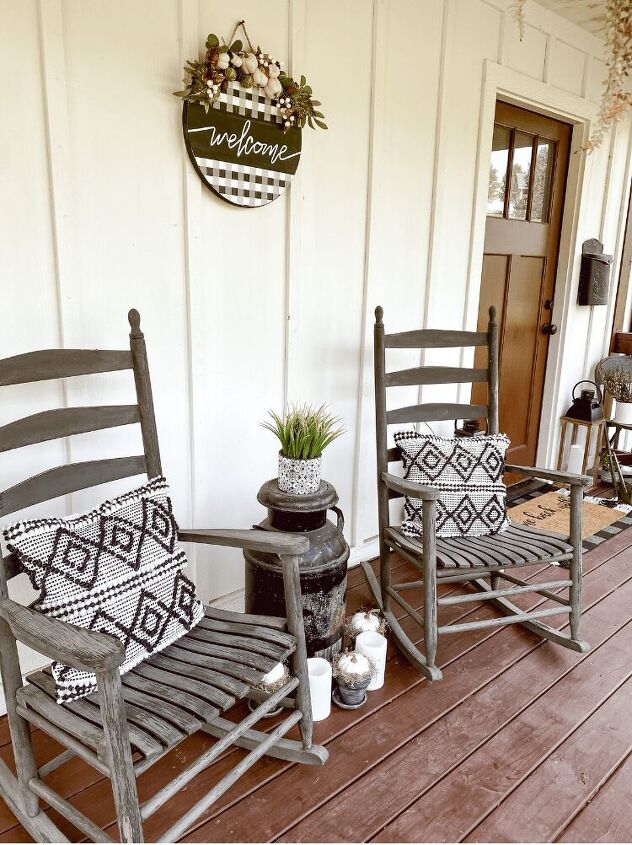
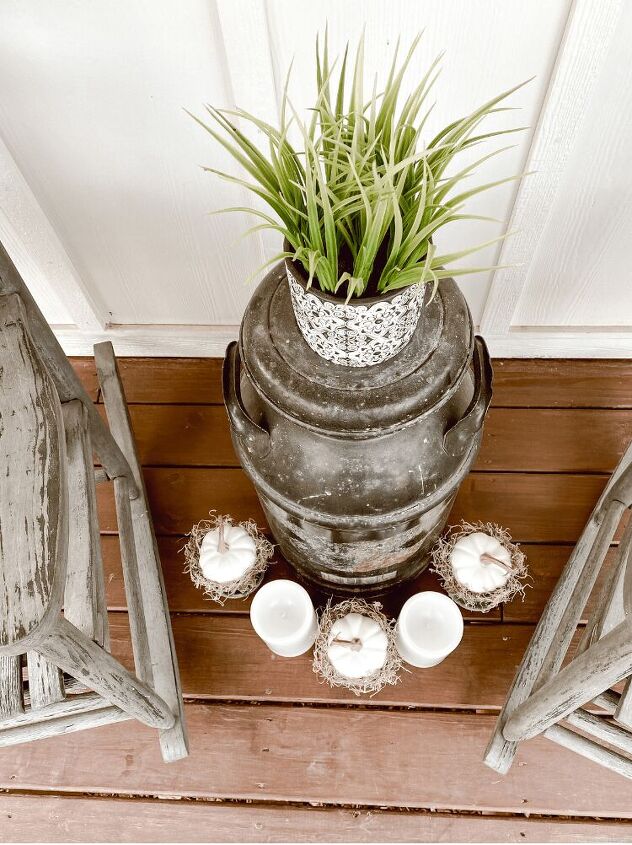
I placed my finished easy pumpkin topiaries outside around my vintage milk can. I also added in some battery operated candles in between them so they can have a nice glow in the evening time. It is also directly between my rocking chairs so I think it gives this space just the right amount of fall touches!


Frequently asked questions
Have a question about this project?