


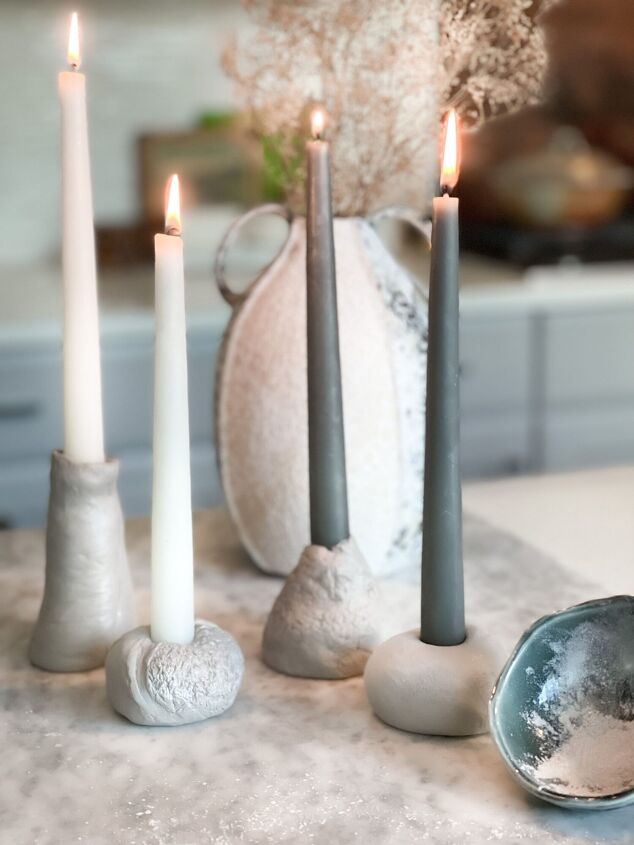
11 TIPS for a Great Candle Holder DIY CLAY!

Candle holder DIY has become a big love when decorating and I have learned a great secret, Air Dry Clay! I remember being 7 years old and entering my first clay project in an art competition. It was a modern cup and saucer with dripping paint on it. It had the neutral colors that I still love today. I actually won! Since then, I have loved anything clay. I no longer need to buy my candle holders, I make them myself! A Win, Win! You can see more of my cozy creations here!
Links in this article are affiliate links and if you click on them, we will receive a small commission at no additional cost to you! Clicking and purchasing help to support this blog and all of the home and garden posts we bring to you!
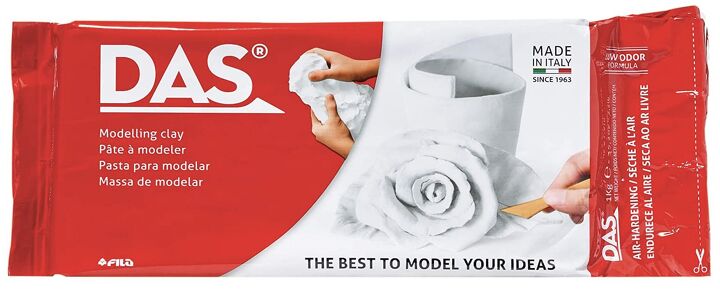
Air Hardening Modeling Clay - White; https://amzn.to/3oHowZ7
CANDLE HOLDER DIY TIPS TO KEEP IN MIND
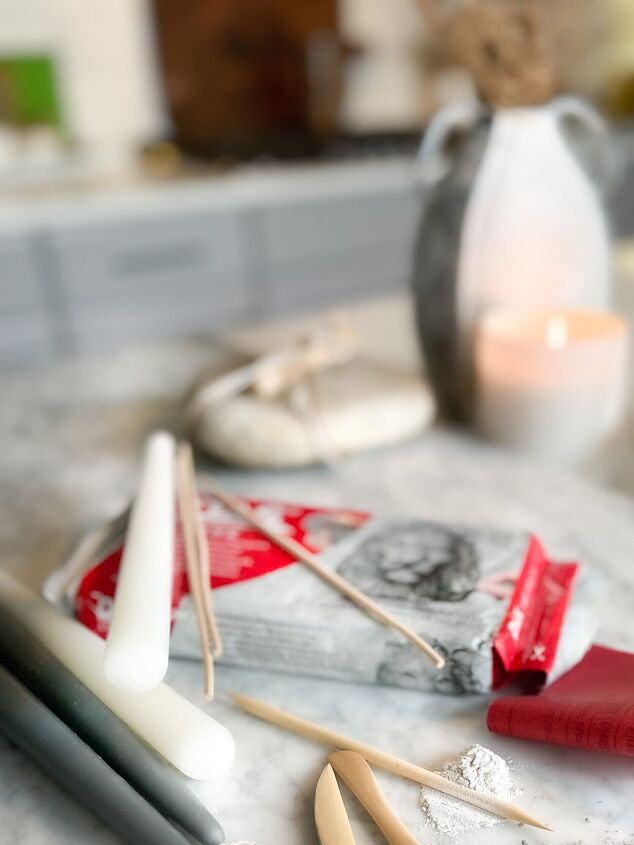
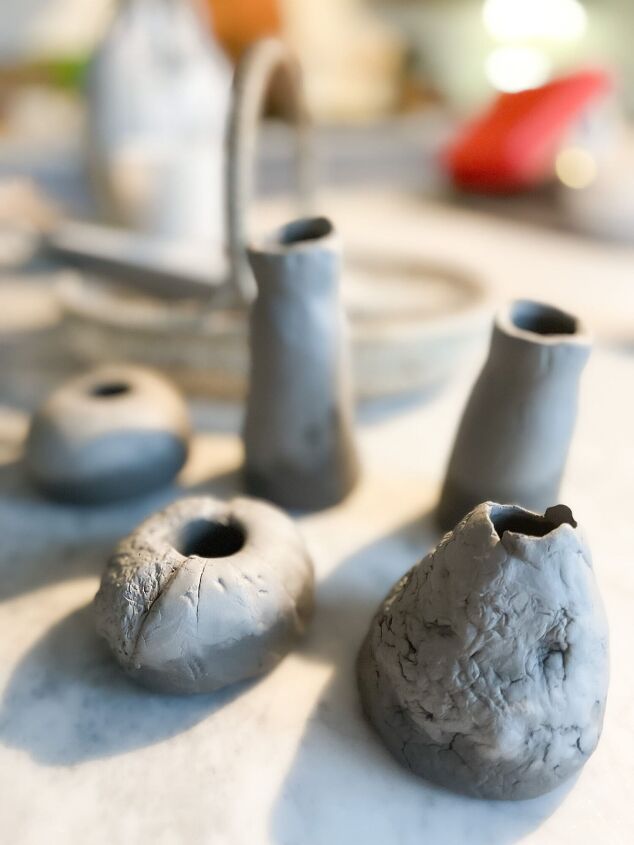
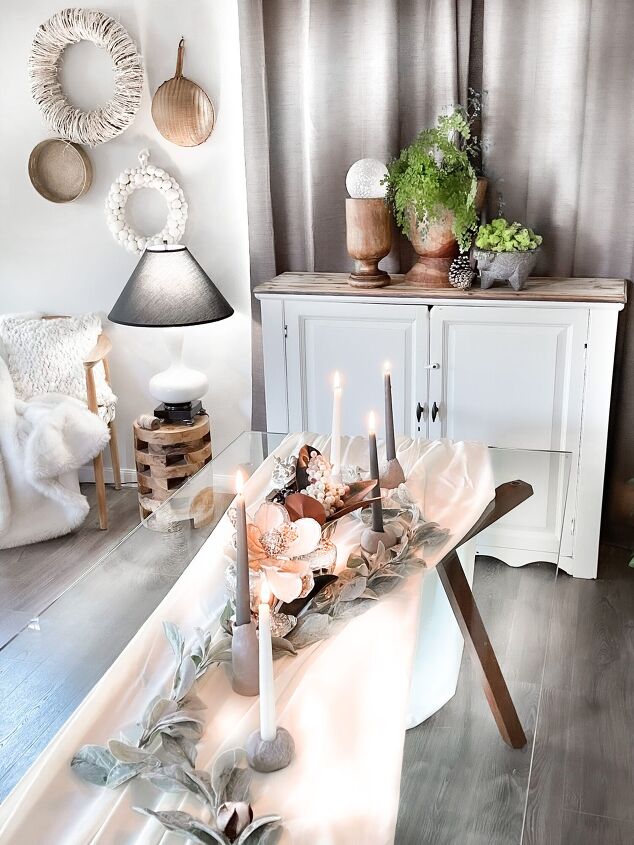
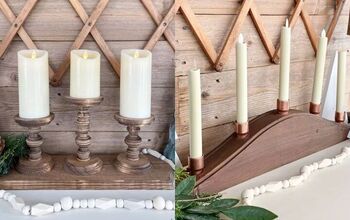
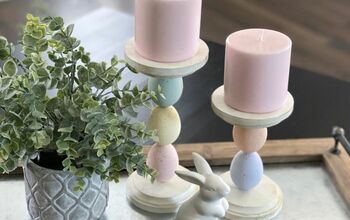
On this post you will learn the best tips to get beautiful pieces that will make a big difference on the candle holder diy. I have styled my table for Christmas with the latest clay candle holders I made. I have created 5 different candle holders and I am so happy with the outcome!
You want to jump into decorating, take a look at HOW TO GET INSPIRED TO DECORATE WITH NATURE IN MIND! READ HERE!.
- CHOOSE THE RIGHT CLAY: It is critical you choose the right air dry clay.
- SHAPING: Shape the clay after you knead it thoroughly. The DAS brand air dry clay is easy to work with.
- PROJECT TIME: Time of projects will vary depending on the thickness of your piece. Anywhere from 5 hours to 2 days.
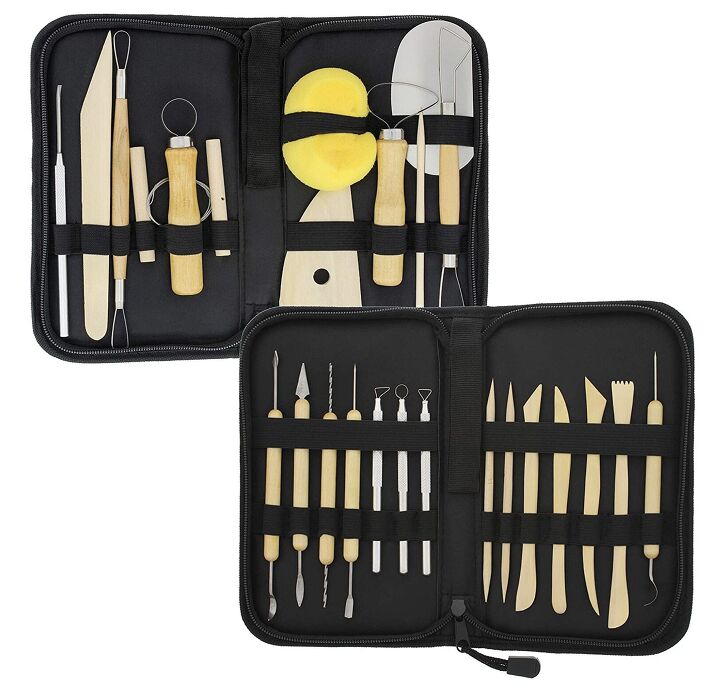
- TEXTURING THE CLAY: You don’t need fancy tools to give interest to your clay, but a clay tool kit is handy.
- BOTTOM OF CANDLE HOLDER : Make sure the bottom is completely flat or stable enough to hold the height and weight of the candle.
- ADD INTEREST: you can add pepper or other dry spices to the wet clay to add visual interest.
- DRYING: Clay shrinks when it dry’s.
- CRACKS AFTER THE CLAY DRYS: You will need to work in layers if the design is large/thick.
- SANDING THE DRY CLAY: Sand paper is essential, it will not only smooth the surface, but will help shaping after the clay is dry.
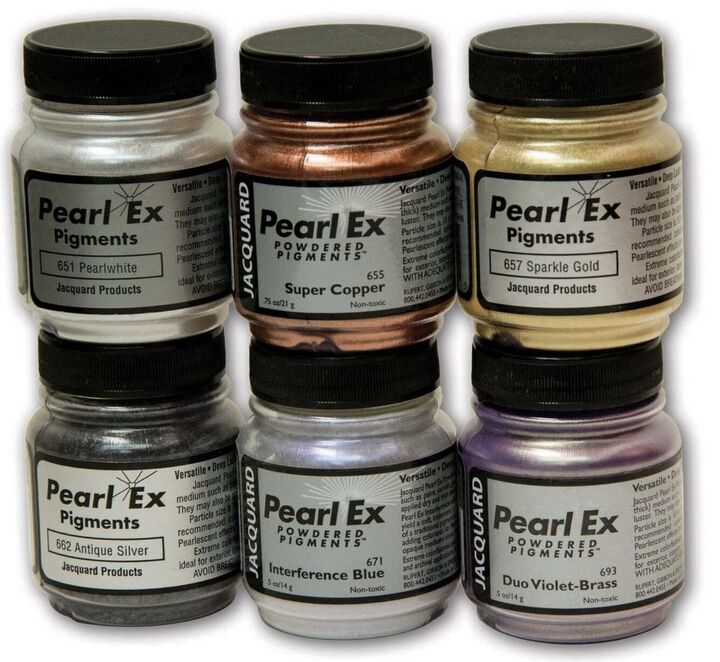
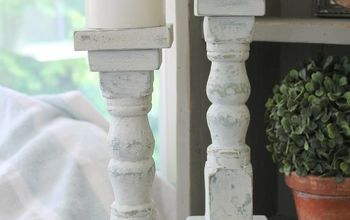
- FINISH: Powder Metallics are great to add some dimension.
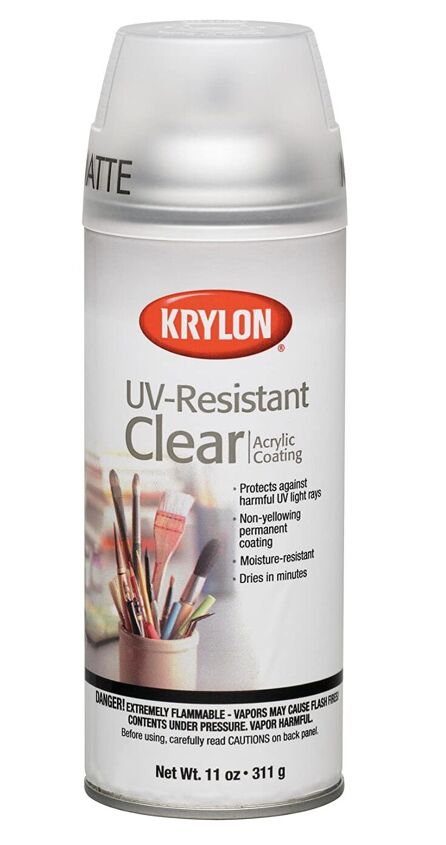
- SEALING: It is important to seal your piece and allow it to dry, whether a gloss or matter finish.
CHOOSE THE RIGHT CLAY FOR YOUR DIY CANDLESTICK HOLDERS
Air Dry Clay types will vary from organic to man made. The air dry clay is the specific one I will be addressing on this post.. The synthetic clays are easier to work with and won’t require so much kneading to shape it.
You don’t need expensive clay for creating candlestick holders. If you are making a very detailed design I suggest you look at better quality clay.

TIME FOF CANDLE HOLDER DIY PROJECT
The projects will vary, but if you are looking for a craft that doesn’t take too long, this is it. It doesn’t take long to create, but you do have to allow for a couple of days to dry properly. I love this about working with clay, create the design and just let it sit to dry while you start on another project. The time you spend is well worth it, the most time will be for drying time of the clay or varnish.
TEXTURING THE CLAY
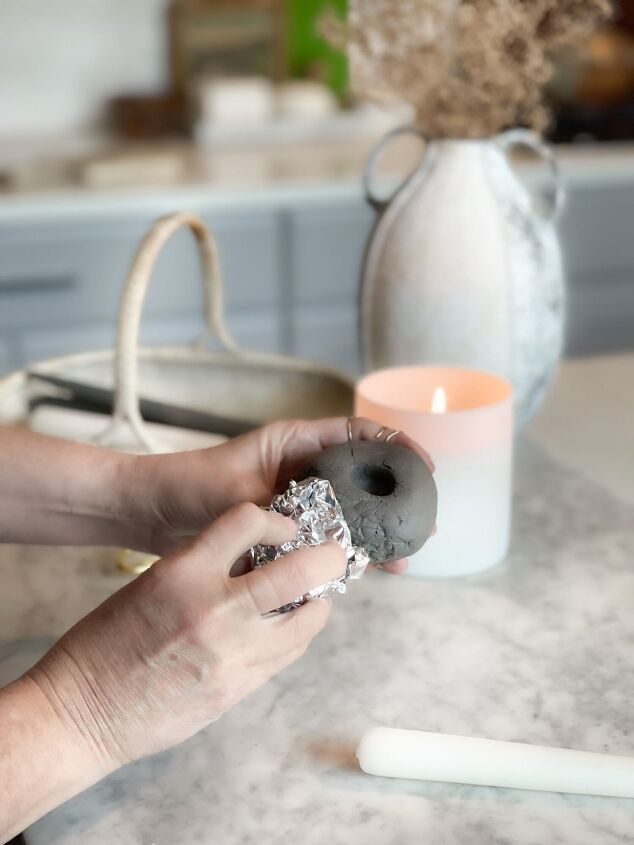
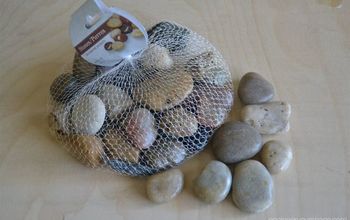
Use anything you have; purchase a clay kit for more precise, but I love to use aluminum foil, forks, rocks, fibers, just about anything you can think of. Your fingers will be the best molding tool!
BOTTOM OF CANDLE HOLDER
This is critical, make sure that you have a flat surface on your candle holder design. But what is extremely critical is that it is stable, that the base is wide enough to hold the candle height and weight without tipping over.
DRYING CANDLE HOLDER DIY
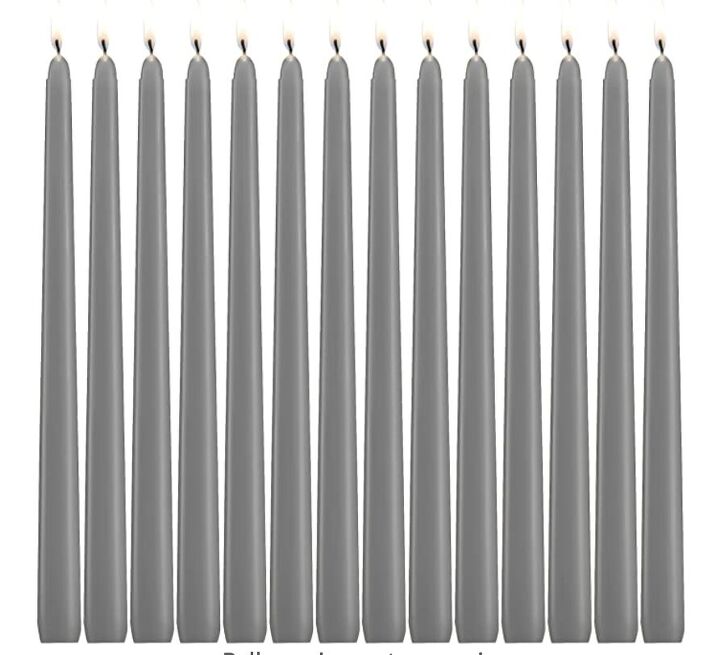
It is critical, when doing handmade candle holders with clay, that you keep in mind that the clay shrinks as it drys. The opening you are doing to hold the candles needs to be a little larger that the candle diameter.
One of the things I do is allow the candle holder to start drying and insert the candle and rotate it around to make it a little large as it drys. But you can just add some thicker tape, wrapping it a couple of times so that it will allow the extra space. Make sure you put saran wrap before inserting it into the candle holder so that it is easy to remove.
Don’t look at the top only, check the bottom of the candle holder diy to make sure it is thoroughly dry. I tend to place pieces on the side to allow it to dry on the bottom after it is dry on the top. You don’t want to do this when the top is not completely dry, it will change the shape.
CRACKS AFTER THE CLAY DRYS
I find that by adding a little water, I can easily fix the cracks and add more clay. So don’t worry about working so fast, this material is great for beginners or larger projects.
If you are doing very large pieces I recommend to do it in layers and allow them to dry in between. Otherwise you will have a lot of cracks. For this project I wanted the cracks and natural look. My goal is for the project to look like it has been outdoors, a found object taken from the earth.
SANDING CLAY AFTER IS DRY
Sanding provides a great tool to continue shaping your candleholder or smoothing further. I wanted the texture on my pieces, so I used a 220 grit. You can go 400 and up for a smoother finish.

APPLYING PAINT OR FINISHES
The best part is that finish you can add! The color of the clay will get much lighter after it is dry, but you can either paint the entire piece or do what I did, adding a metallic powder to give a little sparkle but keep the modern look.
SEALING CANDLE HOLDER DIY
It is important to seal your diy candlestick holders. Make sure it is completely dry before applying, you don’t want mold growing inside. I used a matte finish on this project.
YOU NOW HAVE YOUR HOMEMADE CANDLE HOLDERS!
My collection is going to keep growing! So many things I want to create with air dry clay, it is such a great product. I decided to use mine on my Christmas table setting and, I am so happy about how it turned out! The natural feel added such a great look to the table setting.
Have you decorated for Christmas already?! Here are some Christmas items I am loving for a Modern Christmas, A White Christmas or just to Indulge at Walmart for Christmas!
I also added the perfect gifts for a cozy day! But if you want them for yourself, then you could add these candles around a tub or living area and spoil yourself silly. My type of day!
I would love to hear if you have tried to work with air dry clay and what you have done!
I have a list going for future projects!
Your Cocoon Awaits you!

I invite you to join me on You Tube! Subscribe and join me on more cozy days. See you there!


Frequently asked questions
Have a question about this project?