


Clay Candleholder Dupe

I found some candleholders at World Market a couple weeks ago that I really liked. I love using candles in tablescapes and I typically use at least three. I didn’t really have the money to spend $8 apiece on them so I decided to try to make something similar using things I had at home!
The product I used was Crayola air dry clay. I purchased a big tub on Amazon last year for less than $10! I made several Christmas ornaments with it last Christmas and had plenty of clay leftover.
Before you start you will want a small bowl of warm water and a towel for your hands. I had to wipe mine every so often. The water can be used to moisten the clay if it seems too dry or starts to crack at any point.
*You may be able to skip this first step depending on the look you want. I’ll explain in the next step*
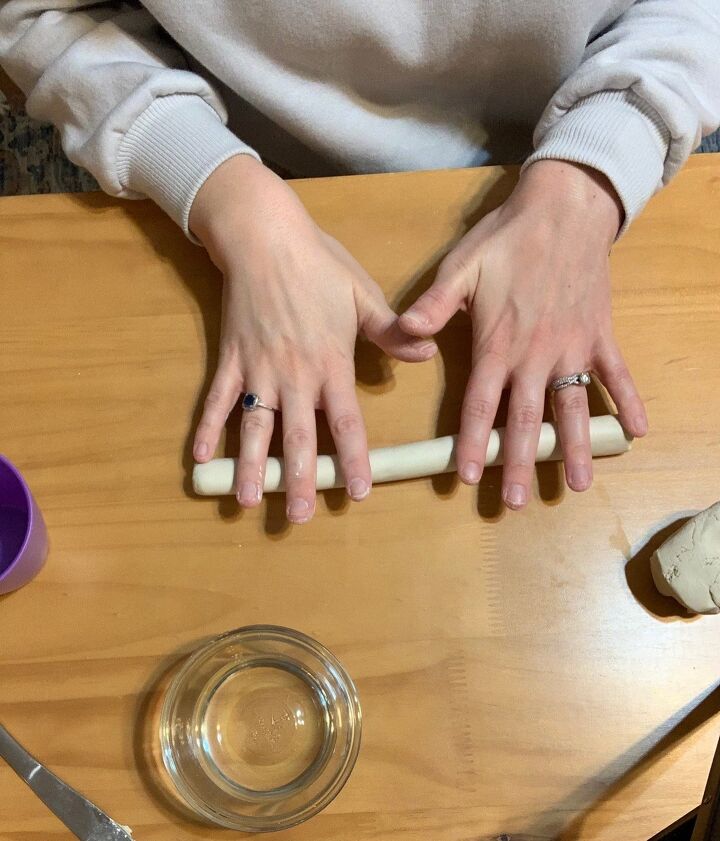
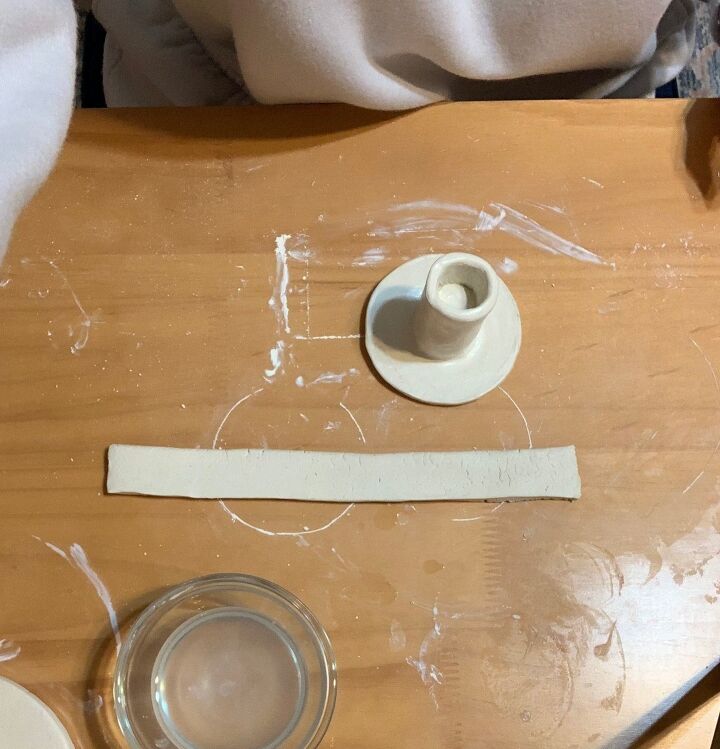
I grabbed some clay and formed it into a ball (maybe a little smaller than the size of my fist). I kneaded it for a couple minutes to soften and then rolled it out like the above photo. I made sure to grab a candle so I could use it for size reference. You would want this to be just slightly thicker than your candle.
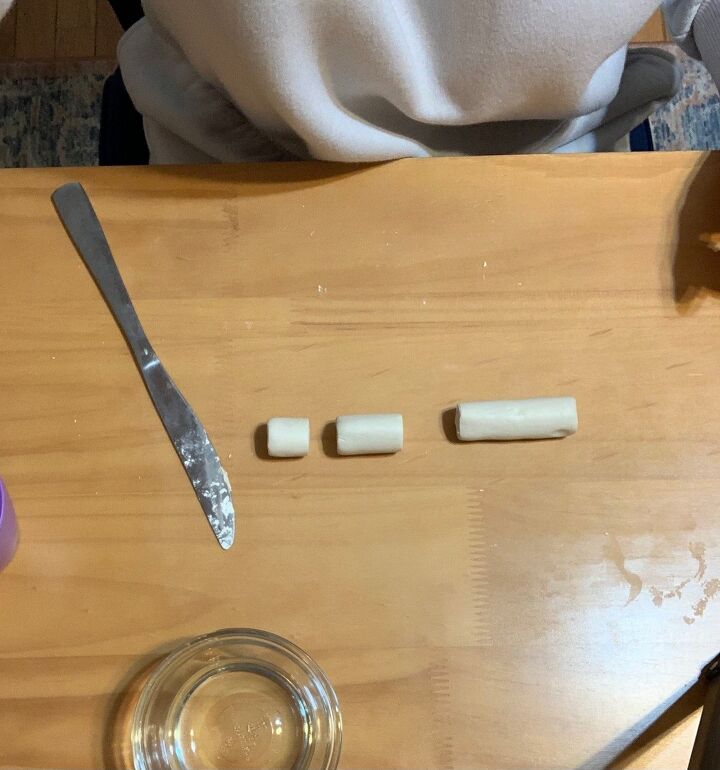
*Since I was making multiple candleholders I wanted the candles to sit at different heights in the holders. These little cylinders will boost them up inside the holder.*
I went with the two sizes on the left which were about 3/4” and 1-1/4” long.
*I later made a candleholder using the same method, but omitting the cylinder. It worked fine but I do feel like the cylinder actually provided more support and made it easier to create*
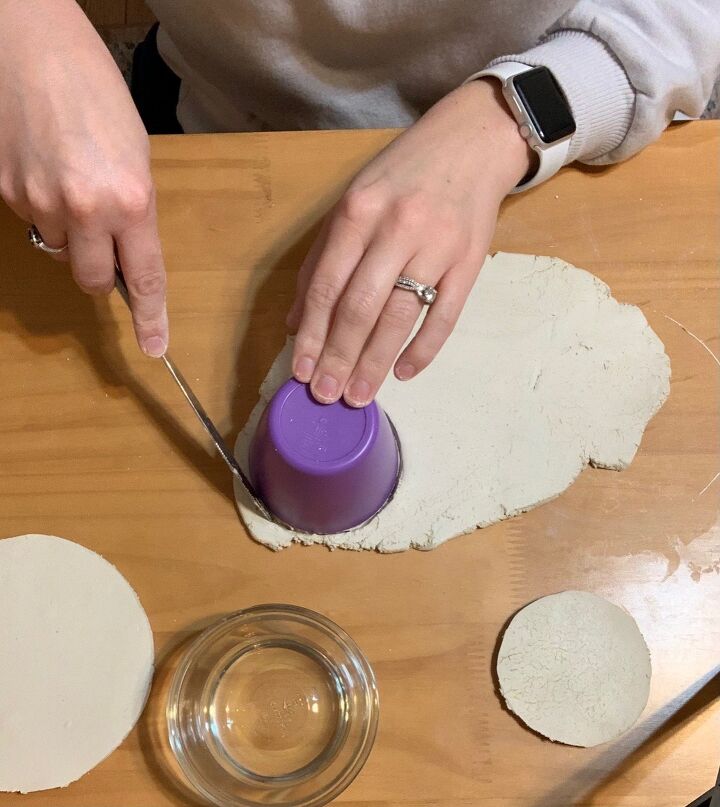
After kneading a second ball of clay I rolled it out to about 1/4” thickness. Using the backside of a butter knife I traced around this kids cup to cut out a few circles. I also used the lid from the clay container to make a larger one. For this tutorial I will be focusing on the smaller size circles and making candleholders in two different heights. (I’ll share a photo of all of them at the end!) “Cut” out your circles and set them aside.
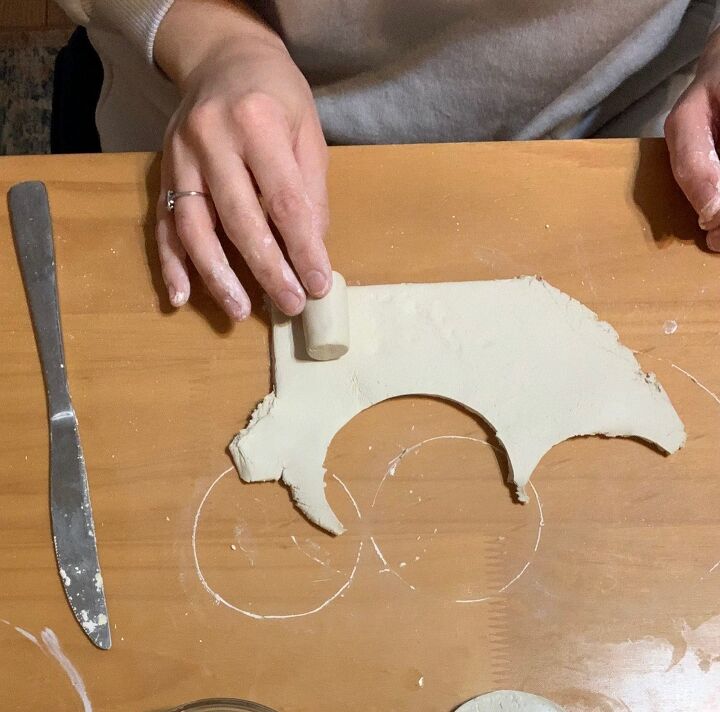
I had enough left of this piece to cut what I needed for the next step. How much clay to roll out was all trial and error for me. It would be most efficient of course to roll out a huge ball of clay and cut all of your pieces from it. It is however, a little easier to knead it and roll it out when working with a smaller ball of clay as opposed to a huge chunk.
This video is from a second one that I made but it is easier to explain this part with video. I used the same process for all of them. What I did here was take one of my clay cylinders and roll it up in the sheet of clay, to measure how much I needed. The thin piece gets wrapped around the cylinder. I cut it to fit snugly around and left about 1/2” extra on the top. That will be the part holding the candle. At this point I was just wrapping it to make sure the fit was correct.
*If you are skipping the cylinder, just use your candlestick for this part*
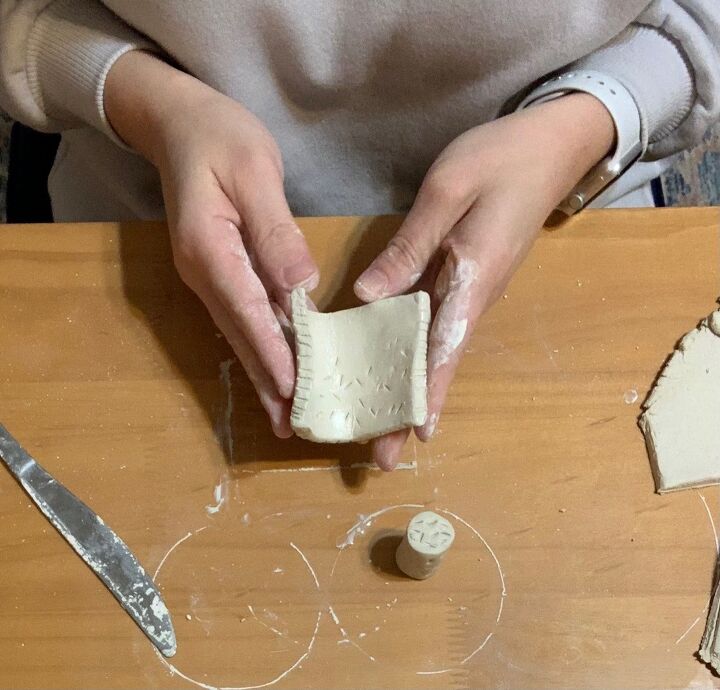
Next I used my butter knife to make marks on every surface that will be joined together. This includes all around the cylinder, one end of the cylinder, both of the short sides on the sheet of clay, one of the long sides, and the “inside” surface of the sheet of clay, leaving the top 1/2” unmarked. See photo below.
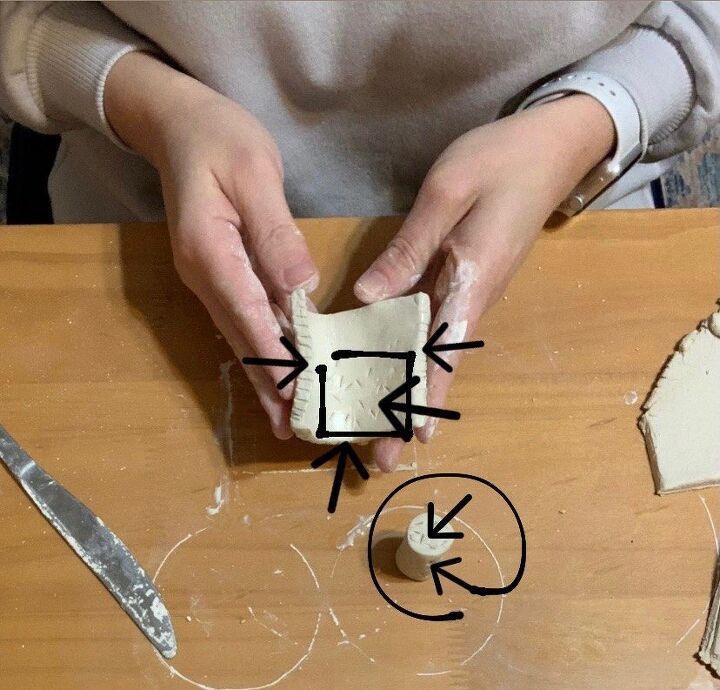
I wasn’t sure if the photo with the arrows helped my explanation or made it more confusing, so I included this one with arrows and the one above without arrows haha
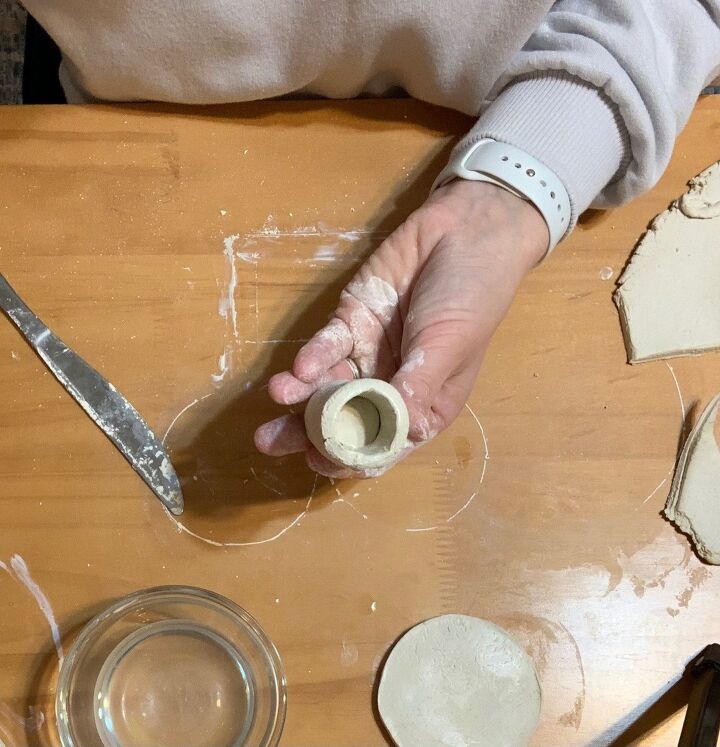
I dipped my finger in the water and moistened all of the surfaces that I made the marks on. When joining two pieces of clay, using water and scoring the surfaces makes them stick together better. Once I did that, I wrapped the sheet of clay around the cylinder, keeping the part without the marks at the top. I pressed the two ends together to join them and used my finger to smooth out the seam.
*If you aren’t using a cylinder, you are just joining the two ends of the clay sheet together.*

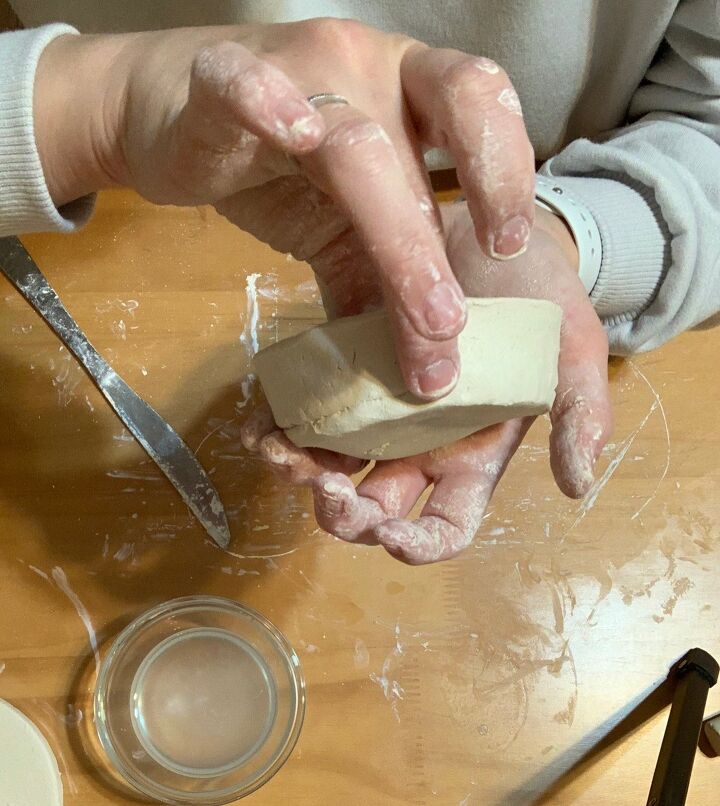
Next, I grabbed the circle I made earlier, scored the area in the middle and moistened it with water. I took the piece I just made and pressed it into the middle of the circle. Apply enough pressure to make sure the pieces will stay together as one. It should look like the photo below.
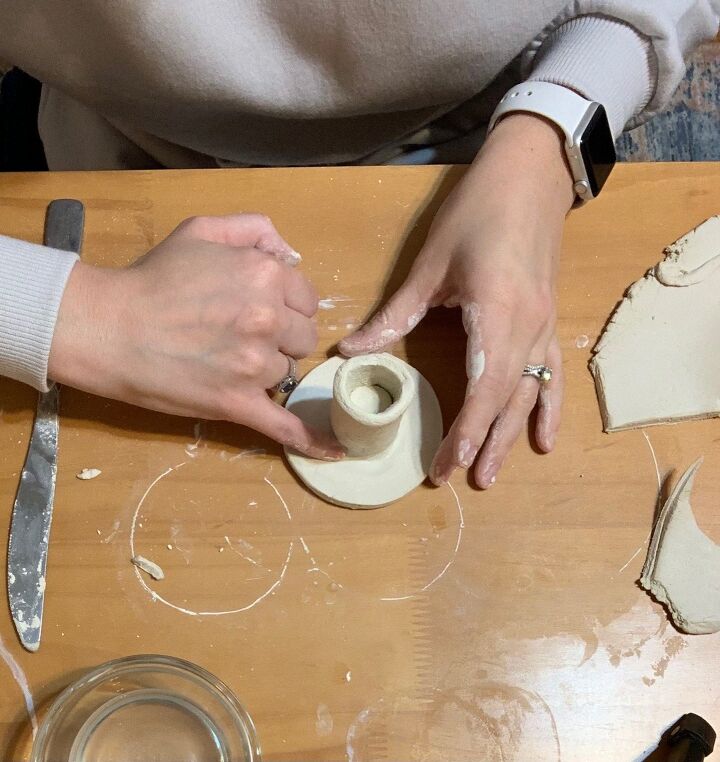
Using my finger and some water I smoothed out the seam here.
You could actually stop at this point and you’d have some cute, simple candleholders! Since I was recreating the ones I saw in store, I wanted to add another piece around the outside.

I did the same method as before (scoring and adding water) to join the pieces together.
This just shows how I connected the pieces and used my finger to mold them together. I smoothed the inside seam as well.

I sort of regret this camera angle😉 Of course these aren’t perfect; they won’t be. I DO want them to look handmade, but I promise the middle part is not completely off center! The shadows here are sure making me look bad🤣
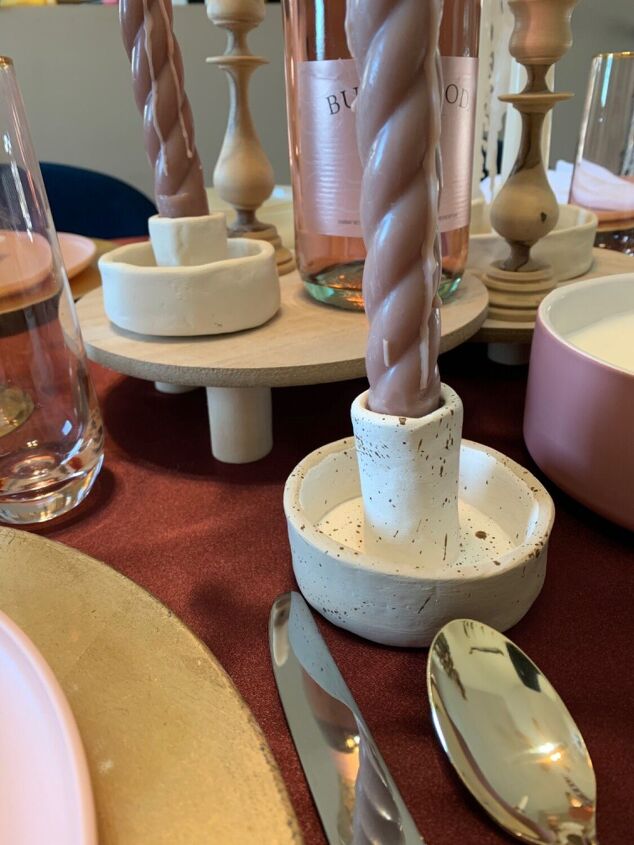
They should take about 2-3 days to dry. If needed, you can use sandpaper to gently sand any rough edges. This is what they look like unpainted.
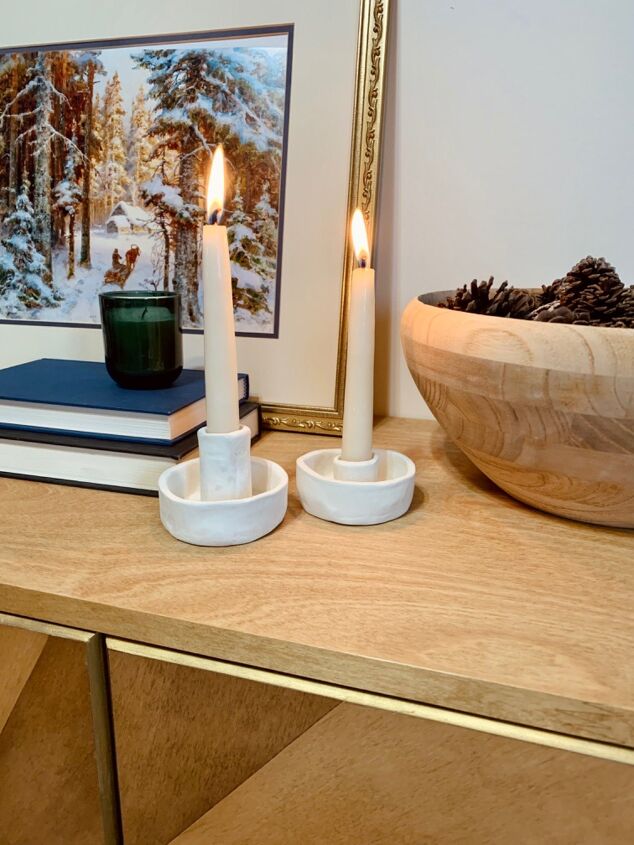
I mixed a couple colors of acrylic craft paint and painted these. For the speckles I just added a bit of water to the paint to thin it out. I held the brush over the candleholders and tapped it with my finger to create the speckled look.
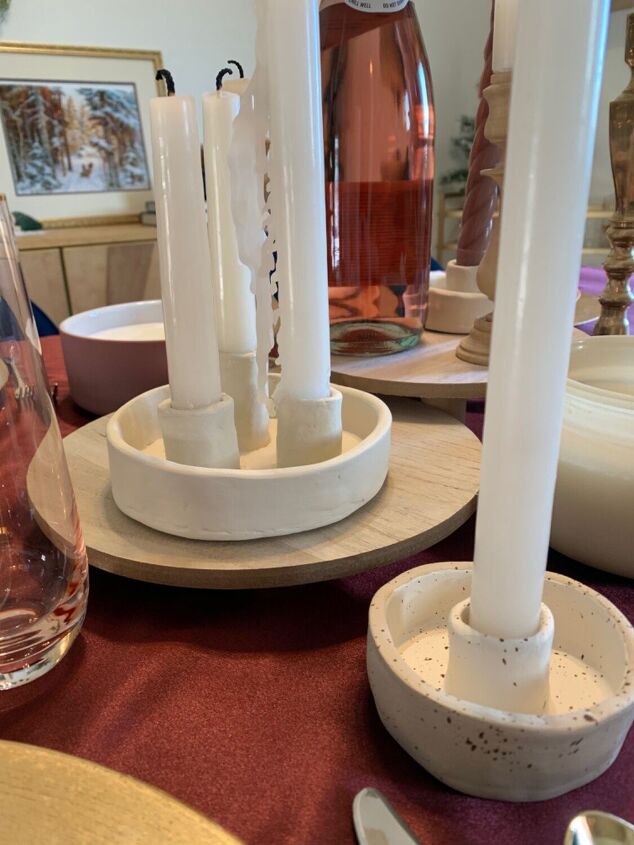
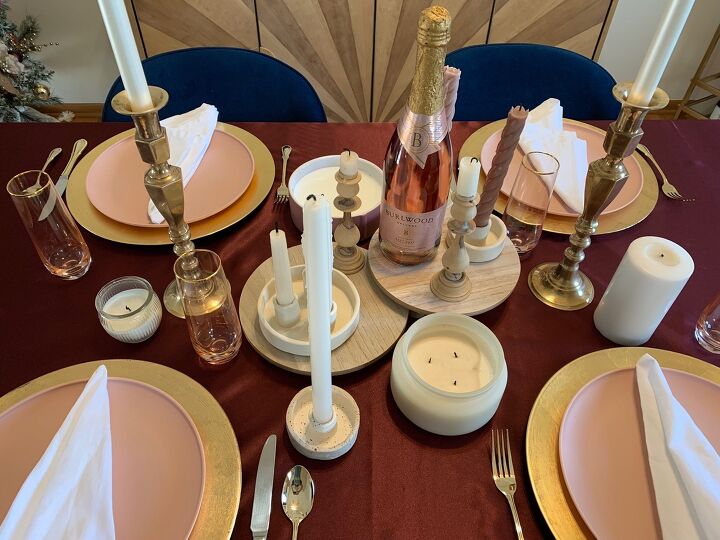
I think they were a great addition to this tablescape!


Comments
Join the conversation
-
I love these, going to give them a try. Thank you!!
-
I REALLY like the depth of the actual candle holder. I have loads of candle stick holders that are too shallow to stand candle securely while lit. Thanks for sharing and the inspiration


Frequently asked questions
Have a question about this project?