


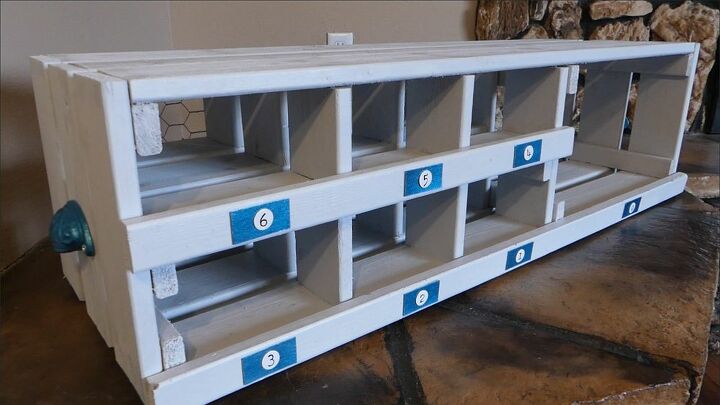
Countdown Nesting Boxes

18 Materials
$47
4 Hours
Medium
We all know someone who celebrates their birthday all week long. Maybe that someone is you! And that’s ok – frankly, I think we need more celebrations in life. I love the concept of advent calendars, getting a little something every day as you count down to the 25th. But why should we reserve this kind of countdown only in December? Make Countdown Nesting Boxes and bring the advent spirit into every special occasion.
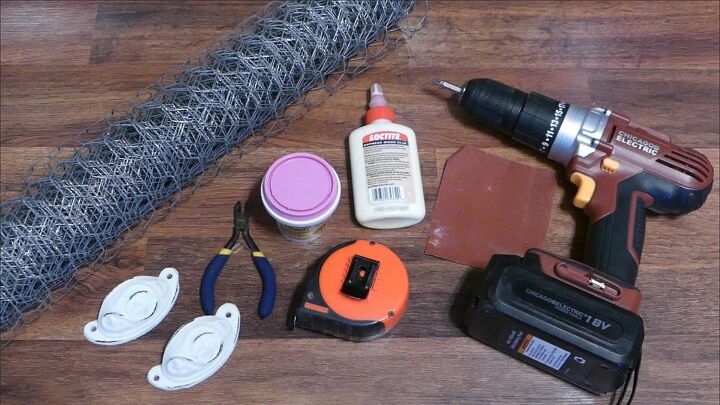
Materials
Wood cuts:
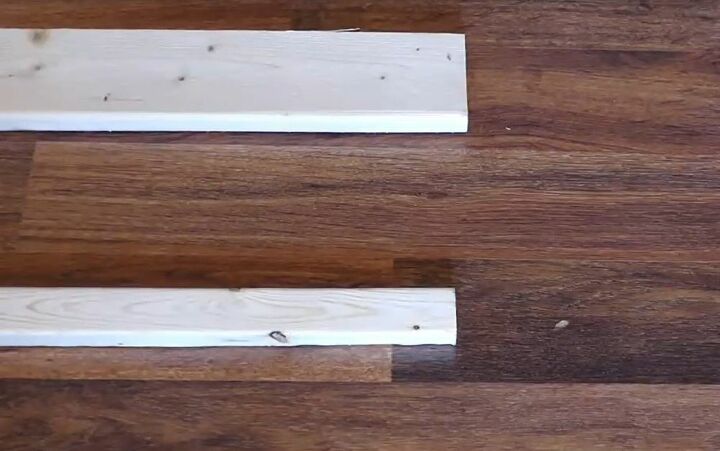
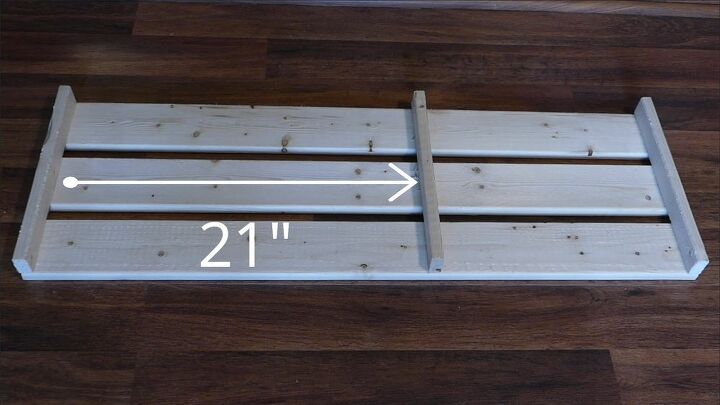
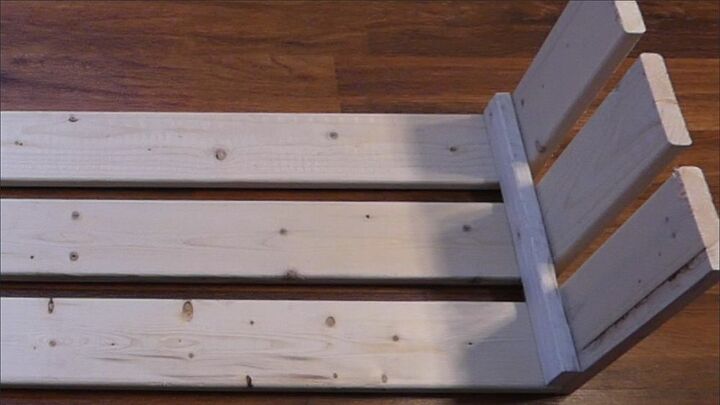
First, build the bottom and the top. Use three of the 36 inch 1x4s and attach three 12 inch 1x2s. Put the 1x2s at either end and one at 21 inches from the left side. Make sure the 1x2 is attached on the shorter side – all of the 1x2s will be nailed in this direction, except for the feet. I found it easier to flip the boards over and shoot the nails in through the 1x4s.
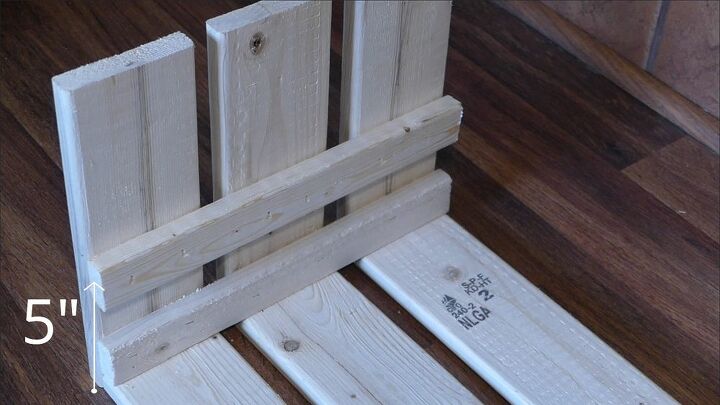
Attach three of the 10 inch 1x4s to the left side. Then nail in another 12 inch 1x2 five inches from the bottom.
Nail the remaining three - 10 inch 1x4s to the right side.
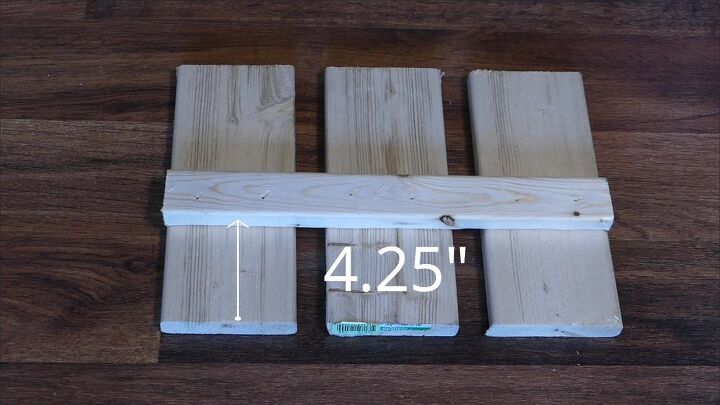
Lay out the three 8 and a half inch 1x4s and attach a 12 inch 1x2 4.25 inches from the bottom. I used another piece of wood to ensure all of the 1x4s were straight before measuring and nailing in.
Set this 8 and a half inch piece up against and to the left of the 1x2” near the middle and nail into place.
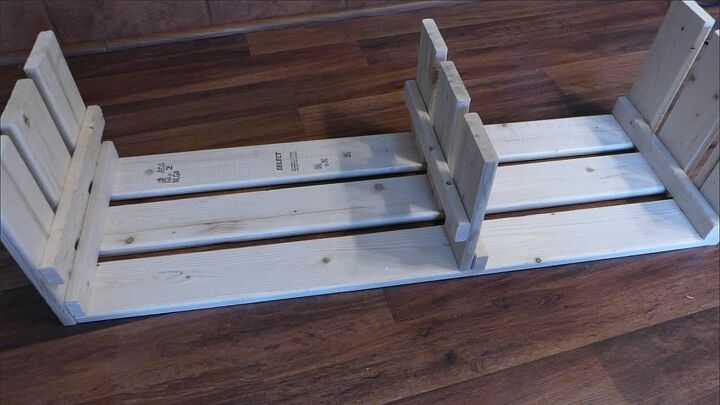
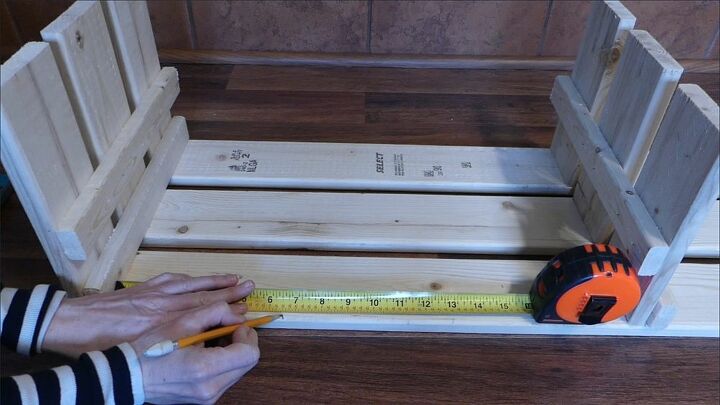
Starting at the far left, measure and mark at 6 and a half inches and 13 inches. Make the marks on the edge of the wood and not the top surface. Do this on all three of the 1x4s.
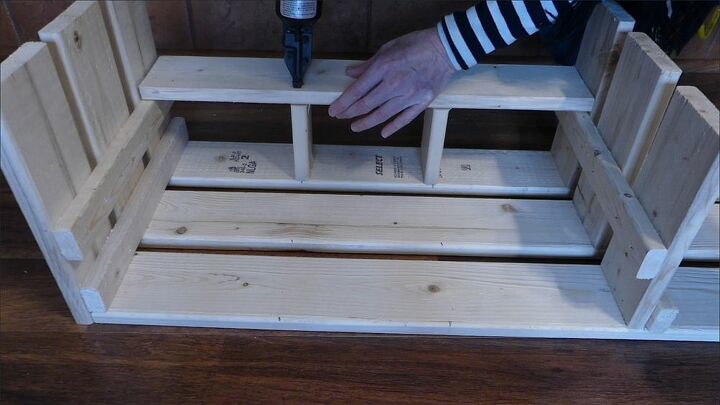
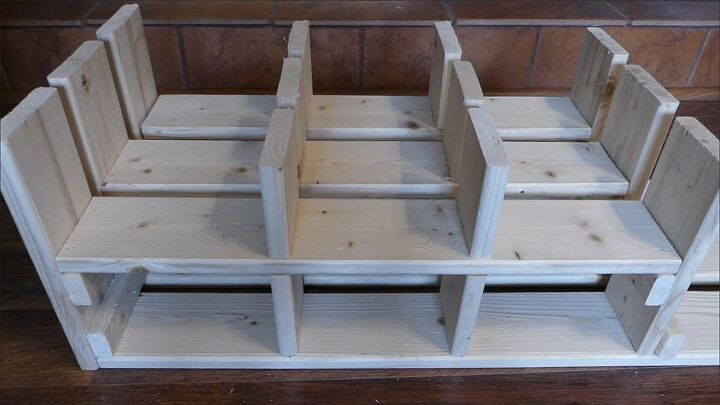
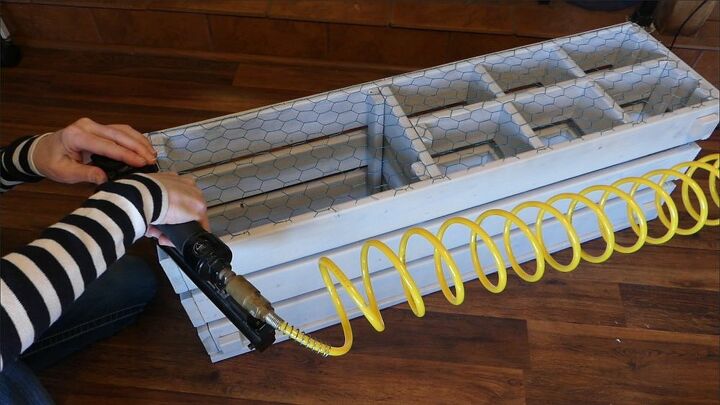
Starting at the back, set a 20 and a quarter inch 1x4 on the two 1x2s. Nail in at both ends.Add a 4 and a quarter inch piece on the center of each of the marks under this 1x4. Secure in place with nails. Do the same for the middle and front pieces.
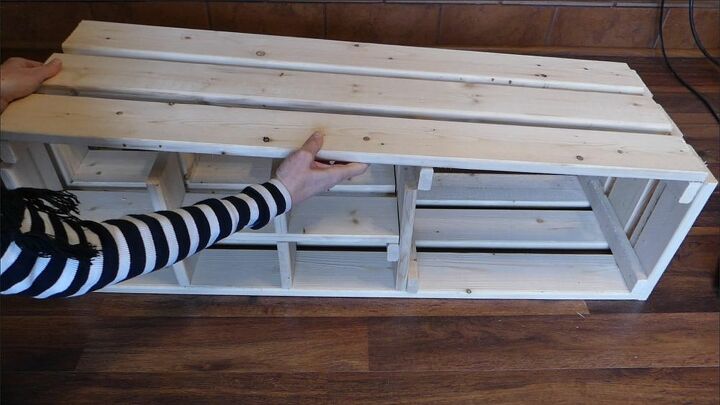
Run some wood glue along the bottom of all of your 3 and 5/8 inch pieces. Line them up with the vertical pieces below and press down firmly.
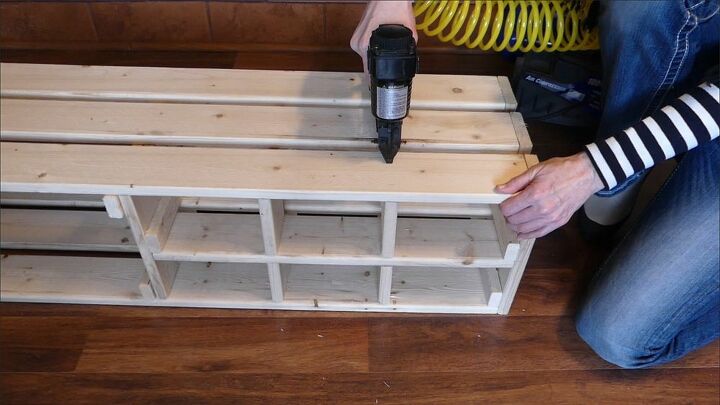
Add your top and shoot nails into all of the 3 and 5/8s pieces from above. Nail the sides into the top as well.
Flip the entire piece over and shoot nails into all of the small vertical pieces through the 1x4s.
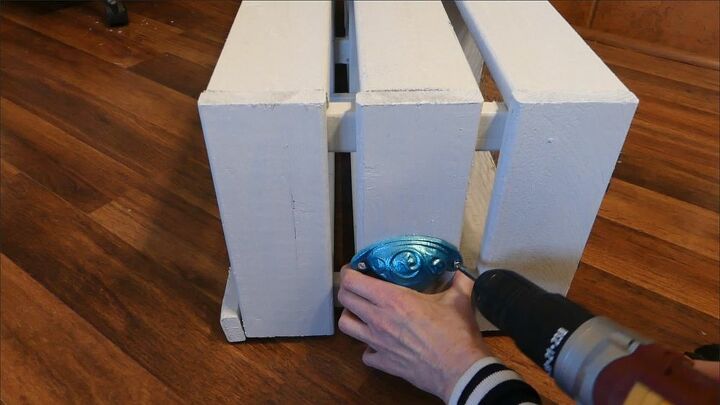
Add your four 1 and a quarter inch feet to all four corners. These should be nailed in via the longer side of the 1x2 and not on the cut ends.
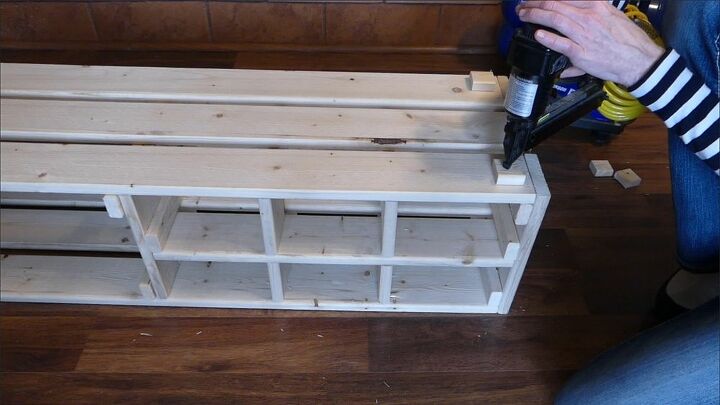
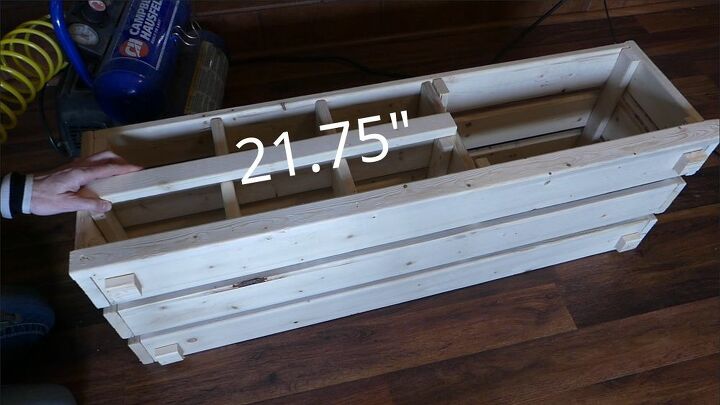
Nail your 37 and a quarter inch 1x2 along the bottom edge and the 21 and three-fourths inch piece on the next level. Allow about a ¼ inch to sit below the edge.
Fill all of the nail holes with the wood filler. This filler goes on pink but dries to the same color as the wood so it’s easy to tell when it’s dry and ready to sand smooth.

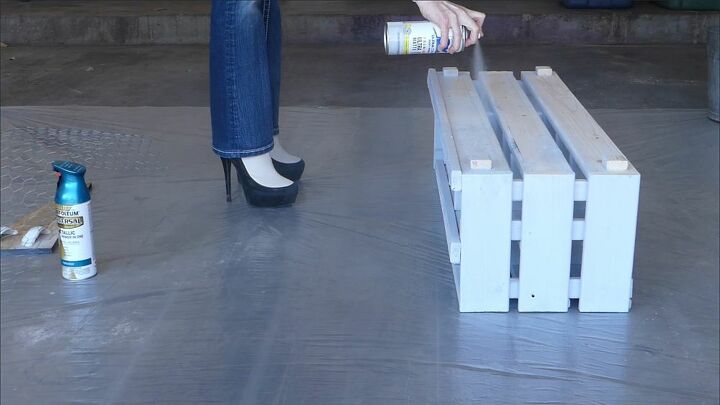
Spray paint the box, chicken wire, small plates, and handles. I’m using Rust-Oleum’s Perfect Gray on the wood and their Metallic Turquoise for the chicken wire, small plates, and handles. Allow to fully dry.
Staple the chicken wire on to the back.
Screw in the handles at the center of both sides.
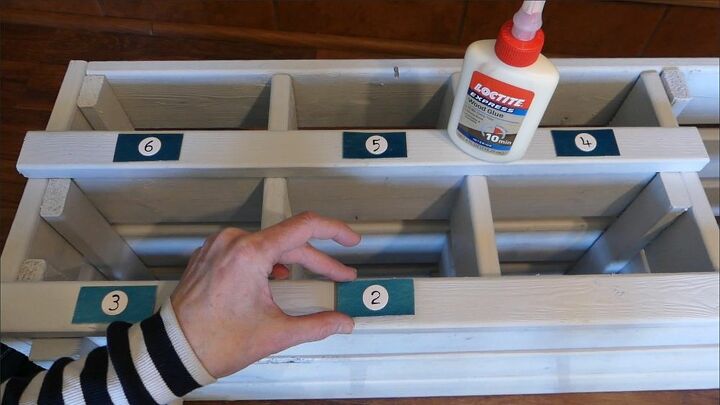
Stick the numbers 0 through 6 on the center of each small plate then glue in place under each of the box openings on the 1x2s. I’m starting with 6 in the upper left corner and counting down to the largest box where the zero will indicate the big day and the biggest present!
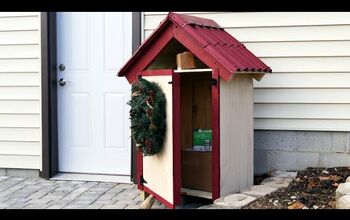
For those times in between your week long celebrations, use the Countdown Nesting Boxes as a decorative display or a wine rack!
{
"id": "6074026",
"alt": "",
"title": "",
"video_link": "https://www.youtube.com/embed/Y5fCMQ22xs8",
"youtube_video_id": "Y5fCMQ22xs8"
}
{
"width": 634,
"height": 357,
"showRelated": true
}
Comments
Join the conversation
2 comments
-
This is SO creative! Love the idea of counting down to a birthday!


Frequently asked questions
Have a question about this project?