


DIY Aged French Pots
How to make these charming aged French pots from any garden pot with paint, paper, and a printer with this simple step-by-step tutorial! ⟹
Hometalk Recommends!
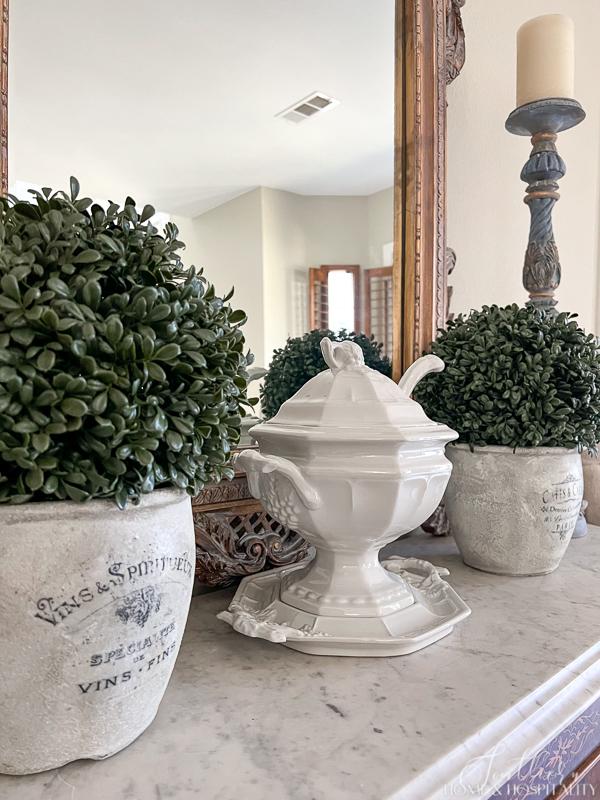
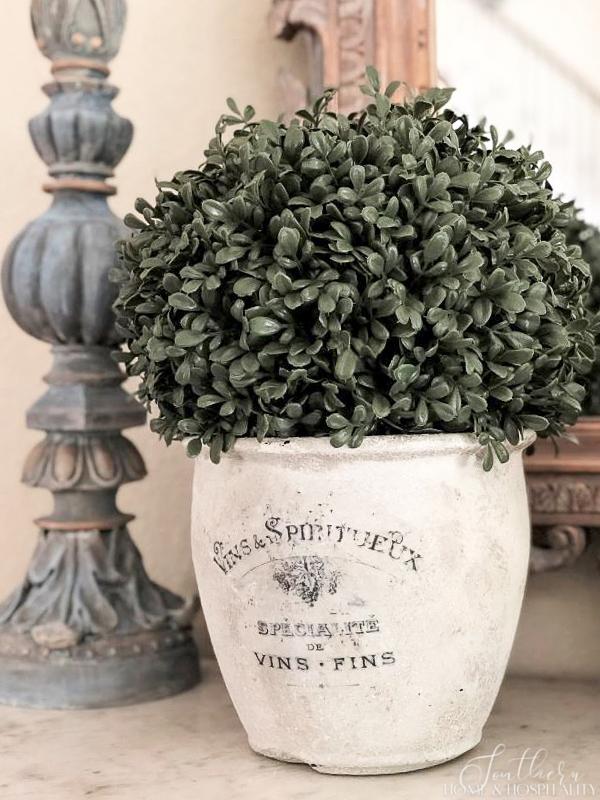
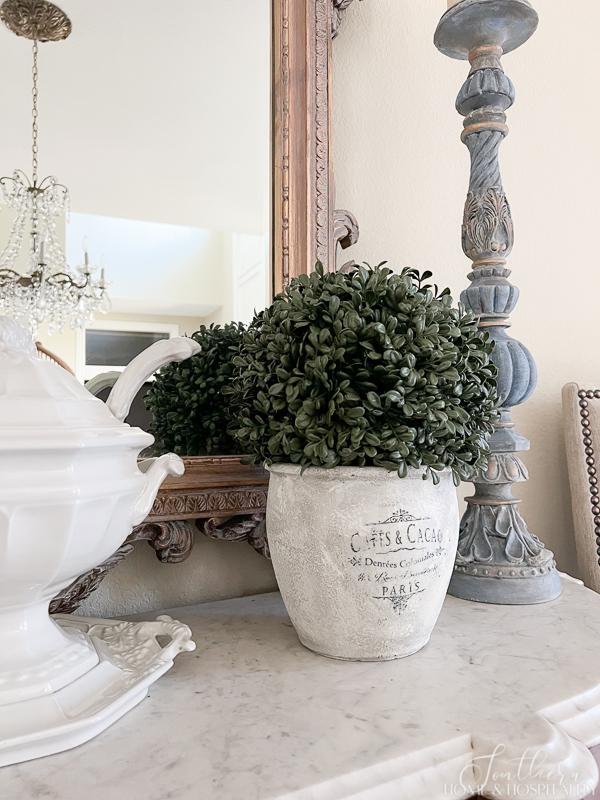
I have a weakness for French decor! My grandmother’s French marble-topped credenza sits in my dining room and I wanted to add to its French factor with the accessories on top. I had some boxwood balls that are a nice accent in my traditional decor but I didn’t want to just plop them into plain pots. I had an idea in my head of what I wanted, but couldn’t easily find exactly the size and look.
This post contains Amazon and other affiliate links for your convenience. As an Amazon Associate I earn from qualifying purchases. If you purchase something through any link, I may receive a small commission, at no extra charge to you. I only recommend products that I love or would purchase for myself. See my full disclosure here.
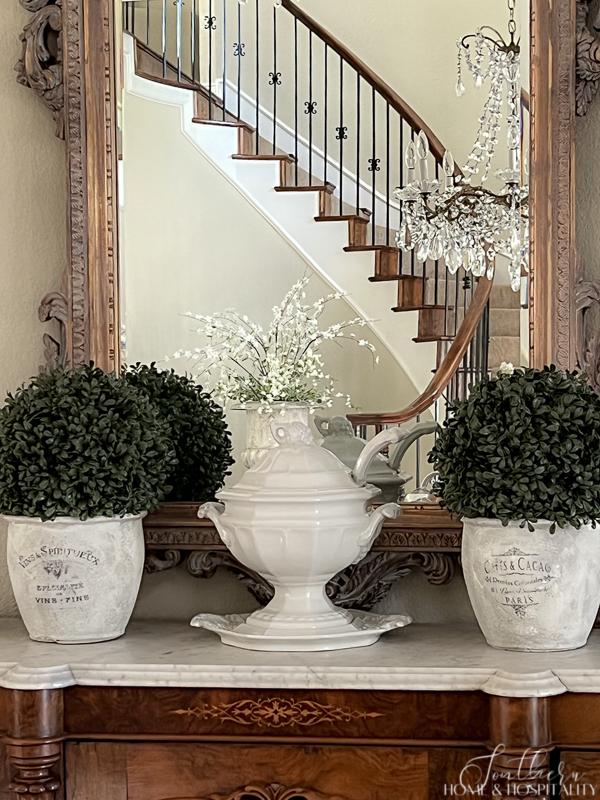
I came upon the size and shape of pots at a local plant nursery that I liked but they were definitely not the look I was after with their bright blue glaze. So a new DIY project was born and I transformed them into exactly what I had created in my head! I’ll share with you how they became these…
Aging the pots.
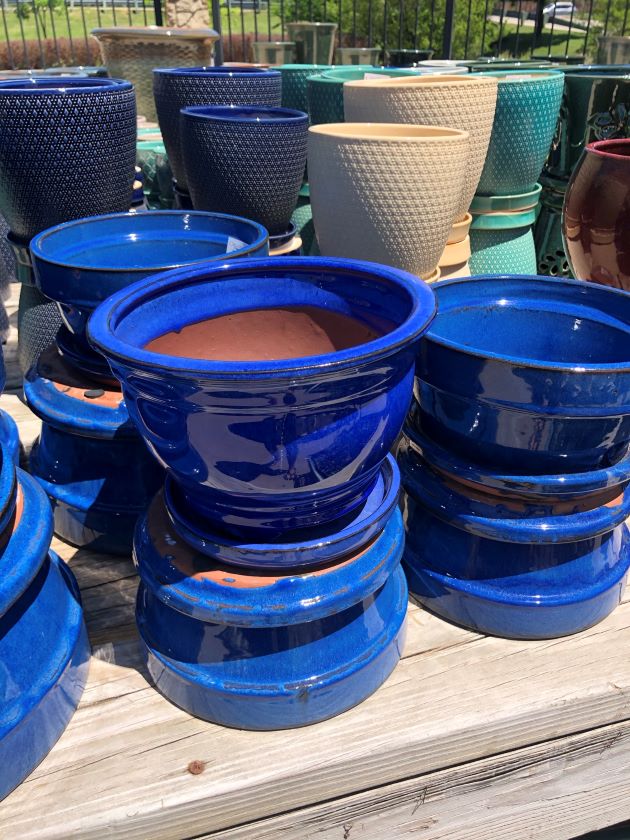
The pots I used were almost identical to these and covered in a blue glaze.
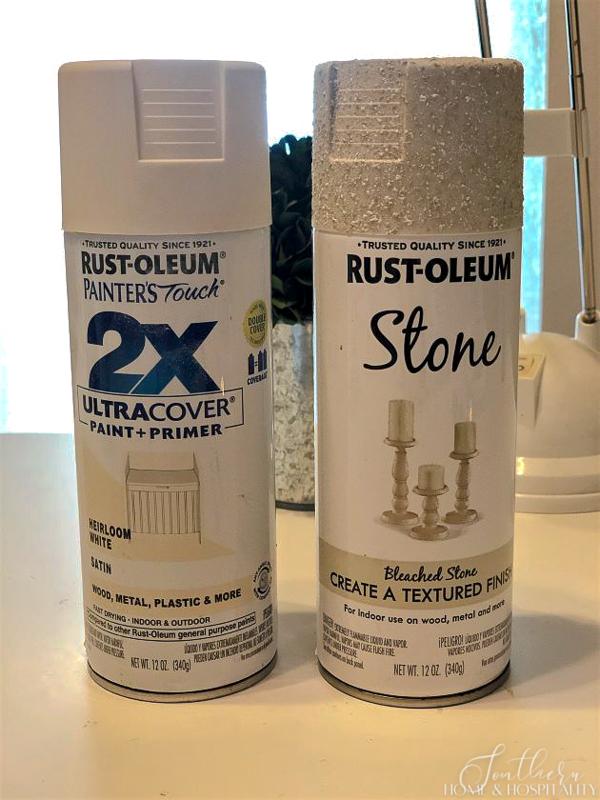
I started by spraying the pots with some Rustoleum spray paint in Heirloom White to cover the blue.
After that dried, I gave the pots a spray of Rustoleum textured stone spray paint. Not terribly heavy or uniform, just enough to make them more rustic.
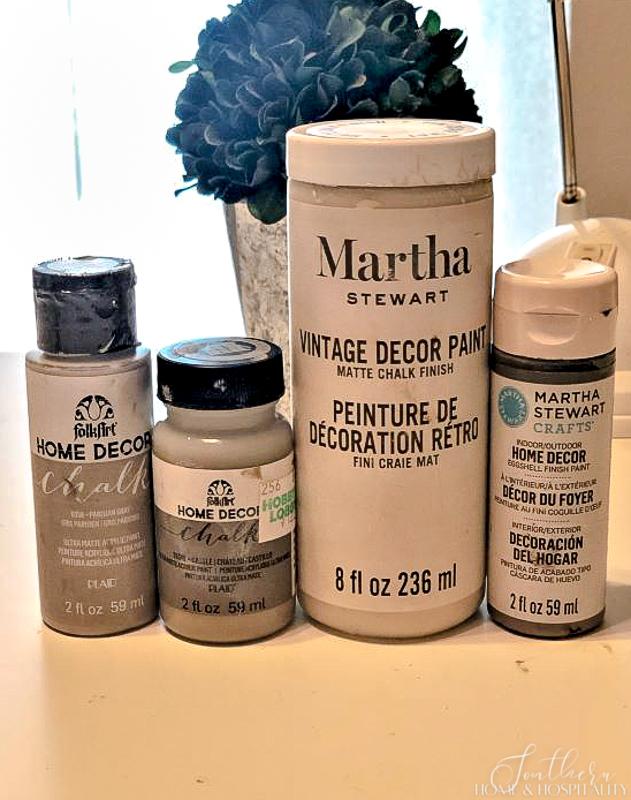
The first two steps left me with a pot that was a fairly even color, but I wanted something more mottled and aged. So I used craft paints that I had on hand in various grays and linen white. I dipped a brush into the paints and dabbed it off on a paper towel until it was almost dry. Then I went around the pots and dabbed a bit of the colors here and there, and blotted with a rag as I went until I was happy with the level of “aging.”
Applying the transfer.
I found these free vintage French transfer designs on The Graphics Fairy. You can look at all of their beautiful French designs HERE.
There are SO many to choose from but I settled on these:


To demonstrate the process of how I did the transfers, I’m using the same method on a white, rustic pot that I found at Michaels in their spring collection. (NOTE: This transfer method works best on white/light-colored pots since some of the white paper will remain.)
Supplies:
- Printed transfer
- Matte Mod Podge and brush
- Spray bottle with water or wet cloth
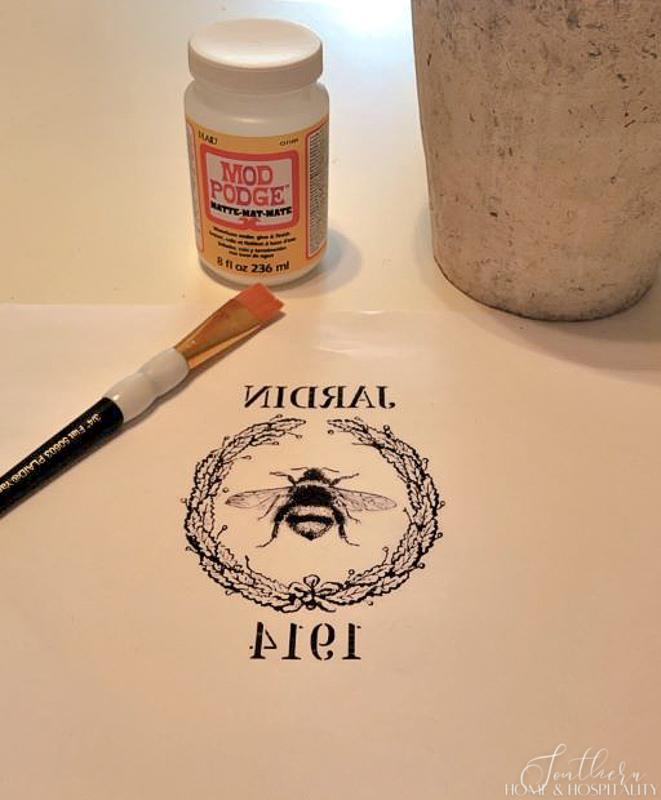
- Download your graphic in the reverse format if offered. If not, you can reverse the design in your photo program. Print it onto a sheet of plain white paper.
- Cut around the design…some of the paper will remain on the pot and straight lines are obvious and won’t look time worn!
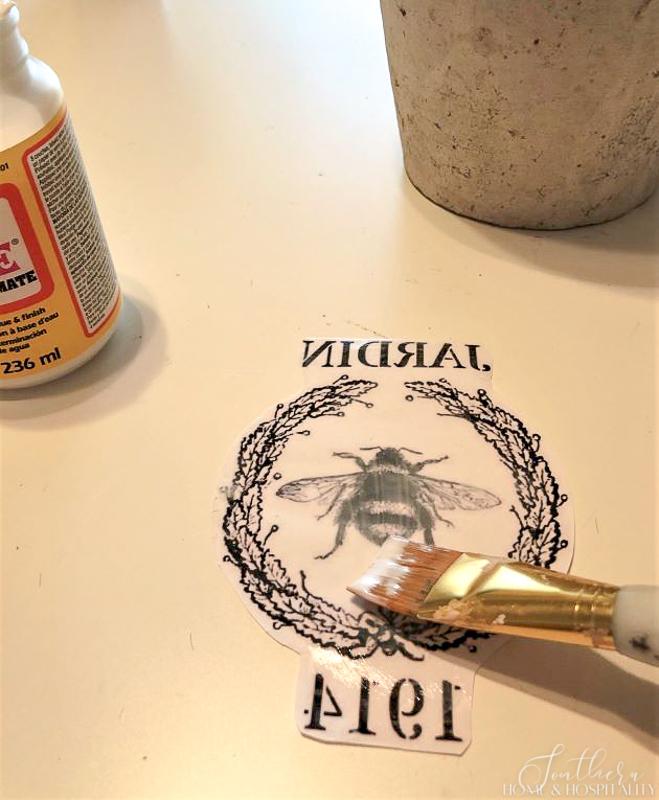
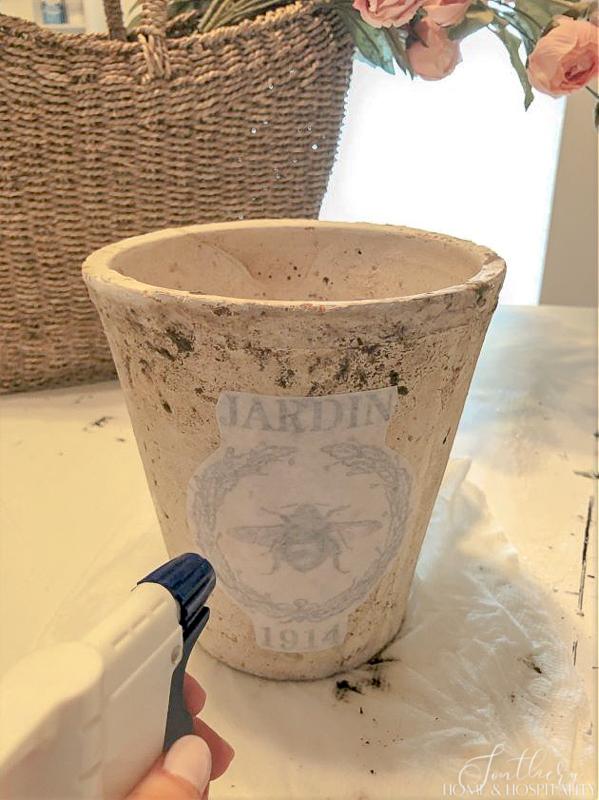
3. Apply the matte Mod Podge onto the printed side of the paper. Then place the design onto the pot in the desired location.
4. Smooth the graphic as best you can to work out folds and wrinkles in the design.
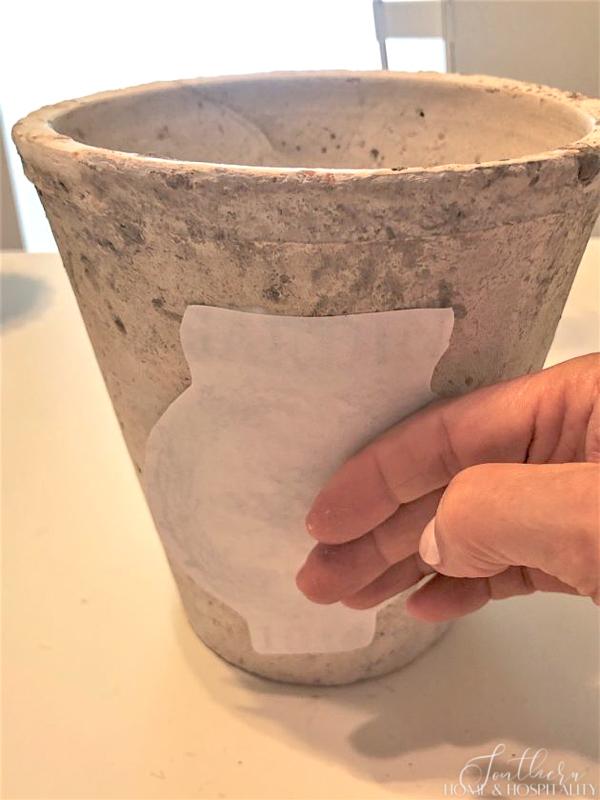
5. Let the design dry overnight. Don’t be tempted to peel away too soon!
6. After the design is COMPLETELY dry the next day, spray or wet the paper with water until you can see the design through it.
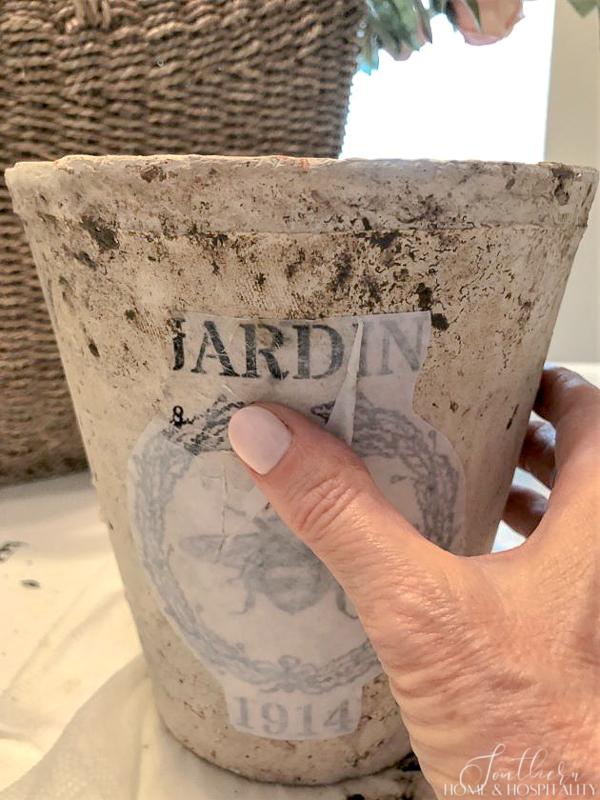
7. Rub and roll the top layer of the paper slowly and gently away with your fingers. Rewet as needed until you take off the amount of paper you are happy with. Bits of the design will come off but that is ok since the look is supposed to be aged. Just don’t rub off so much of the paper that you remove a lot of the design. To avoid this, it helps to roll the paper away in stages and let the paper dry in between so you can really see how much paper is left. I let mine dry 3-4 times and just took a little off each time.
The result…lovely French pots with instant patina!
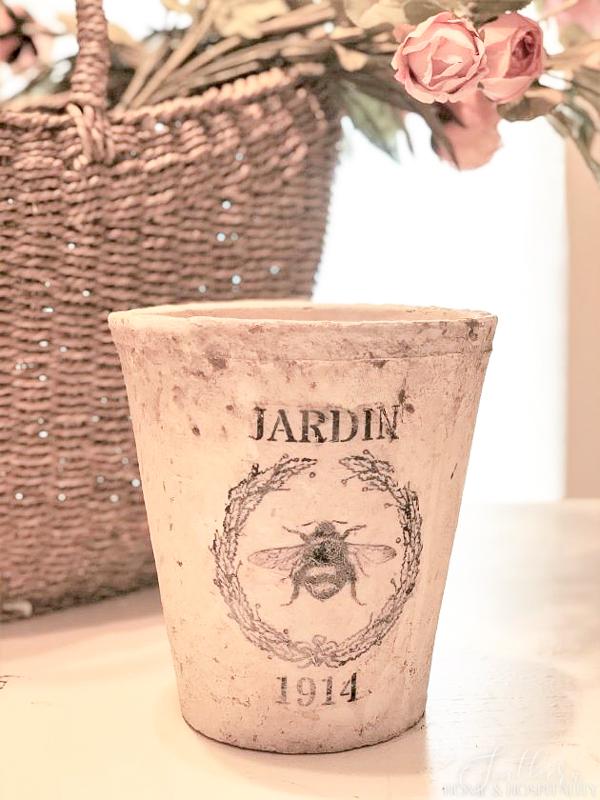
If you try this method I’d love to see how they come out in the comments!
Happy crafting!
As always, I appreciate your visit, comments, and shares here! And don’t forget to subscribe for updates to keep in touch and to follow along with me on Pinterest, Instagram, and Facebook!!
Pin this for reference later:
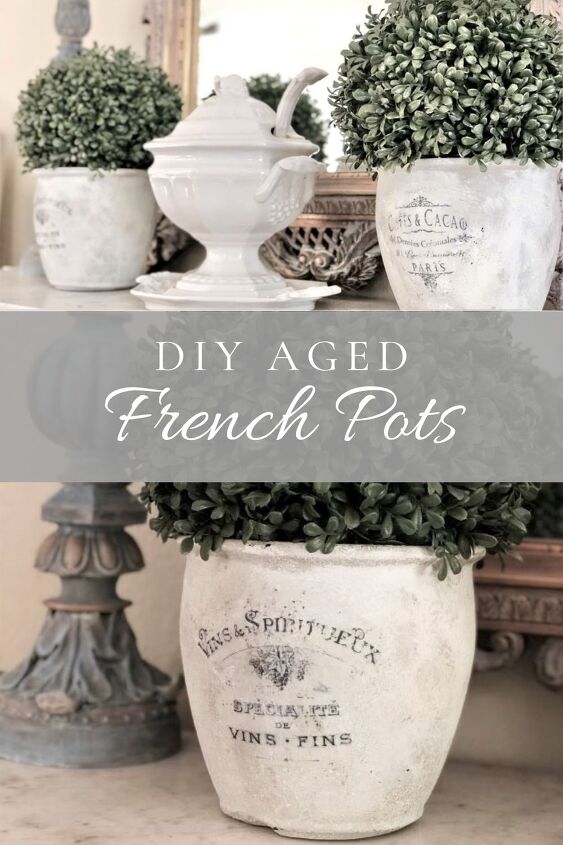
Remember to pin this to your Pinterest Craft, French Decor, Garden and Decorating boards to refer to later. You can FOLLOW ME ON PINTEREST and see all of my pins plus lots of other inspiring ones that I’ve found and pinned!
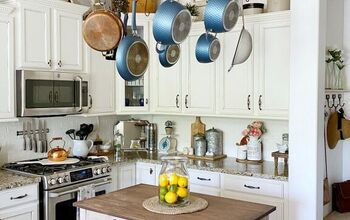
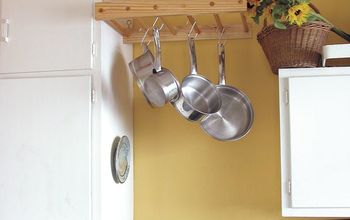
You might also like…
Resources for this project:
See all materials


Comments
Join the conversation
-
These are lovely upgrades. I'm curious about the cost of the materials (not including the pots). Many years ago, I experimented with cheap, off-white, acrylic house paint and added sand to it, then painted a textured vase on a painting. It doesn't seem to have changed in any way over the 20 years since. Obviously, it didn't cost much at all so I'm curious if that technique would work on the pots. Your post has inspired e to give it a try.
-
No one can resist the Aged French Pots, they're just Beautiful!


Frequently asked questions
Have a question about this project?
Does it matter the kind of ink used in printer?