


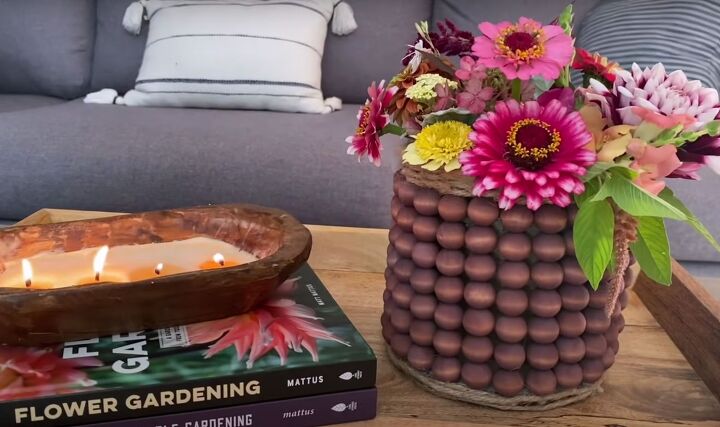
Decorate Your Home With This Unique DIY Beaded Flower Vase
If you're a fan of farmhouse décor, this DIY beaded flower vase should be the next project on your "to make" list. This is a really fun project, and the outcome is gorgeous.
Let's get started.
This post was transcribed by a member of the Hometalk editorial team from the original HometalkTV episode.
1. Dye the beads
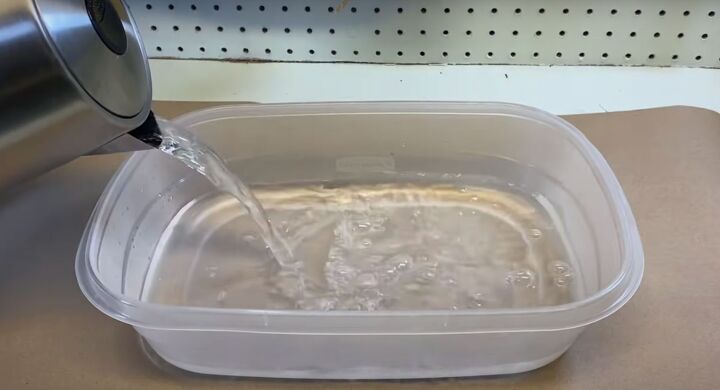
To start the DIY beaded flower vase project, I poured very hot water into a plastic container.
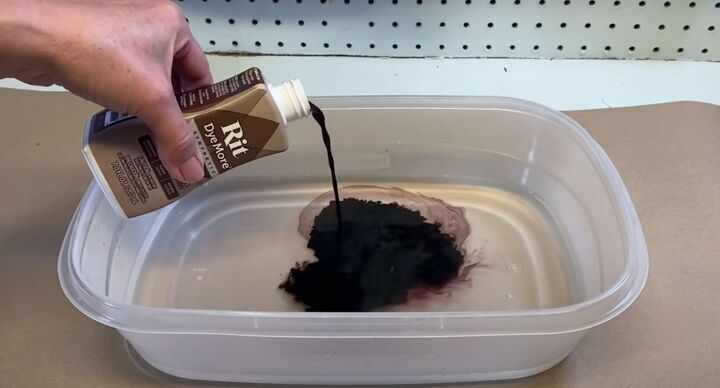
Next, I added about 3 tablespoons of dark brown RIT fabric dye.
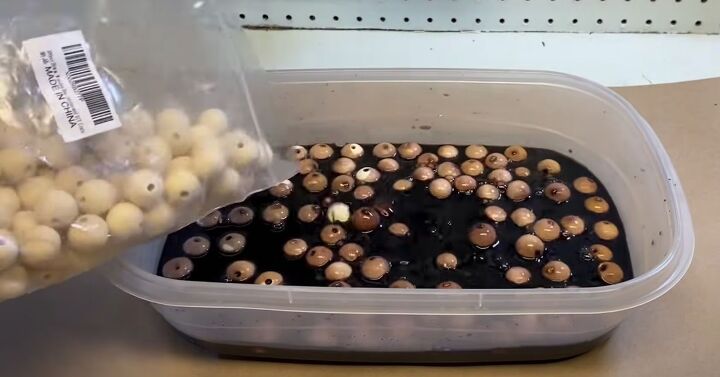
With the fabric dye swirled around, I then added some wooden beads.
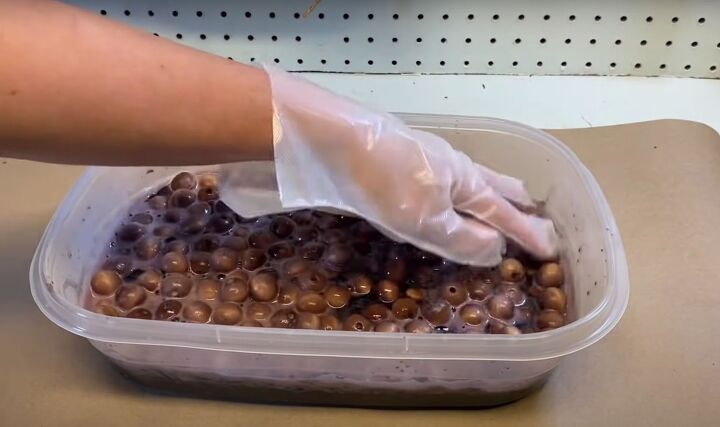
I put a glove on to mix the beads around. You want to make sure they are all mixed with the dye and hot water. I love using this dying method as it is much easier than using a paintbrush or spray paint and trying to stain each individual bead.
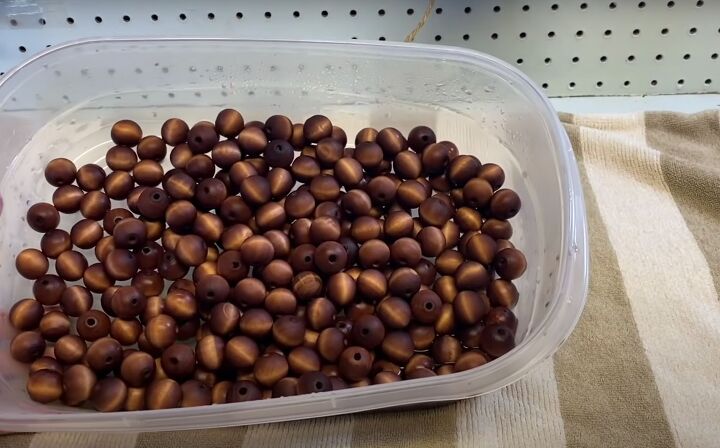
I let them soak for a few minutes, then drained the beads and gave them a quick rinse. It's amazing how quickly the dye colors the beads and really gives them a gorgeous color.
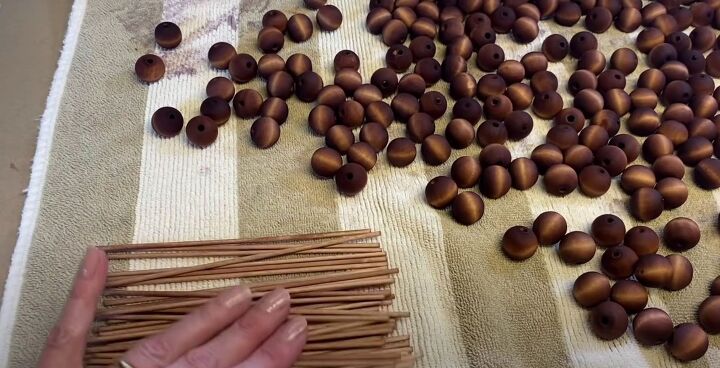
Next, I poured them out on a towel and let them dry. I also dyed some six-inch craft sticks in the same way as the beads.
2. Create a base
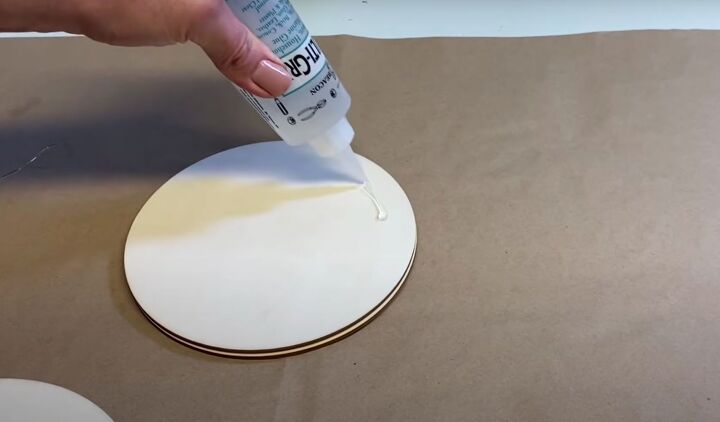
As I waited for the beads to dry, I glued together three, six-inch wood circles to create the base for my DIY wood bead vase.
3. Create the sides of the DIY wood bead flower vase
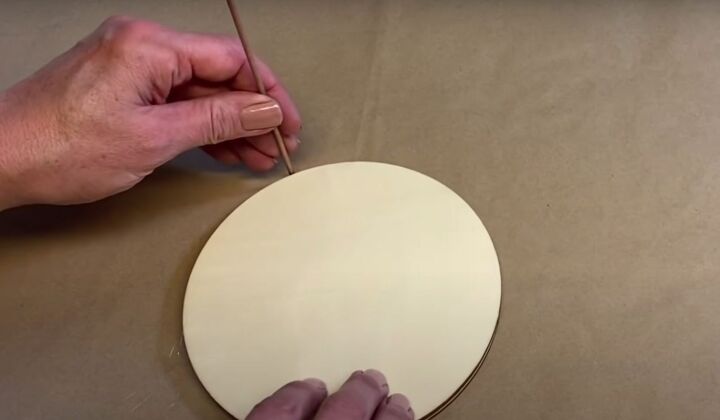
Then, I took one of the dowels and using hot glue stuck it to the side of the circular base.
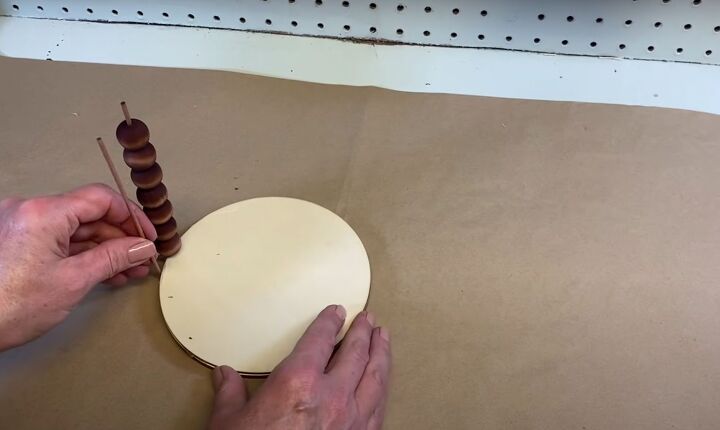
After the glue had set, I stacked the beads on the dowel. Rather than going all the way up, I left a little dowel exposed.
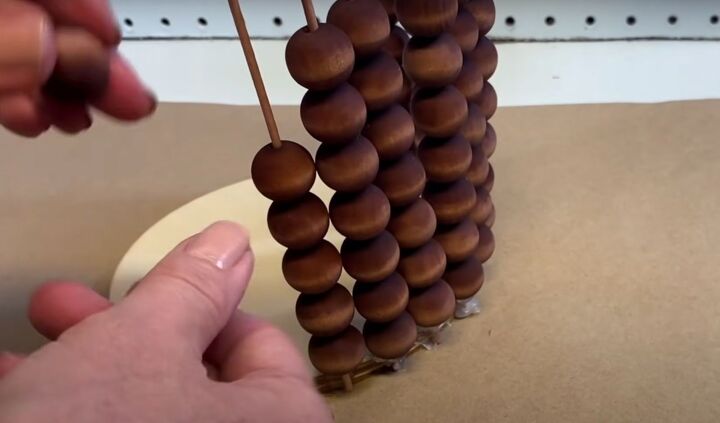
I continued sticking dowels to the side of the base and stacking them with beads. Go all the way around the circular base, making sure each row touches the last one.
A little tip is to add a drop of glue to the base bead to make each row sturdier.
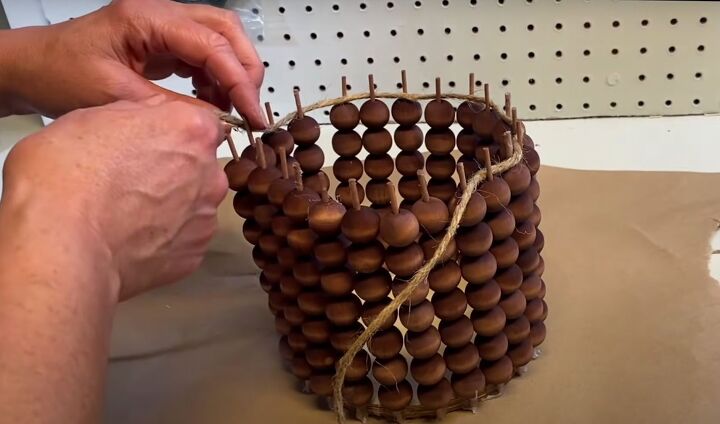
4. Add twine to the top and bottom of the beaded vase
To finish off the top, I wrapped twine around the dowels I left exposed, this adds to the rustic feel and gives the sides more stability.
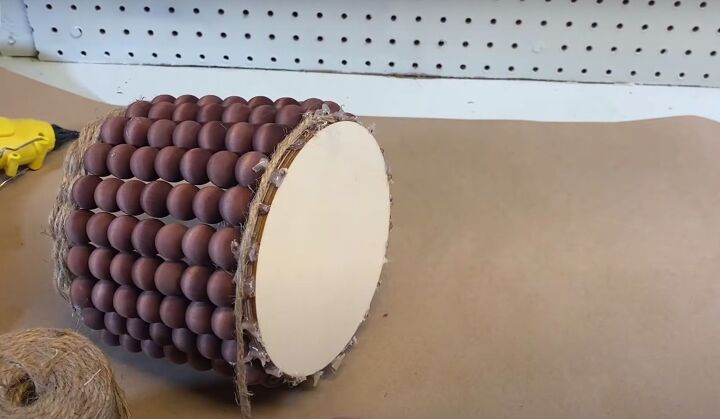
In addition, I wrapped twine around the bottom so that the skewer ends would not be visible.
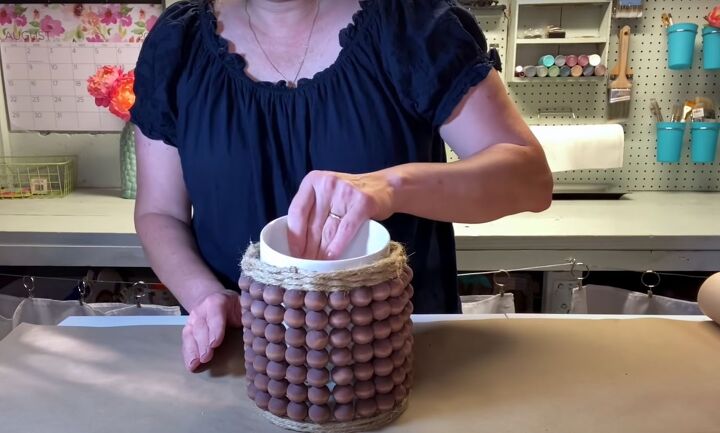
5. Style your new DIY beaded flower vase
You can style your new vase in a variety of ways.
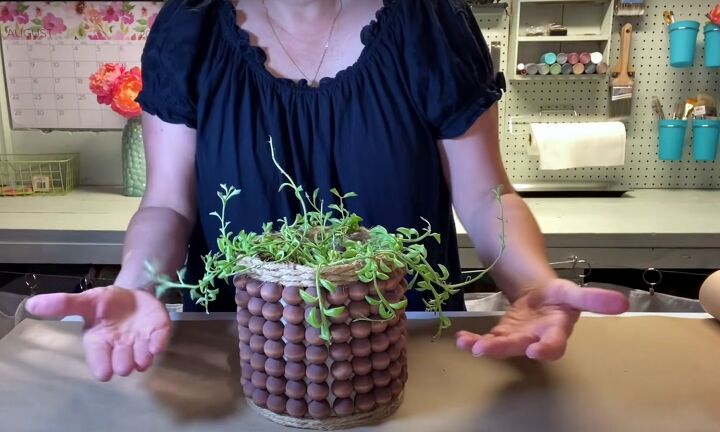
First, I added a little ceramic pot and a real plant.
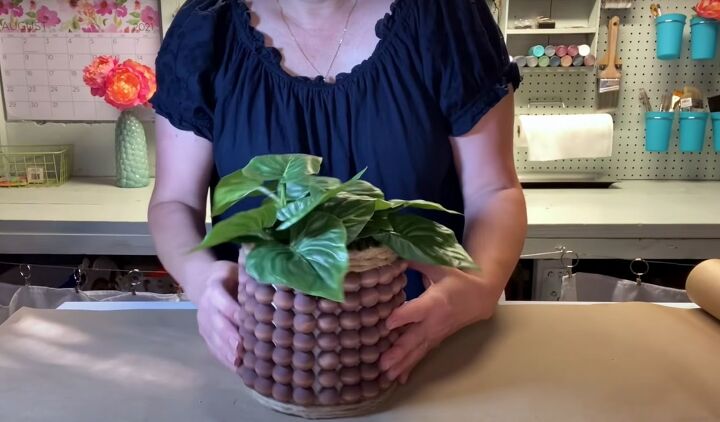
If you don’t like real plants, you can use short faux greenery stems and just pop them inside. It looks so much like a real plant.
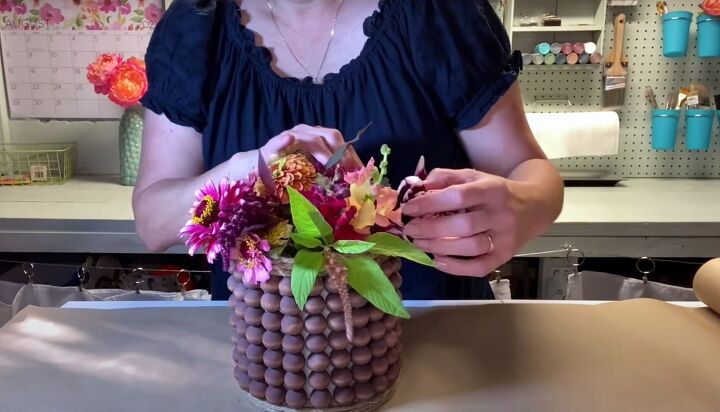
Finally, you could add a jar with water and some fresh cut flowers. How pretty is that?
DIY beaded flower vase tutorial
I hope you enjoyed this project on how to make a flower vase and have fun styling it in your home.
Let me know what you thought of this project in the comments.
Resources for this project:
See all materials


Comments
Join the conversation
-
This is really creative!!! I believe that I will try this out perhaps using another color of dye. Thank you ever so much for sharing your art!!
-
A flower pot idea I've never seeen before, and so classy, too! I'd be proud to gift this to someone, but I think I'll make one for myself first 😉! Thanks so much for sharing this beautiful idea!


Frequently asked questions
Have a question about this project?
This is so creative. I would have never thought about rit dye. Genius. Beads are typically very dry and porous so easily takes dye. No experience here but wondering you see folks creating masterpieces on wood with stain. What makes them lovely is shading. Wondering if rit dye could be used to add accents and shading. Any thoughts having used rit dye?