


DIY Flower Cart: Easy Build Tutorial & Cut List
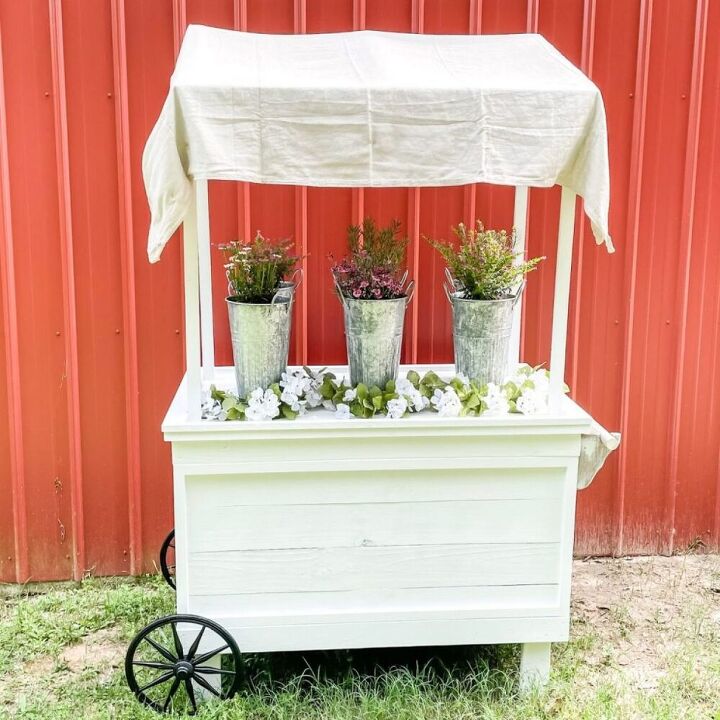
Make This Easy DIY Flower Cart That Is Perfect For Weddings, Events, or Birthday Parties
DIY Flower Cart: Easy Build Tutorial & Cut List
Y’all I don’t think I have ever built anything this fun before & if you have been following along with this little blog for any time at all you know we build a lot of things!
My mom had actually been sending me photos of different carts for a while & we both agreed we loved them & they could work for so many different events, parties, weddings, or even just decor!
So last weekend we womened up & built our first one
It is even cuter than what I pictured & only cost us about $100 in materials which I think is a steal considering they sell them for $500 & up!
Let me show y’all how we completed our little mother-daughter build in just 1 weekend
MATERIALS:
- 5- 2x4x8
- 3- 1x3x8
- 5- 1x2x8
- 9- 1x6x9 Dog Eared Fence Board
- Painter Cloth
Tools:
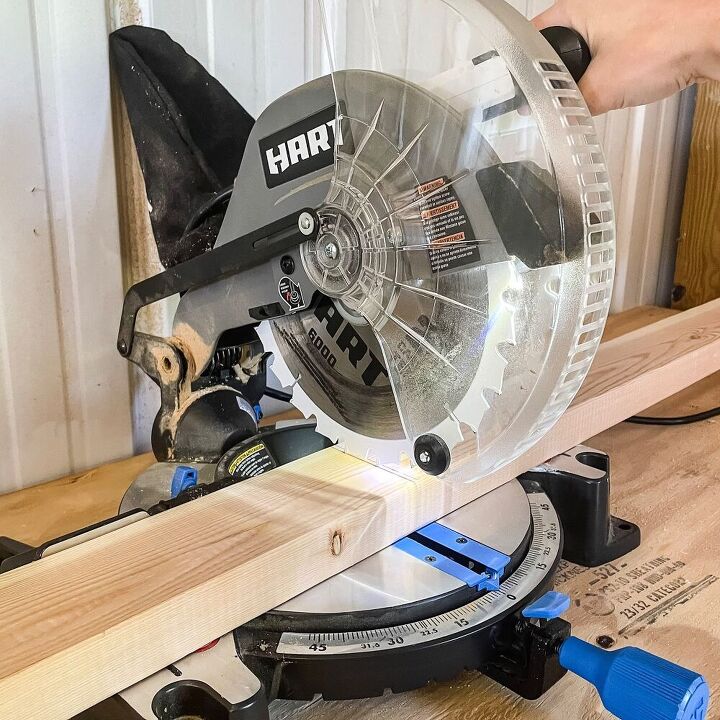
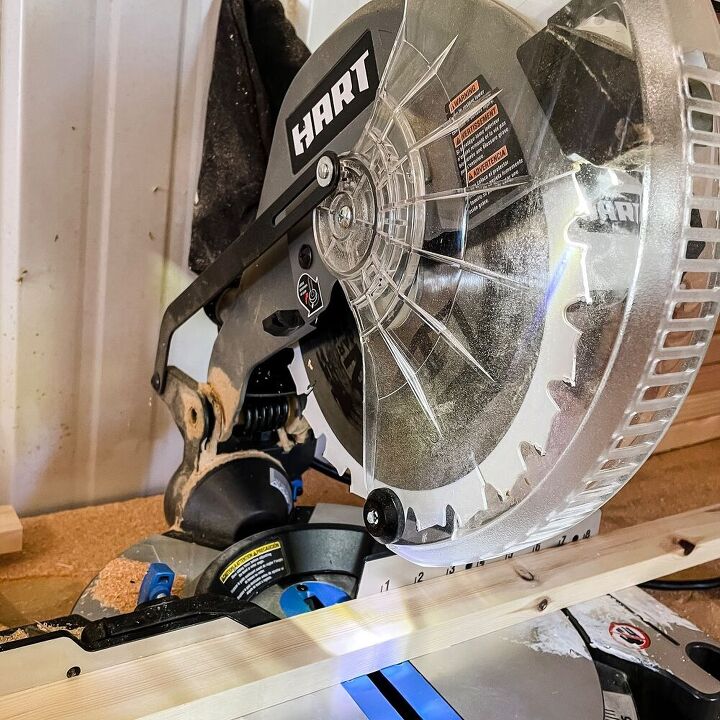
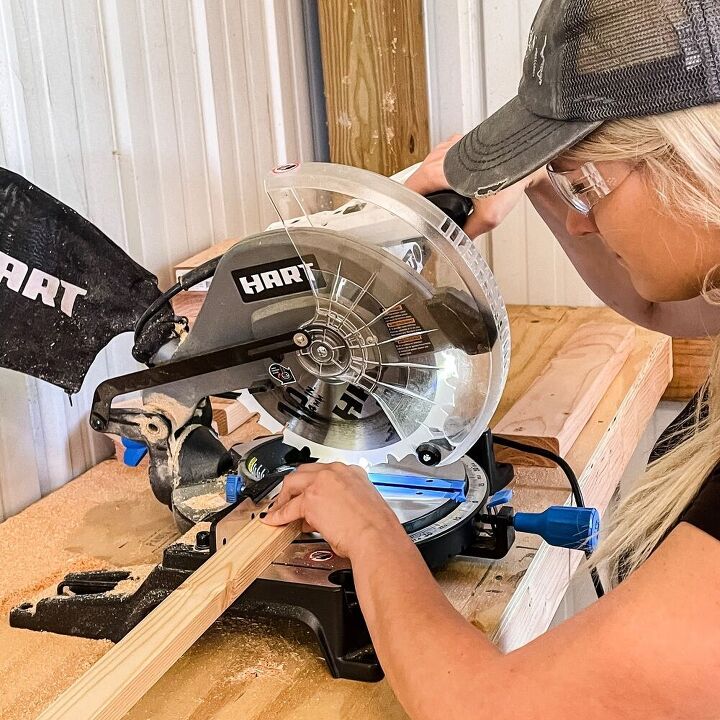
- Miter Saw
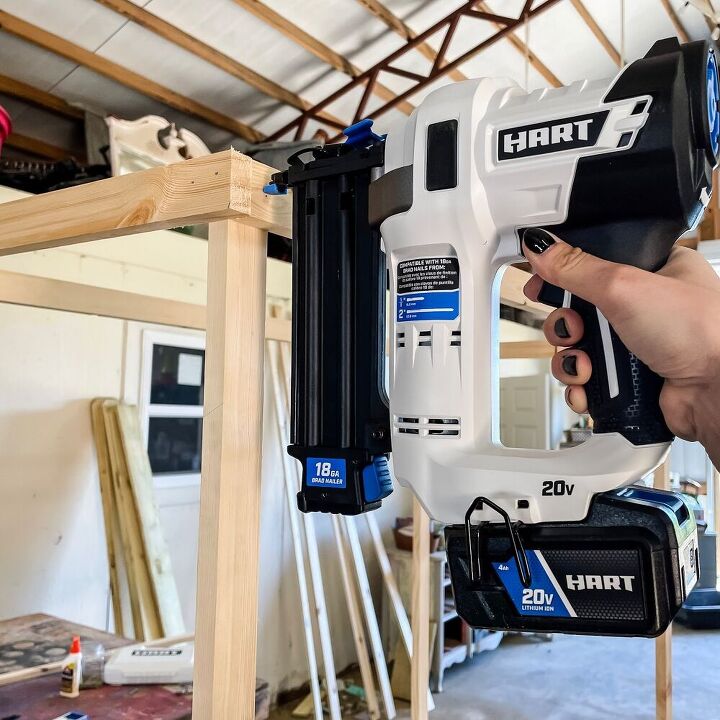
- Nail Gun
- Drill
- Level
- Measuring Tape
- Paint Sprayer (optional)
Tutorial:
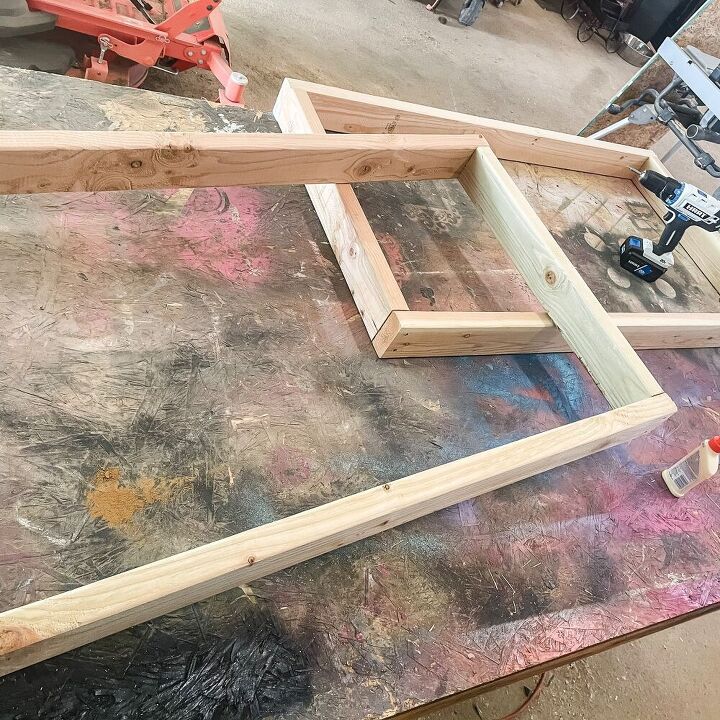
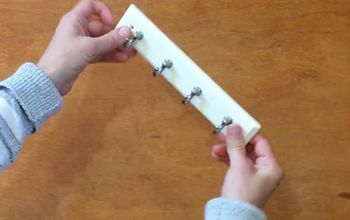
First measure & mark boards for the base of the flower cart. We will be building 2 boxes using the 2×4 boards.
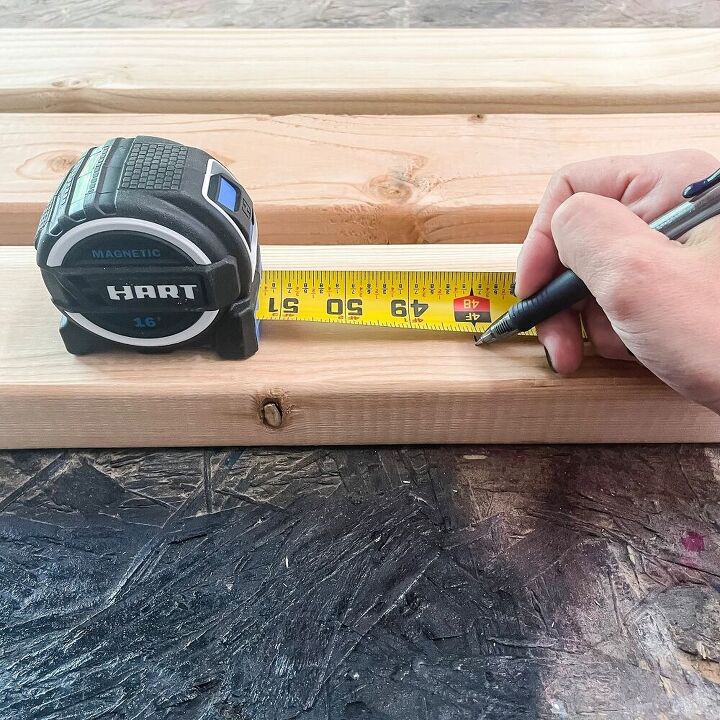
Next cut the 2×4’s: (4) 4’ & (4) 2’
Use wood glue when assembling each box
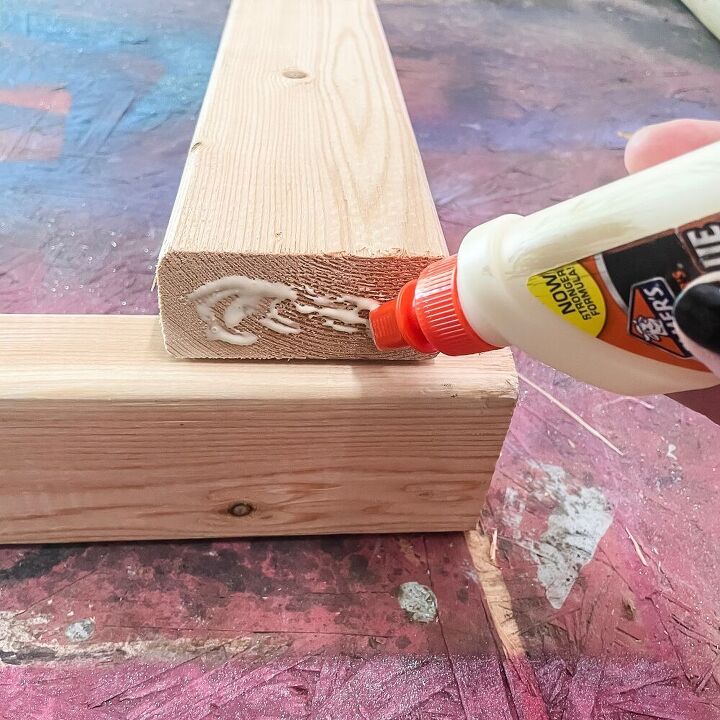
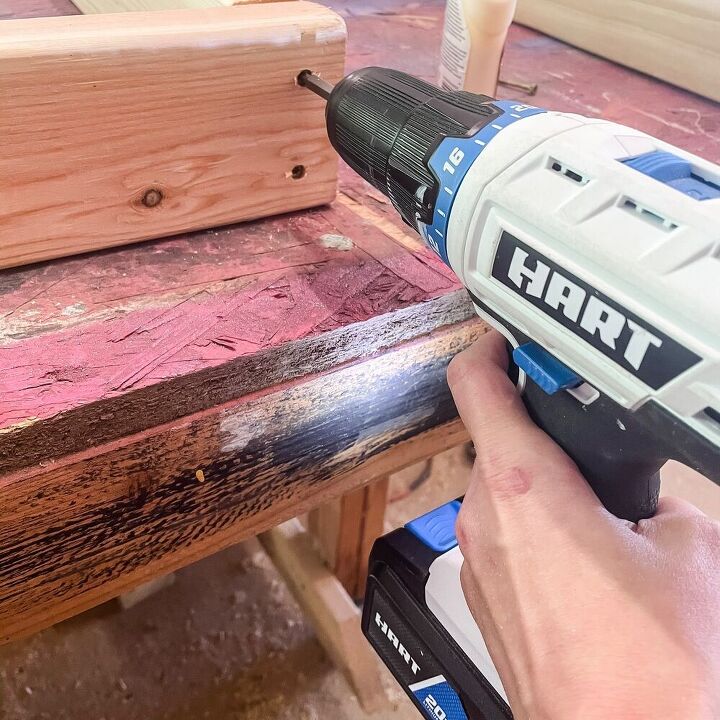
Once the corners are square, use 2” wood screws to attach the boards together
You will need to assemble two boxes total
Next, cut (4) 2×4 boards to 3’ & attach them to one of the base boxes using 2” wood screws
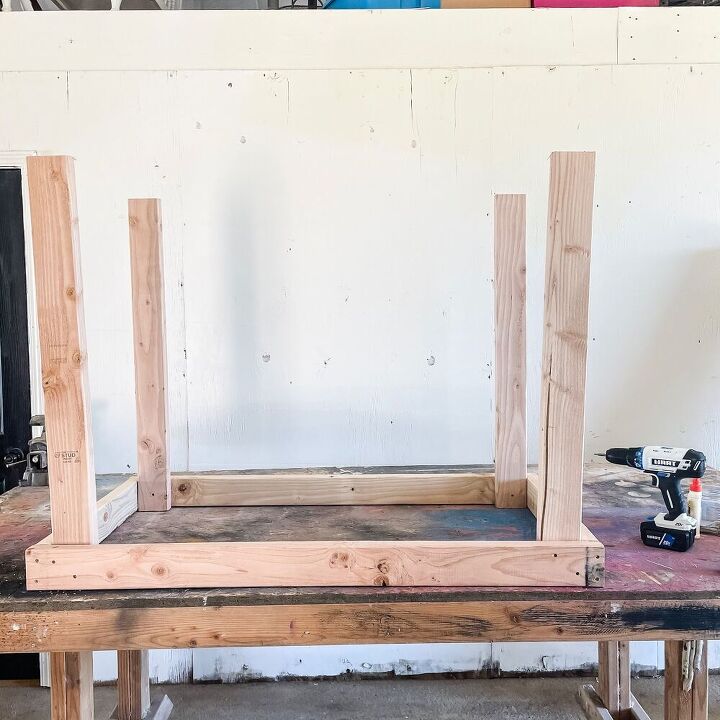
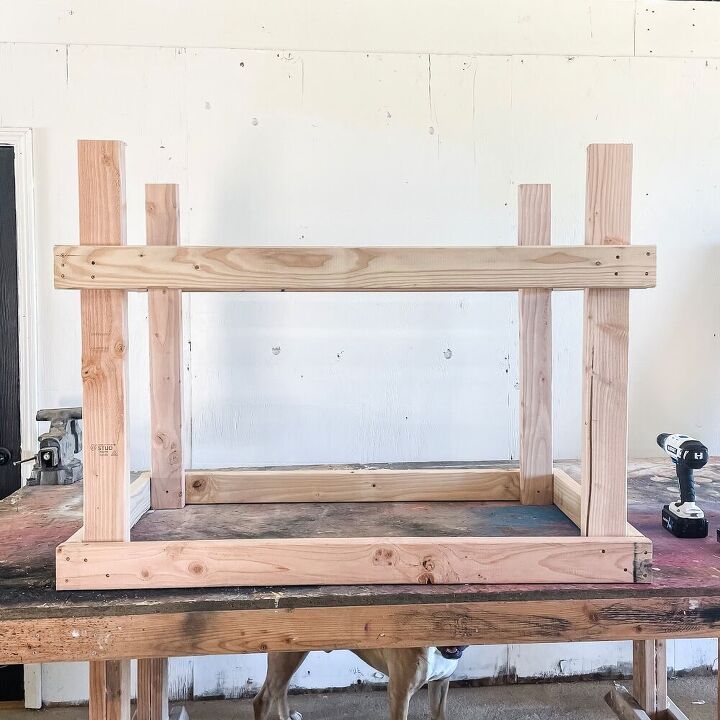
Now add the second base onto the legs. This piece will be attached using wood screws also, 6” from the top of the legs.

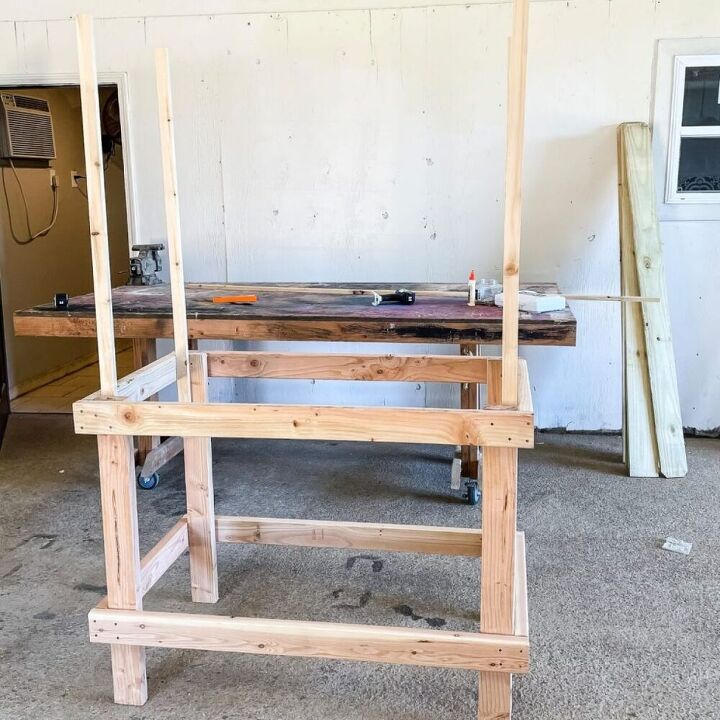
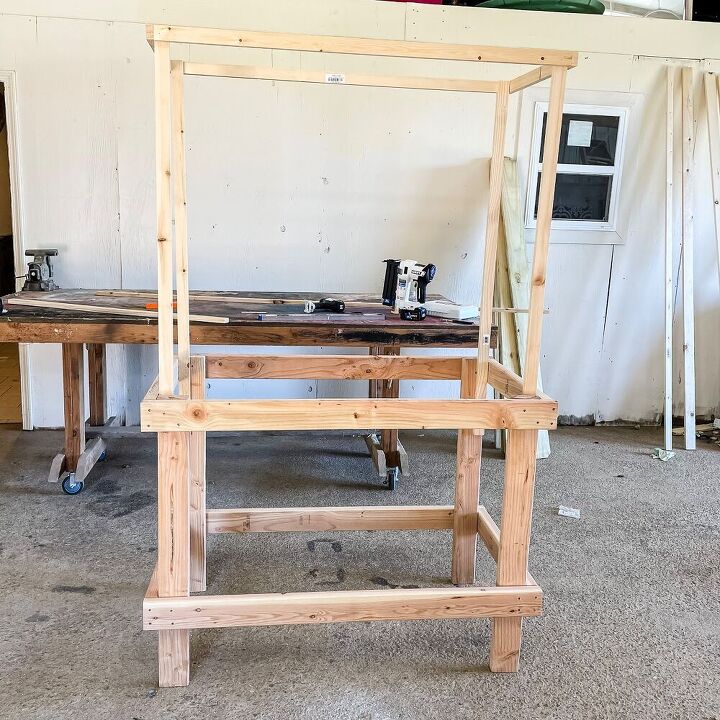
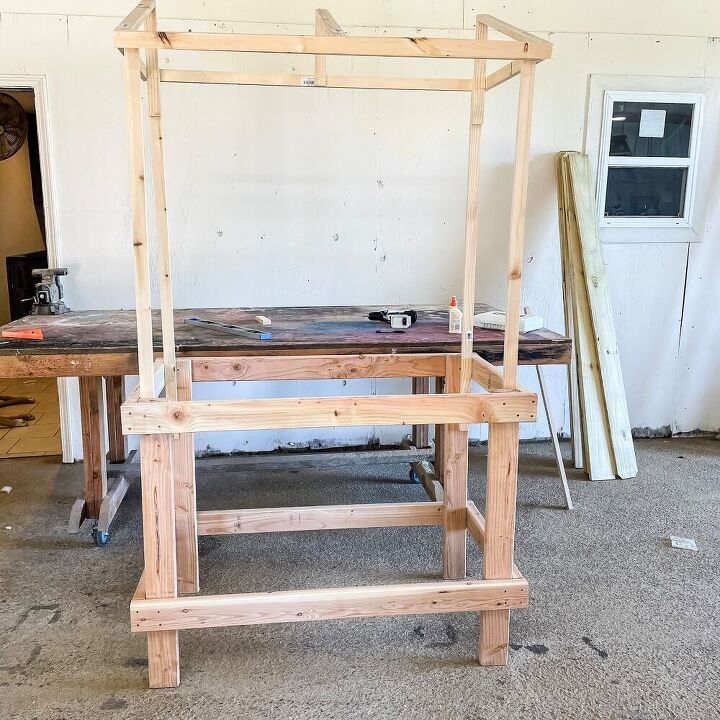
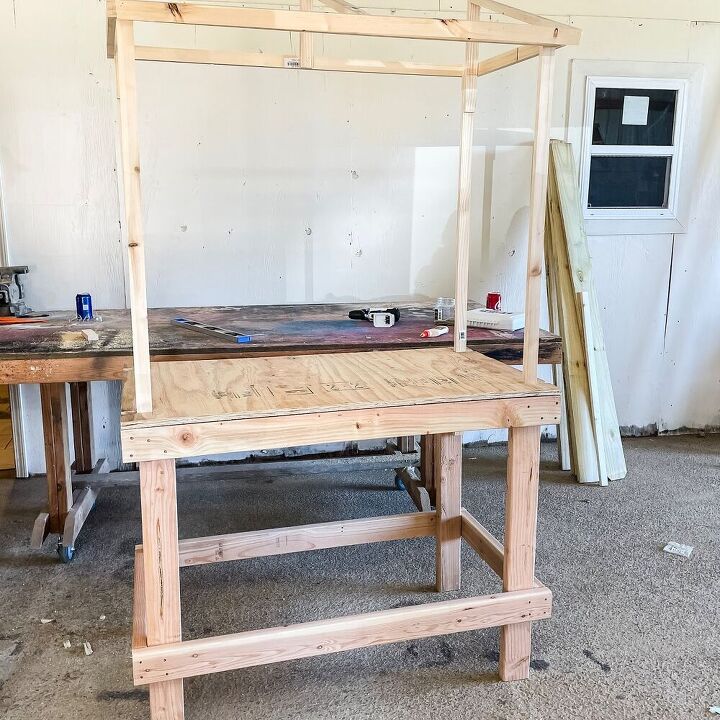
This is how your base should look after its assembled
Building The Awning
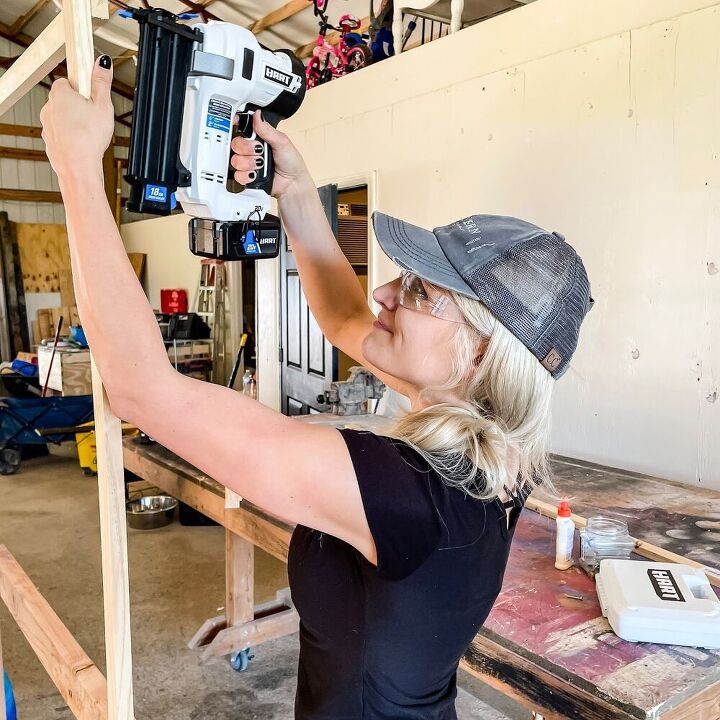
Now we will build the top portion of the cart. Cut (4) 1×2 pieces to 3-½’ each
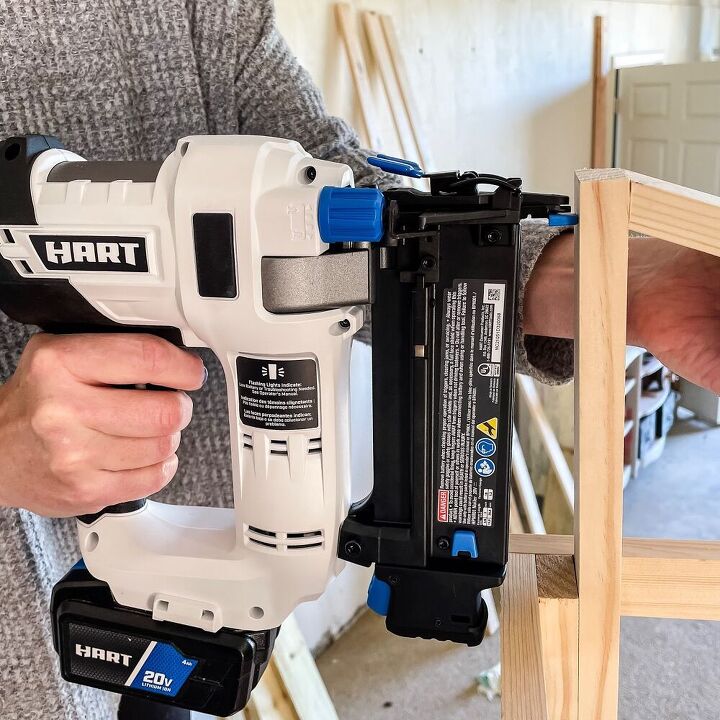
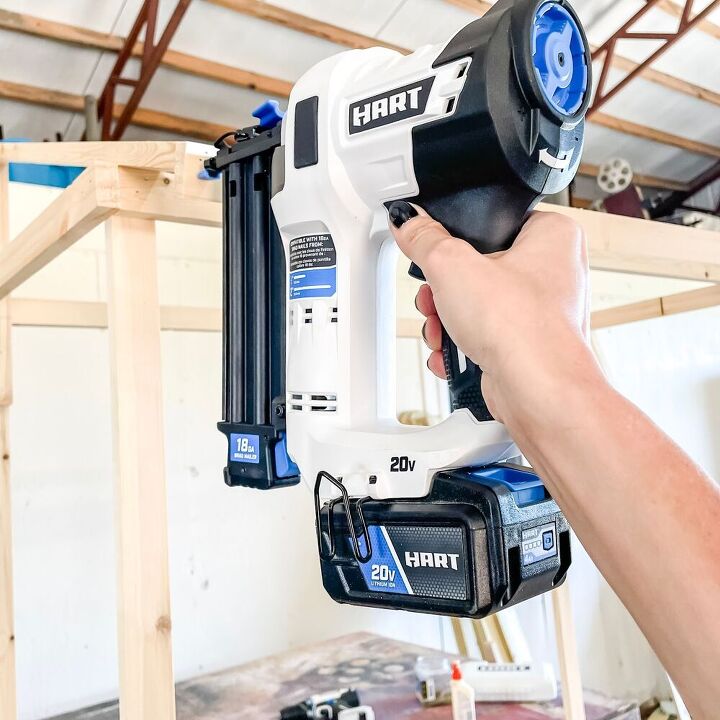
Once all four pieces are cut, attach them to the top of the base of the cart using a nail gun & 2” nails. I attached all 4 boards with 6” on the 2×4’s for a little extra security.
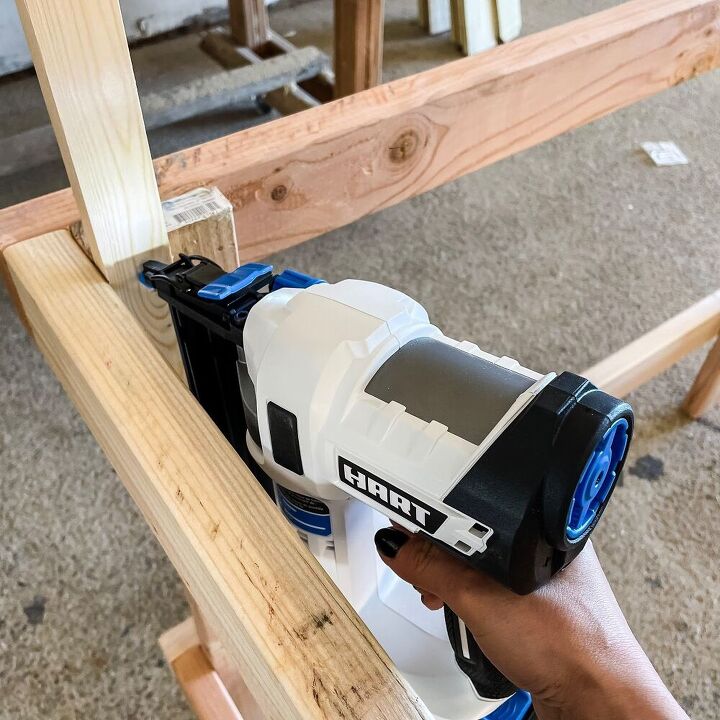
This is how it will look with all (4) 1×2’s attached
Next, cut 4 more 1×2’s to go around the top of the awning base. (2)- 2’ & (2)- 4’. Attach with 2” nails & nail gun.
Here is how it should look so far!
Next, we need to cut (3) short pieces for the awning to sit on. Cut the 1×2 into (3) 1’ pieces & attach to the back of the awning base using the nail gun.
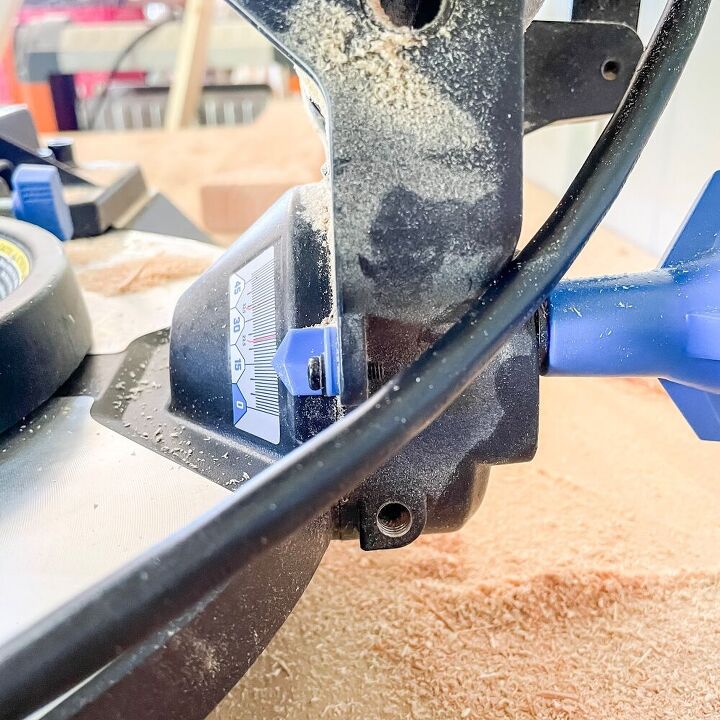
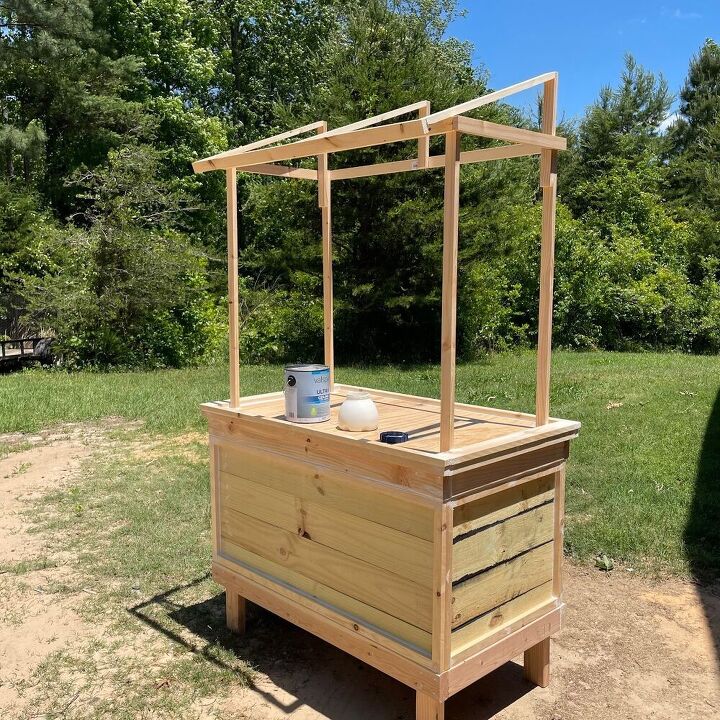
After the short pieces are attached, cut (3) more 1×2 pieces to 4’ each. One side of these boards will need to have a 15* bevel cut.
Attach the angle side to the 3 back pieces using a nail gun.
Attach the front of these pieces to the 1×2 awning base.
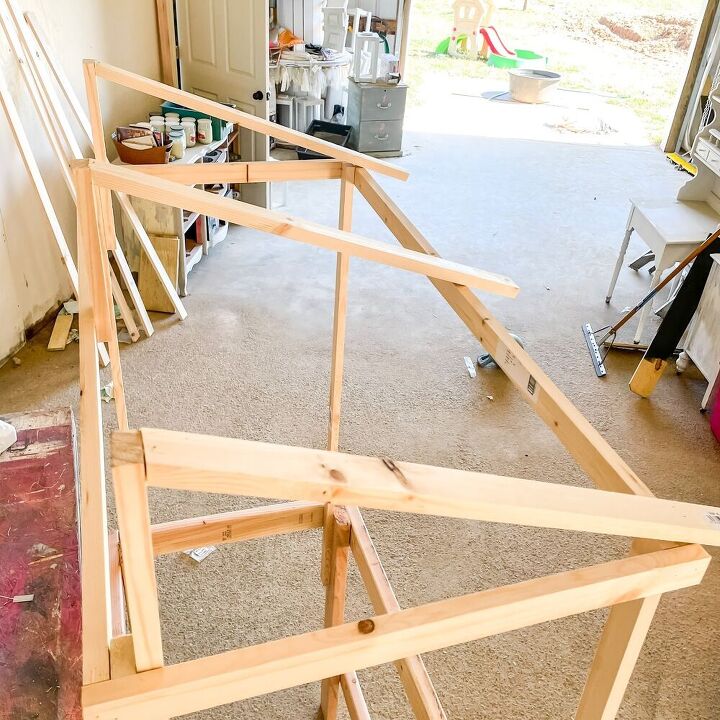
To finish off the awning build, I added a 1×2 across the front attaching the 3 pieces together.
Next comes the tabletop for the flower cut. I ripped ¾” plywood to the base length & width.
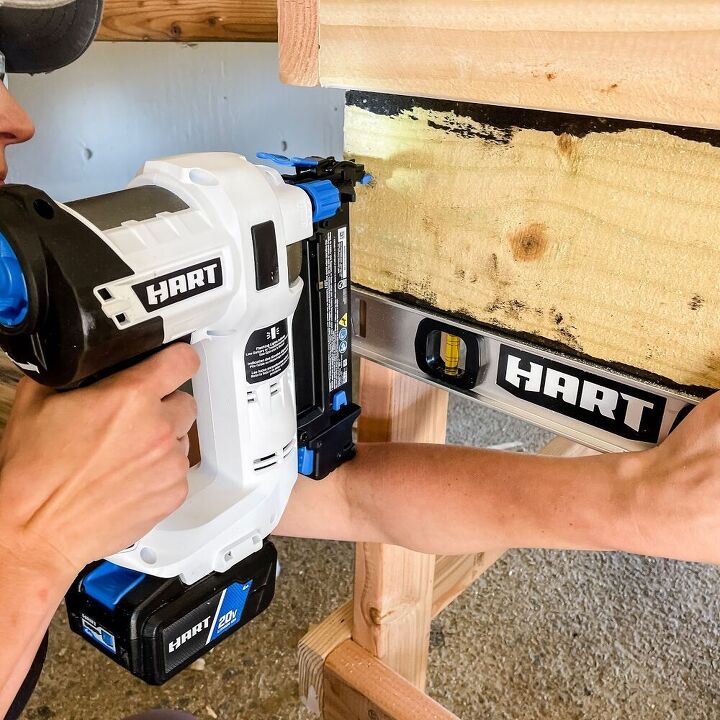
Now it’s time to frame in the flower cart! You could leave it like this or get fancy, it’s completely up to you! I chose to cut 1×6 dog-eared boards & frame around the outside of the base.

Attach the dog eared boards to the 2×4 base using 2” nails. Be sure to level at least the first 1×6 being installed.
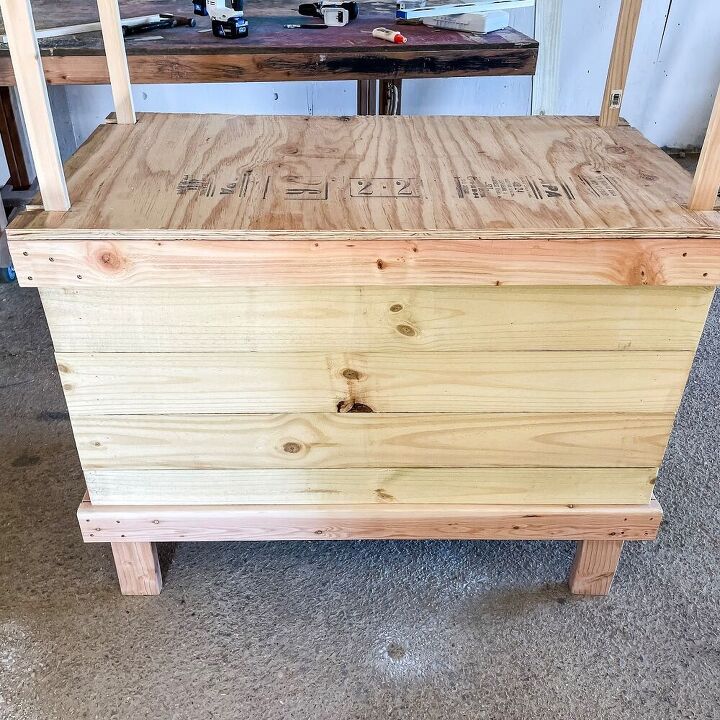
I also added 1×2 trim pieces around the top & sides to make it a little fancier, but that’s totally up to you. You can get as fancy or as simple as you want
Finishing
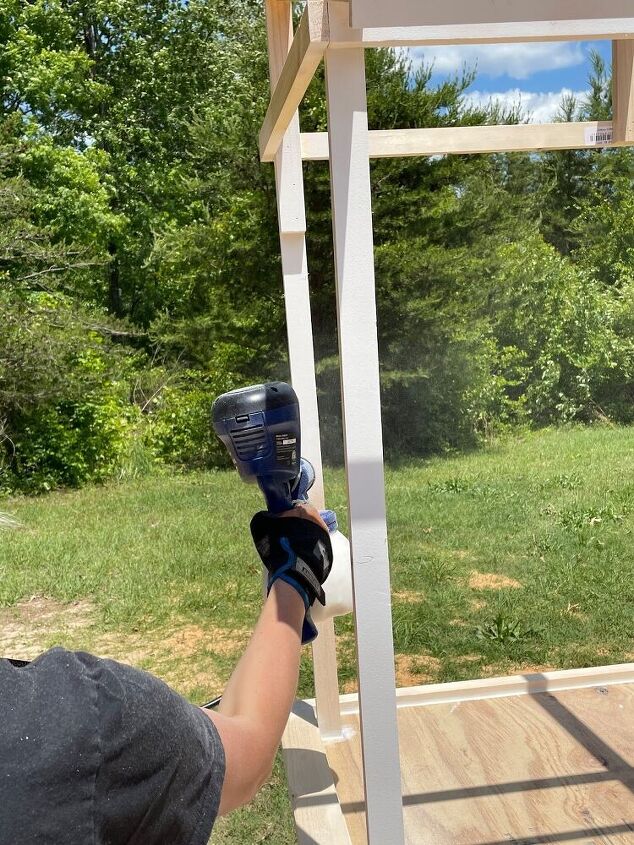
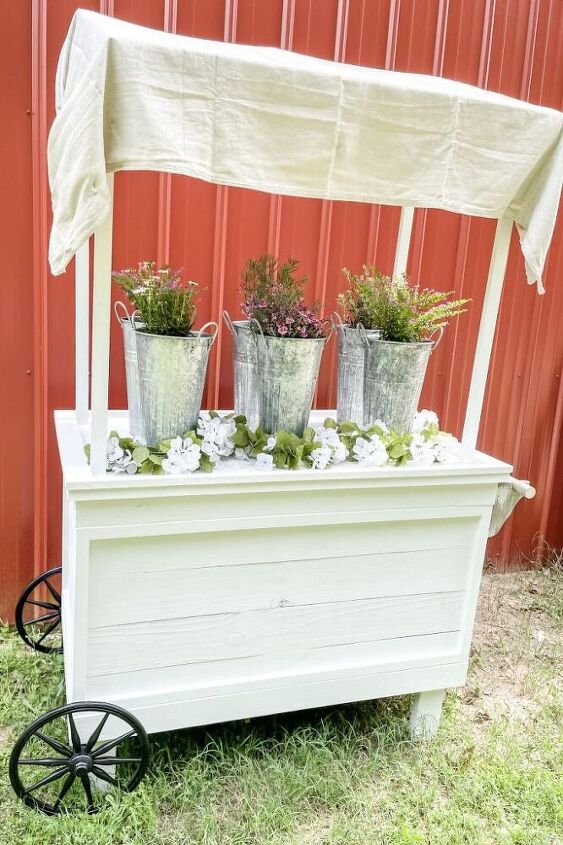
To finish the flower cart I painted the entire thing white using a paint sprayer.
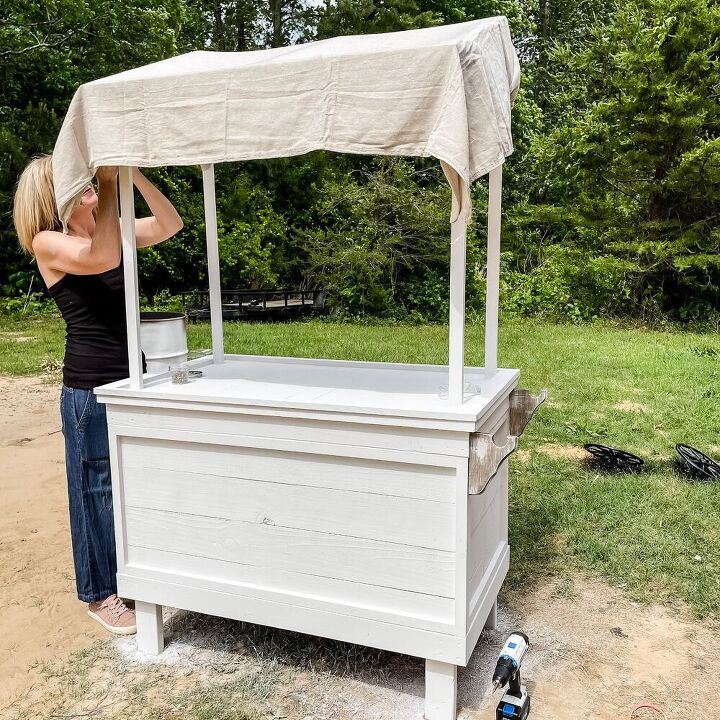
Now it’s time to add the awning or painter’s cloth to the cart. For now, I just pinned it onto the cart so that I would have the option to remove it later & add different color awnings or fabric. Once I pick a permanent one I will attach it with a staple gun!
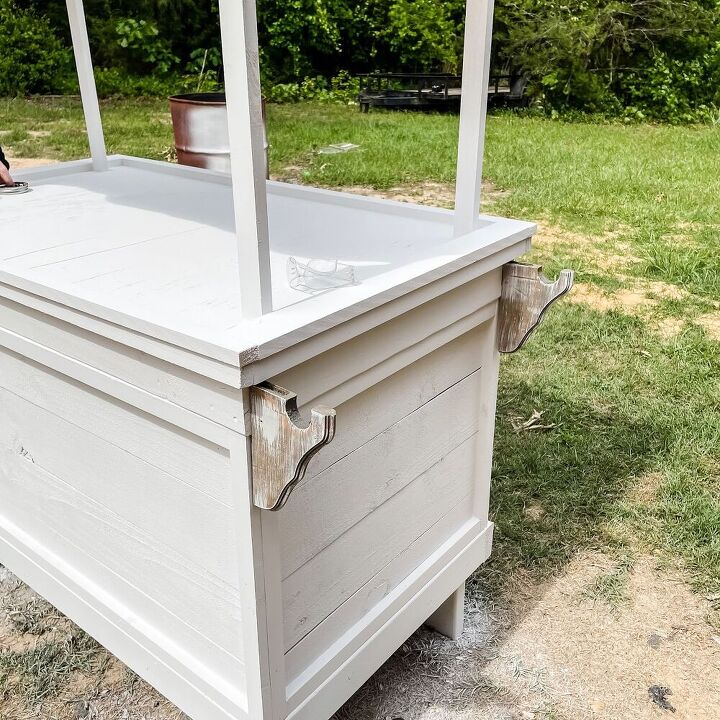
I also used corbels & dowel as a faux cart handle
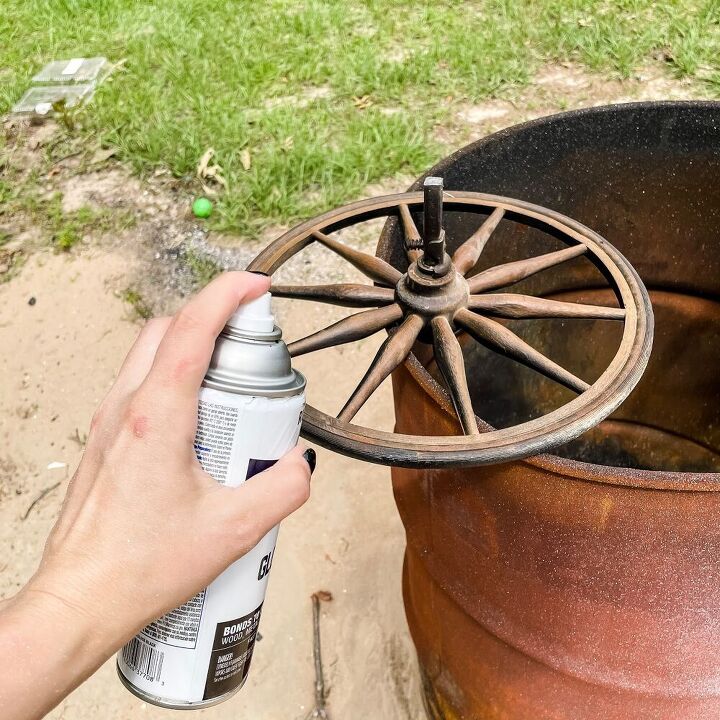
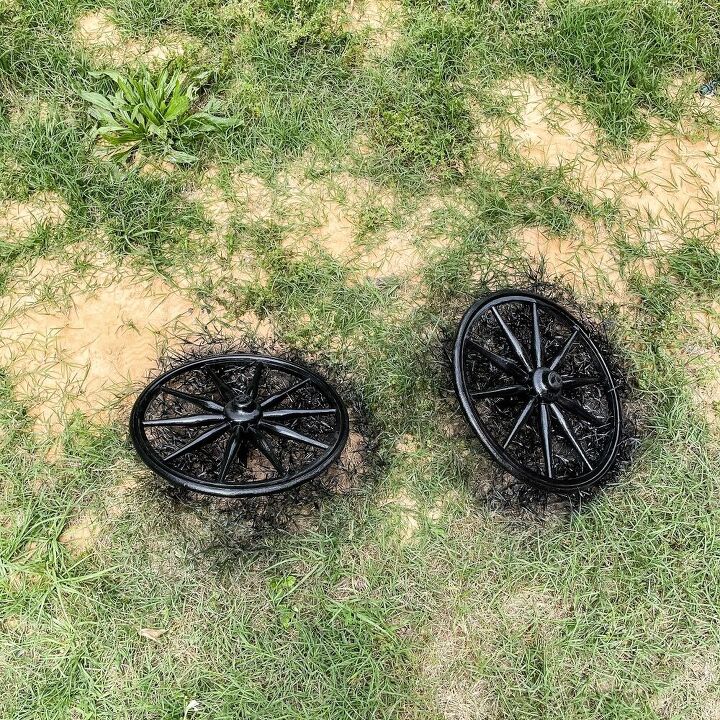
We swiped these wheels from an old cart I found on Facebook marketplace. I painted them with flat black spray paint to freshen them up before attaching them to the cart.
That’s it, A DIY flower cart or really it could be any kind of cart you wanted!
This would be super cute for a wedding or birthday party!
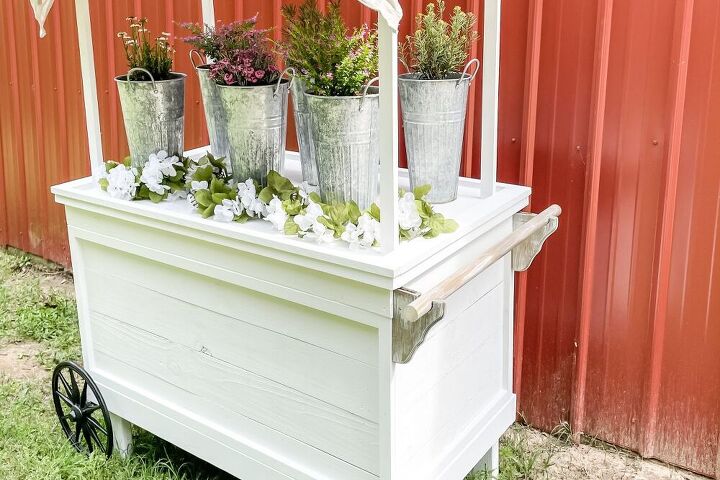
You could use it as a cake table, bar, ticket both, or favor table!
It cost me $100 total to make & I am absolutely in love with it! Wait & see what special event I use it for! Until then I am thinking of putting it on our back patio to display these pretty flowers.
See Our DIY Flower Cart: Easy Build Tutorial & Cut List on Instagram


Comments
Join the conversation
-
very cute & nice idea. Spray painting on ground not cool!!!
-
I think you did a great job, and I wouldn't worry too much about spray painting on the ground, because the whole purpose of a spray paint, is to dry on contact. Once dry, there is extremely minimal danger of screwing up our environment.


Frequently asked questions
Have a question about this project?
Are the wheels functional? Does it actually roll?
Will you make one for me!! SUPER CUTE!! Awesome work!!!