


DIY Leather Lampshade: Turn That Old Shade Into Something Amazing
Grab that old, dingy lampshade you've been meaning to refresh and make this DIY leather lampshade with me. You won't be disappointed with the result.
This post was transcribed by a member of the Hometalk editorial team from the original HometalkTV episode.
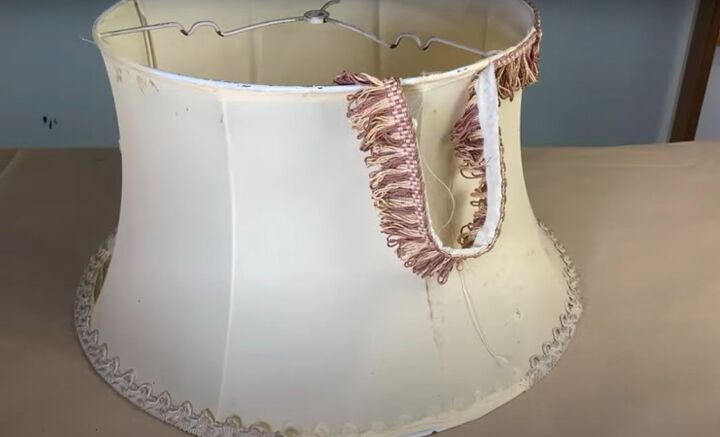
1. Clean and prepare the old lampshade
For this project, I took the saddest, ugliest lampshade I could find and completely transformed it. The first thing I did was remove all the tassels that were hanging from them.
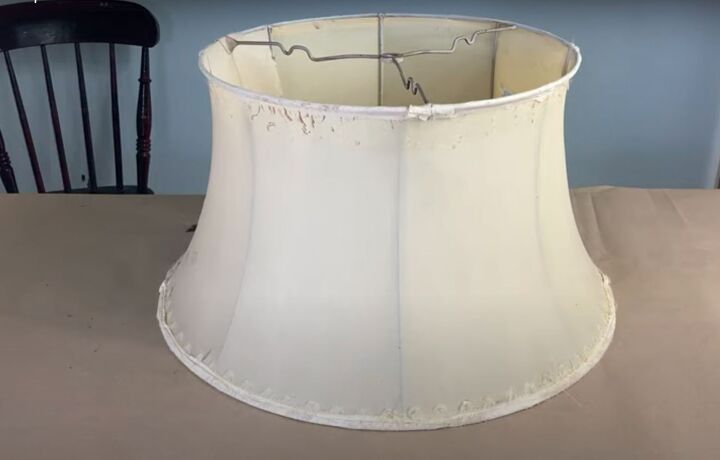
With all the tassels gone, it was already looking better. I also gave it a good cleaning with some very hot soapy water and put it outside in the sunshine to dry.
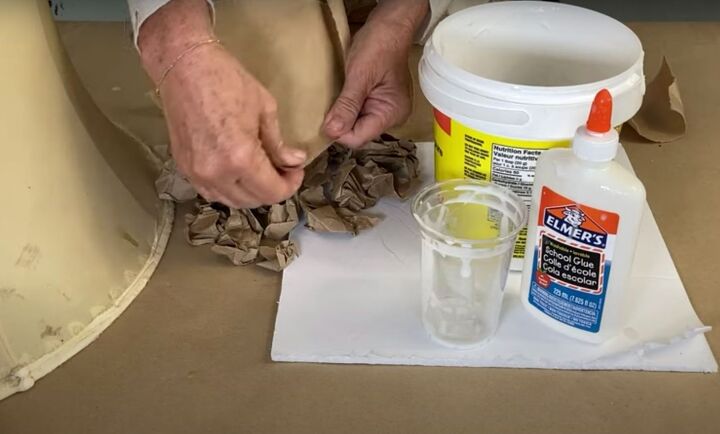
2. Rip up brown paper
For the next step, I took some brown paper that I got on a roll and ripped it into random size pieces.
I then scrunched them all up.
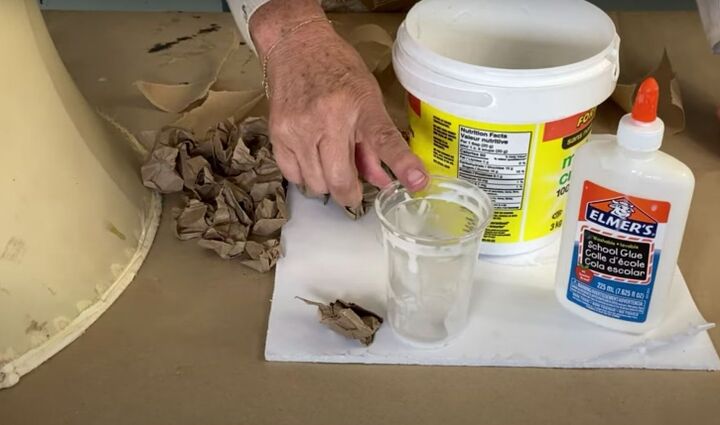
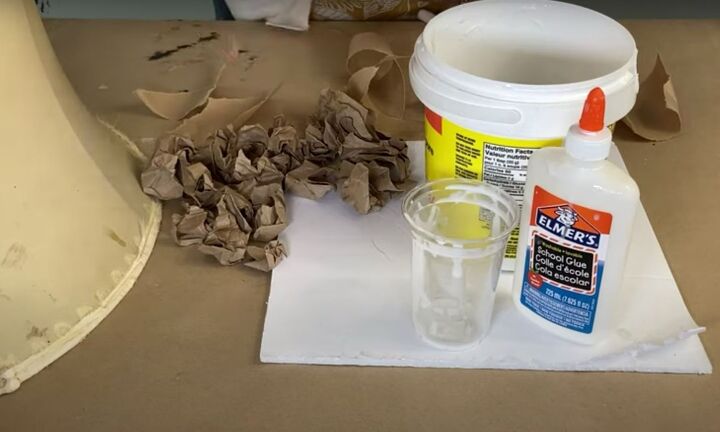
3. Cover the paper in glue
Next, I took half a cup of Elmer's glue and mixed it with one cup of water. With the glue mixed, I threw all of the scrunched-up paper pieces into the mixture and made sure they were all wet and nicely coated with glue.
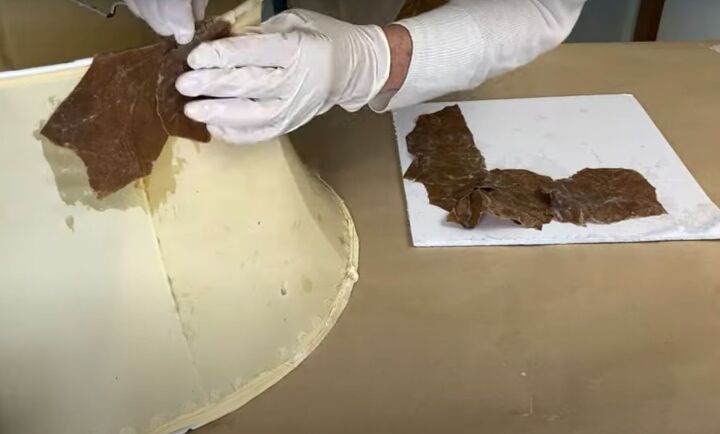
4. Stick the paper pieces onto the lampshade
Once all the paper was glued up and wet, I laid it on the lampshade going right over the rim as well. I made sure to overlap the pieces so that the lampshade was completely covered. I went all the way around and then put it out in the sunshine to dry.
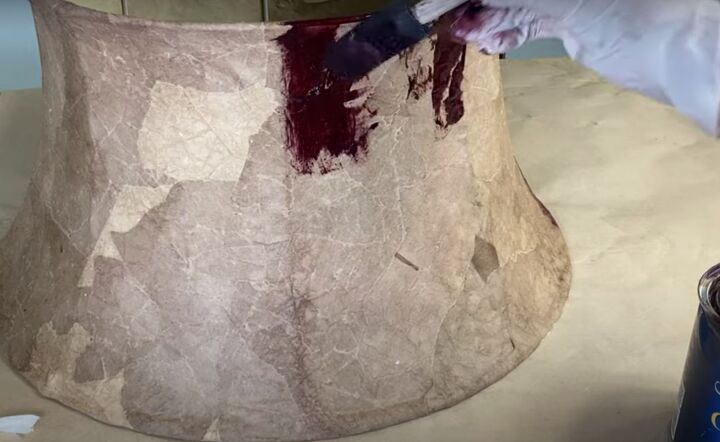
5. Stain the lampshade
When it was completely dry and quite hard I used an oil-based gel stain to give the paper some color. I applied the stain in small sections and then used a lint-free rag to work it in.
6. Coat the DIY lampshade with top-coat
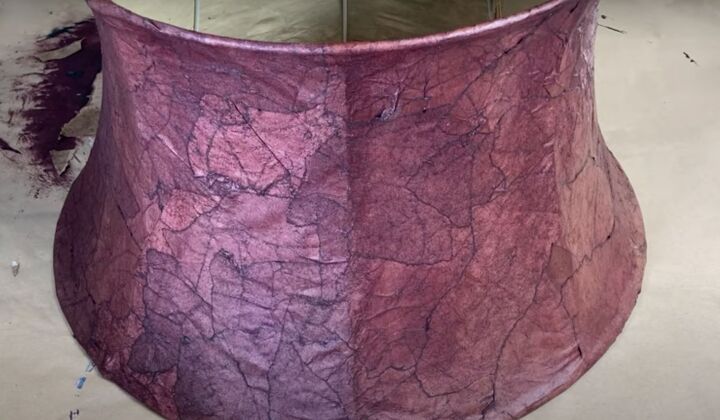
I left it overnight to dry and loved how it looked the next day. The stain enhanced the crinkles in the paper and made it look completely unique.
To finish off my new shade I used a coat of water-based topcoat to seal the stain. You could also use a glue and water mixture in place of the topcoat.
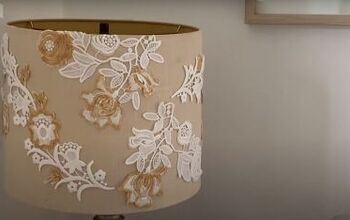
Looking for more lampshade inspiration?

A DIY lampshade tutorial to turn that old shade into something amazing
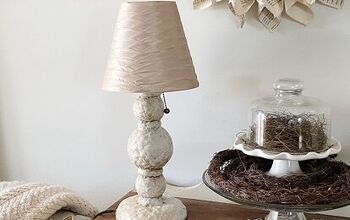
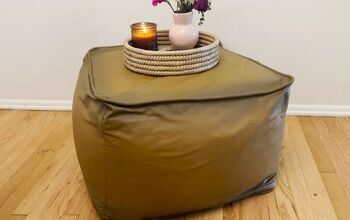
Here is the final piece, I am thrilled with it.
I hope you've enjoyed this DIY lampshade tutorial as much as I did.
I would love to hear about any transformations you've made to old objects.

Comments
Join the conversation
-
When your poor, you have to be creative!😀
-
Looks great but kind of dark. I hope it lets out enough light.


Frequently asked questions
Have a question about this project?
Looks great on the outside but what to do to cover the inside since many old lampshades may be yellow or cracked on the inside?
Is it translucent enough to allow light to shine through? Or does all the light filter from the bottom of the shade?
What about the heat and the paper?? Just curious, some aren't cautious enough, hate to see anything happen!! Maybe newer bulbs aren't as warm but I'm sure some people are still using the old ones?