


DIY Macrame Rainbow Tutorial

Somewhere over the knotty rainbow! Using the wrapping technique, try out this quick and simple macrame rainbow design that can easily brighten up your day. The great thing about this rainbow is that it can be displayed in a variety of ways! For instance, it can be used as a vibrant decorative piece in your home, hung as a rearview car mirror charm, attached to a keychain, or you could secure thin wooden dowels to it to display as a cake topper! The knotty possibilities for this fun craft are endless!
Supplies:
*Macrame Cord: (any type of cord can be used for this project, quantities and lengths are specified below. My personal favorite macrame cord to use is from Ganxxet)
*Total cords used as "wrapping cords": 257ft of 2mm 3ply cord
- 72” to wrap the bottom arch
- 85” to wrap the middle arch
- 100” to wrap the top arch
*Total cords used as "inner cords:" 84ft of 5mm 3ply cord
- 3 x 8” inner cords for bottom arch
- 3 x 9.5” inner cords for middle arch
- 3 x 10.5” inner cords for top arch
Additional supplies:
*4 x 1” pom poms
*Hot glue gun & glue sticks
*Comb
*Scissors
Step by step instructions are accompanied with corresponding photos.
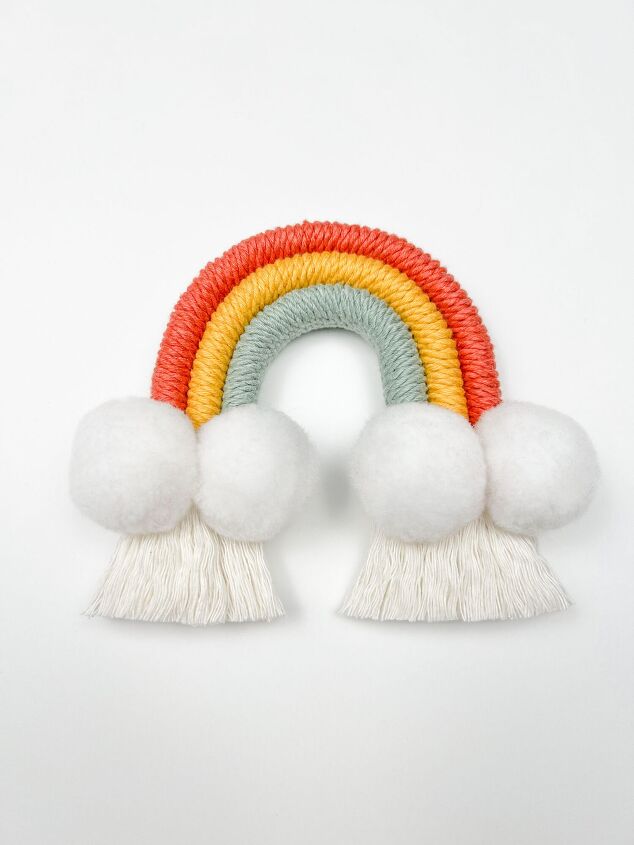
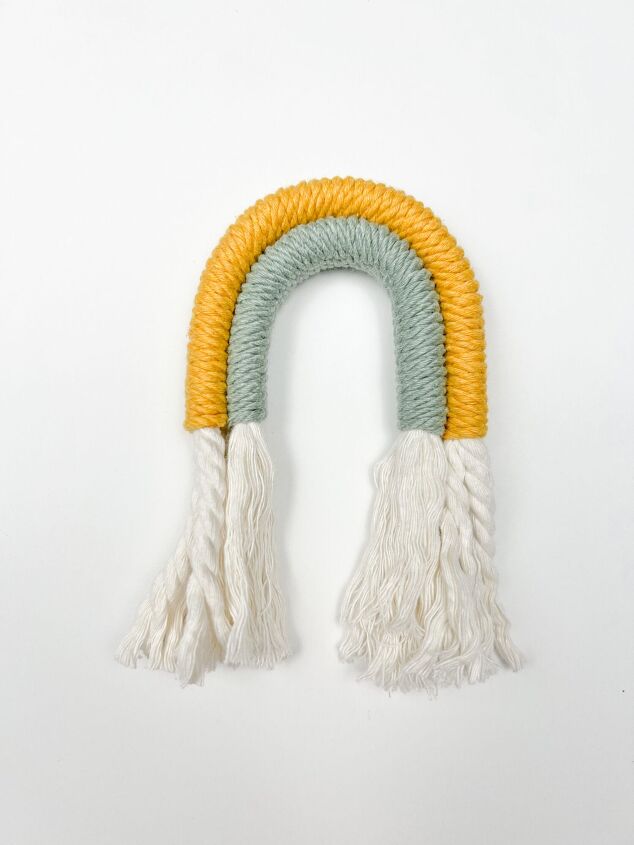
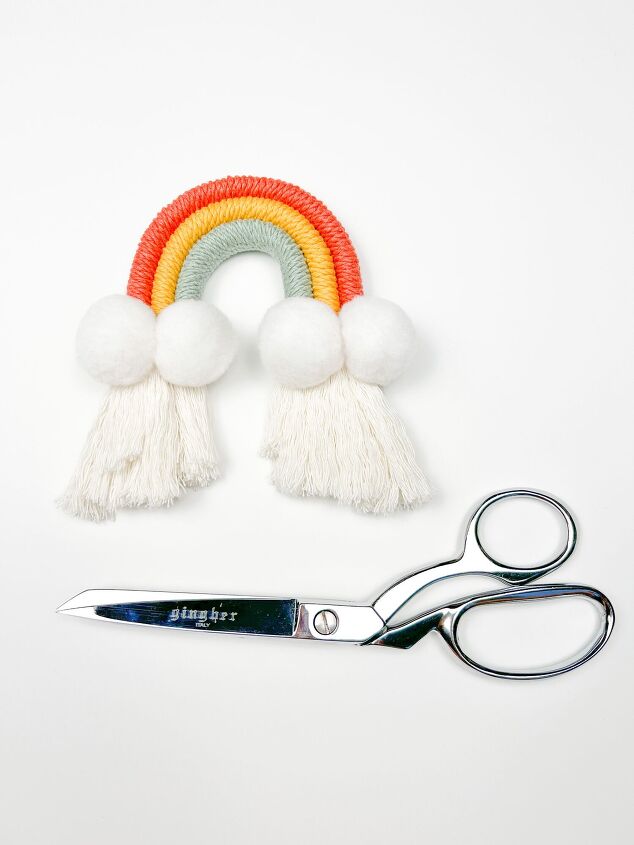
Finished macrame rainbow design. Dimensions: 4"x4.5" (Approximately)
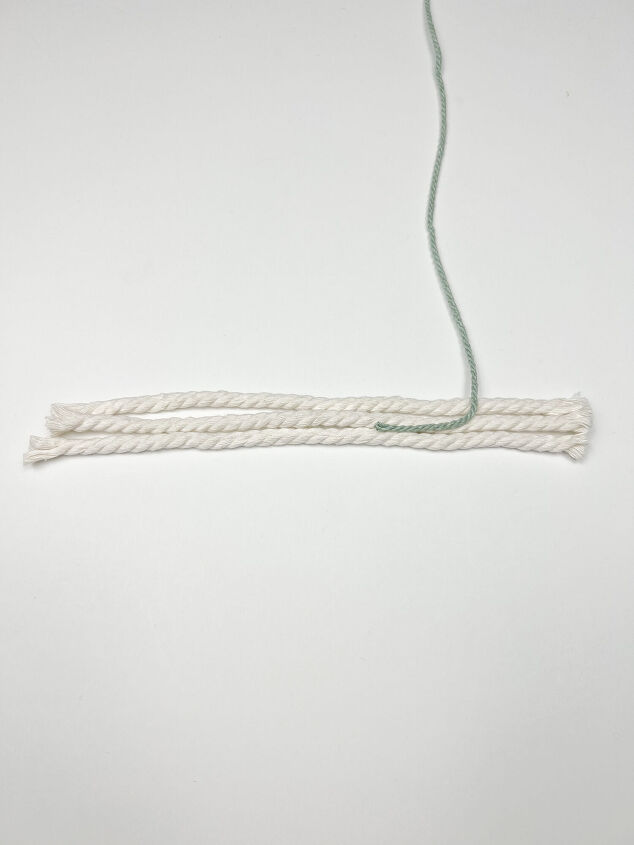
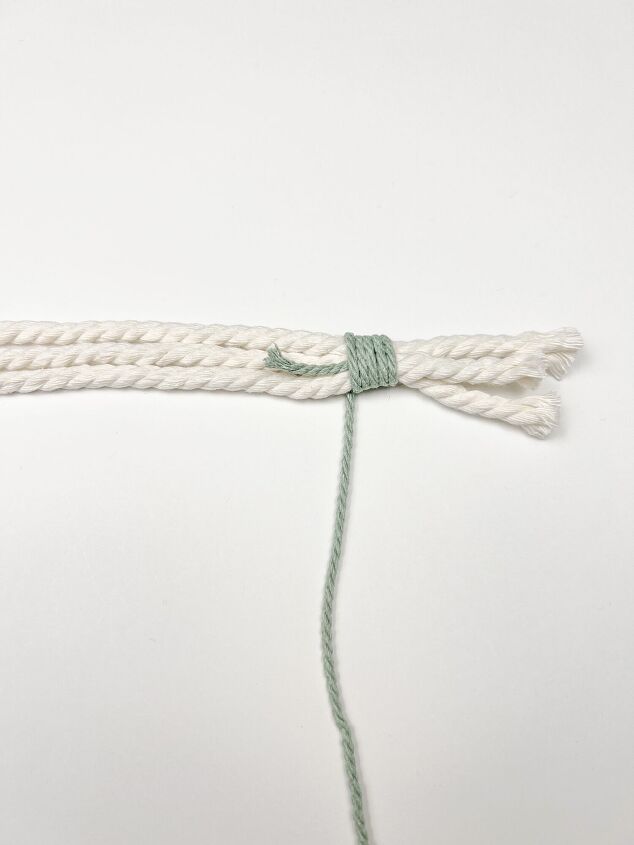
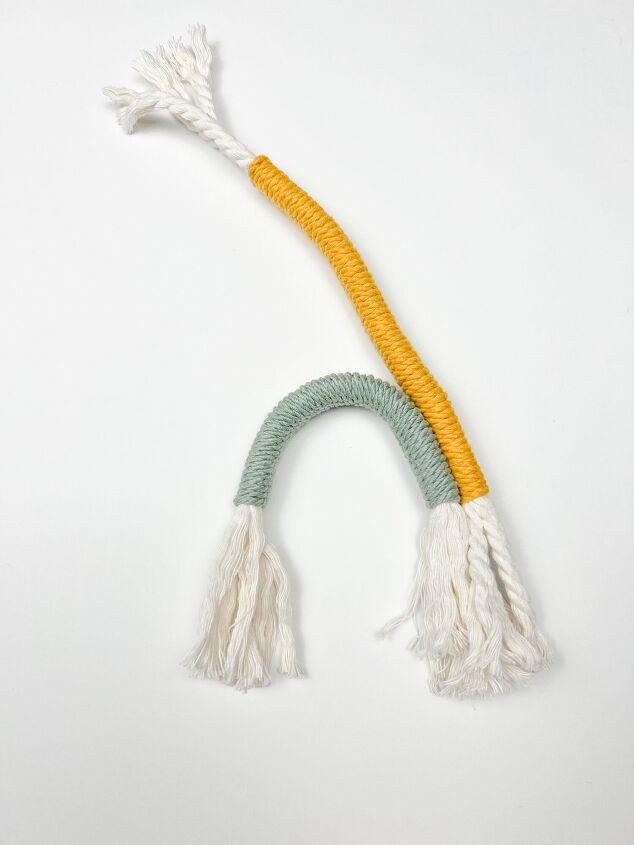
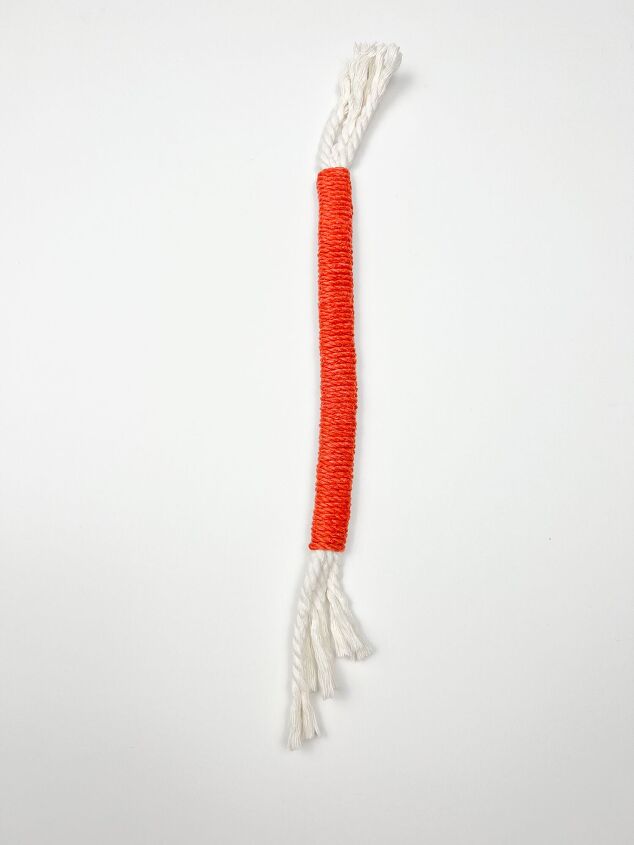
Step 1: Begin by forming the bottom arch of the macrame rainbow by wrapping the 72” 2mm 3ply cord around the 8” 5mm 3ply cords approximately 2” from the end. (A-B)
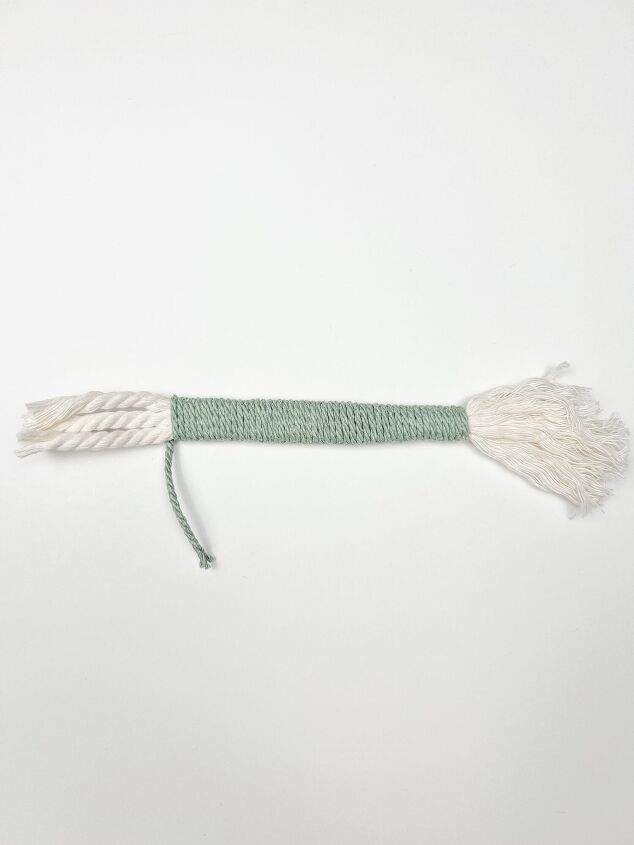
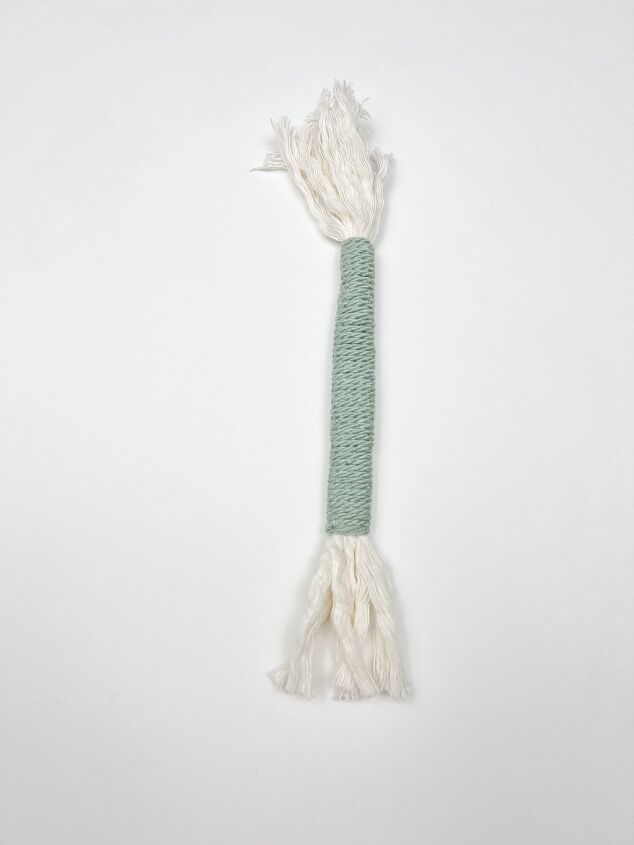
Step 2: Continue wrapping until you reach the opposite end, leaving out 2” of the 5mm 3ply cords. (C)
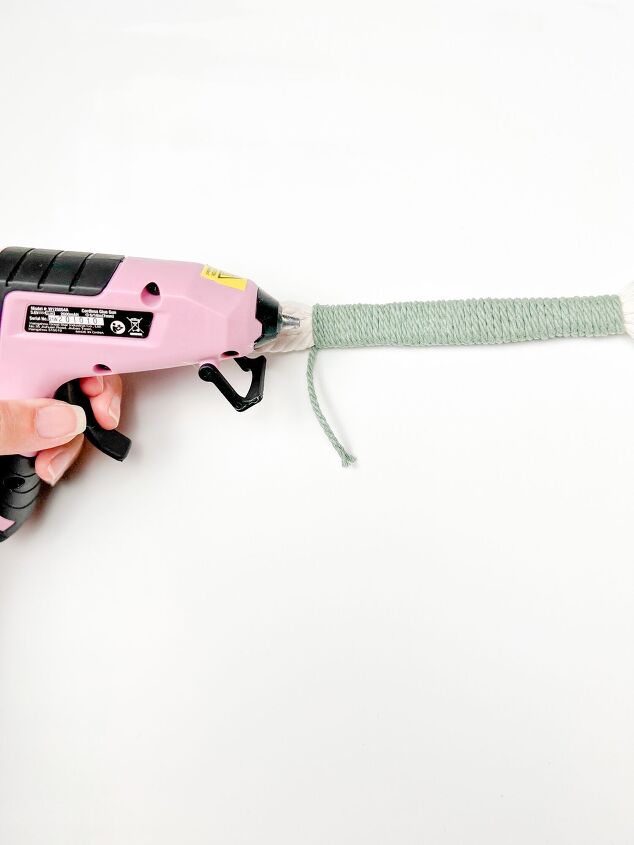
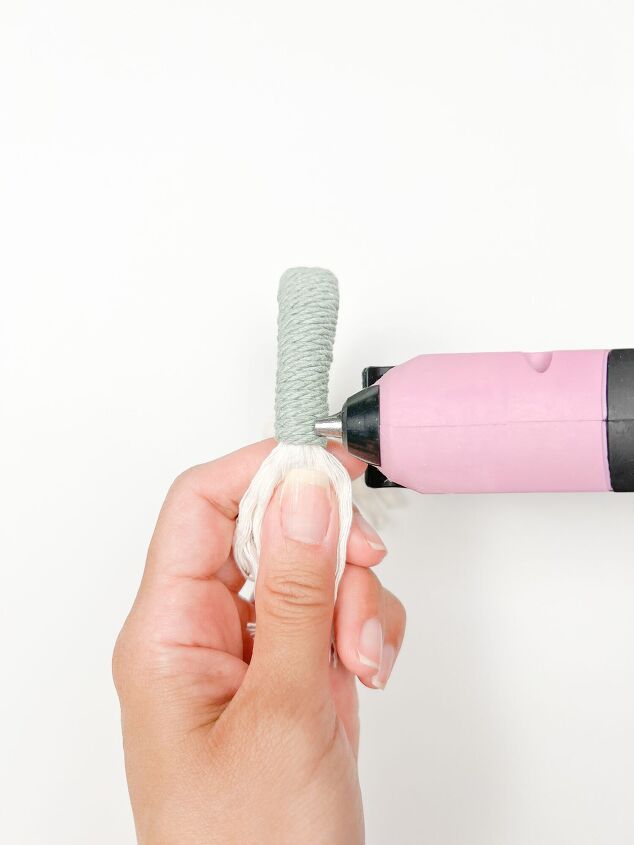
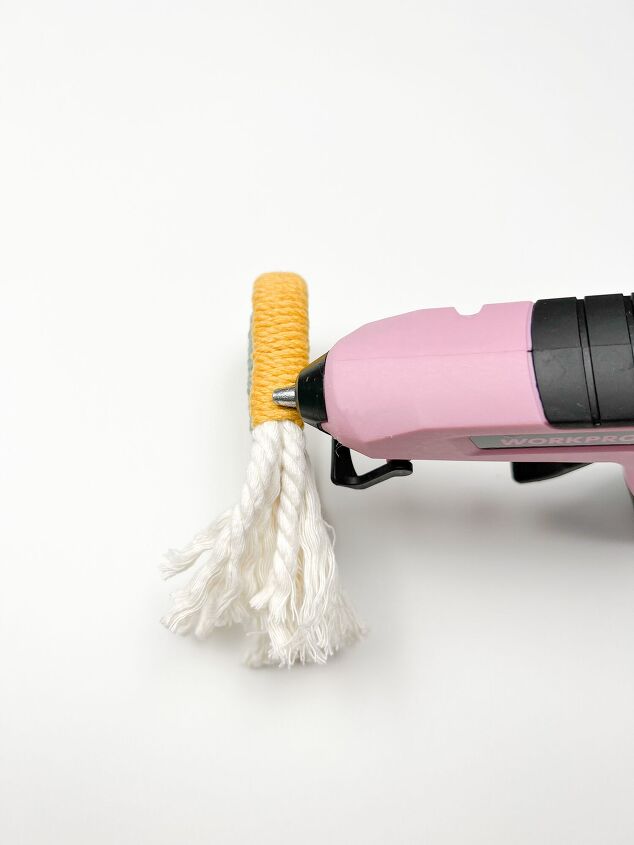
Step 3: Secure the wrapping cord to the inner cords with a hot glue gun and trim the excess wrapping cord. (D-E)
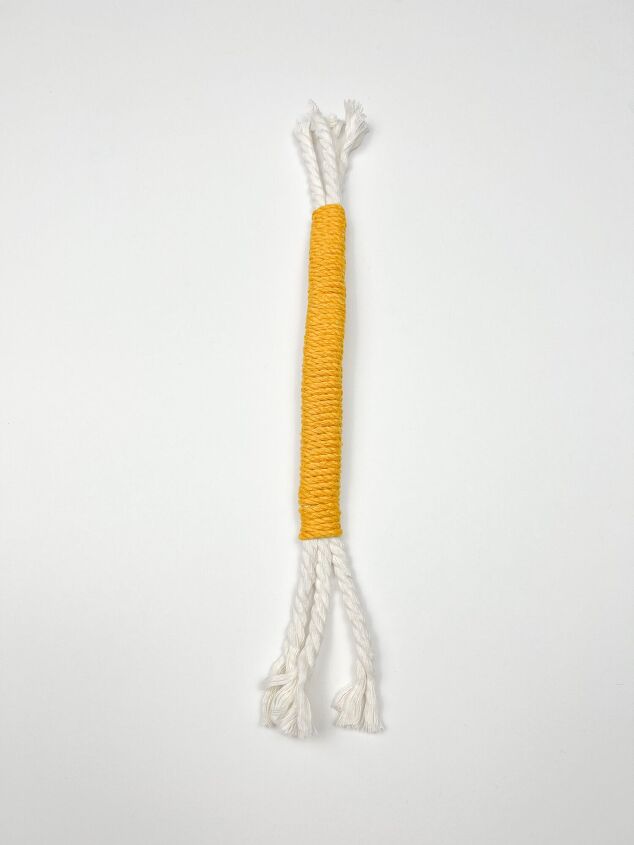
Step 4: Repeat steps 1-3 with the 85” wrapping cord and 9.5” inner cords to create the middle arch. (F)
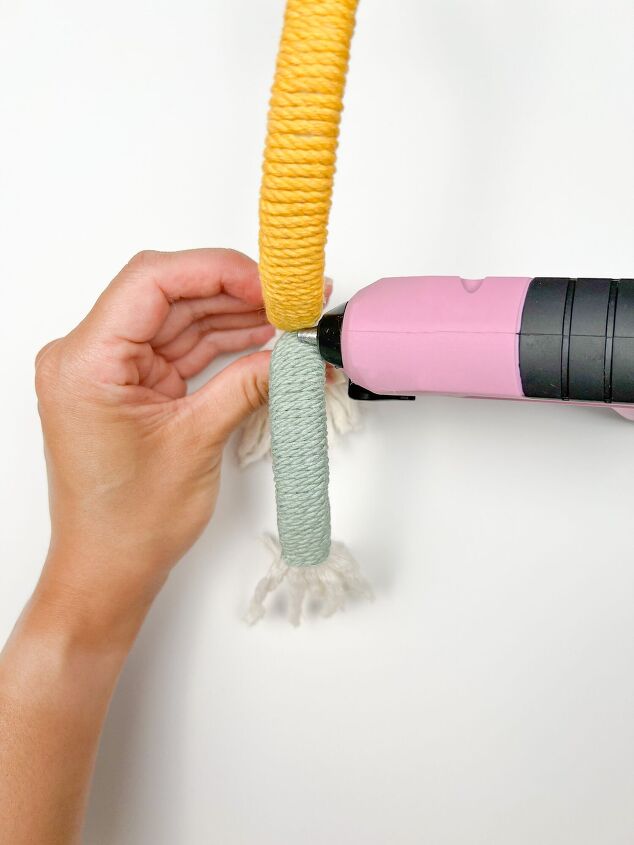
Step 5: To attach the arches, work in small sections by applying a thin layer of hot glue until the arches are secured to one another. (G-J)
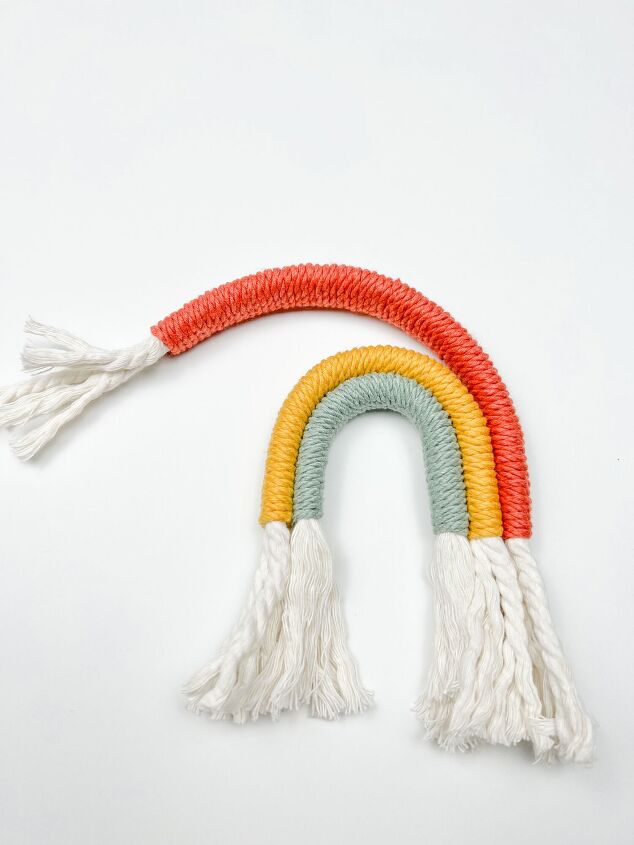
Step 6: Repeat steps 1-3 with the 100” wrapping cord and 10.5” inner cords to create the top arch. (K)
Step 7: Repeat step 5 to secure the arches to the top arch. (L-M)
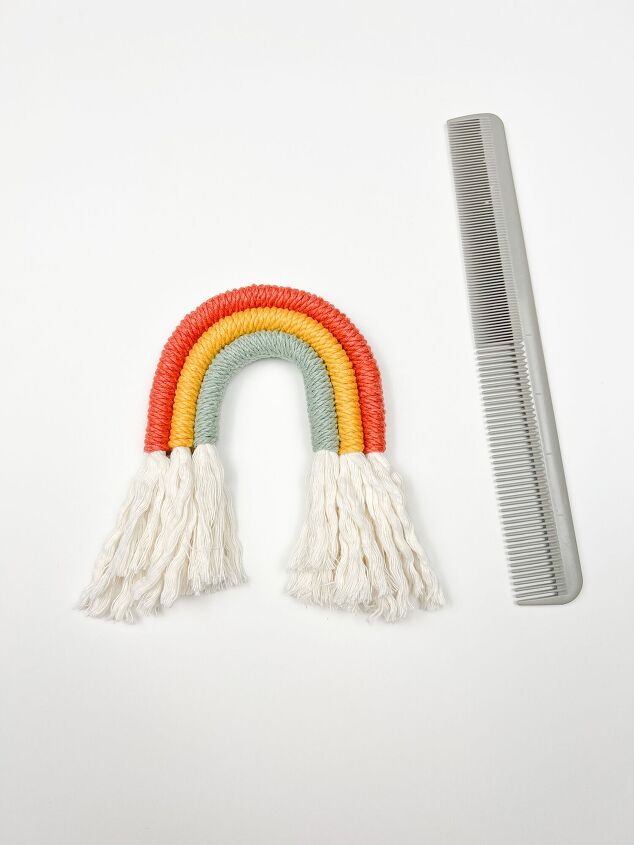
Step 8: Use a comb to brush through the bottom fringe. (N)
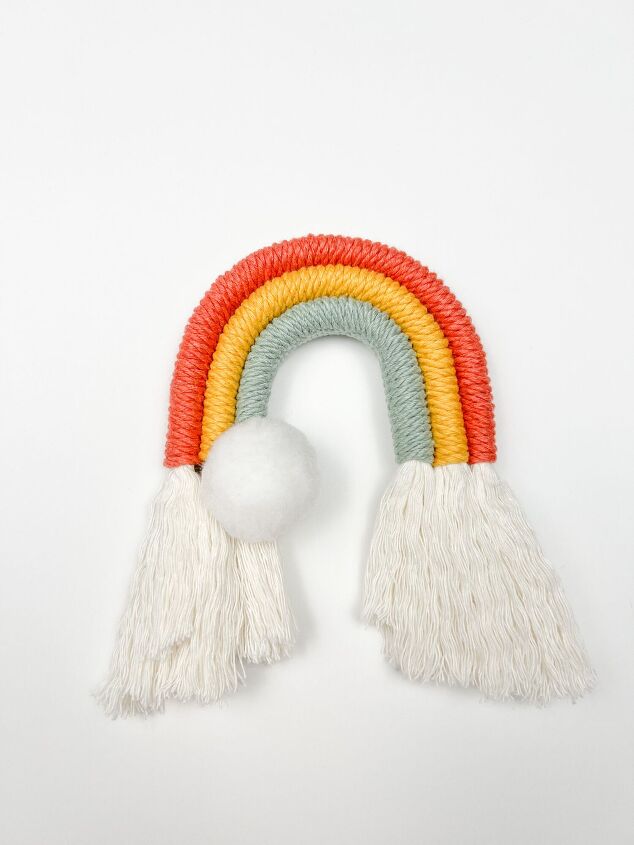
Step 9: At the base of arches, apply a thin layer of hot glue to attach the pom poms. (O)
Step 10: Use scissors to trim the fringe. (P-Q)

Finished macrame rainbow design. Dimensions: 4"x4.5" (Approximately)


Frequently asked questions
Have a question about this project?