


DIY Removable Hood Ornaments
7 Materials
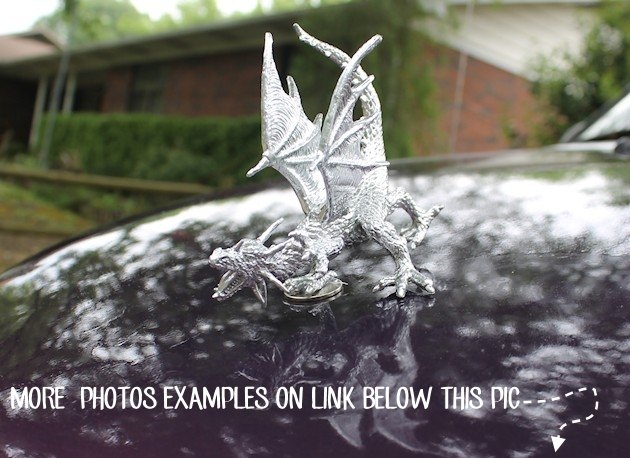
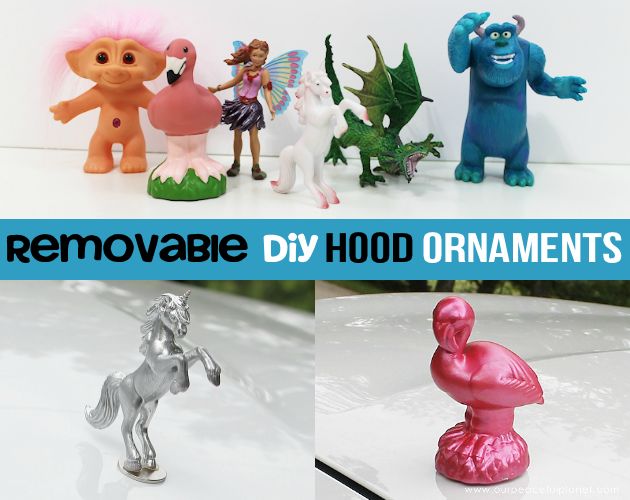
Make your own hood ornaments easy as can be! Old toys are a great source for ideas. I linked to a couple of specific things I used in the supply list. Just make sure they are not too tall. SEE ALL PHOTOS HERE
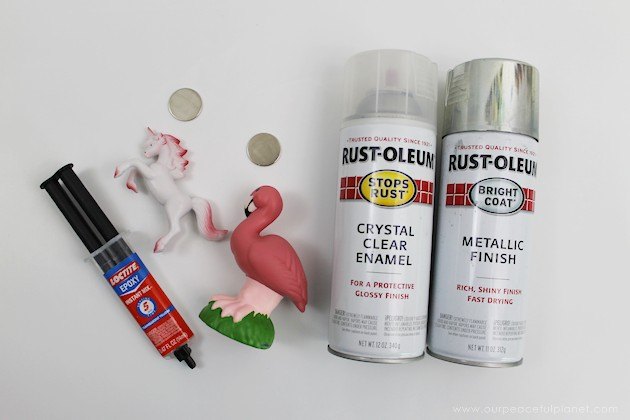
Gather your supplies.

SAFETY RULES TO FOLLOW What you don’t want is your ornament flying off your hood. It should ONLY be used in the following ways.
- Drive in town only when using your ornament.
- Don’t drive over 35 MPH, just to be safe.
- Use only light weight thin plastic items never taller than 4 inches or so.
- Use only super strong magnets as described.
- Use super strong Permanent Epoxy glue
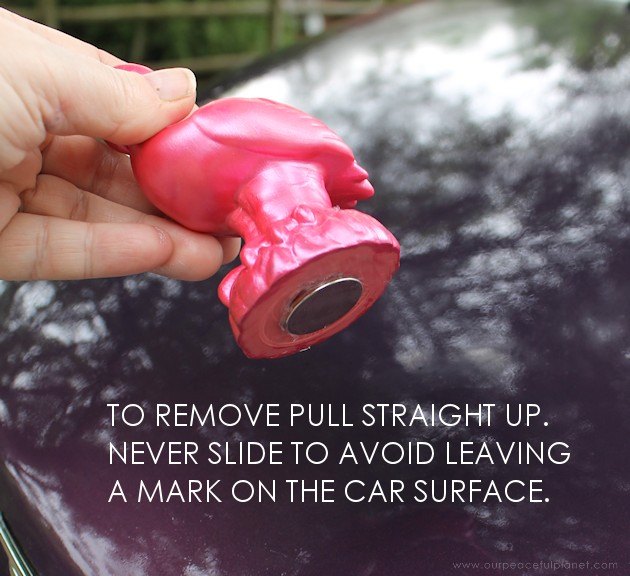
Pop it off, NEVER SLIDE IT AS IT CAN MARK THE CAR, when you go in anywhere. (Not for safety but just to make sure it doesn’t get taken!)
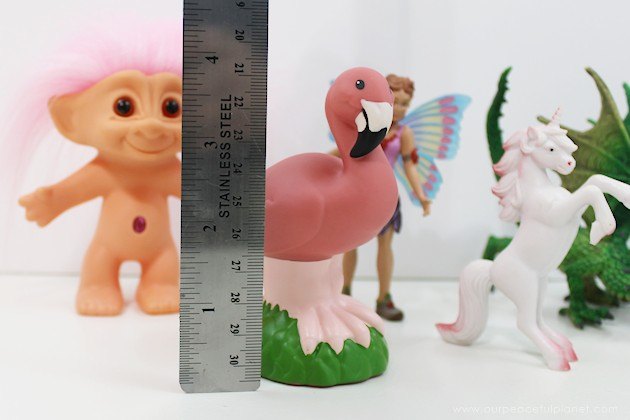
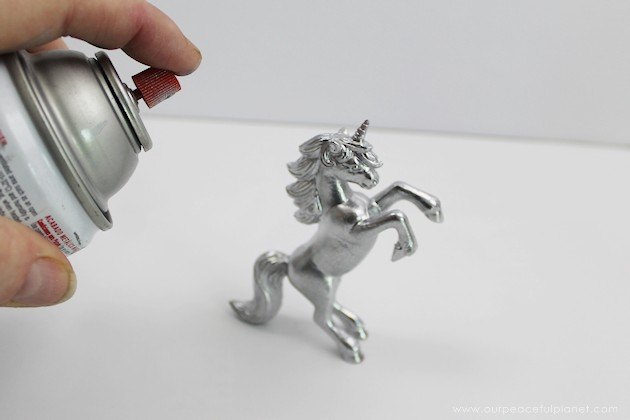
Find the items you wish to use for your ornaments. Make sure they have flat surfaces so you can attach a magnet. Some might require two magnets. Don’t make them higher than about 4″ or so due to wind resistance.
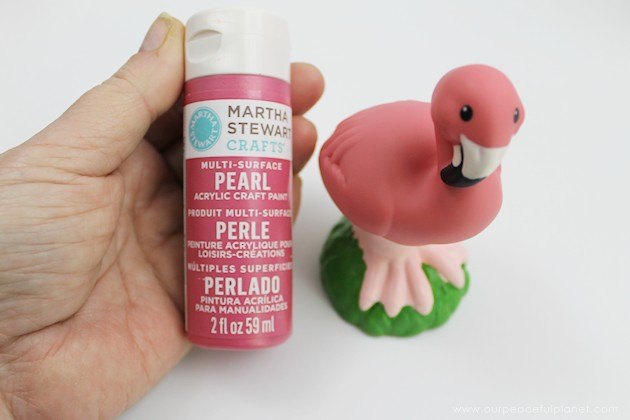
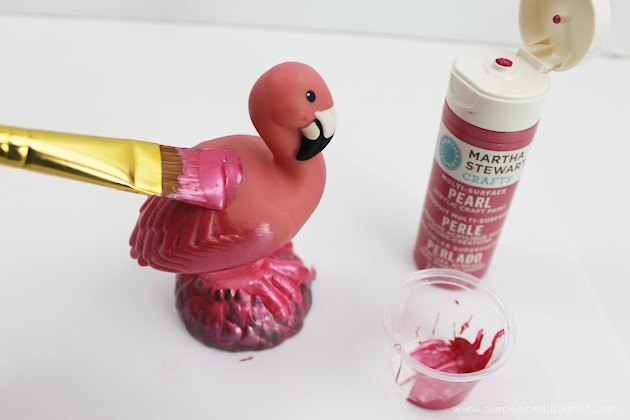
For our Fisher-Price toy Flamingo, I wanted it in a metallic pink so I used Martha Stewart’s Pearl Fruit Punch.
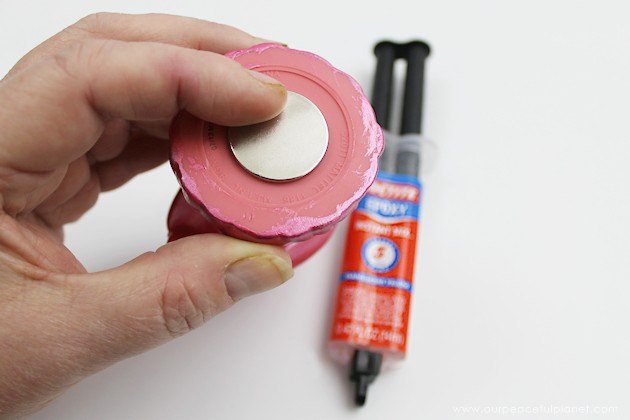
Using the epoxy attach the magnet to the bottom and allow to dry overnight.

Want more details about this and other DIY projects? Check out my blog post!
Comments
Join the conversation
3 of 6 comments
-
This so cool and hilarious. Made laugh and smile. You got my creative juices flowing.
-
So cute!


Frequently asked questions
Have a question about this project?