


DIY Stacked Books: Customized for Your Home! FREE SVG!
Stacked books are huge in home decor right now. I think they are adorable, and I’ve made faux wood book stacks for several holidays and tiered trays. You might remember my reversible fall and Halloween stacks and my nautical stack. Make sure you head over and pin those for other seasons. This project is different from those however. In today’s post I am going to share with you how to use real books to make a DIY set of stacked books. Most of you will be able to make this for free with things already in your home! If you have no craft supplies, you can make it for under $3!
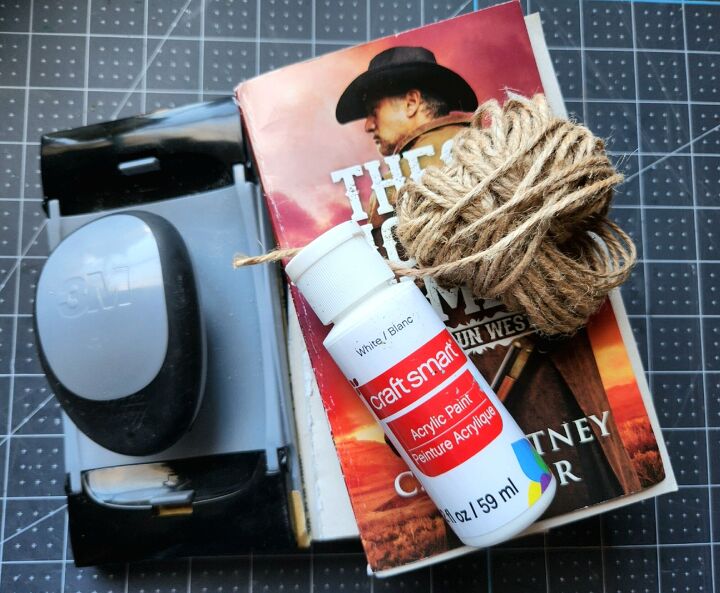
Supplies for a DIY stacked books set:
- 3 paperback books of similar size
- white acrylic paint
- paint brush
- a faux flower bloom- I used a white rose painted copper.
- black pen or
- black vinyl w/ my free SVG & transfer paper or
- letter stickers or
- stamps & ink
- twine
- hot glue gun
- sandpaper (optional; you may not need it)
Remove Book Covers
Gather three books of a similar size. They don’t need to be new. I didn’t have any that I wanted to rip the covers off, so during a trip to Dollar Tree I bought three of the same books. They are a little under an inch thick, which is great for this project because you can make your words larger.
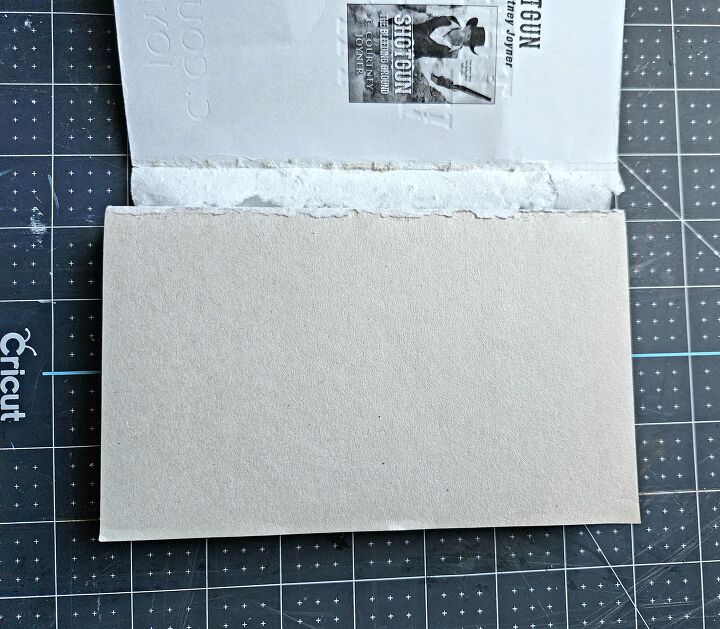
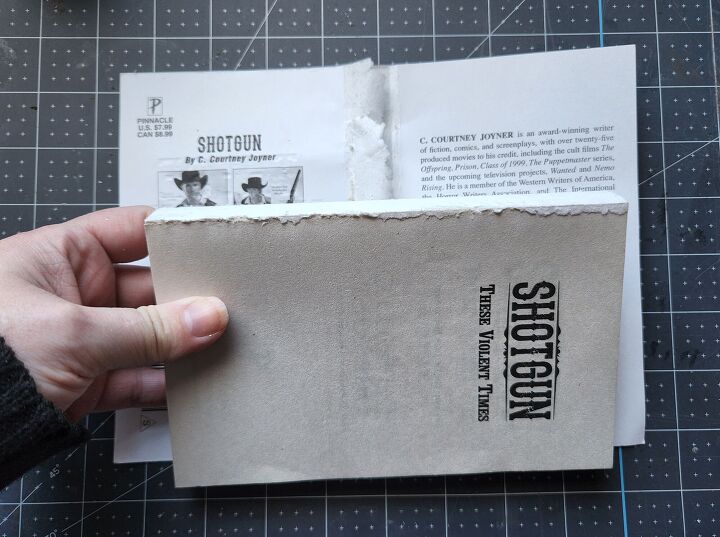
Now you need to remove the covers. Open the cover, fold it back and push down on it with steady, even pressure. It should peel off the spine pretty easily. Do that for all three books.
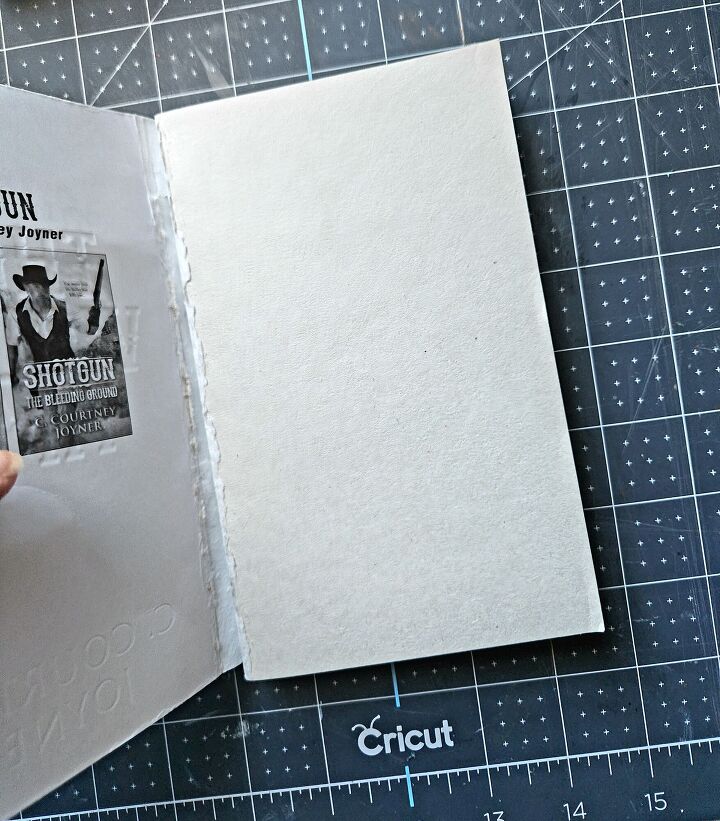
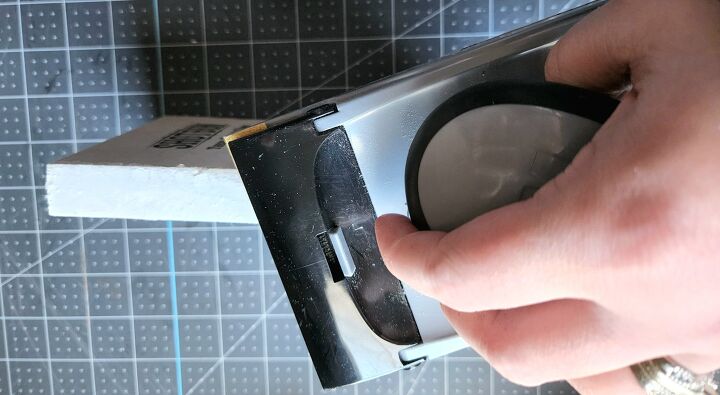
If your cover left extra paper hanging off the spine, you can fix that. Take light-grit sandpaper and lightly run it over the spine to remove it. Don’t overdo it, just sand until the spine is pretty smooth. You don’t want to take off the layer holding the pages together.
Paint the Books
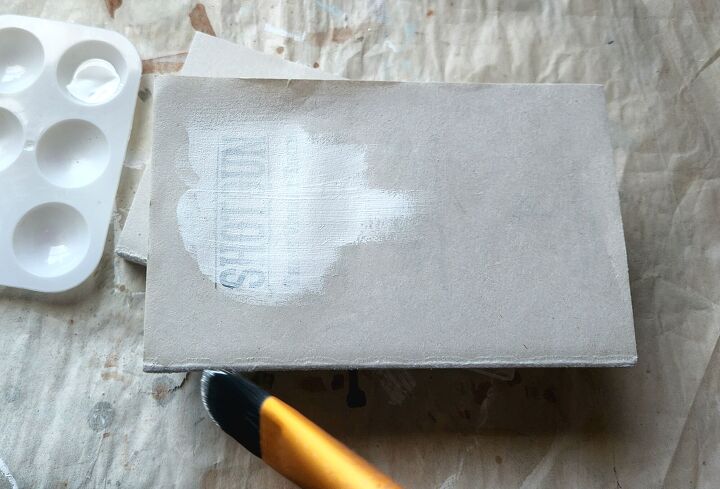
Use your white acrylic paint and give the front pages and spines of the books a few coats. It took about three coats to cover the beige-y color of my pages.

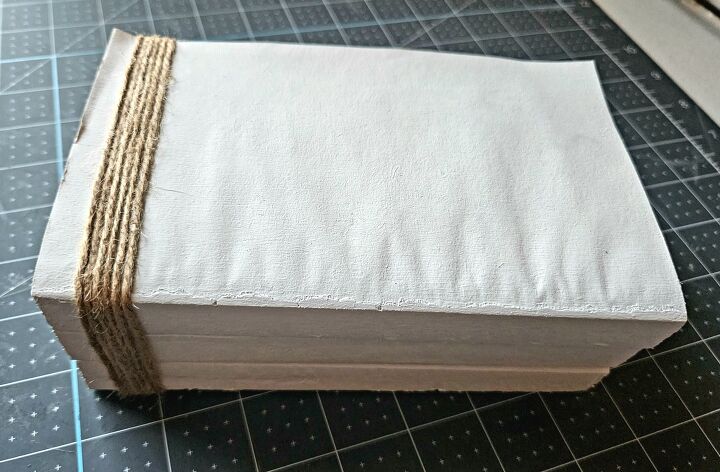
Wrap Twine Around the Stacked Books
You can do the next few steps in two different orders. You can bind them first then add the book titles or you can add the titles then bind them. I chose to bind my books with twine first then add the titles. That allowed me to see how much room I’d have for my titles so I could create the labels in the right size. If you want to do it the opposite way, skip down to the title section then come back here.
Stack the books on top of each other then add a dot of hot glue to the bottom book. I added my glue about 1″ from the side edge and about 1.5″ from the top of the book.

Place twine on the glue.

Wrap the twine around the books until you’re happy with the number of rounds you’ve made. I wrapped mine six times. When you like what you have, cut the excess twine off and glue the end to the book.
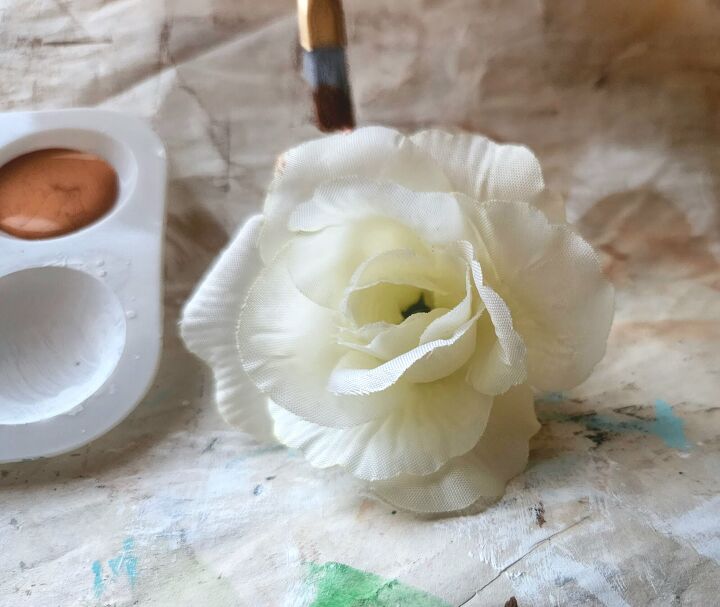
Paint Your Flower (if needed)
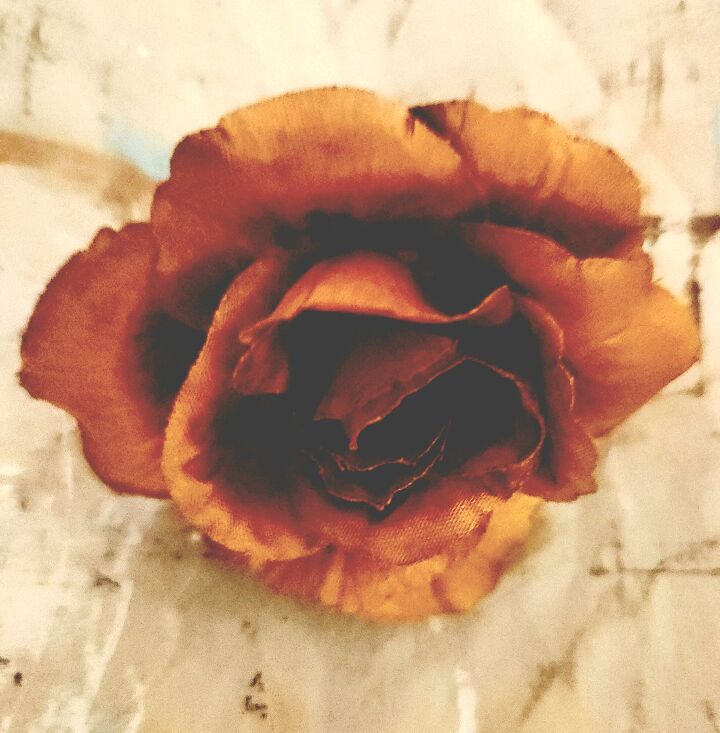
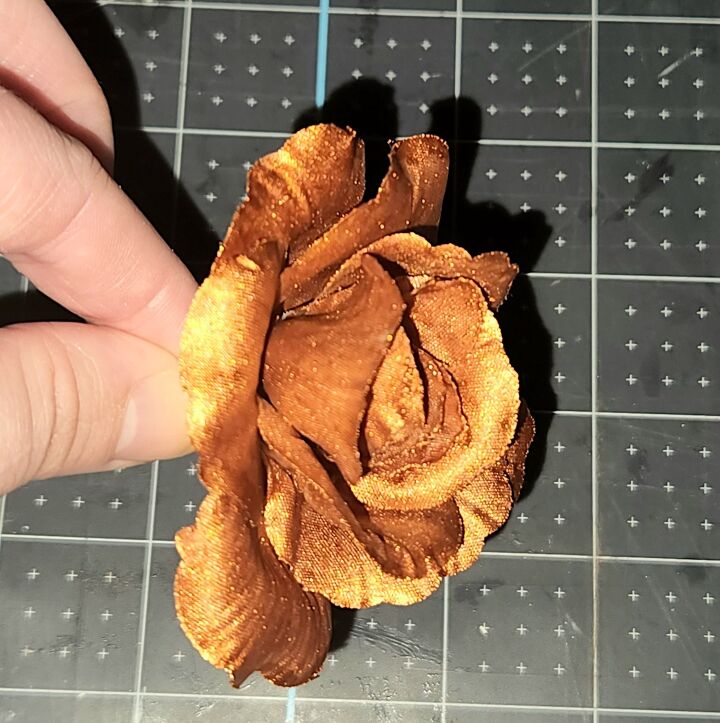
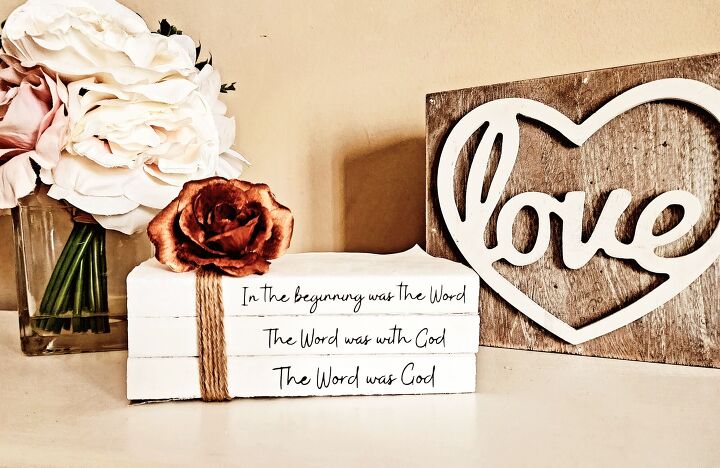
I wanted to add a touch of copper to my books to match the copper that I’m adding to my living room for spring. So I pulled a rose off the faux stem and painted it copper. It does make it a little stiffer, but that’s ok. I like it because it makes it look like a real, dried flower. If you don’t want yours to be stiff, you can add a bit of fabric medium to the paint. You can check out a tutorial where I show you how to customize any fabric with acrylic paint (w/ a free SVG!) on LifeasaLEOWife.com and search for how to paint on fabric.
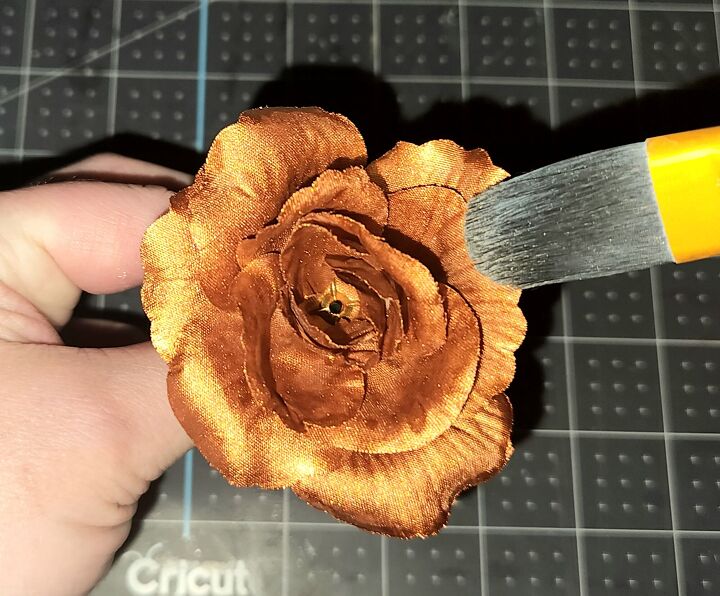
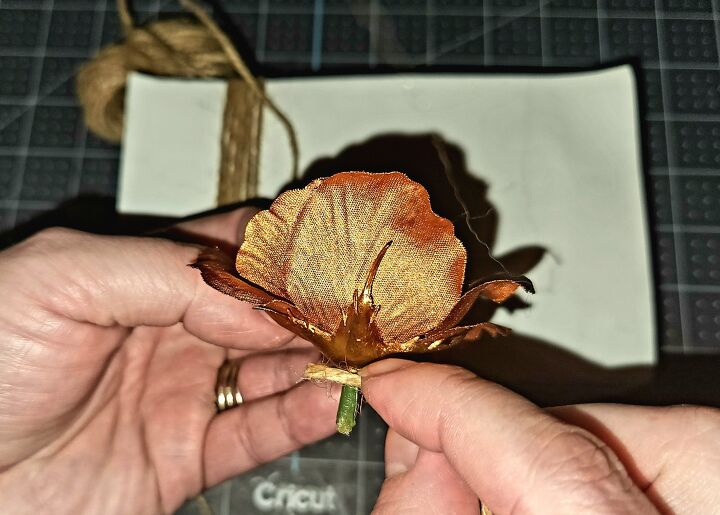
Once the paint is dry, you can wrap the little bit of stem that’s on the rose with twine. This is optional of course. You could remove the entire plastic piece, but I’ve found with Dollar Tree flowers (and some other brands) the flower will eventually fall apart if you do.
Free SVG & Printable Book Titles
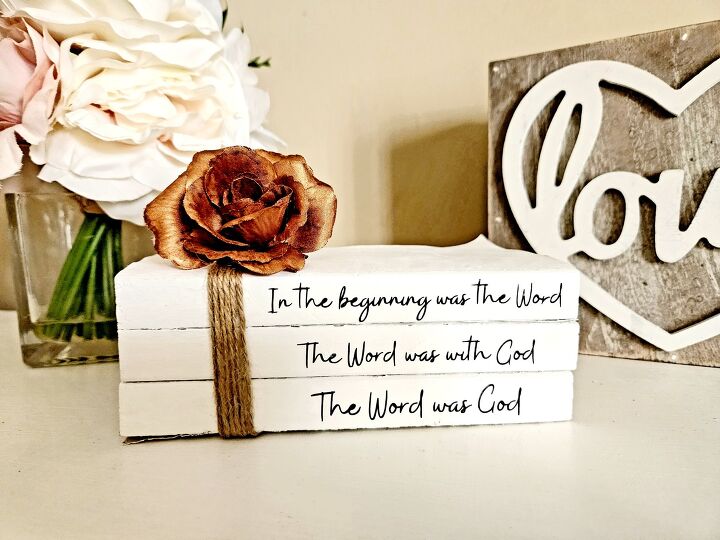
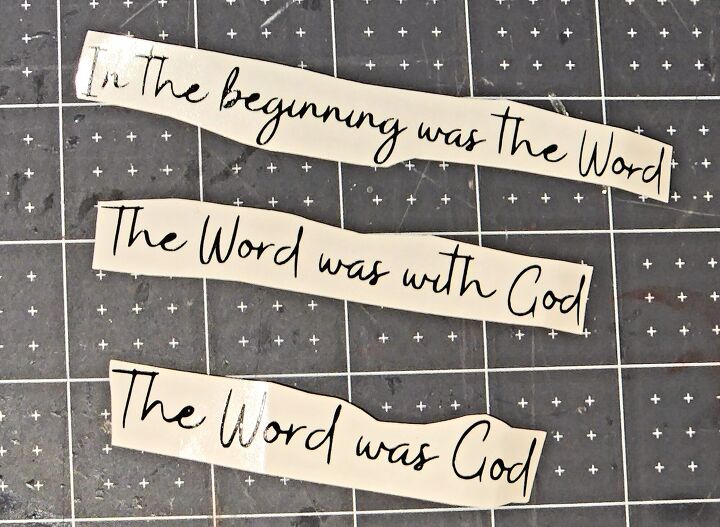
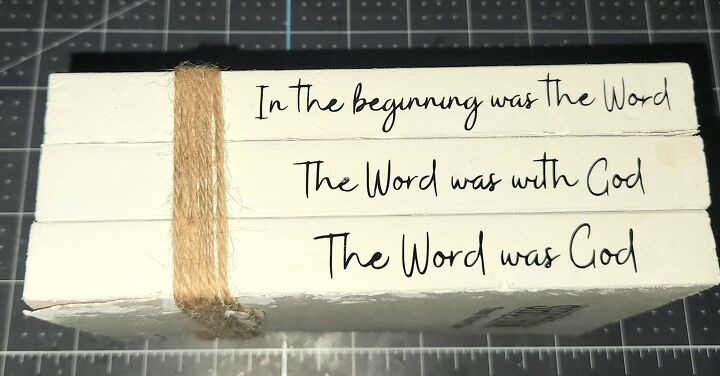
I created titles for my books that could stay out year-round, but you could also choose seasonal titles. I love the book of John, so I decided to use his opening verse where he first describes Jesus in three lines, removing the “and’s.”
In the beginning was the Word, and the Word was with God, and the Word was God.
John 1:1 ESV
SVG File (I can only share two links here on HomeTalk, so head over to LifeasaLEOWife.com to download the free SVG or free printable). The SVG has a transparent background. I uploaded it to Design Space as one design then ungrouped the lines and cut them separately to save vinyl. You can resize as needed once you upload it to your cutting machine’s software. As with all of my designs this is for personal use only, not to be shared or sold in any way. I’d love for you to share the design by sharing this post using the buttons at the bottom of the page or by directing friends and family directly to the site. If you’re using books of similar size, or if you don’t feel like uploading the image to Design Space and then ungrouping and moving it around, you can use my already prepared project here (again, I can only share 2 links here, so go to the blog & search for stacked book set to get to that free file already formatted for you in Design Space, as well as all of the free printables and SVGs that you'll see in the next few photos).
In the beginning SVG
PNG File (get the free file on the blog)
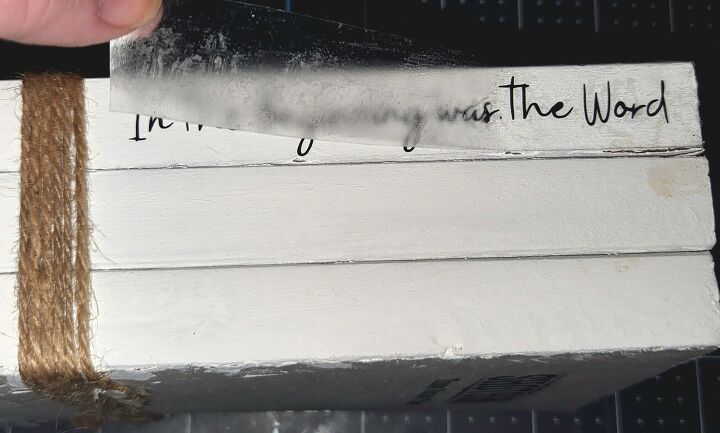
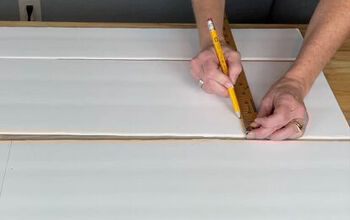
Below is the PNG image that you can use to print, cut out, then apply to the book spines. If you’d rather not have paper glued on, you can use the carbon copy method to transfer the image to the spine, then go over it with a pen or paint on the spine. For a tutorial on that, check out this post which has step-by-step instructions for transferring the image using only your printer and a pencil. Before printing, check the print settings to make sure it prints as a 4×1.5 image. Most printers will try to blow the image up to fit an 8.5×11.
In the beginning PNG (get the free file on the blog)
Add the Titles to the Stacked Books
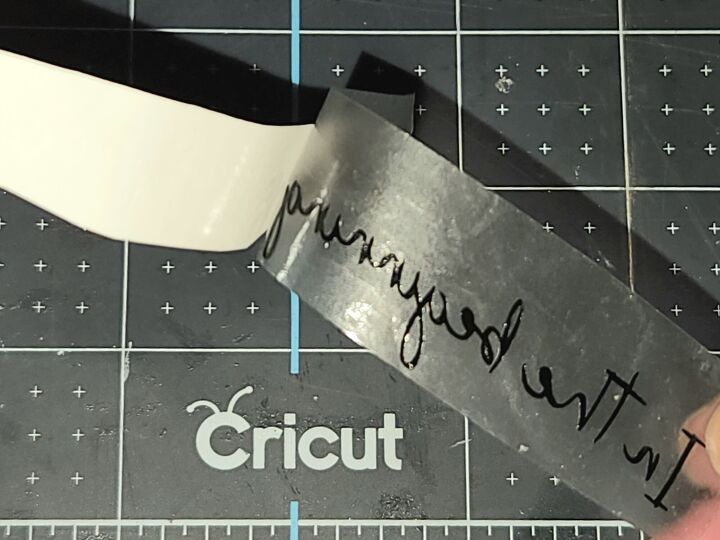
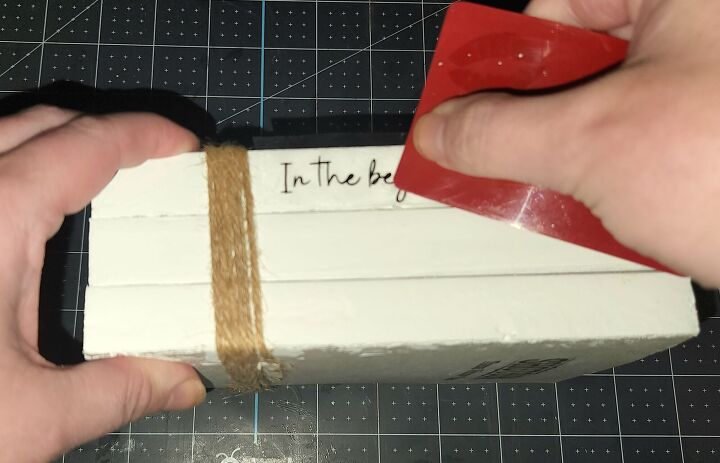
There are several ways to create DIY titles on your stacked books. I used my Cricut and cut the titles on black vinyl. If you do the same, use transfer tape to transfer the titles to the center of book spines.
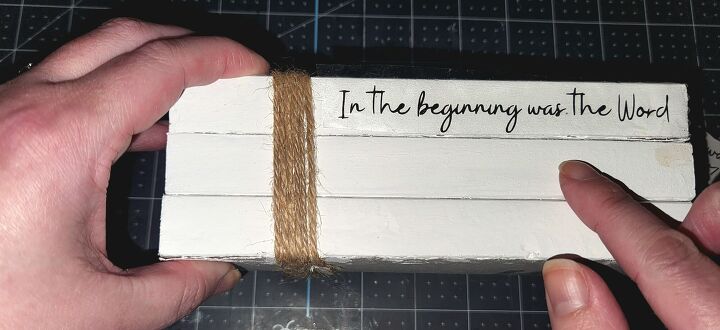
You could also use stamps, stencils, letter stickers, or even hand-letter the books. Again, you could also print it and use the carbon copy transfer method using a printed design and a pencil. You can create your own titles using Word, PicMonkey, or another program. A professional cutting machine isn’t a must for this project. When you’re finished, you’ll have something like this:
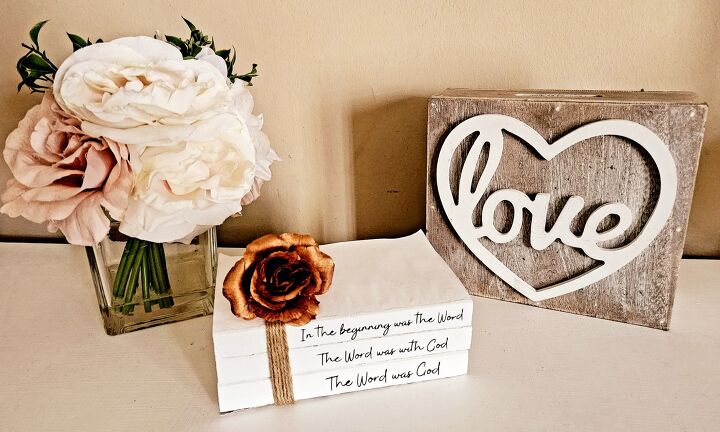
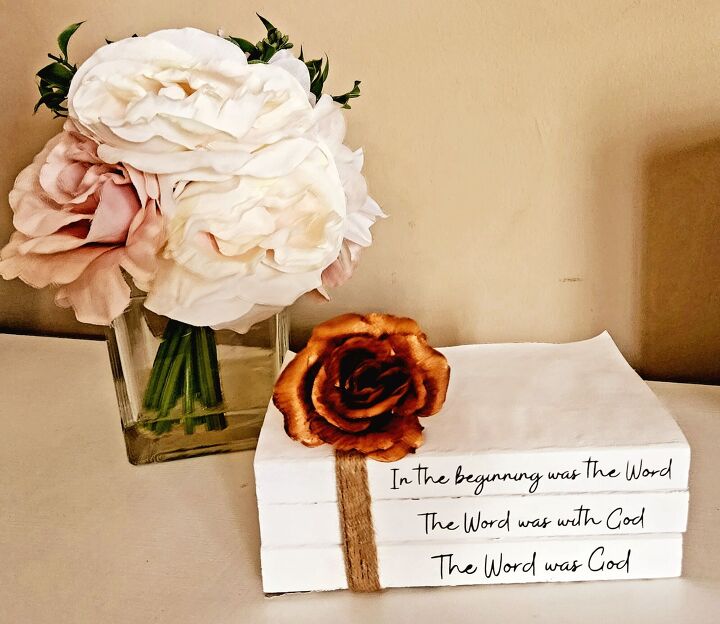
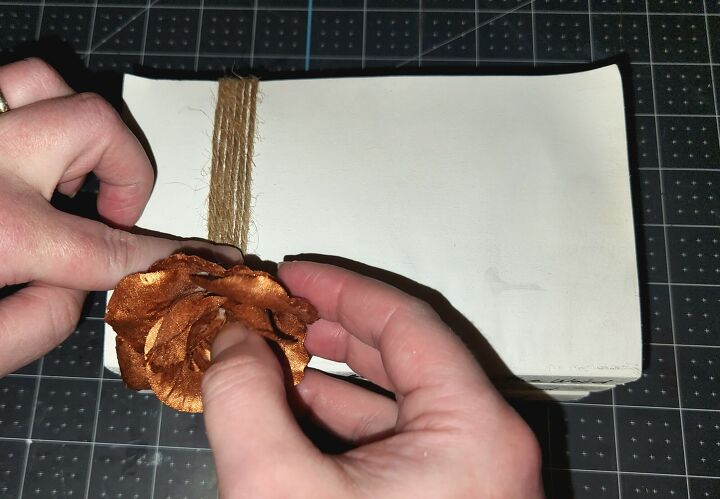
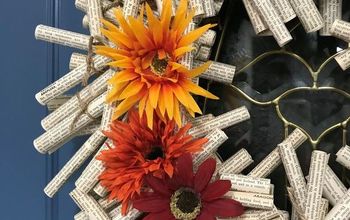
Add the Flower
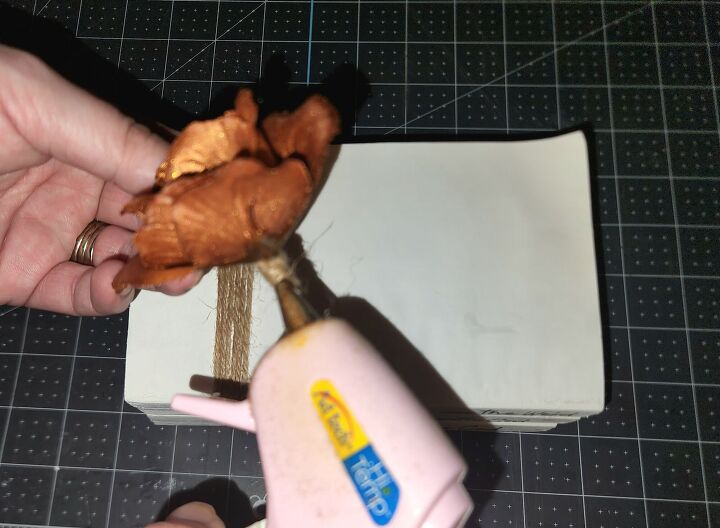
Squeeze hot glue onto the stem of the faux flower, then place it on top of the twine around the DIY stacked books. I allowed mine to hang over the edge just a bit.
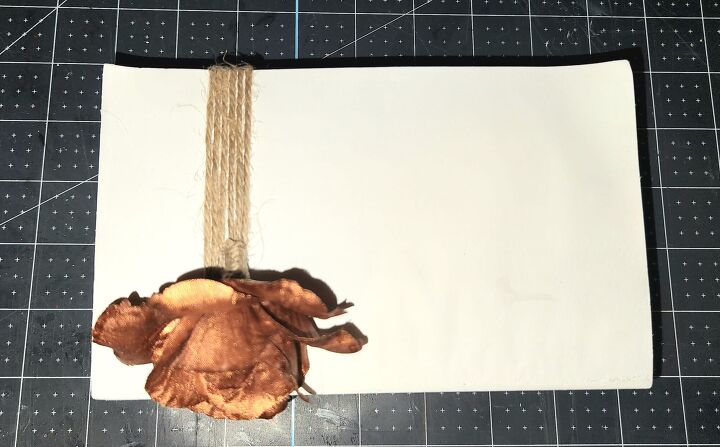
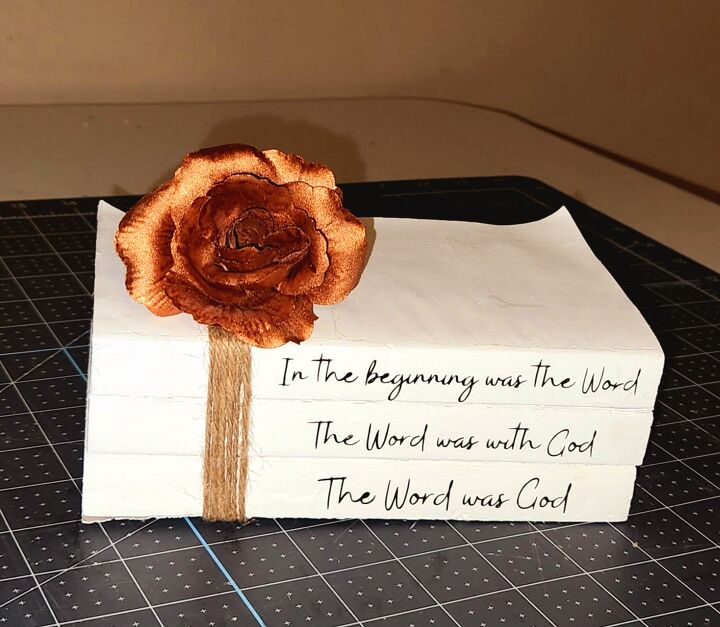
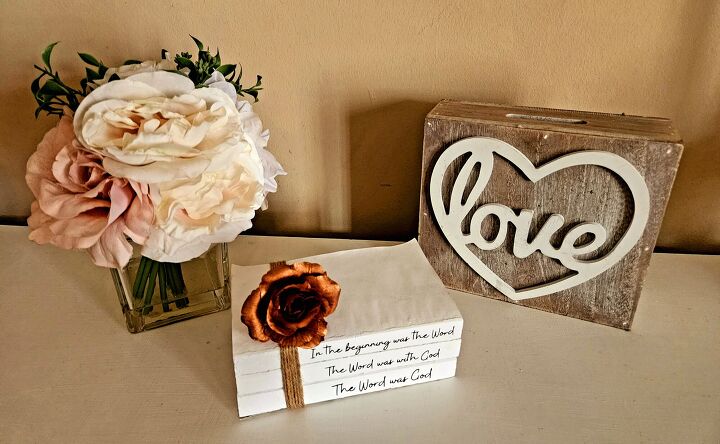
Your DIY set of stacked books is ready to display!
That’s it! This project is so easy that it’s kind of ridiculous!

I hope that you enjoyed this tutorial! I have some great projects and free spring printables coming, so make sure you don’t miss them by signing up for email updates on my blog or following me on social media! You can find me as @LifeasaLEOWife. I hope to see you there! By the way, if you make your own stacked book set, I would love to see it. Take a picture and tag me on social media because I love seeing the twists that y'all put on these tutorials!
Don’t go yet!
There’s plenty more to see here on my blog! If you’re looking for something specific, you can use the search box in the sidebar over there. You can check out my Seasonal page for DIY home decor pieces to make for each and every season and holiday. The home Decor page is full of DIYs for everyday home decor, and the Link Parties page is full of projects and ideas shared by bloggers around the world each and every week. Here are some projects that you'll find over there and that you may enjoy:

Tween Boy Gamer Decor: Free Printable Wall Art
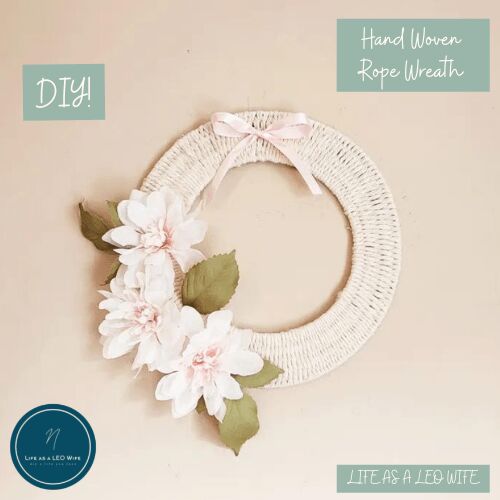
Woven Rope Wreath Tutorial
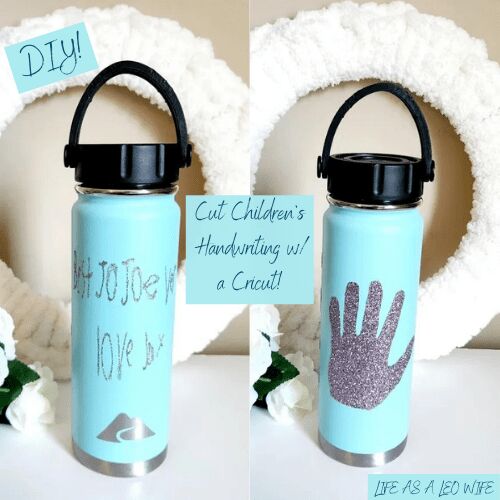
How to Add & Cut Your Child’s Drawings or Handwriting with a Cricut for Special, Customized Gifts!
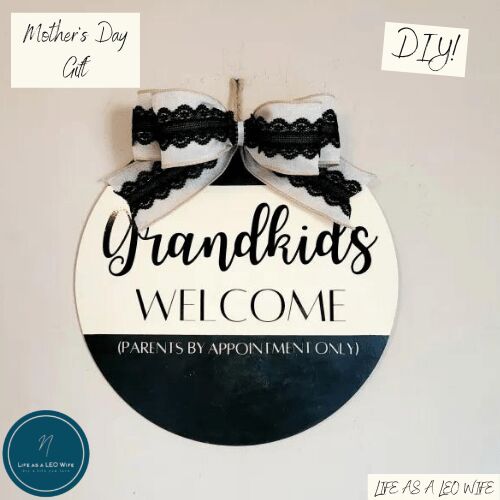
Mother’s Day Door Hanger for Your Mom w/ Free SVG!


Frequently asked questions
Have a question about this project?