


Doctor Who Glowing Vinyl Poem - Fast DIY
4 Materials
This fun project can easily be completed within a single day! Other than the vinyl cutter, no other major tools (ex: power tools) are needed.
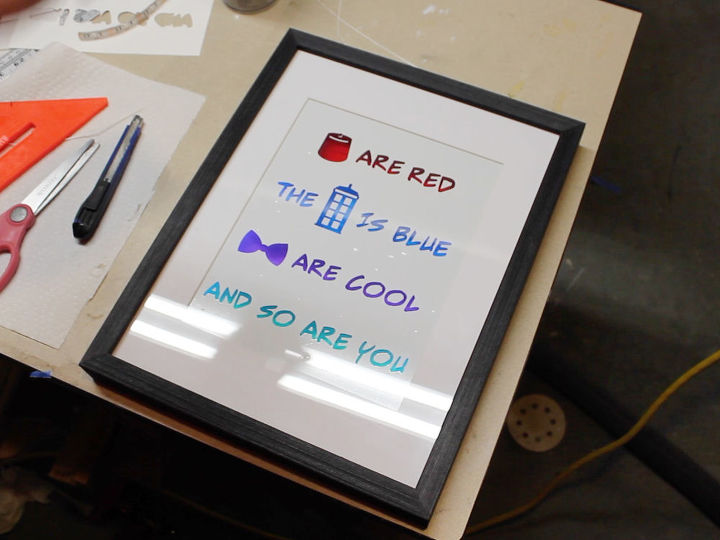
I saw this poem floating around the internet. I chose the typeface I wanted and rendered the objects in Adobe Illustrator before sending the file to my vinyl cutter.
I saw this poem floating around the internet. I chose the typeface I wanted and rendered the objects in Adobe Illustrator before sending the file to my vinyl cutter.
{
"id": "3705212",
"alt": "",
"title": "",
"video_link": "https://www.youtube.com/embed/oaURoRmMmpc",
"youtube_video_id": "oaURoRmMmpc"
}
{
"width": 634,
"height": 357,
"showRelated": true
}
The goal of this project was to build something FAST! This can be done in less than one day! A store bought frame was used. No tools were used other than the vinyl cutter itself. Well... I did use my bandsaw, but an exacto-knife could have done that simple operation. I also cut the glass... but you could simply buy two frames and use the glass from the second frame.
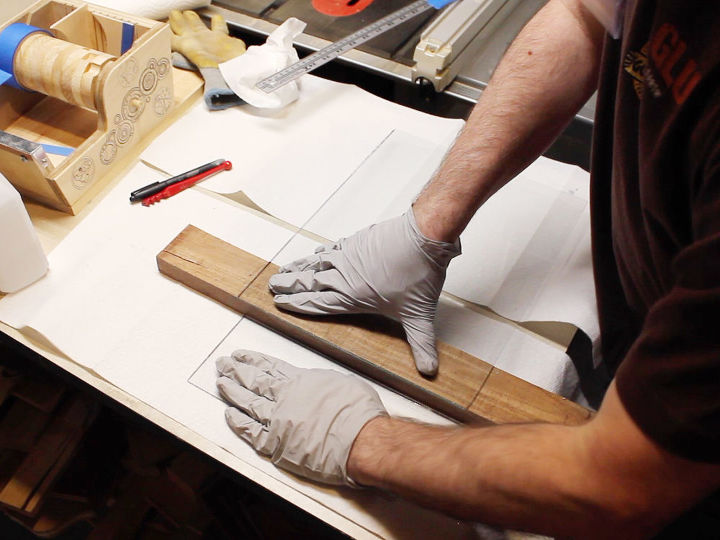
Cut Glass
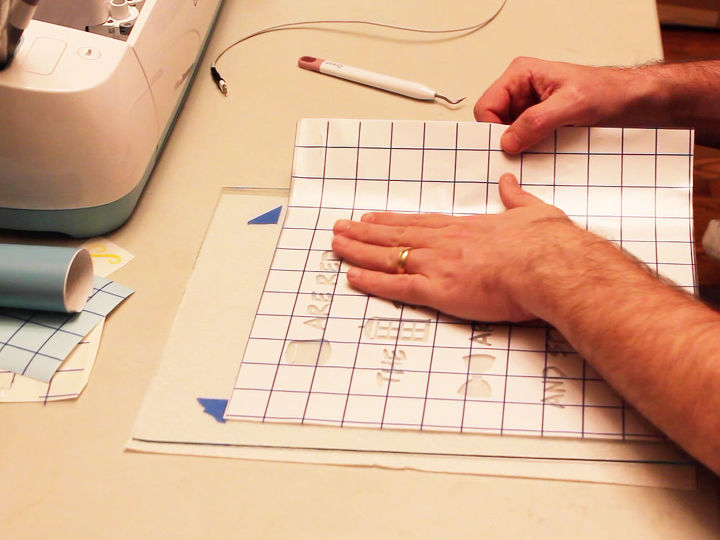
Vinyl
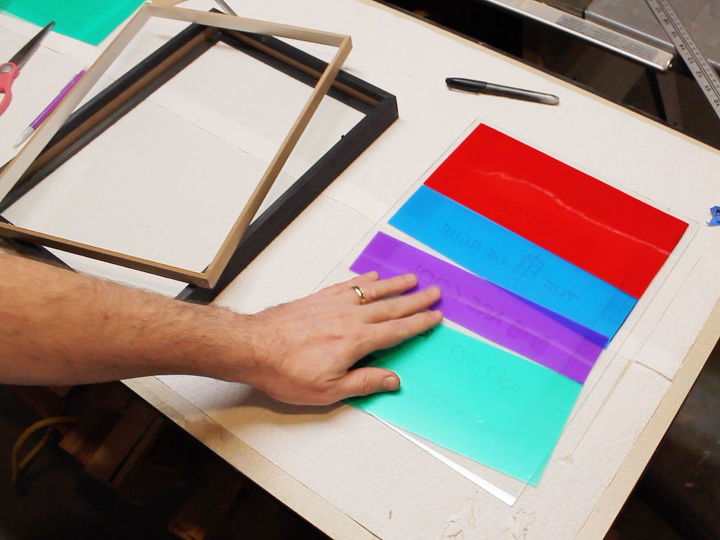
Color Gel

Dark Card Stock
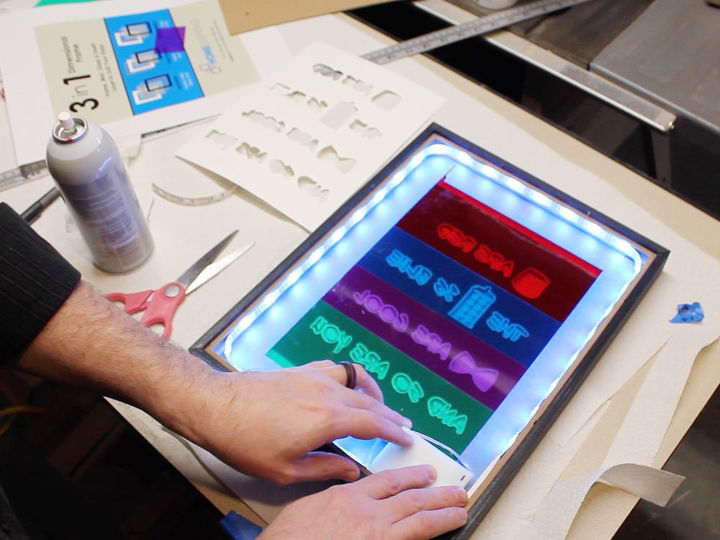
Add LEDs
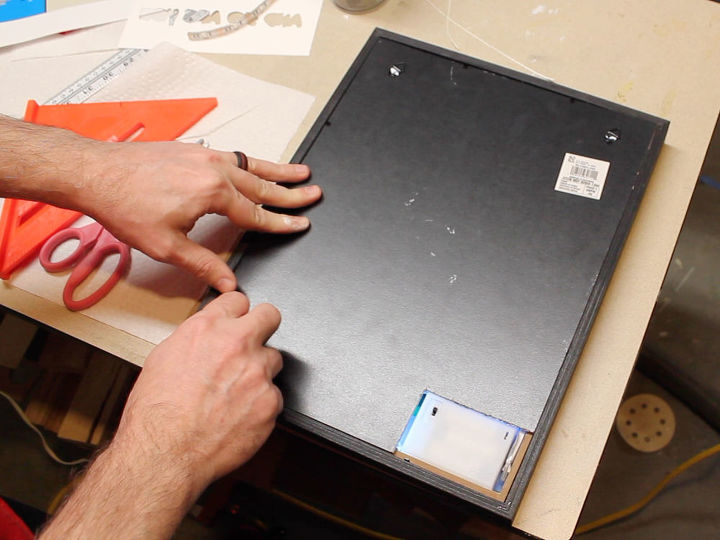
Apply backer board
Done!

Want more details about this and other DIY projects? Check out my blog post!


Frequently asked questions
Have a question about this project?