


Dollhouse Bedroom /DIY Dollhouse Bed

Last month, I shared how I transformed the interior of a dollhouse that I found on marketplace for only $25! If you haven’t seen that tutorial yet, I highly recommend you check it out to see the drastic before and after.
Unfortunately the dollhouse did not come with any furniture, but for that price I didn’t mind. I have been slowly working away at furnishing and decorating all of the little rooms. My goal here is to try and repurpose things that I already have on hand to decorate the room with.
Read below to find out how I was able to completely furnish and decorate the dollhouse bedroom with scrap pieces of materials. I think it turned out so charming, and all of the components work so well together.
I am very much looking forward to working on and completing the rest of the rooms, and I will be sure to document my progress in upcoming posts.
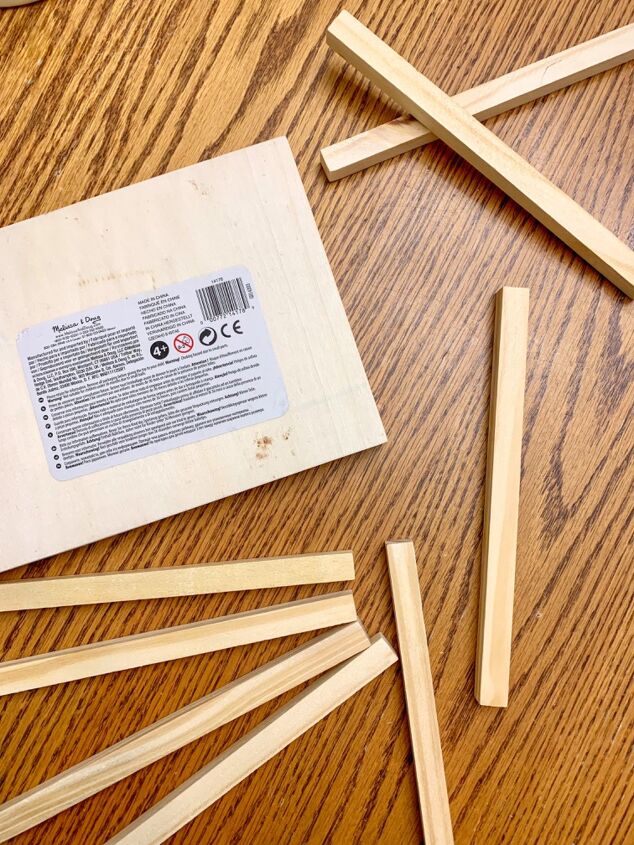
To make the dollhouse bed I used a wooden box from an old toy and a few square wooden dowels I found at the dollar store.
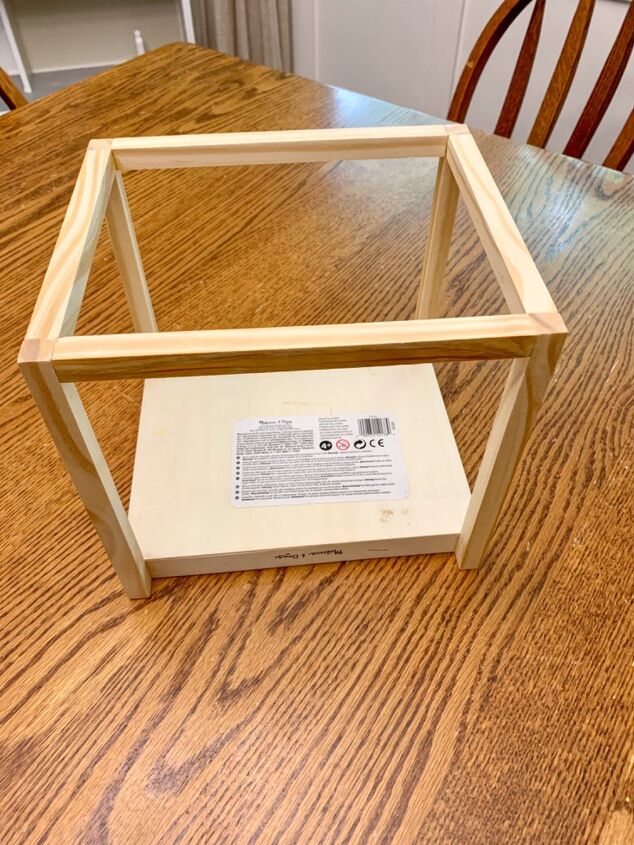
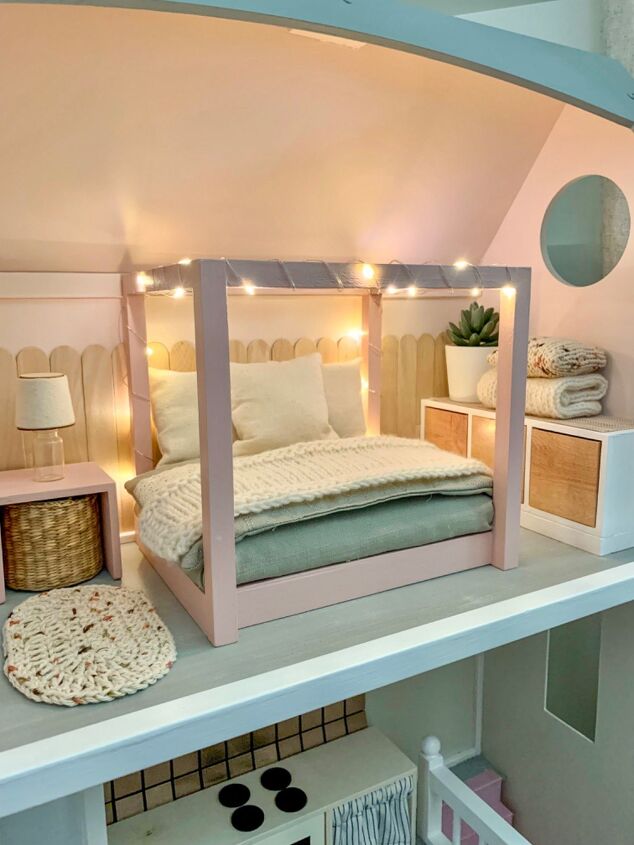
I decided to make a simple canopy style bed for the room. I glued the dowels to the wooden box using a combination of wood glue and hot glue.
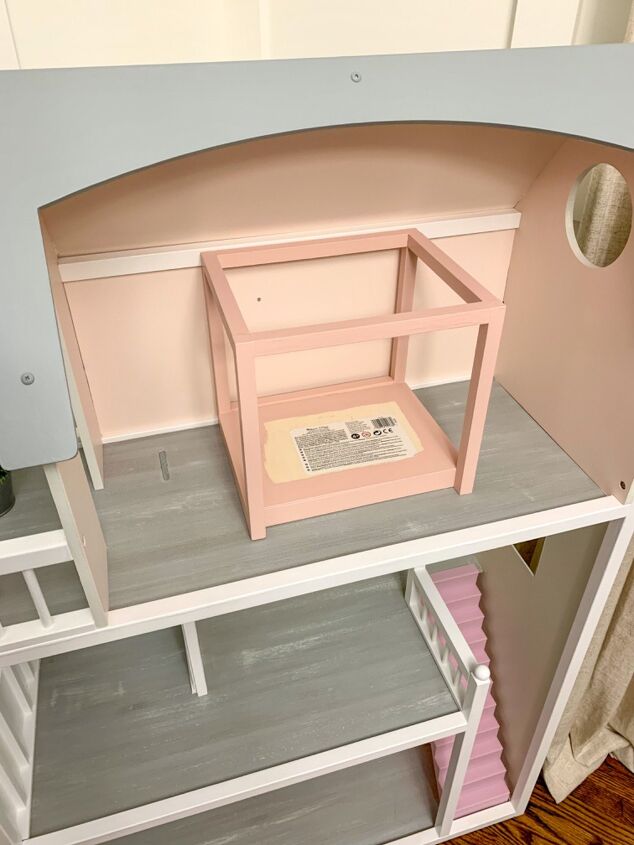
Once the glue had fully dried I gave the bed a few coats of paint, in a complementary peachy colour that matched the walls.
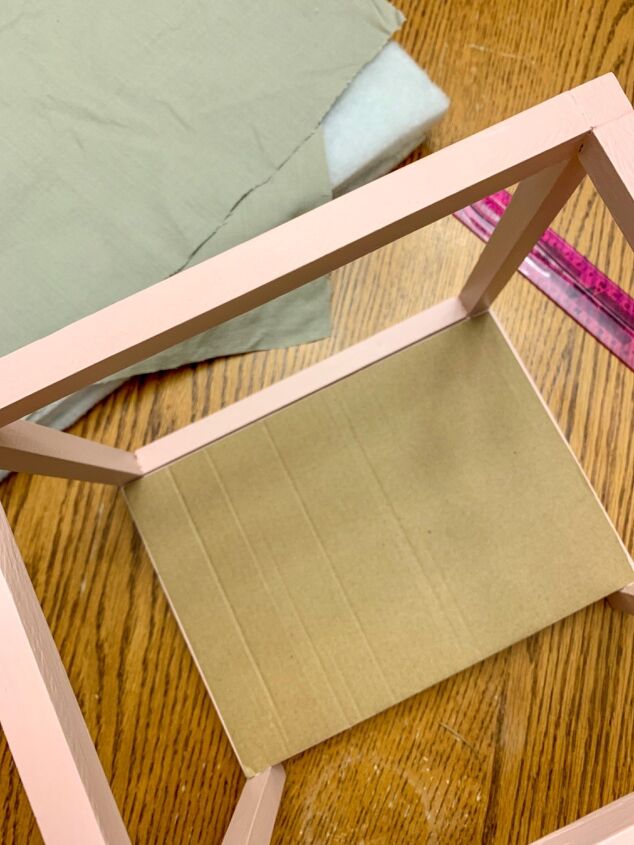
To make the mattress, I cut out a sturdy piece of cardboard the same size as the base of the bed.
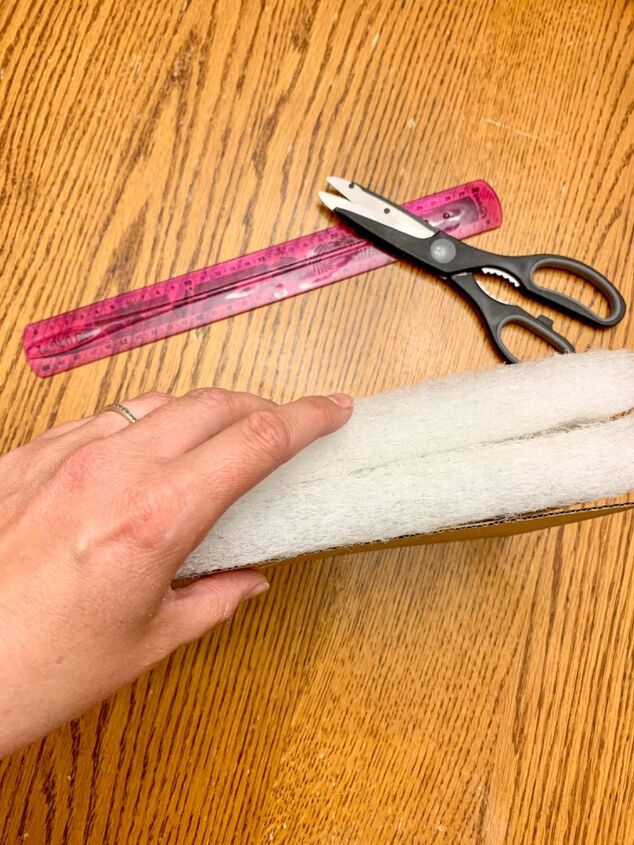
I cut out two pieces of foam batting (from an old chair cushion) the same size as the cardboard, and glued them to the cardboard.
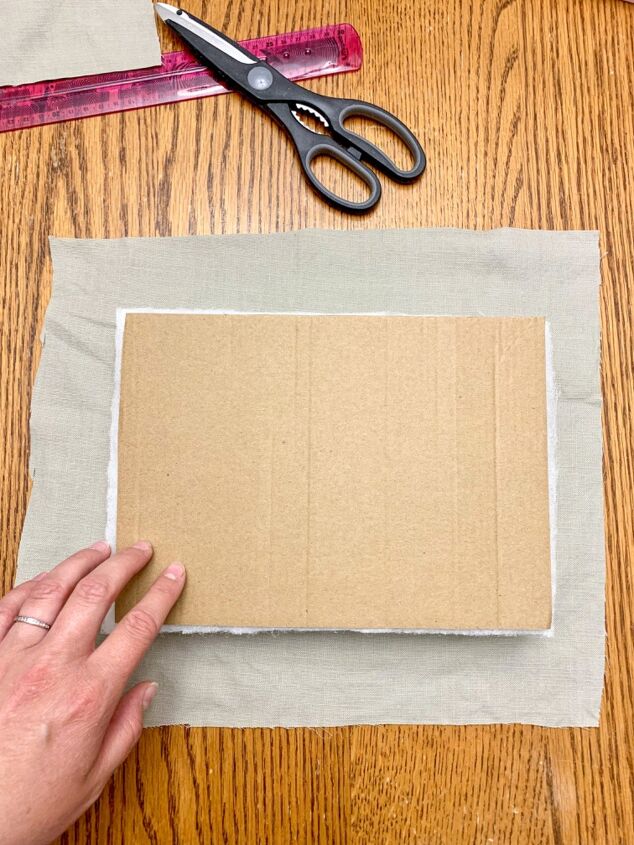
To upholster the mattress I used an old decorative pillow cover that had been stained and was just sitting in my linen closet. The fabric the perfect thickness and colour for this project. I cut it out several inches larger that the cardboard.
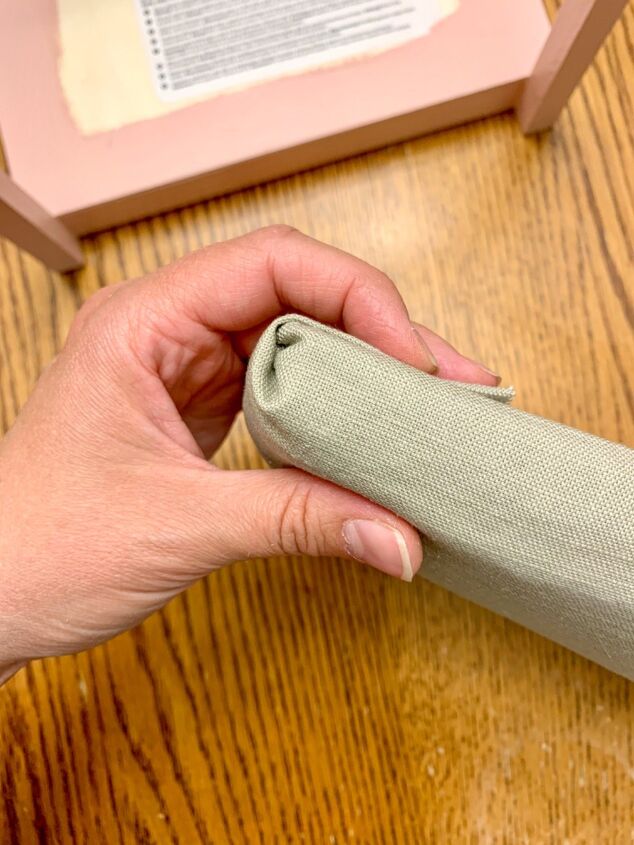
Wrap the fabric around the batting and cardboard as neatly as possible and secure it to the cardboard side using hot glue.
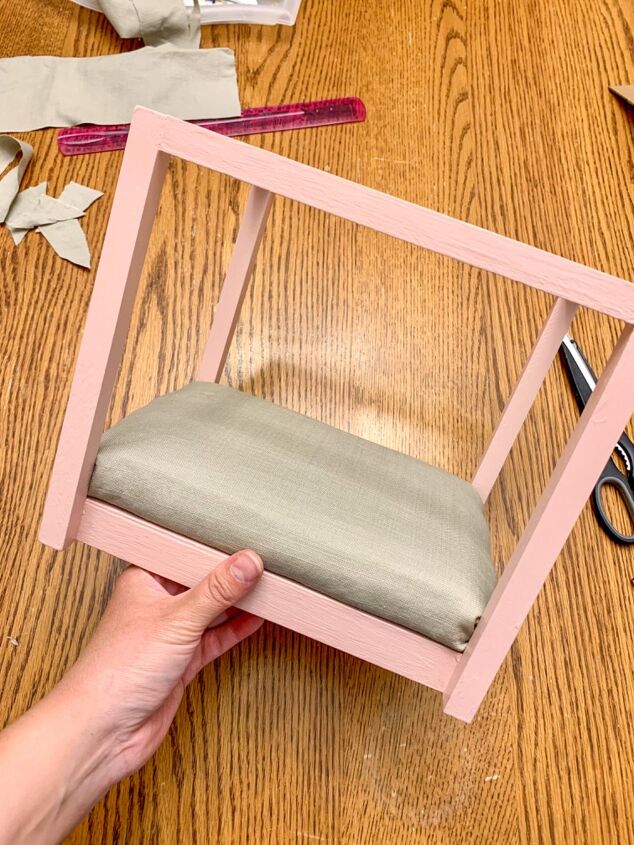
I then hot glued the mattress (cardboard side down) to the bed frame to keep it in place.
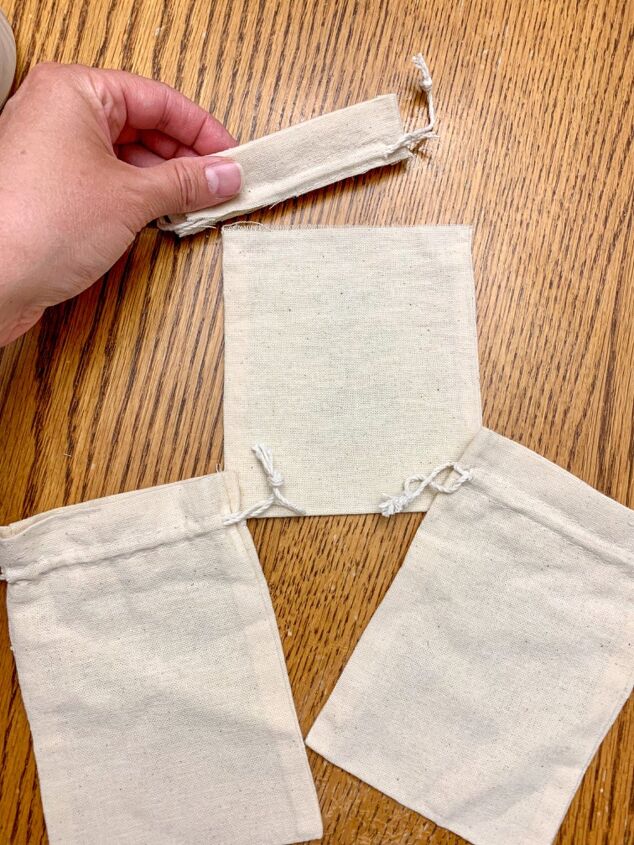
For the pillows I used some small fabric bags I had on hand. I cut the drawstring tops off, filled them with stuffing and sewed them closed. They ended up being the perfect size!

I used the rest of the pillow case to make a duvet and I knit a small blanket to place at the end of the bed.
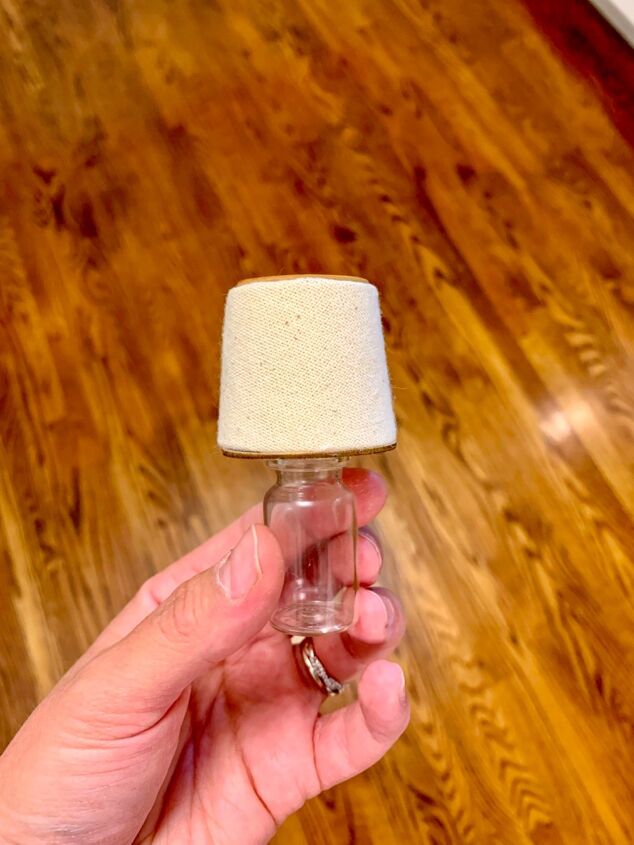
I used various odds and ends to create the rest of the components in the room. This little lamp is made out of a medicine measuring cup wrapped in fabric and a little jar. It’s incredible what can be created with a little creativity!
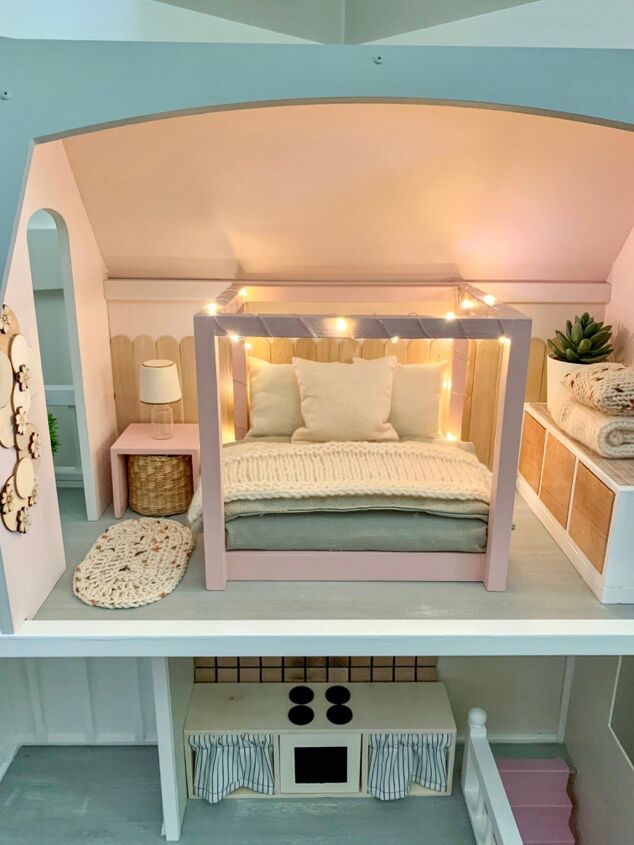
I added a little crochet rug, some diy wall decor and a little dresser to the room. The twinkle lights on the bed make the room feel so cozy and add a magical element to the dollhouse.
I added an accent wall behind the bed, as I felt that the room looked a little bare without it. To do this I glued jumbo popsicle sticks to the back wall, and I love the scalloped edge this created.
This room turned out so much better than I ever expected, and because I kept the furniture and decor minimal it is very child friendly and perfect to play with!
Comments
Join the conversation
-
Wow I love how you recycled other items to make furniture for your doll house. I wish I had know something like you did when I was a young girl. So cute…


Frequently asked questions
Have a question about this project?