


Easy Steps to Stencil a Vintage Wooden Chest

Easy Steps to Stencil a Vintage Wooden Chest
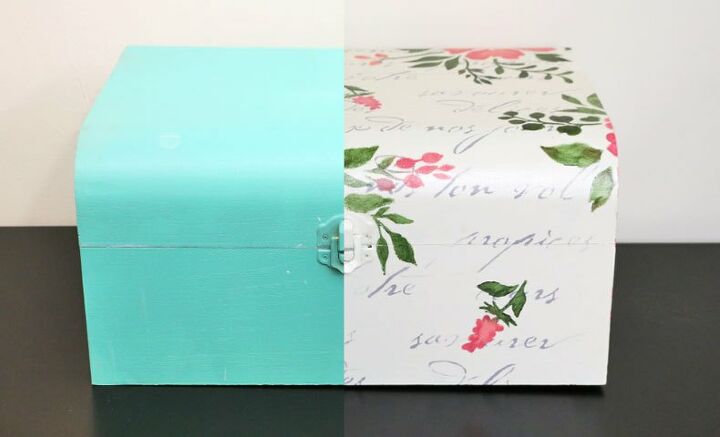
Wait! Don’t throw out that wooden piece just yet! Cutting Edge Stencils wants to show you how easy it is to transform any old piece into something beautiful using stencils!! Upcycling furniture or random wooden trinkets around your home is a great DIY project that will feel like a brand new addition to your home. Stenciling is an easy & inexpensive home improvement DIY hack that not a lot of people take advantage of. Why spend tons of money on new furniture & decor, when you can recycle it and give it a makeover!? It’s great for the environment and the satisfaction from doing something yourself feels even better! For this specific wooden box, we went to Pinterest for our inspiration. A trend we kept coming across was the double layered stencil designs. A majority had script writing with parts covered by gorgeous flowers, especially roses. We fell in love with this look & HAD to recreate it using craft stencils and floral stencils.
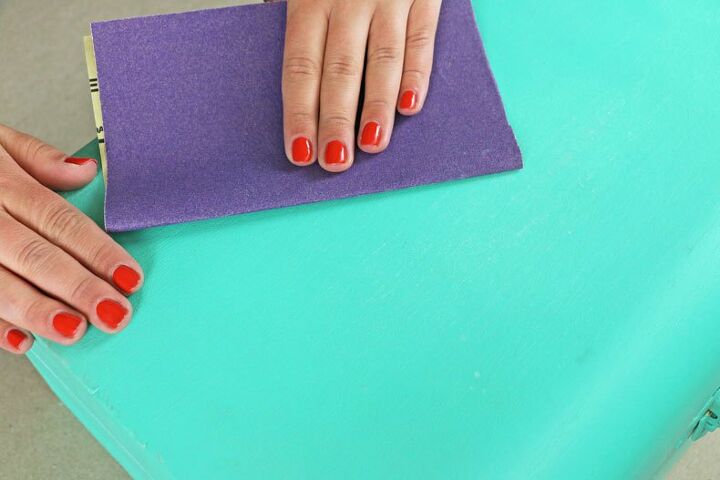
Any time you stencil would, the first step you must follow for preparation is sanding it down with 120-220 grit sandpaper. You want to get rid of any unnecessary texture.
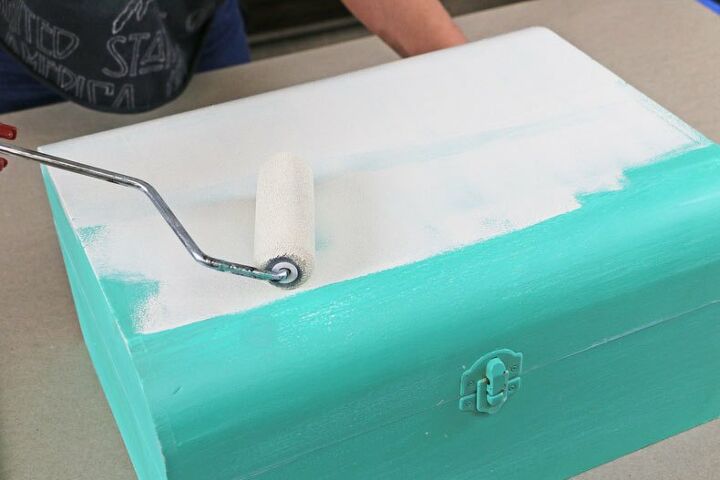
After dusting it off and wiping it down with a damp rag, roll on your Navajo White flat latex paint by Benjamin Moore. You can apply it with a 4″ dense foam roller.
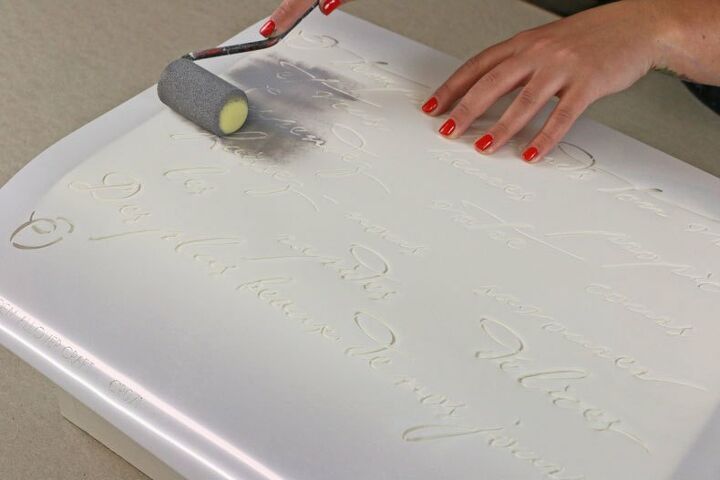
Apply spray adhesive to the back of your stencil to reduce your chances of bleed. Take a 2″ dense foam roller and evenly load it with grey. Offload any excess paint onto a paper towel. Place your French Poem Craft Stencil right on top and lightly roll on the paint!
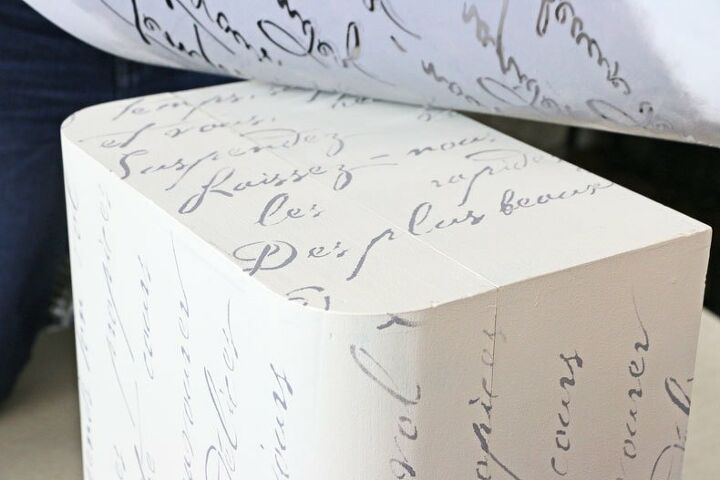
Align your stencil with the registration marks and repeat along the curves and sides of the wooden box.
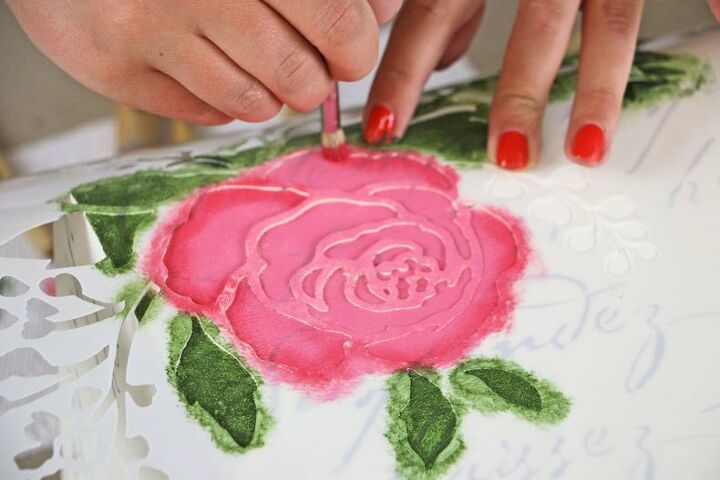
Dip the tip of your professional stencil brush into your acrylic paint and swirl it along around the plate, really working the paint into the bristles. (Colors used: Folkart’s Pink, Deco Art’s Melon, Anita’s Raspberry Sorbet) Again, offload any excess paint onto a paper towel!
Fill in your Garden Bouquet Wall Stencil with any of the Pink colors and shade the petals with the others for dimension! Then, fill in your leaves with Olive Green by Folk Art and Folk Art’s Raw Umber for the tips to create a natural look!
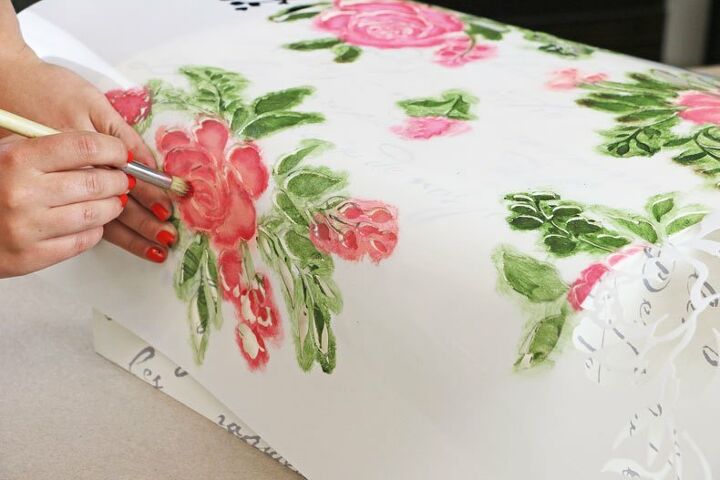
Stencil smaller flowers sporadically throughout the project to give it a little more flair and to fill in some open spaces.
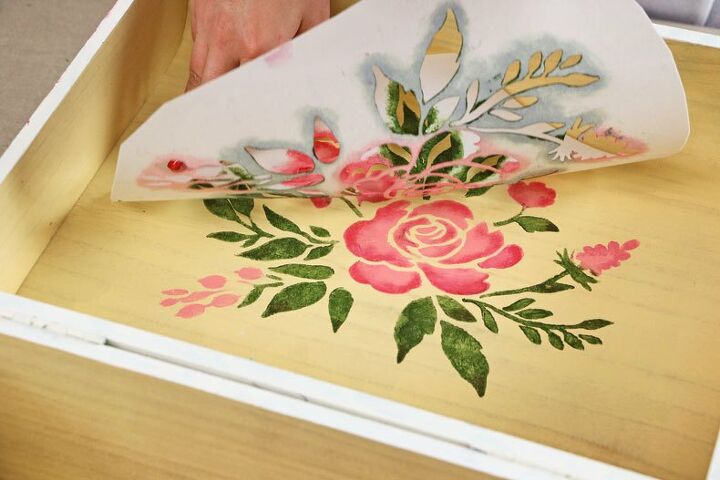
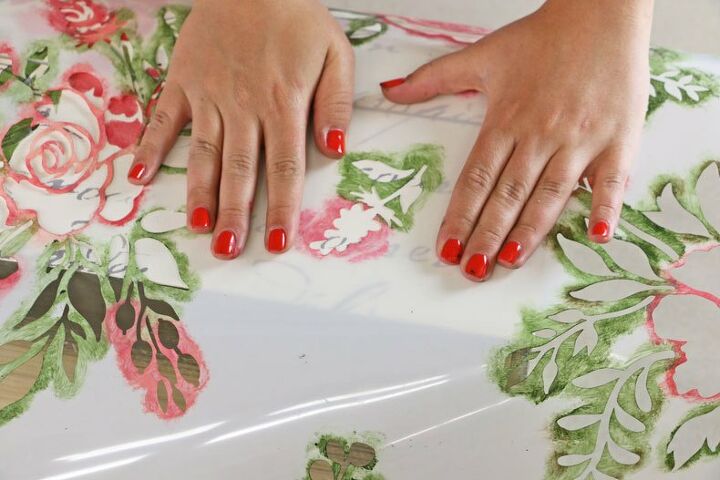
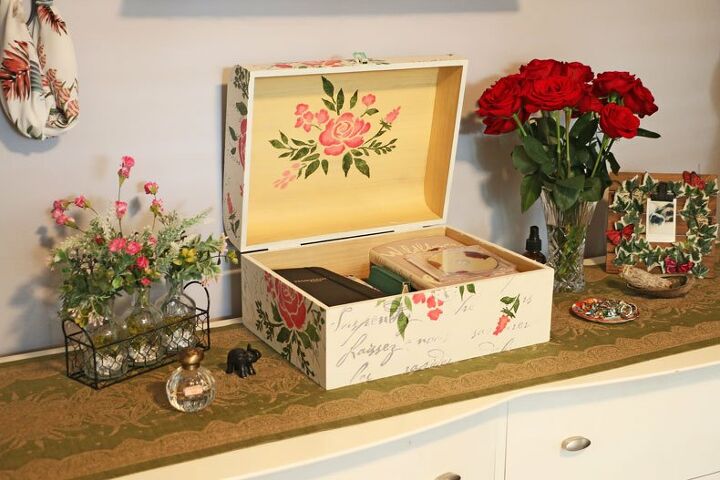
Last, we are going to stencil the inner lid with one of our flower stencils. Cut out one of the flowers so it fits into the small space.
Reapply spray adhesive and place it inside the lid wherever you’d like. Follow the same stencil project to give it a gorgeous flower design.
Seal your project with two coats of water-based polyurethane for years and years of protection! Look how incredible our DIY project turned out. All it took was a little paint, craft stencils, and floral stencils!


Frequently asked questions
Have a question about this project?