


"Faux" Bonsai

by
Lsherbach
7 Materials
$5
2 Hours
Easy
I have always loved bonsai; but never had the confidence to give it a try. Recently at the yoga studio I go to I noticed they have a bonsai with paper flowers. Since I love making paper flowers, I decided to give it a try; but I needed the right branch.
While on my morning walk, I found the perfect gnarly branch laying in the street. Now, I have NO EXCUSE!
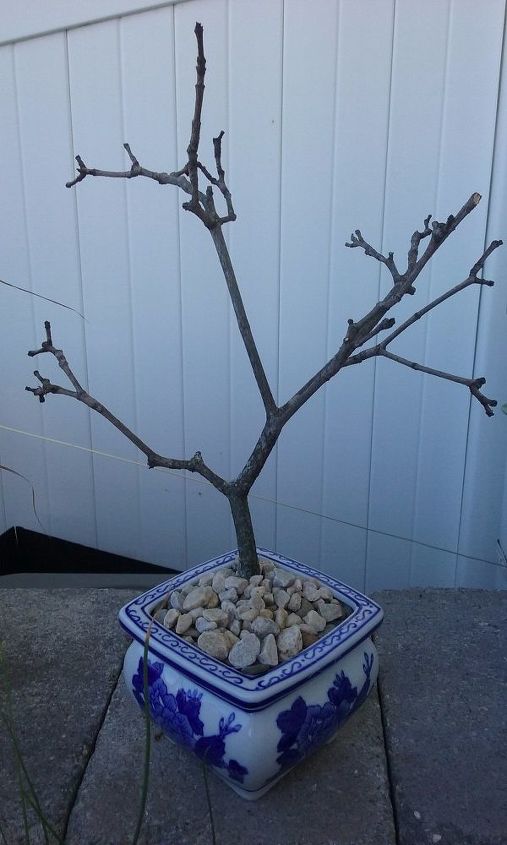
I picked up a blue and white pot from my favorite thrift store filled/glued some rocks into it , added the branch and now I am ready for flowers. (note: You can of course just pick up small silk blossoms from the craft or $$ store)
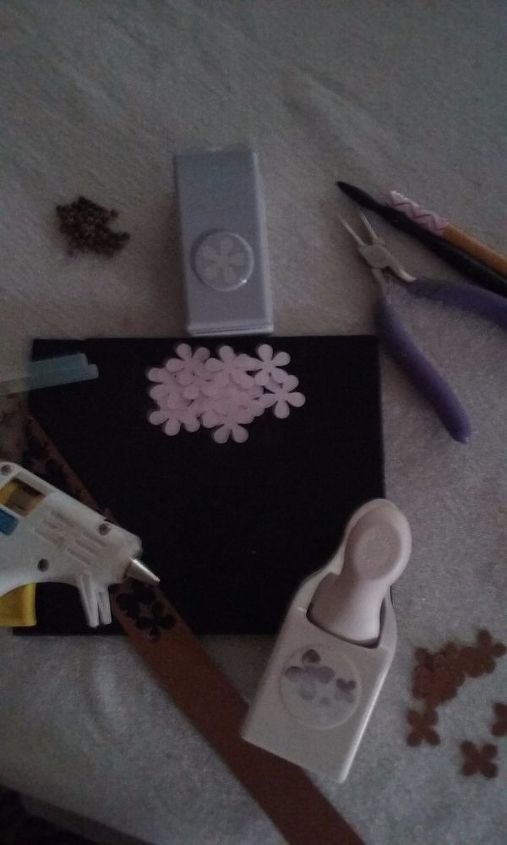
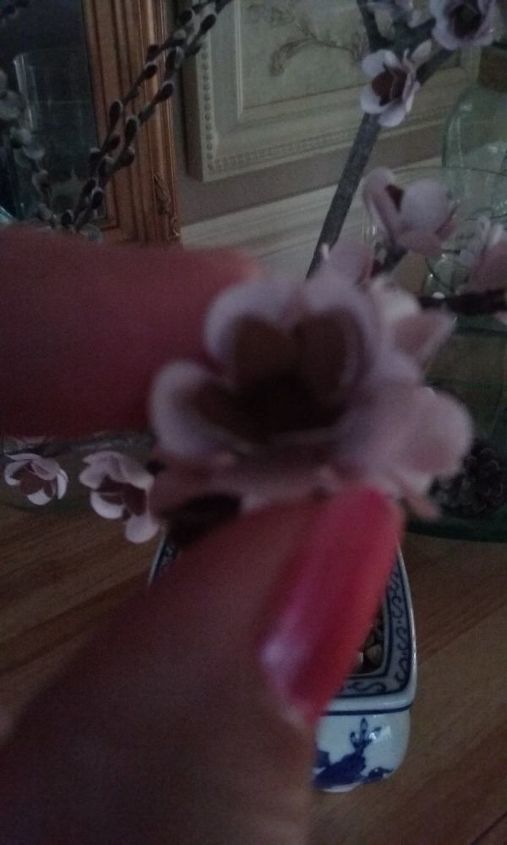
I used two different paper punches, easily available at your favorite craft store. This blossom has 4 parts; starting with a bead, small brown 4 petal blossom and two pale pink slightly larger 5 petal blossoms. Some hot glue
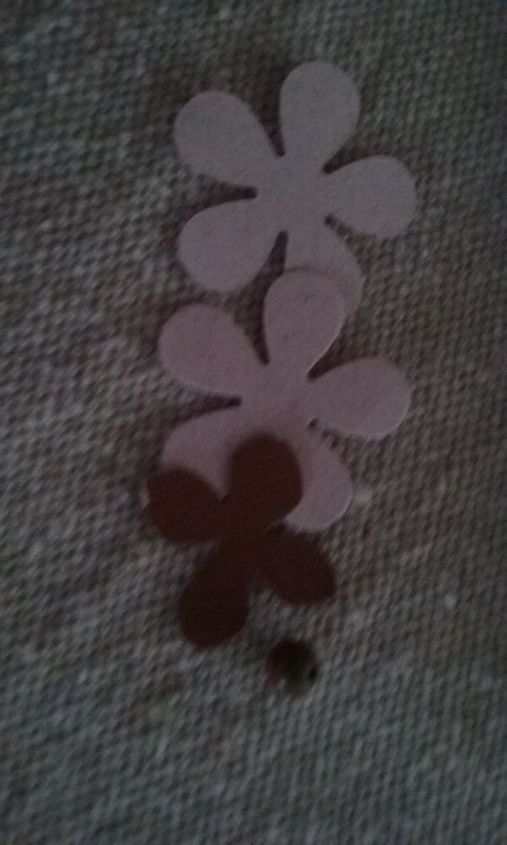
take a toothpick and curl each of the petals towards you on the brown (center) blossom and hot glue the bead in the center of that; next

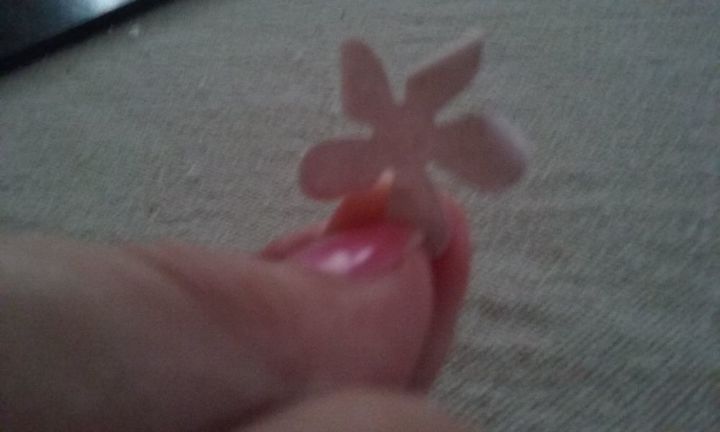
curl the petals of the larger blossom away from you on one side. Add a small amount of hot glue to the bottom of the center and place it in the middle of the larger blossom. Repeat with the second larger blossom
Finally, the branch will tell you where to place the blossoms. Wherever there is a little knob (where a live leaf/blossom once lived). I'm not gonna lie, the blossoms took some time; but I love to make them, so it is very relaxing to me. So to save time, don't hesitate to use store bought blossoms, the smaller the better.
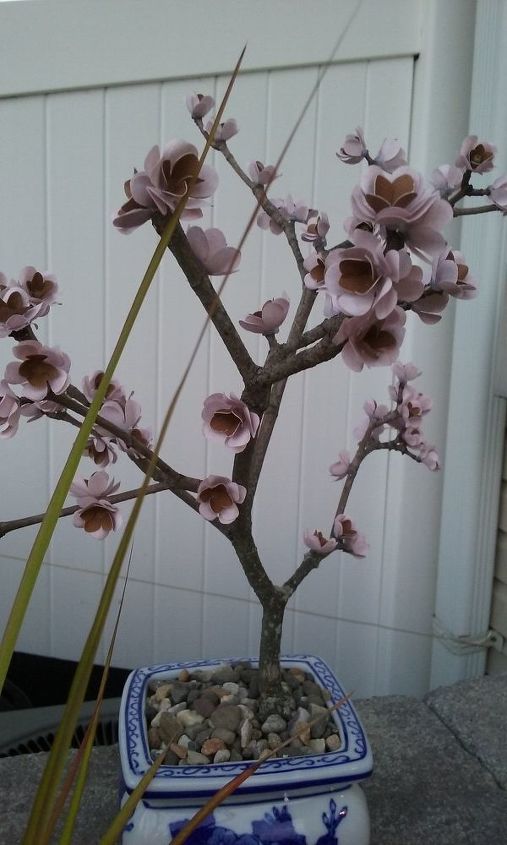
And here is my finished "faux" bonsai!
We want to help you DIY, so some of the materials in this post are linked to sellers. Just so you know, Hometalk may collect a small share of sales from the links on this page.
Comments
Join the conversation
2 of 66 comments
-
Love it gonna try
-
Love to hear how it turns out.


Frequently asked questions
Have a question about this project?