


How to Add a Light Fixture Anywhere - 804 Sycamore
The cost estimate for this DIY does NOT include the price of the wall sconce. Every lighting fixture is different and you may already have one on hand. This DIY is wireless, cordless, and too easy to not do it yourself~
In
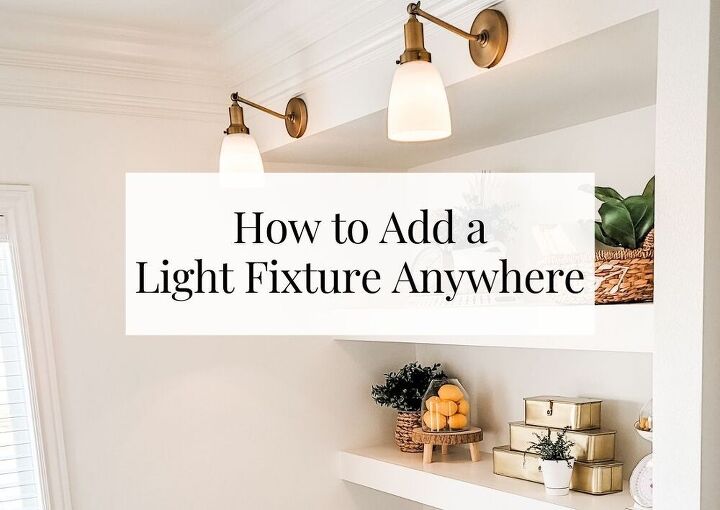
How to add a light fixture anywhere
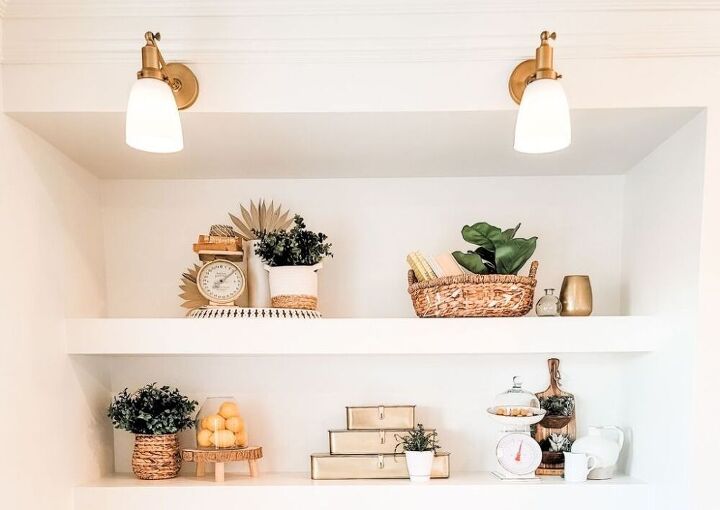
Do you have places in your home; nooks, corners, crannies that could use a little extra light? But maybe you don’t have a table for a lamp, you don’t want a floor lamp there, or there’s not an outlet to plug something in – this awesome DIY shows you how to add a light fixture anywhere you want. I love this light hack, and I’m going to have to slow my roll with it because I find myself looking at all the areas around the house to see if I want a new ‘anywhere’ light here or there. If you don’t want to commit to hardwiring a light, if hiring an electrician is not in the budget, or if you don’t want a cord running down your wall – then you’re going to love this idea of how to add a light fixture anywhere! Seriously, anywhere!

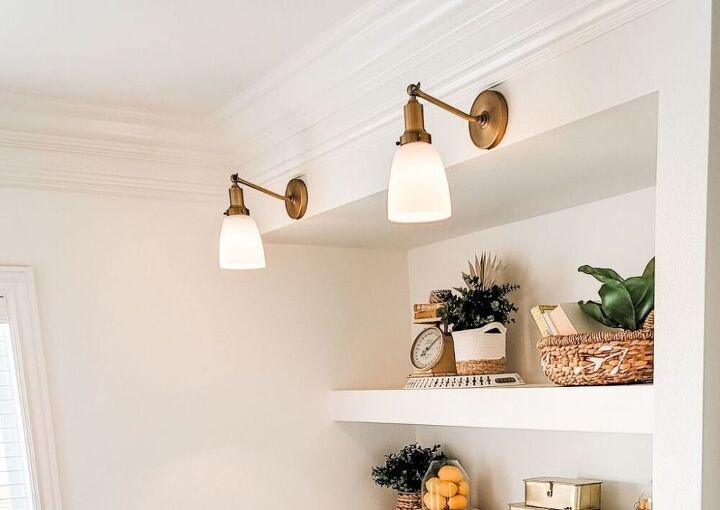
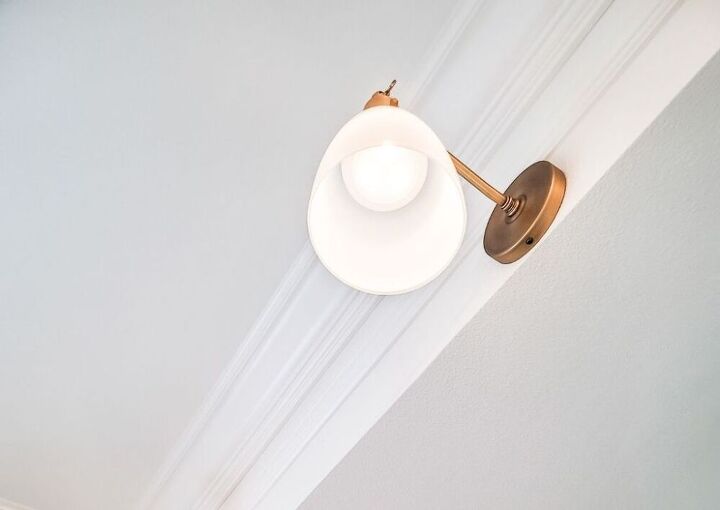
So, once you find the place you want to add a light fixture (and when I say light fixture, I’m primarily referring to hardwired wall sconce fixtures), you’ll want to measure the space if there’s not much wall (like above my built-in) – make sure your sconce base will fit the wall. If you’re adding a sconce to a wide open wall, you’re free to pick the style you love without worry of the base size. Also keep in mind that the puck light will not provide super bright task lighting – they’re more for mood lighting or brightening up a space enough to do what you do (like a closet). I think of them as accent lights, it’s dim lighting to add warmth or a touch of light to an area you want to highlight a bit. Another consideration is the size of the sconce shade. You’ll need to make sure the puck light will fit into the shade either by a wire or Velcro.
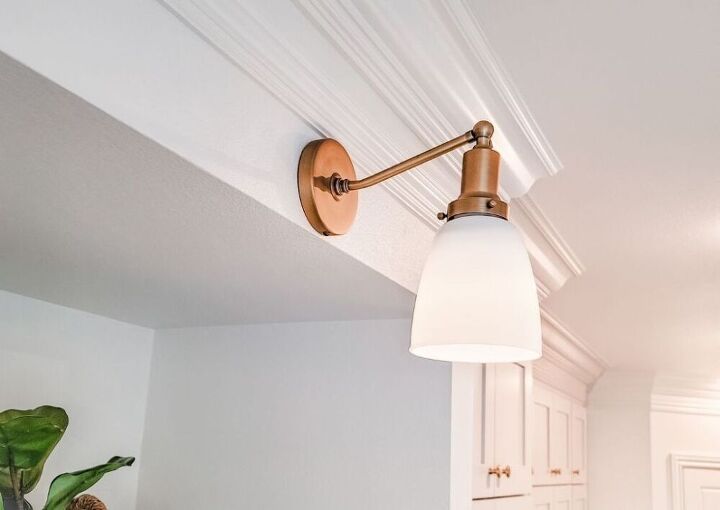
There are some obvious benefits to adding an ‘anywhere’ light to your home, but my favorite bonus is that it allows you to live with a new wall sconce in a location for a while before you commit to having it actually hardwired permanently. I love to switch things around and redesign spaces, so with these ‘anywhere’ lights, I can just remove some screws and patch the holes – just like I do for wall art or shelves. And if you do love your new wall sconce and want to have it hardwired, you’ve already done the work of mounting the fixture!
You can use Velcro to hold in the puck light – this makes it easy to remove when you need to swap out batteries. Some fixtures have holes inside that you can guide wire into and then also into the puck light for a very secure hold, but this could add a hassle when you need to swap the batteries (you’ll need to twist and pull the puck light to replace batteries) – each fixture varies. If you decide to make your wall sconce permanent, you can easily remove the Velcro strip – it’s a great temporary but secure way to hold the puck light. Puck lights also come with a remote and one remote controls them all within a certain range. You can also dim the lights or set them on a timer so that you don’t have to walk around turning them all off.
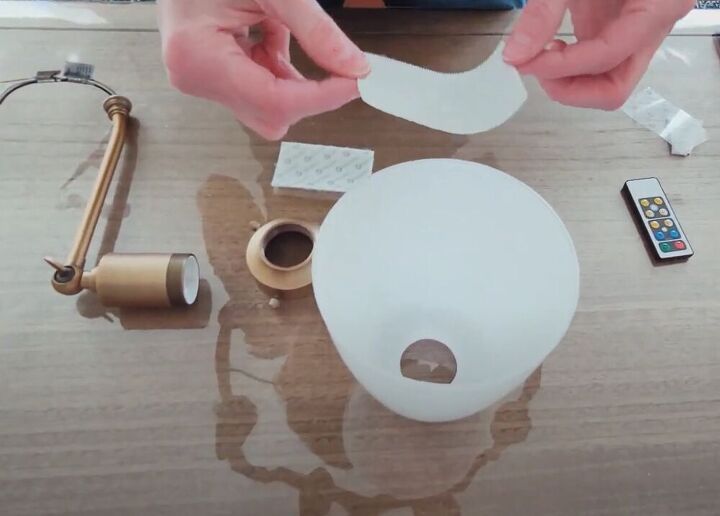
Cut the Velcro to fit the sconce shade, making sure there's enough for the light to stick to but not too much that it causes a shadow inside the shade. Make sure Velcro is securely stuck to the shade.
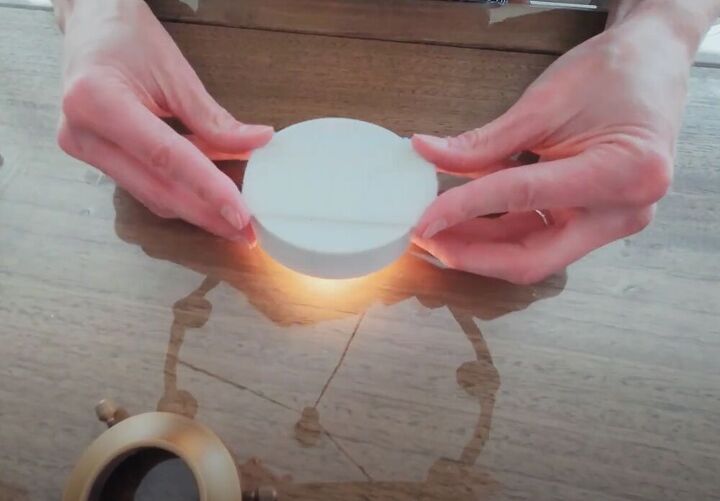
Cut Velcro to slightly overlap the edges of the puck light and press on to secure the hold.
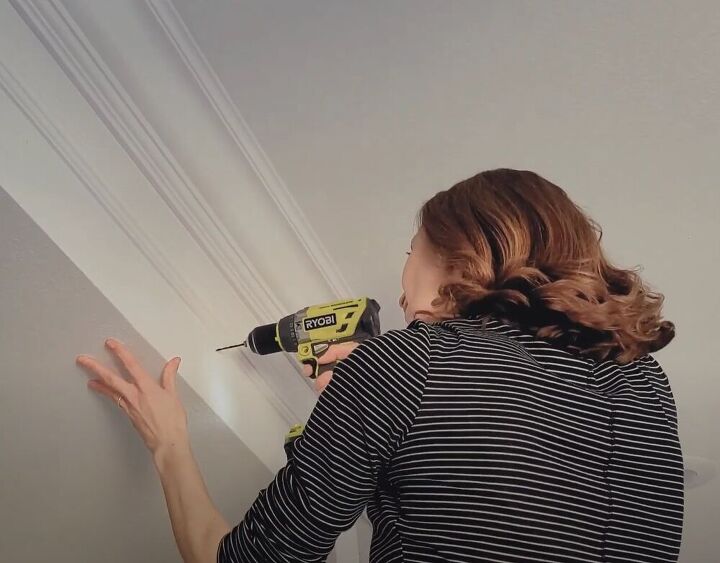
Measure, mark, and use a stud finder to locate your drilling spots. Make sure that the sconce bracket is level because the exterior screws will be seen.
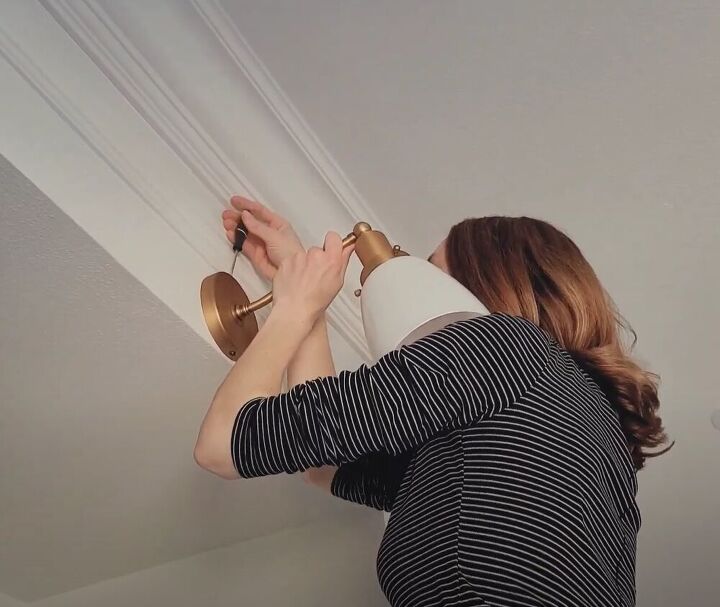
Assemble and attach fixture to the wall bracket.
Here are the steps on how to add a light fixture anywhere:
Make sure the fixture will fit within your space
Make sure the puck light will fit within the shade
Make sure the puck light has fresh batteries and works
Add one side of Velcro to the shade, making sure the other Velcro half will touch at least the corners of it
Add the other side of Velcro to the puck light
Stick the puck light inside the shade and press down so that the Velcro grabs hold
Read mounting instructions for the fixture – it’s standard to mount a bracket to the wall, and then attach the fixture
Once the fixture is attached, add the shade
The remote that comes with these lights turns them on/off, has a dimmer setting, and several timers so you don't have to remember to turn them off!
How to add a light fixture anywhere – DIY video
My oldest daughter, Sawyer, helped me film some of this video and she just did a great job! I’ve captured all my steps here in hopes that you’re encouraged when you see just how easy it is. I’d love it if you hit the Like button, thanks so much for checking it out!

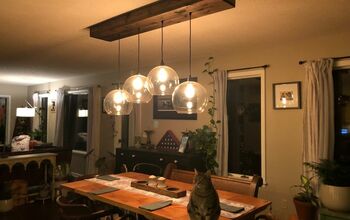
Boho Kitchen Light Hack


Comments
Join the conversation
-
YES! They are remote control and they are available on Amazon! https://www.amazon.com/gp/product/B09XVQKXGZ/ref=ox_sc_act_title_2?smid=A2BCVPKIFVY5K3&psc=1
-
This blog post is a more updated version of this idea and I love the new bulbs I'm using for these sconces: https://804sycamore.com/diy-wireless-wall-sconce-decorating-hack/


Frequently asked questions
Have a question about this project?
How easy is it to change batteries?
So cool! Thank you! Did your light fixture have a wire that you cut off?
GREAT JOB. That is what I need in some places. 👍️❤️