


How to Replace a Fluorescent Light Fixture With Regular Light Fixture

Do you have one of those big functional but ugly fluorescent lights in your home? Learn how to replace a fluorescent light fixture today!
For more simple and budget-friendly DIY project ideas, be sure to follow us on HomeTalk and visit our blog!
We have a couple of those big 'ol fluorescent lights in our house.
They certainly are functional because they are so bright but they’re not very attractive.
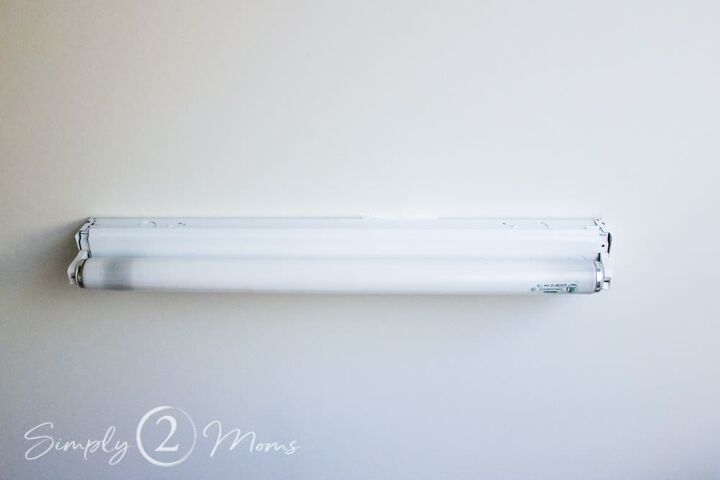
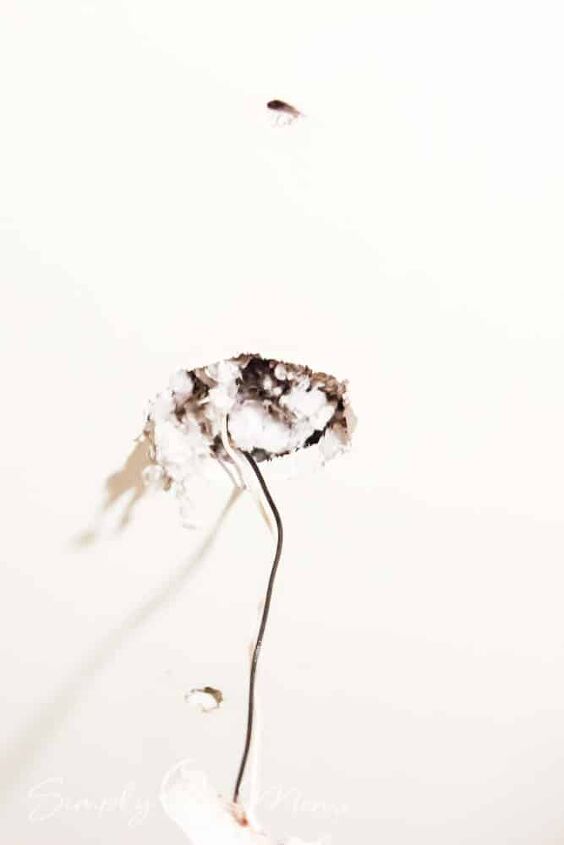
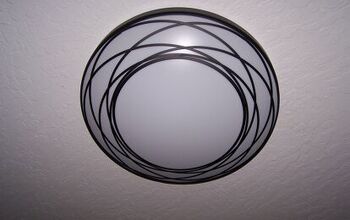
But look at this thing…I mean seriously it didn’t even have a cover over this light!
Just that bare bulb hanging there!
So pretty right!
Haha!
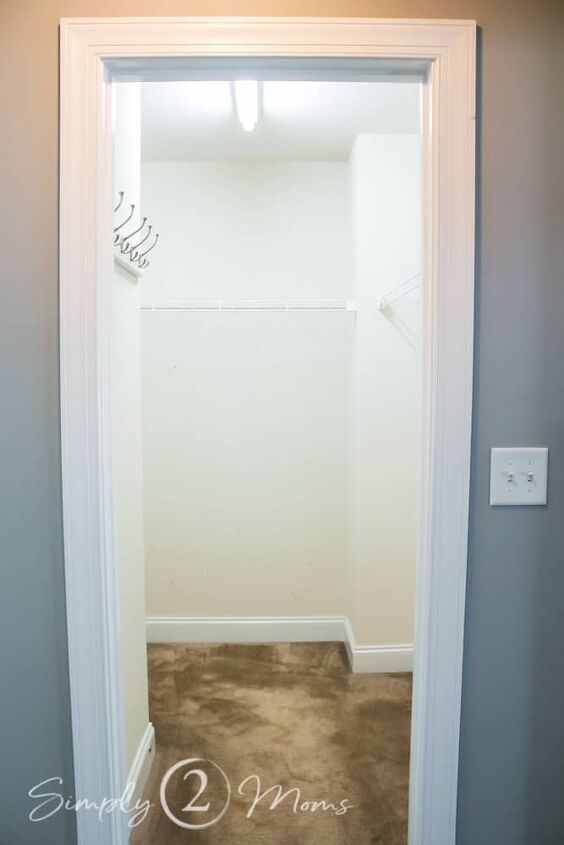
When we gave my husband Chris’s closet a complete makeover we decided it was time to get rid of that light.
We weren’t sure if we were going to be able to replace the fluorescent light fixture with a regular light fixture but we wanted to give it a try.
Supplies Needed to Replace a Fluorescent Light Fixture with a Regular Light Fixture
- old work round electrical box
- sheetrock saw
- awl
- screwdriver
- drywall repair patch
- spackling
- new light fixture
- lightbulb
Step 1: Disconnect Electricity
The first and most important step is to disconnect the electricity to the fluorecent light fixture.
You should always turn off the power to the light you are removing in your home’s circuit breaker box.
Don’t just turn the light switch off.
Remember safety first!
Step 2: Remove Fluorescent Light Fixture
Once the power is turned safely off you can remove your fluorescent light bulb.
Make sure you find out how you should dispose of the fluorescent bulb in your area. We take ours to our local home improvement store and they recycle them for free.
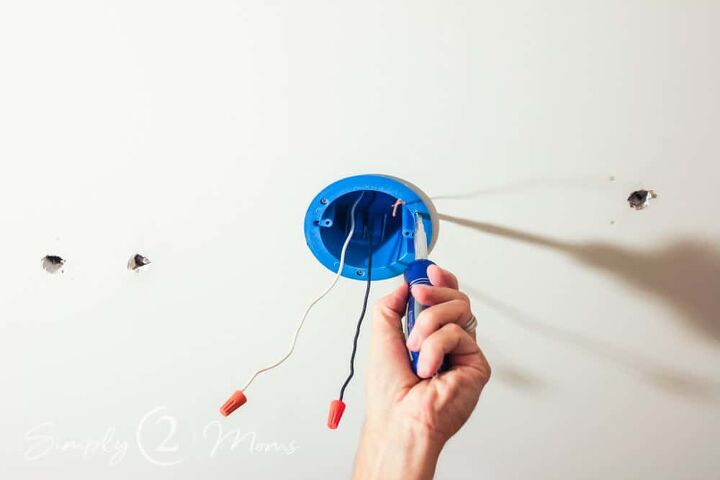
Using a screw driver you can then unscrew the light fixture from the ceiling.
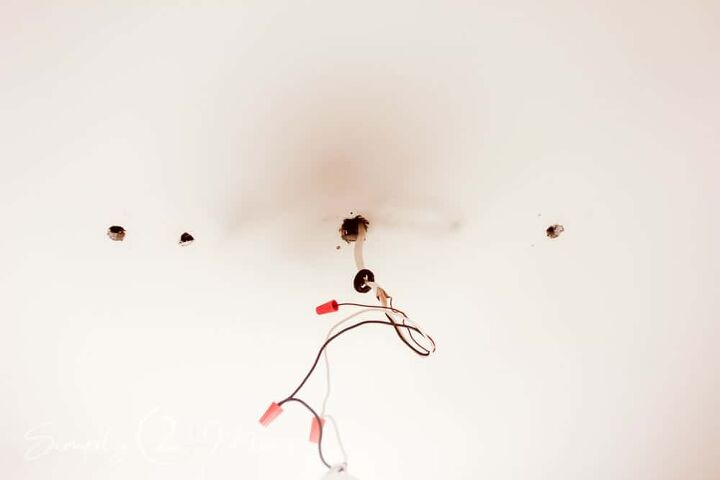
Our light had two screws on either side of the electrical connection that we removed. But as you can see in this photo there was a third hole.
Oops…looks like someone measured wrong when our house was built and they installed the fluorescent light.
Step 3: Installing a Ceiling Light Box
Make sure you have your electrical wires covered with wire nuts while replacing your fluorescent light fixture with a regular light fixture.
Since our fluorescent light was hung directly to our ceiling we had to install an old work round ceiling electrical box.
Be sure to purchase the correct electrical box. An old work electrical box is for replacing existing light fixtures. It has mounts with swing clamps to allow you to attach to the ceiling from below.
You may get lucky and already have an installed ceiling electrical box so you can skip this step.
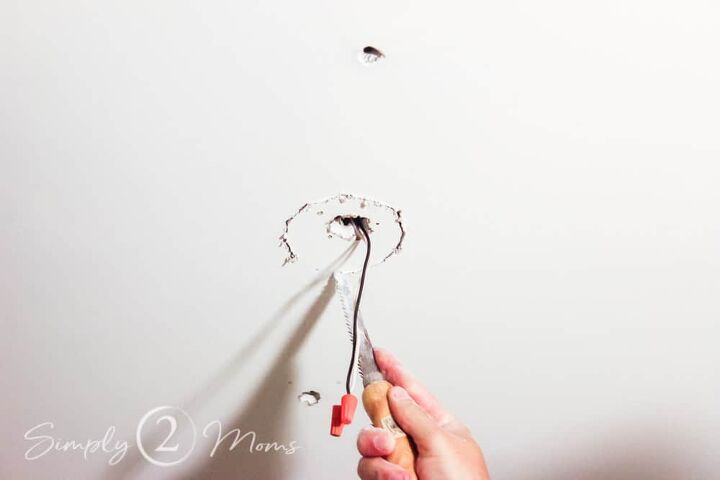
Using the template that comes with the ceiling electrical box we punched holes in the ceiling with an awl. Then we cut out out the drywall with a sheetrock saw.
Here is a view of the ceiling after making the hole for the electrical box.
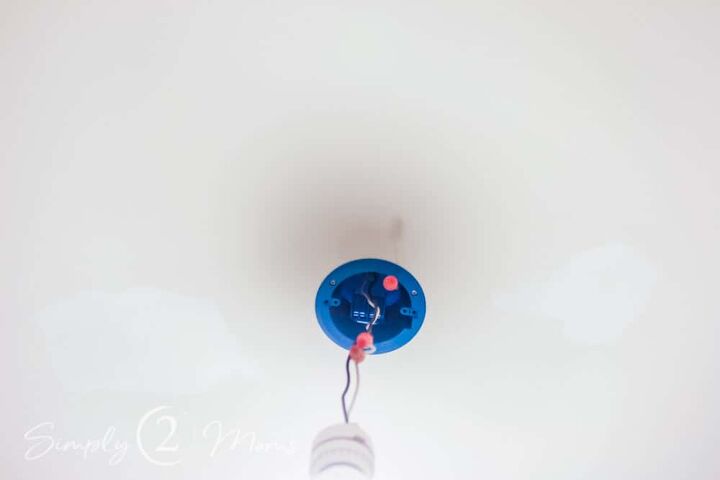
Next, we pushed the plastic electrical box into place in the hole we made in the ceiling and attached it with a screwdriver.
Step 4: Repairing Holes after Removing Fluorescent Light
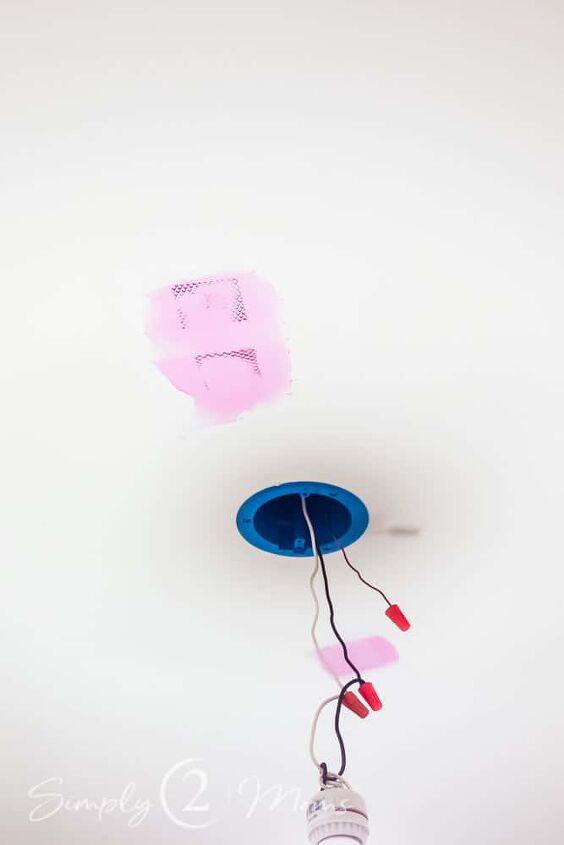
After the ceiling box was installed it was time to repair those holes.
We cut three drywall repair patches to cover each of the holes.
Then spread DryDex spackling on the patches.
This spackling goes on pink and drys white.
It’s goof proof!
You will know exactly when it’s ready to be sanded and painted.
Step 5: Installing New Regular Light Fixture
Follow the directions that comes with your new regular light fixture to install.
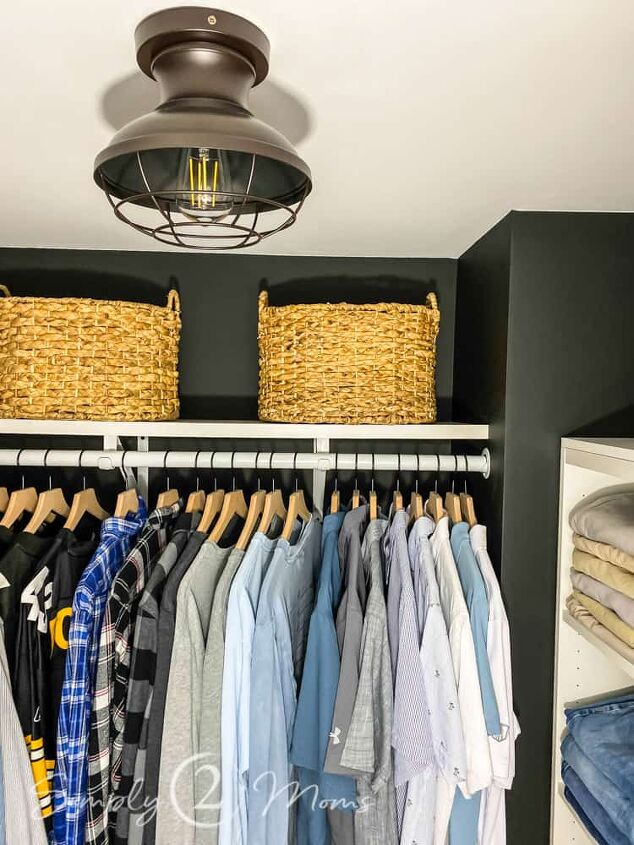
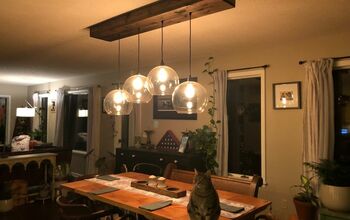
We used daylight Edison bulbs to provide as much light in the dark closet as possible.
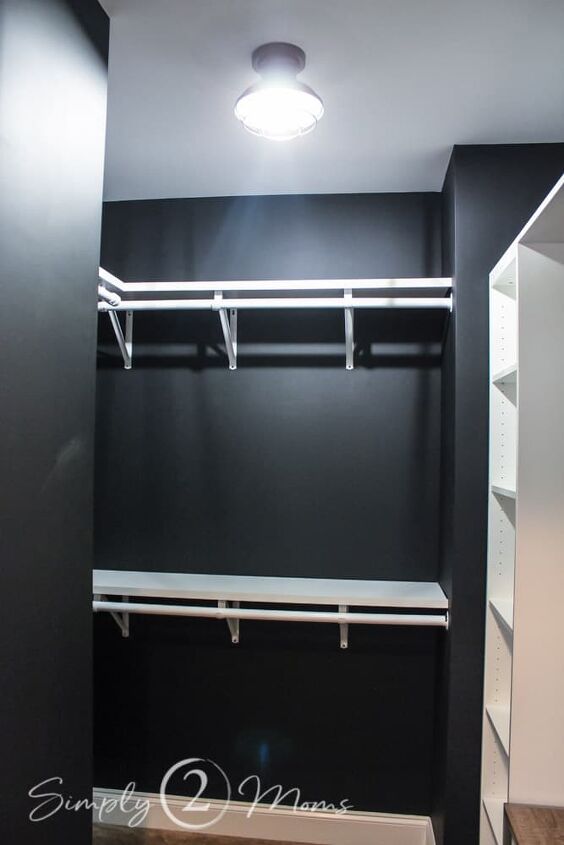
Replacing the large fluorescent light fixture with this smaller industrial style regular light fixture definitely looks better!
I love the difference this DIY project made in the closet.
And if we can do it so can you!
If you have any questions or suggestions, contact me or leave a comment!
Resources for this project:
See all materials


Comments
Join the conversation
-
Thank you for providing this DIY ! I have a few fluorescent lights I want to change over to more attractive light fixtures, and did a ton of research on how to do it. Yours is the best step by step I could find. 😊
-
I changed our kitchen 4 bulb flourecent fixture several years ago. I was also worried about having enough light. This round LED from Lowes is put out WAY more light than we ever had from the old flourecent fixture. Then I added another small faux recessed LED with some enhancements. I posted the simple project here on Hometalk. Did not think of taking the pictures of the removal only the upgrade.
https://www.hometalk.com/posts/decorate/rooms/kitchen-light-change-required-creative-design-enhancements-39887344


Frequently asked questions
Have a question about this project?
Does the new light provide as much light as the old fluorescent one? That’s my biggest concern. I want as much light as the ugly fluorescent one.
What did you screw the new box into? Doesn't it have to be attached to a stud?