


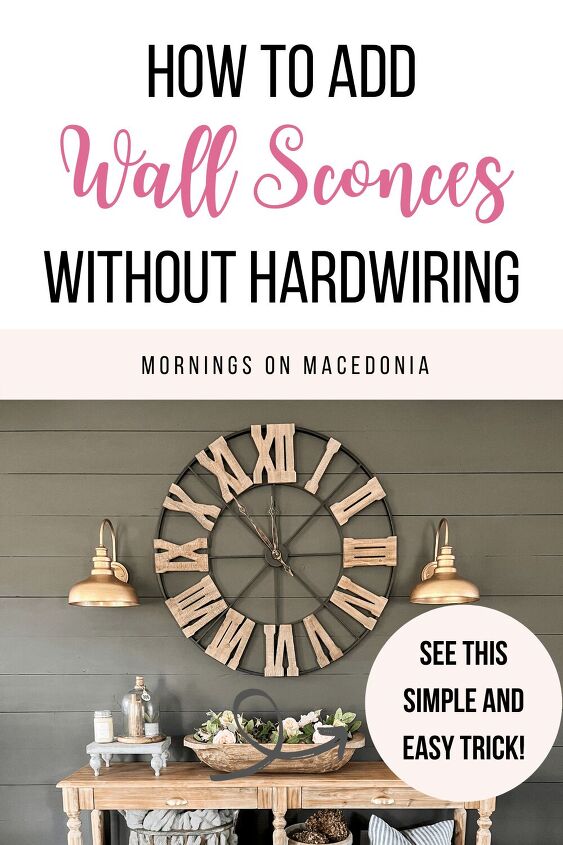
How to Add Wall Sconces Without Hardwiring

If you love wall sconces and want to add them into your home, but don’t want to hardwire them, then this is the post for you! Today, I am going to be sharing all about how to add wall sconces without hardwiring. I recently shared all about our entryway refresh project we did and you may have noticed the wall sconces there.
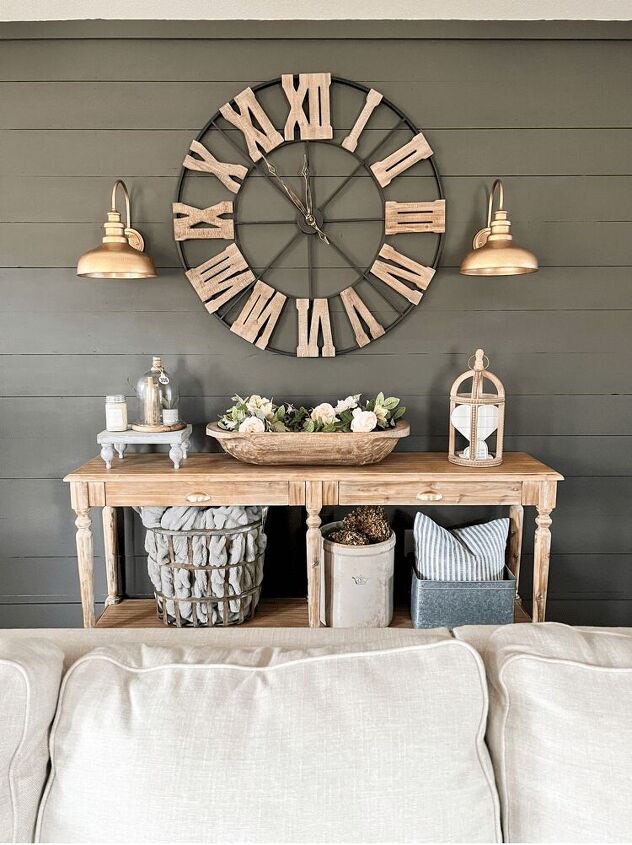
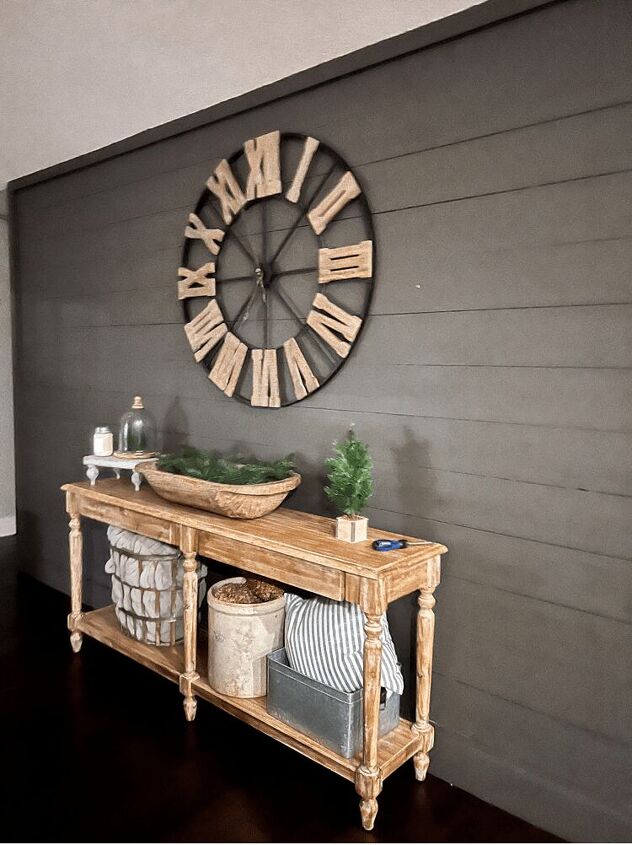
The entryway area in our home can tend to be a little dark because we don’t have any additional lighting there. We just have the usual overhead lighting and I don’t like having that on all the time since it can be a little harsh. So we wanted to add in some softer lighting options. That’s when we decided some wall sconces would look perfect there!
It is actually quite easy and simple to add in a little bit of lighting through a wall sconce. Even if you don’t want to spend the time or resources hardwiring them. Keep on reading to see just how easy it is do!
This post contains affiliate links. Click here to read my disclosure policy.
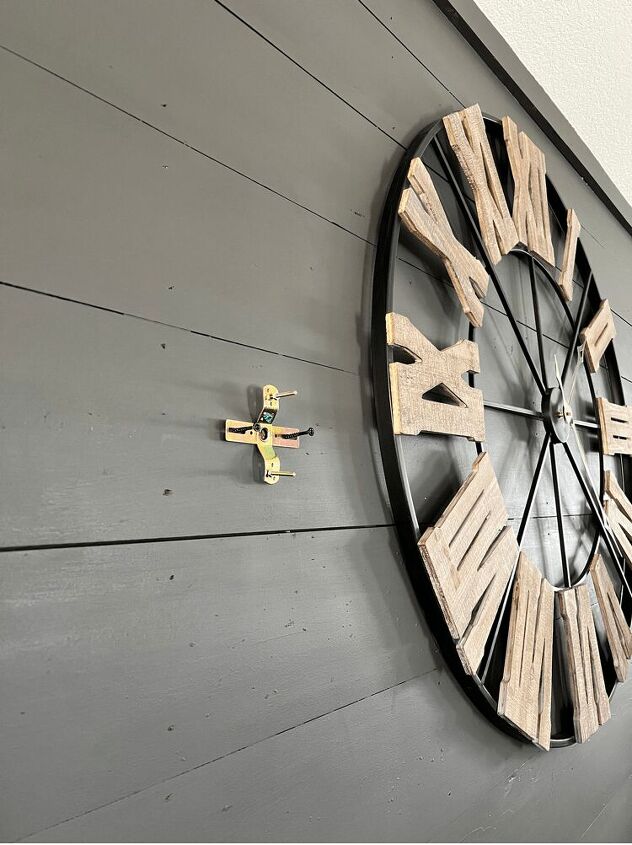
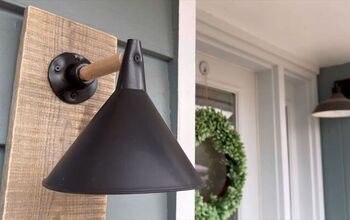
The first thing you need to do is to install the sconces in the wall. My biggest tip to you here is to not cut the wires or remove them from the back of the sconce. Even though you aren’t hardwiring them now, doesn’t mean you won’t in the future.
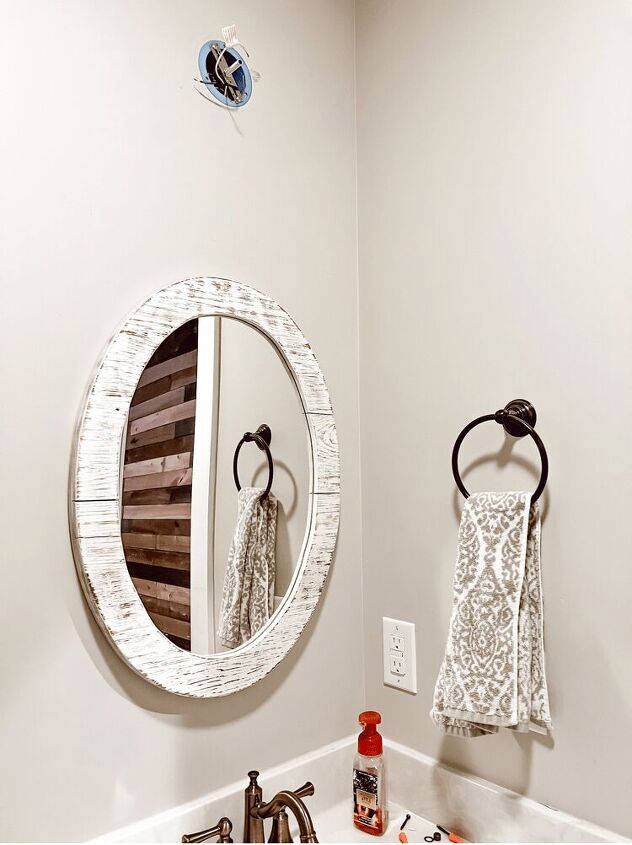
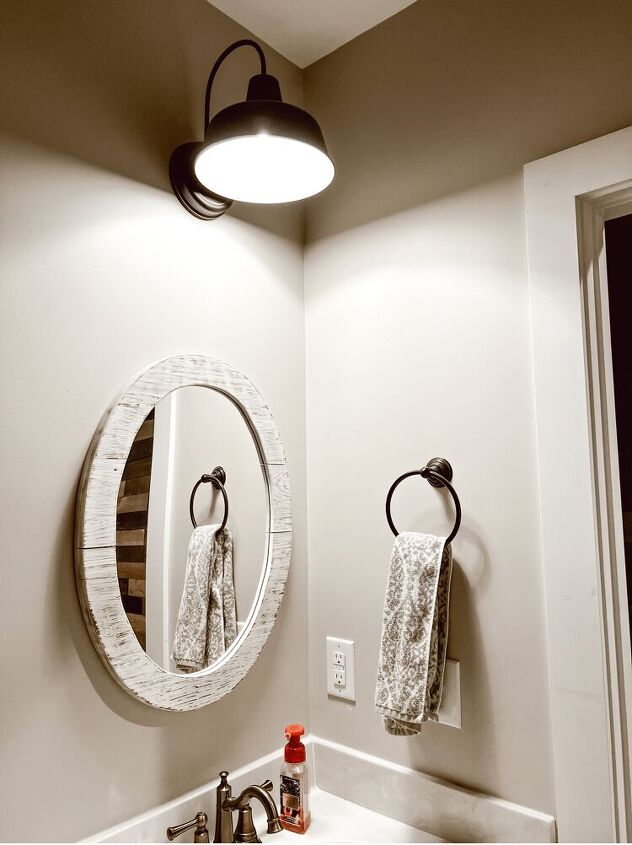
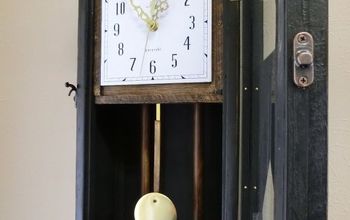
For example, the previous wall sconces we had on the entryway wall (pictured above), we decided to use them in our guest and downstairs bathroom instead. Which in that case my husband did have to hard wire them to get them to work. So if we had removed the wires, that wouldn’t have even been an option for us.
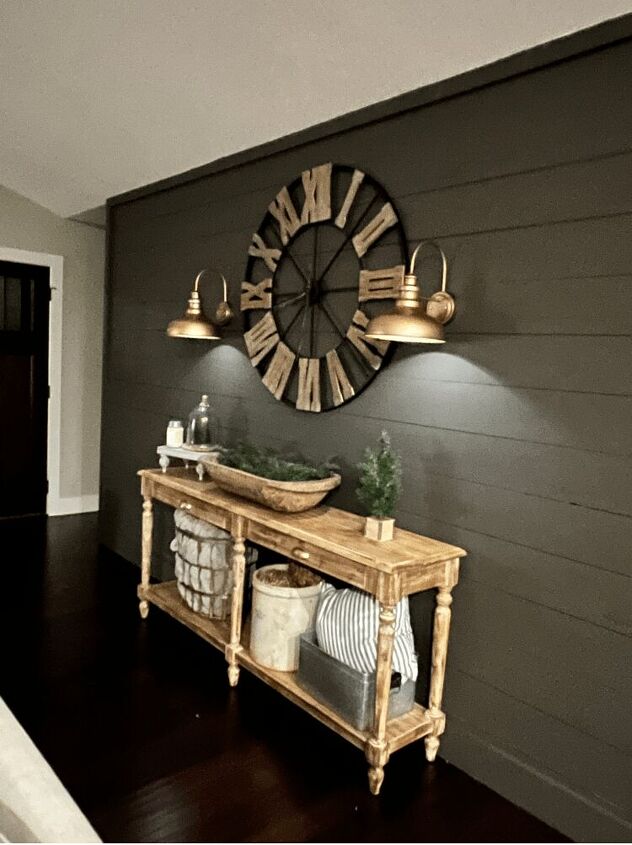
I loved the previous ones we had, but I figured they would be too dark for our new entryway wall. So I am glad we were able to reuse them in another area of our home as well. And the new ones really make the entryway wall pop since they are a beautiful antique gold color.
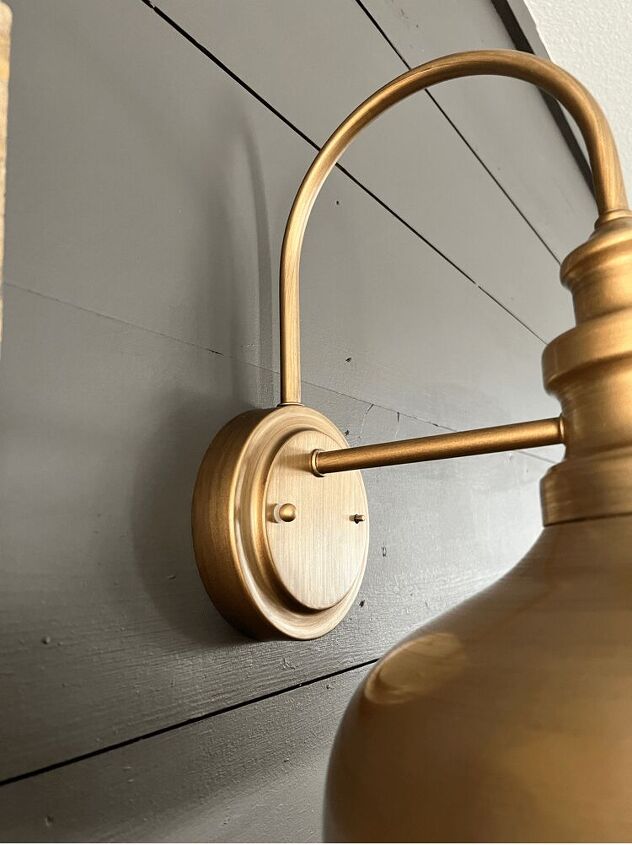
These sconces were fairly easy to install. It came with everything we needed and since we already had the holes pre-drilled in the walls from the other sconces, it was super easy to place them.
And here you can see the old ones in our guest bathroom. We put one in our upstairs and one in our downstairs guest bath. So it worked out perfectly!
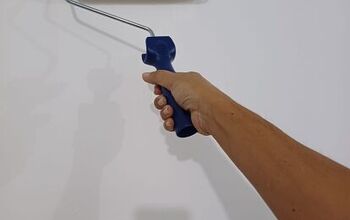
So you have to have puck lights in order to make this work. And puck lights are such an awesome invention. You can get them from Amazon and there are several options to choose from. I would recommend buying a pack that come with a remote though.
The ones we have you can either push the light to turn it on or use the remote. But the remote is handy to turn them both on at the same time. And they come with several different lighting features as well. Like 100% power or 50%. Or you can even customize them to how bright or how dark you specifically want them as well. And you can even set them on a timer too!
Once you have your sconces up and your puck lights in, you can easily install them. I used Scotch Outdoor Mounting Tape to attach them inside the sconce. And that’s it! Easy peesy! I mean this is much better than having to hire an electrician to come out and install it for you right?
The only downside is that they do run on batteries so you will go through some batteries if you use them often. But we usually use them only at like 50% power to make them last even longer and that’s plenty of enough cozy lighting!
I hope you learned how to add wall sconces without hardwiring from this post. And saw just how incredibly easy it is as well! Hopefully it will encourage you to add in a few areas of cozy lighting in your home too sometime. How do you think it turned out!? Do you love it just as much as I do?!


Frequently asked questions
Have a question about this project?
Which puck lights did you use?