


How To Make A Clothespin Planter

Houseplants make for the perfect decor but you can easily upgrade them with this simple clothespin planter. You can never go wrong with adding a little spice to the basics.
Why stick to a boring flower pot when you can decorate and customize your own planter. With these directions, you will have a cut plant holder in no time!
Each plant you have in your house can be stored in its own little planter. You can even assign each plan a certain design to make caring for your plants a lot simpler.
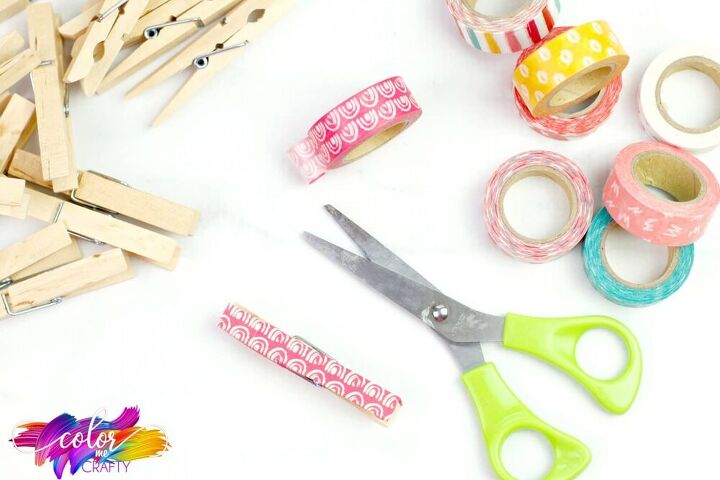
Gather all of your supplies and measure a length of washi tape to fit the front and back of the clothespin. Cut and smooth onto the clothespin.
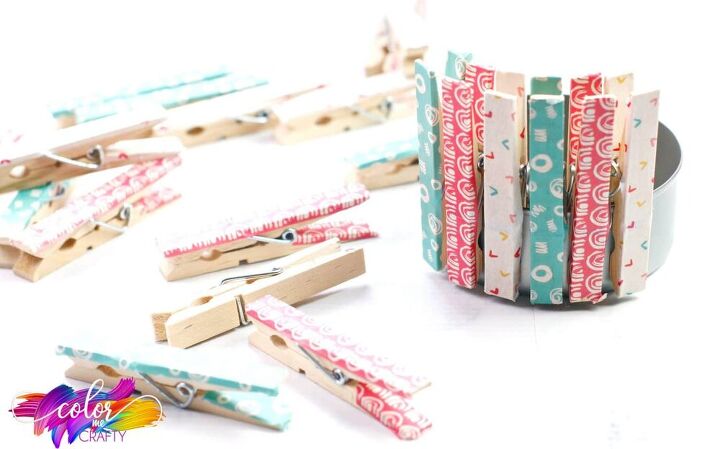
Attach the clothespins to the tuna can, making sure to push the clothespin all the way down. We used 21 clothespins per tuna can and used 3 patterns of washi tape per can. But you can use as many different colors and patterns as you like.
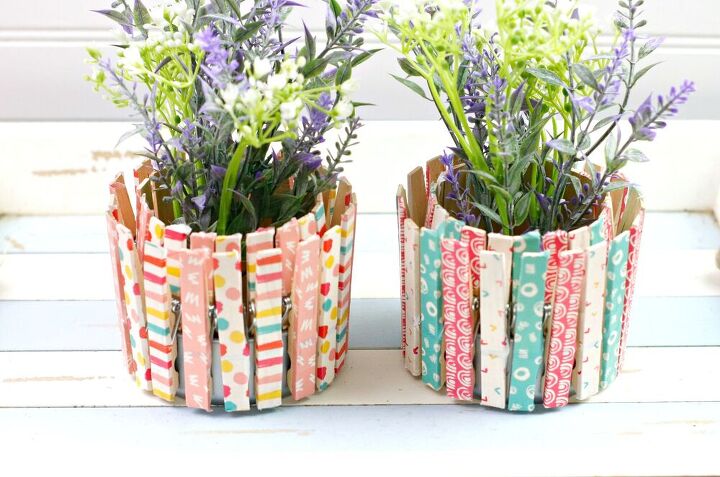
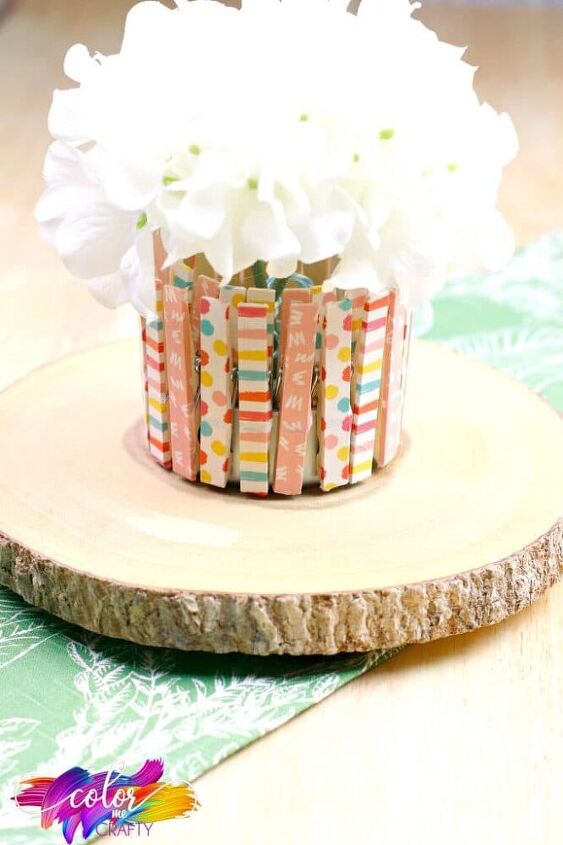
You can add dirt to the tuna can and add plants, or use the it as a pen holder, or even use it as cute home decor. Add some foam balls to sticks and glue on flowers to make an adorable center piece. The possibilities are endless.


Comments
Join the conversation
-
Very cute. Like the double row of clothespins. I would seal the tape.
-
How did you make the second row? One is the tuna can, what are the second row of clothes pins clipped onto?
thank you!


Frequently asked questions
Have a question about this project?