


How to Turn Plastic Planters Into a Beautiful DIY Urn Planter

Looking for a budget-friendly way to upgrade your porch? Learn how to turn plastic plant pots into a beautiful DIY urn planter with this easy tutorial!
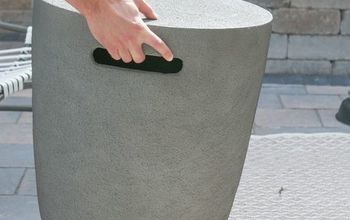
You can create a gorgeous stone-textured urn that will add charm and elegance to your home's exterior.
This post was transcribed by a member of the Hometalk editorial team from the original HometalkTV episode.
Follow along and let's get started on your porch makeover!
1. Gather Materials and Tools
I ran over to my local Home Depot and grabbed some planters right off the shelf, along with some primer and some textured finish.
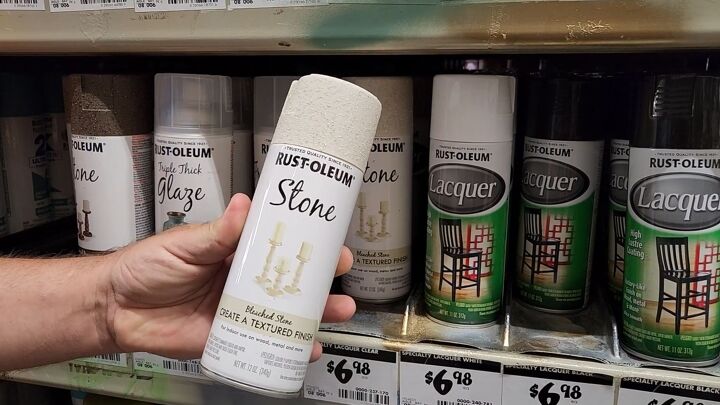
This stone finish comes in lots of different colors, so you can make sure it matches your outdoor decor.
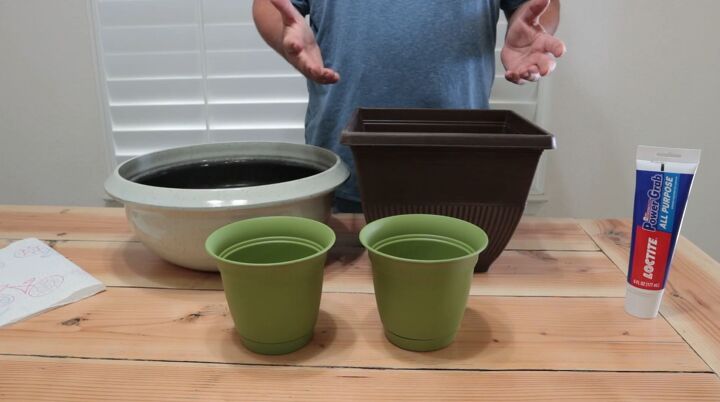
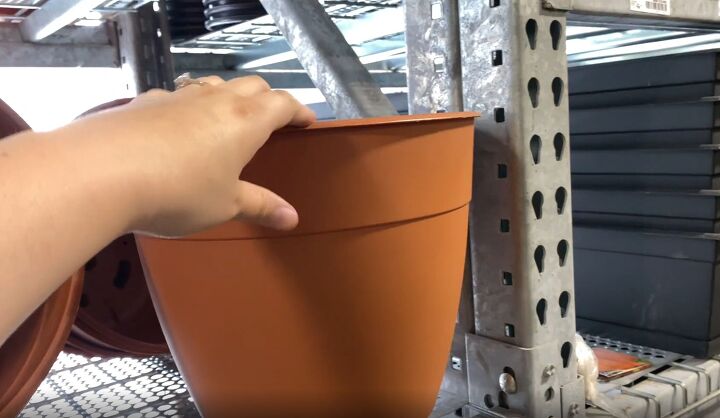
I decided to create my porch urns with square bases and round tops, so I grabbed a square bottomed flower pot, 2 smaller pots to use as the pillar, and a large circular pot for the top.
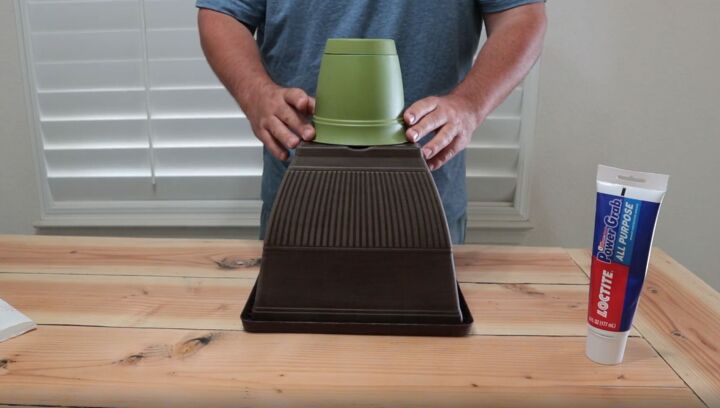
2. Measure Pillar Pots and Determine Placement
Measure your pillar pots before you grab the glue just to make sure that everything fits correctly and that you know exactly where to place the smaller pots.
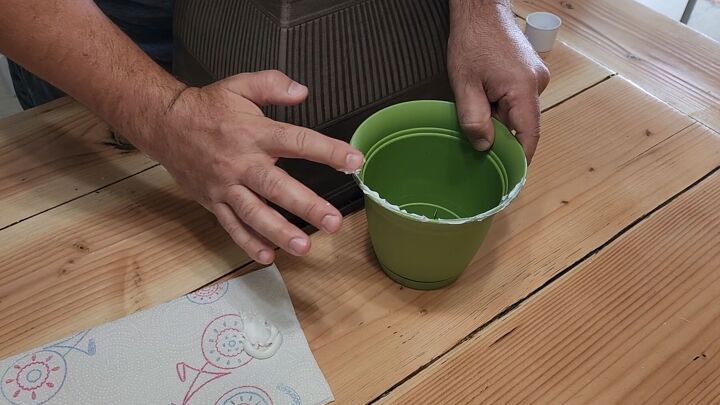
3. Glue Pillar Pots to the Bottom of the Base Pot
To stick the small pot down, dab some glue around the rim and press it down onto the bottom of your base pot. After the plastic pot is glued down, put a weight on top of it (I used a can of stain) to help things dry.
If you see glue popping out around the rim, that's okay. Just wipe it around the edge. Once we get to the point where we paint and stain, you won't see anything.
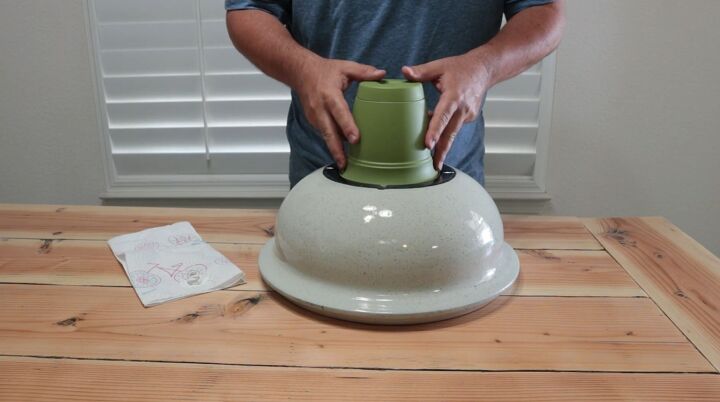
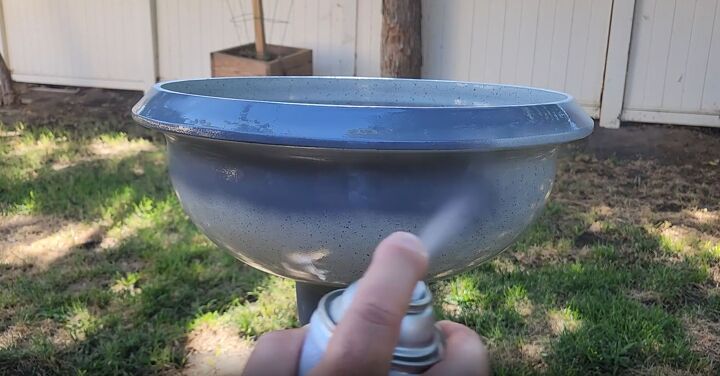
4. Glue Second Small Pillar Pot to Top Pot
Now onto the top of the urn.
Using the same technique, glue your second small pillar pot upside down on top of the top pot of your urn. Once you clean it up and weigh it down, slide it to the side to dry.
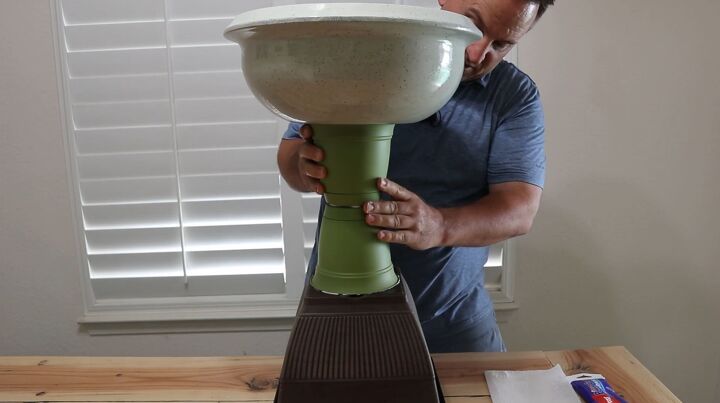
5. Glue Pillar Pots to Connect Urn Sides
Next, just add some glue to the bottoms of your 2 pillar pots and connect the 2 sides of your urn.
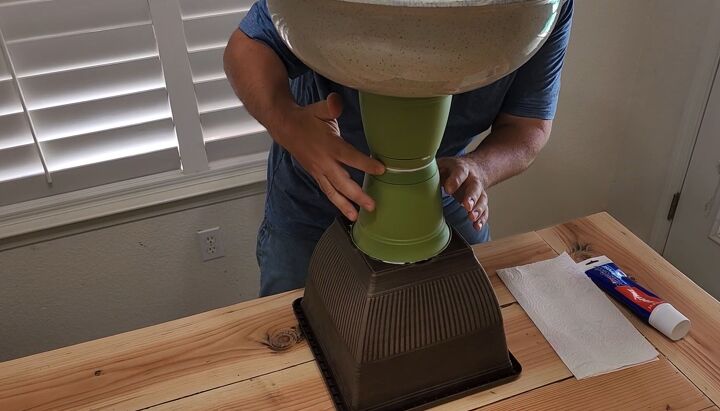
Wipe away and smooth down any excess glue to make a smoother surface for your paint and textured spray.
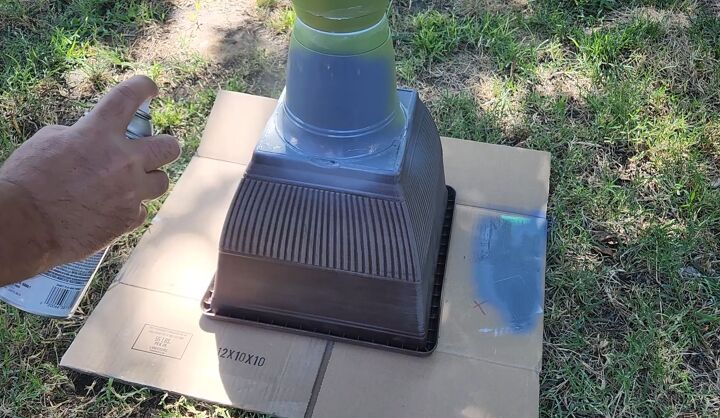
6. Apply a Base Coat of Paint
Once everything is all dry and good to go, spray on your base coat of paint.
Make sure to cover the entire urn so that no other colors show through once you lay down your stone textured spray.
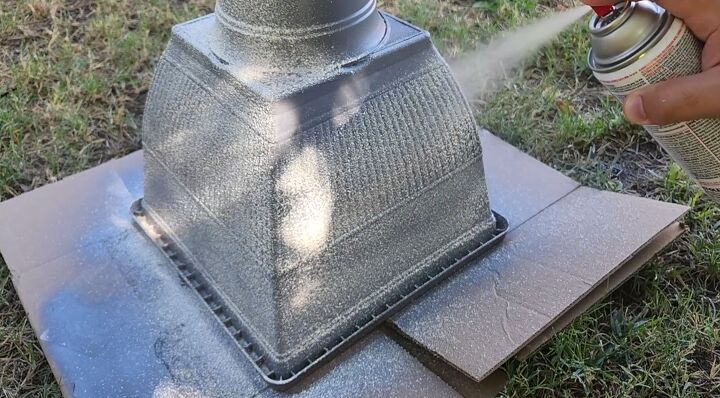
7. Spray Stone Texture Finish on Urn
Once the base coat is dry, spray your stone texture all over your urn.
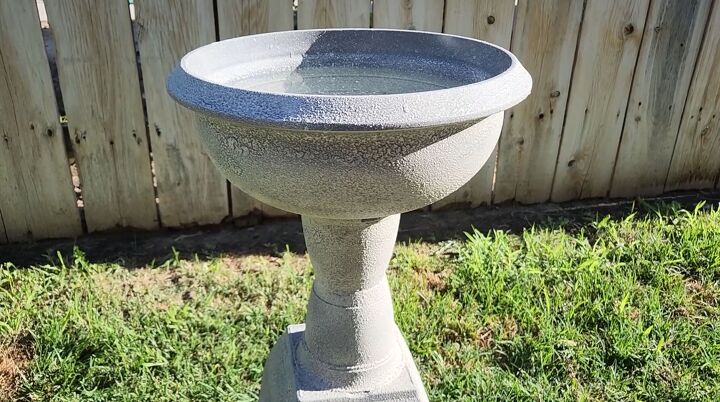
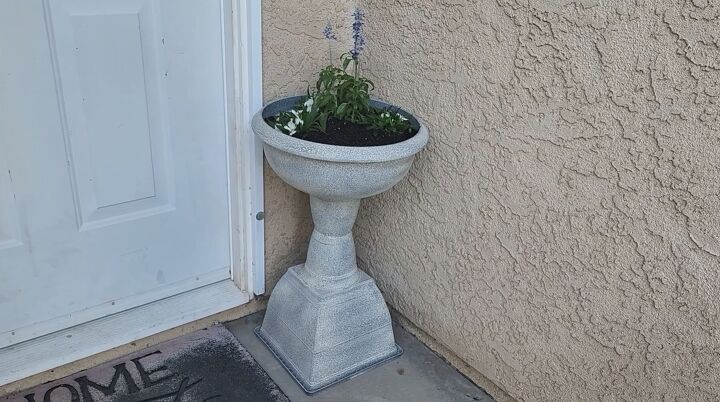
And there you have it! A beautiful DIY urn planter to welcome guests to your home.
You can use your urn in the yard as a bird bath, or fill it up with soil and flowers for your front porch.
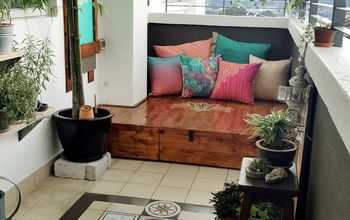
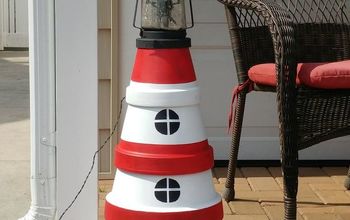
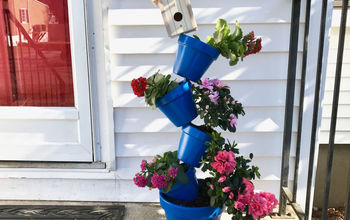
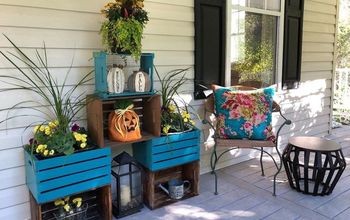
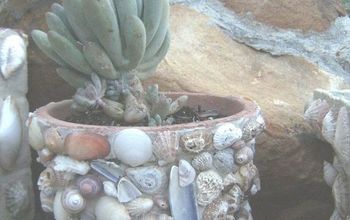
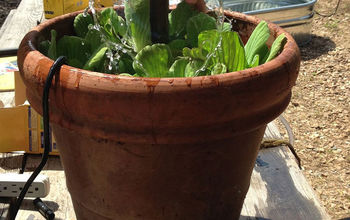
More Upcycled Planters
Good luck and have fun! I hope that you have enjoyed this DIY urn planter and that it has inspired you to take on more home decor projects in the future.
If you have any questions or comments about this tutorial, please feel free to share them with me in the comments section below.
And don't forget to show off your new porch accents to your family and friends! Thank you for choosing to embark on this crafting journey with me, and I look forward to bringing you more exciting DIY tutorials soon.
Resources for this project:
See all materials


Comments
Join the conversation
-
I like the idea. Your planting could be improved- plant a trailer vine to soften the edges. Plant a tall plant for interest, fill in with shorter plants.
-
mitch you are ridiculously talented.


Frequently asked questions
Have a question about this project?
Why won’t he answer any of the questions?
Hmmm! I have the stuff, most of it, to do this! But I wonder will it stand up in a heavy breeze?
Is there a purpose of spraying a base color?