


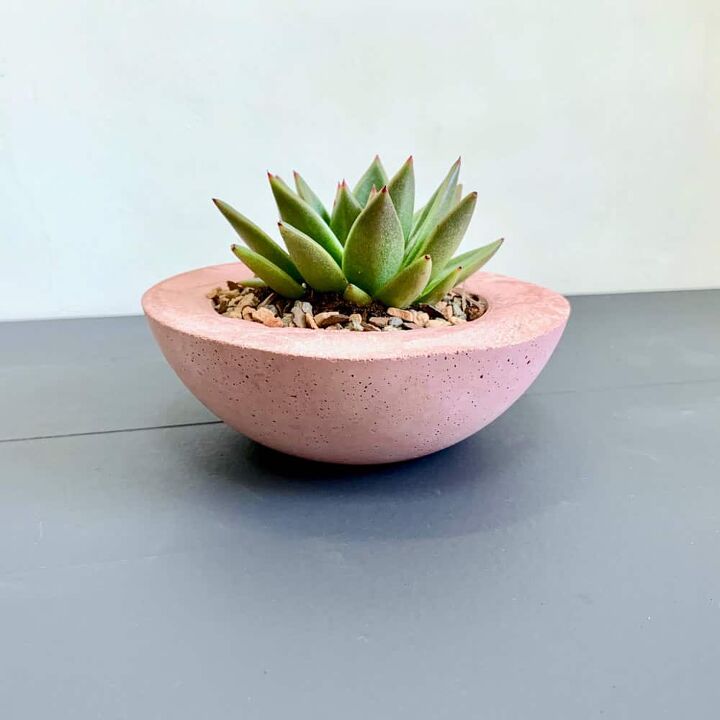
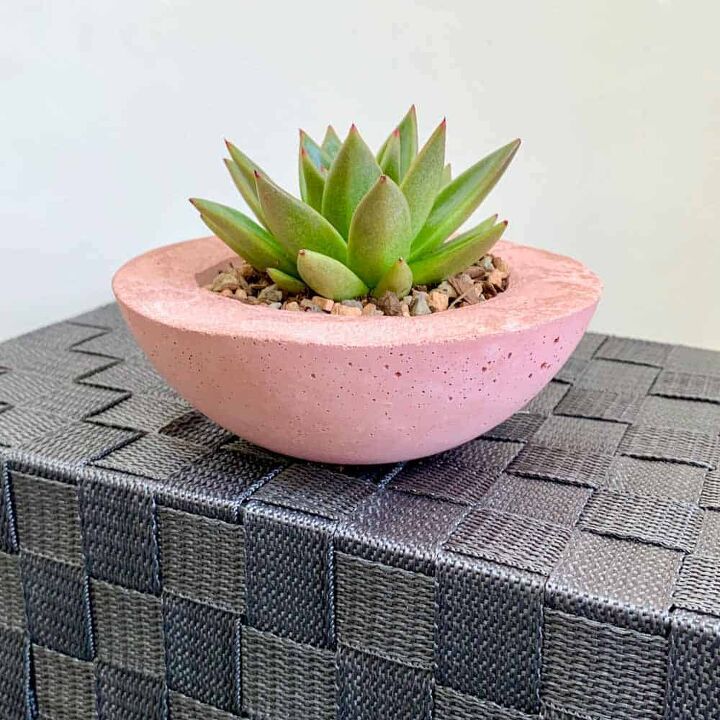
How To Make A Colored Cement Planter in Pink!
Add white and red concrete pigment to color your DIY cement planter.
A pink colored cement planter? Yes! Have you been dying to learn how to make colored concrete or cement planters?
Sometimes we concrete people need some color in our lives, right?
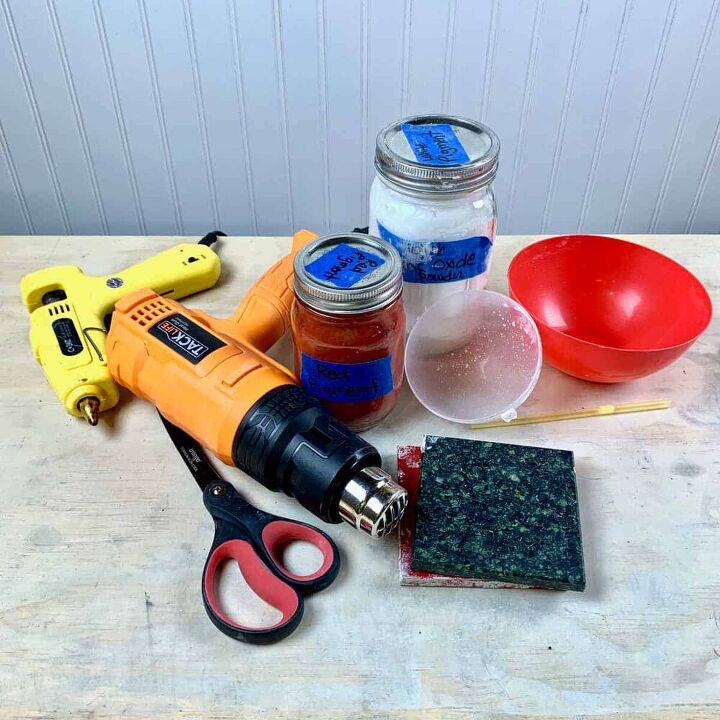
You make pink cement by adding a pigment to it. In this case, I used a red powdered pigment, specifically made for cement. You can also make pink cement by using a red or pink acrylic paint or latex.
Just adding a bit of pigment to concrete can have a big effect on your project.
I seriously was dreaming of pink planters and I wouldn’t call myself a ‘girly, girl’, or even close really, but I do actually love pink.
Adding pigments to cement is kind of fascinating.
On my website, I have a post where I did tests showing how much colorant you need to add to achieve best color.
Also note that you do reach an actual saturation point where the color can’t get any brighter, darker, pinker, etc.
You also risk weakening the cement by adding too much.
This is a nice simple cement planter project, that comes out looking simple and beautiful.
Of course, if you aren’t a pink fan, just substitute the pink with any other color. You may or may not want to add white to it.
STEP 1 | Create The Colored Planter Drainage Hole


Heat up the glue gun to a low temp and then cut a ½” piece off the straw and then apply the hot glue to each open end.
Now glue one end to the center bottom of the inner mold.
If you use the same containers I have, then the plastic ball half will end up being flush with the top of the outer container, so you won’t have to mark the stopping point.
The inner cement mold will just sit right on top of the straw.
If you have different containers, then place your inner mold on top of the straw and mark the location on the inner mold where it stops.
You want to make sure it is touching the straw and not smushing it down.
After playing with different ways of making colored cement after it’s cured. I recommend checking it out before starting this portion of the tutorial.
STEP 2 | Make The Cement Pink With Pigment And Add To The Cement
Pour in about 1 ½ cups of cement into the disposable bowl.
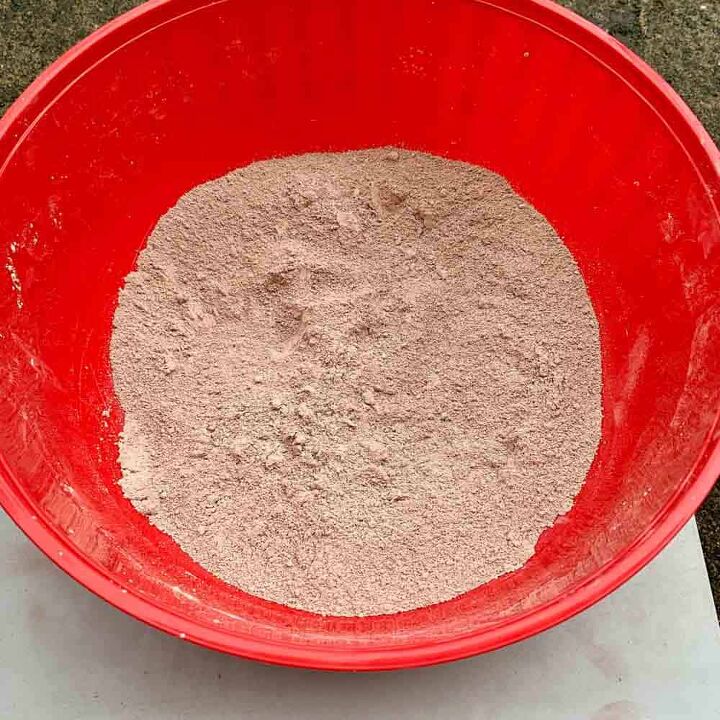
To get a color similar to mine, add 1 teaspoon of red pigment and 3 teaspoons of white.
Now mix these together well (I just used my gloved hands).
The mixture will appear as though it has very little color, but you will see it has plenty of color once you add water.
**If you love making concrete projects, then check out my Pocket Guide to Concrete Mixes! I tested 6 mixes and made a handy reference chart. It's a FREE download. 😉
You can test the color to see if it’s the color you want by adding a small bit to another bowl and adding water.
Adjust your colors as necessary, but don’t add more than 4 teaspoons of color total or you risk weakening the cement.
STEP 3 | Cast The Colored Cement
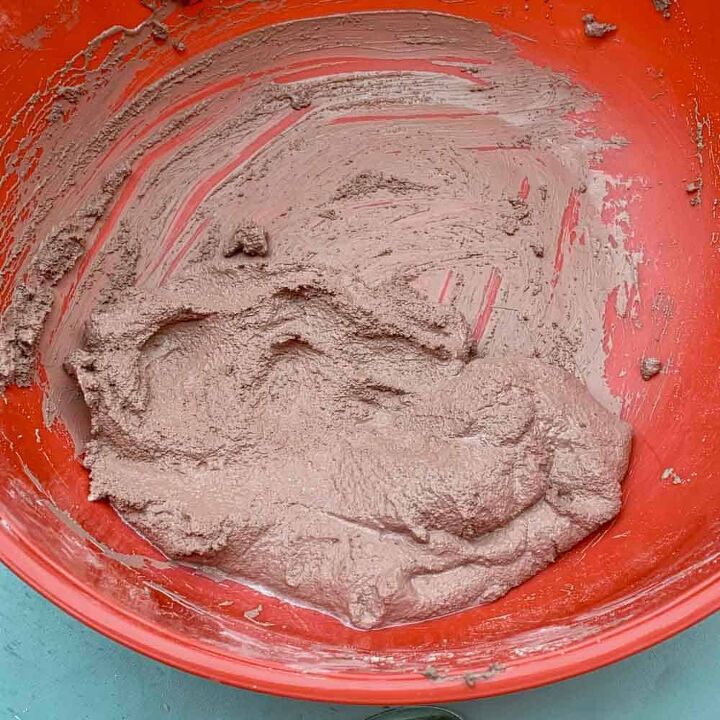
When the color is to your liking, add water and mix well, ensuring there are no lumps. Your consistency should be like a wet mud pie.
Scoop the cement and colorant mixture into the outer container, and then shake and tap to settle the cement and get air bubbles out.
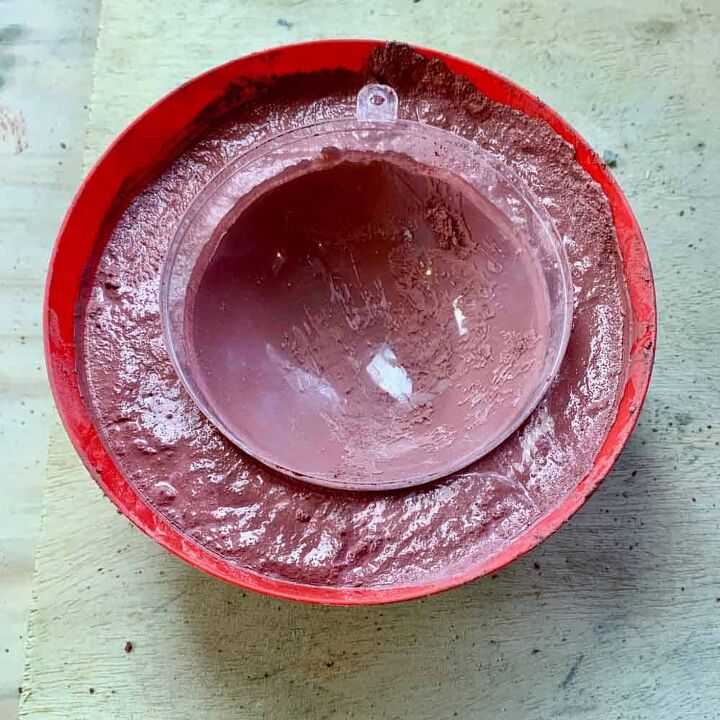
Now take the inner mold and center it within the bowl and push down until it’s flush or until you hit the mark you created as your stopping point.
Use something to weigh down the inner mold to keep it in place. You can remove the weights after about 10 minutes if you’d like.
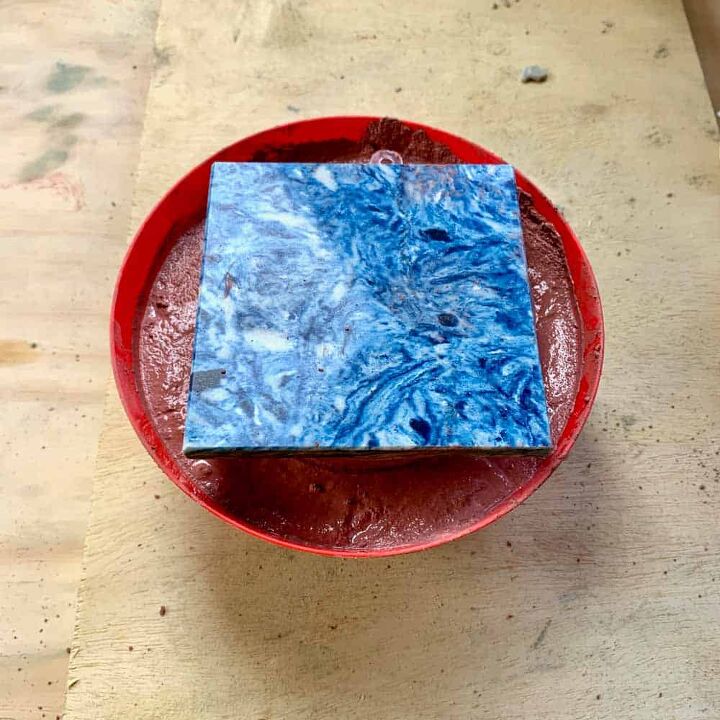
Let the cement cure a minimum of 2 hours. If you want this to be shiny, you should wait about 4 hours.
The thicker the sides are, the longer it takes. With the containers I used, to get the cement planter shiny, it would have been at least 4 hours.
I demolded after about 2 ½ hours, after it had cooled down, which made it matte instead of shiny.
* Have you seen my post on the Concrete Pigment Tests? I wrote it after this tutorial and found some other mediums to use for coloring concrete. 
STEP 4 | Demold The Pink Colored Cement Planter
After your pink planter has cured, use a heat gun to release it. With the containers I used, I was able to pull out the inner mold by hand.
For the outer cement mold, I flipped the bowl upside down and placed a towel underneath.
Using the heat gun, it took about 10-15 seconds of medium heat for the cement planter to drop down out of the bowl.
FINAL STEP | Sand The Top Edges Of The Pink Planter
Sand the top edges to remove anything sharp with a 220 grit sanding sponge. Do this as soon as you demold the planter so that it will be easier.
The cement continues curing after demolding and it becomes harder.
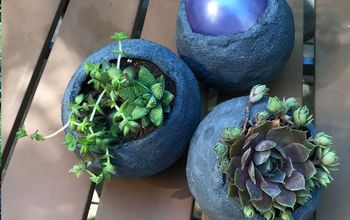
Do you love colored concrete? Take a look at this concrete planter made with a wood stain and this planter made with a cheap dye.
**Not all plants do well in concrete and cement planters. While they are loved by most succulents, other plants may not share that love. There are easy fixes for this.
Please see Are Concrete Planters Safe For Plants? to learn more. 

Comments
Join the conversation
-
Pink! So pretty! Am inspired, thank you!
-
It's so pretty.


Frequently asked questions
Have a question about this project?
Does anyone know if all concrete/cement is lead free? I want to plant a lemon tree in a pot because I need to take it indoors in my climate for the winter. Since I’m going to eat the lemons, I don’t want lead and the commercial flower pots are very expensive So I thought I would make one from cement. It’s hard to get an answer about commercial flower pots and I can’t find anyone who knows about lead content in cement. Thanks
Will the white pigment turn grey cement white?