


How to Make a Dollar Tree Calendar Craft
Calendar crafts are so much fun, also popularly searched on Pinterest! Of course, knowing that I had to make one myself! For this craft, I used Jennifer Pugh prints from the back of a calendar. In addition to that, I made it farmhouse style using my buffalo check. Without further a due, let’s get into this calendar crafts! If you’re not up for reading, as always, you can watch the video replay below!
Here’s What you’ll need:
- mini calendar prints
- buffalo check napkin
- popsicle sticks
- hot glue gun
- scissors
- white paint
- mod podge
- 4 wood beads
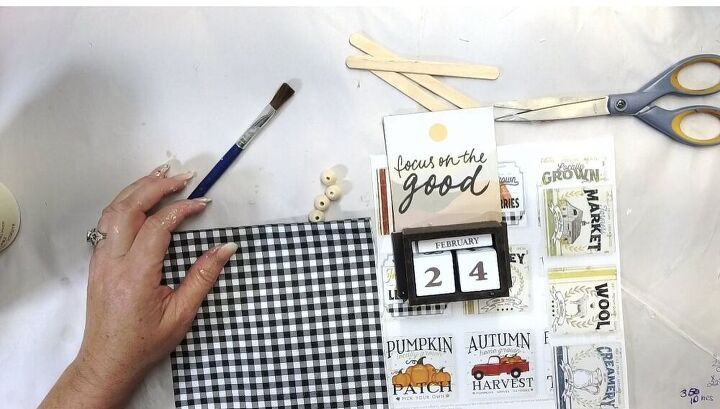
Firstly, you’ll start by painting the top of the calendar white. Then, coat it with mod podge, so that your napkin will stick to it. As you can see, I used a buffalo check napkin.
Secondly, once you’ve placed your napkin, take a paint brush with mod Podge on it and pat down the sides. Doing this will allow the napkin to dry without peeling off of the square.
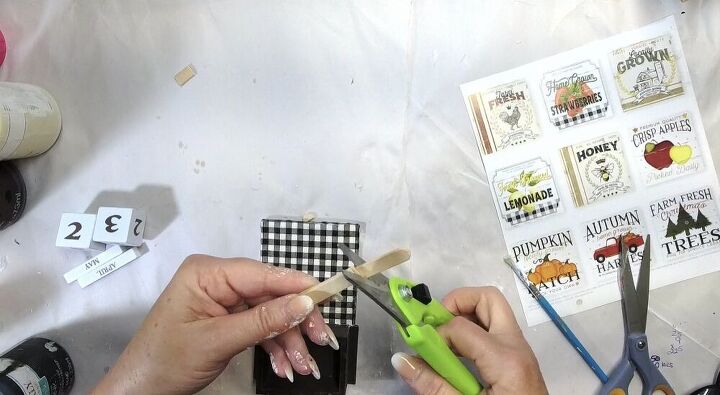
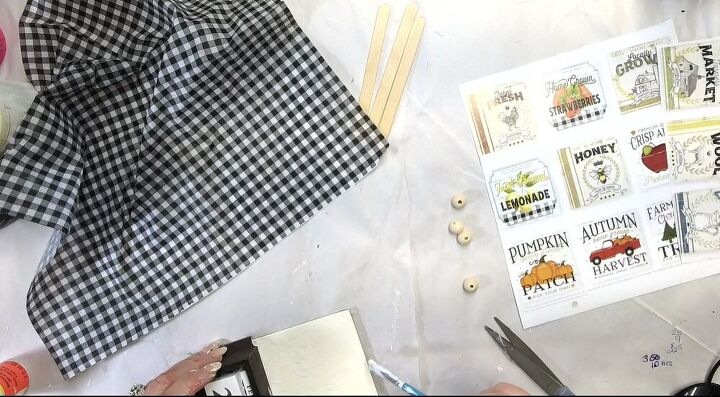
Thirdly, measure the frame of what will be your picture holder. In order to do this, take your popsicle stick and trim off any parts that hang off. Furthermore, to make sure they line up, trim them on top of each other.
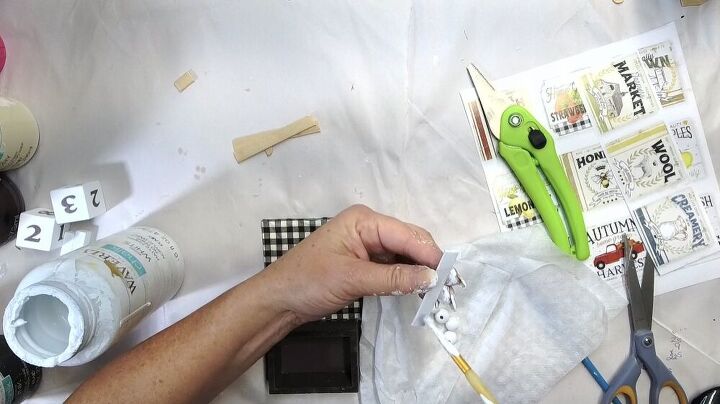
Fourthly, paint the four wood beads white, along with your now trimmed popsicle sticks. Moreover, you should have four trimmed popsicle sticks.
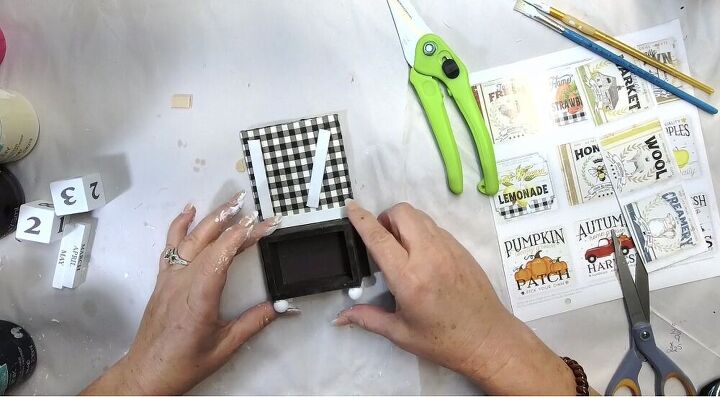
Afterwards, we can start gluing it all together. So, hot glue your four beads to the bottom, but hold off on gluing your frame down.
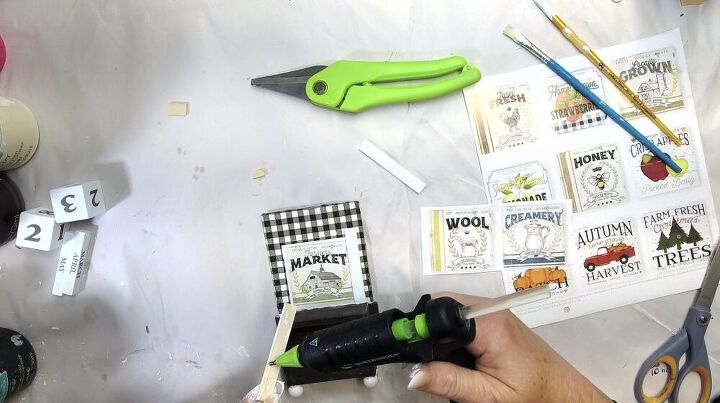
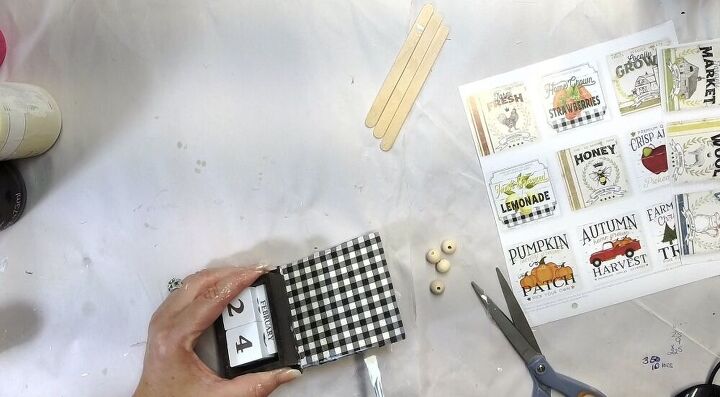
Before gluing your frame, put your picture in the center. You will then have to be a bit strategic with how you apply your hot glue. From the image above you can see that I glued on the outside, this leaves room that you’ll need to slide your picture in and out of frame. Equally as important, when you glue your top frame, glue it on top of the side sticks. Doing this will leave a gap at the top and this is your opening that allows you to change your photo.
Almost there!
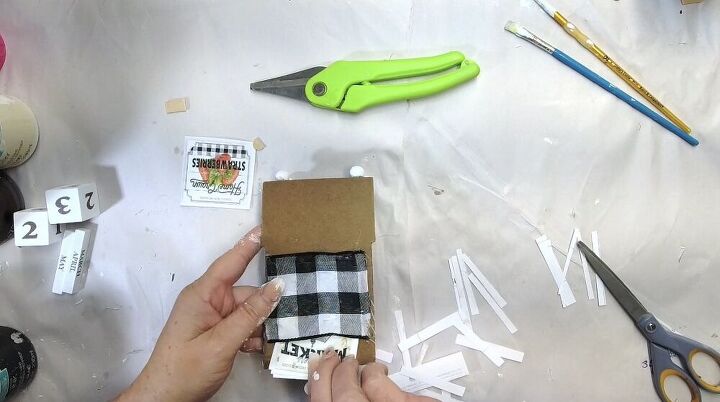
Of course you’ll want somewhere to keep the photos you’ll be changing in and out every month! So, we’ll make a little pocket to go on the back. In order to make the pocket, just grab some fabric and glue the sides and bottom. Leave the top open so that you can slide your pictures in.
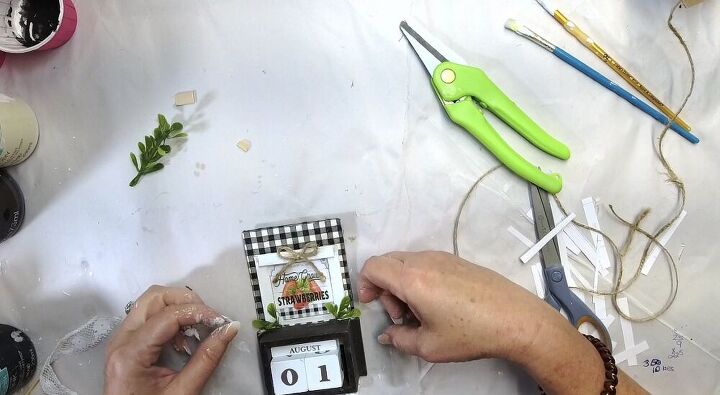
Finally, create your mini jute string bow and add some greenery to the top. I feel that these elements bring the true farmhouse feel to your calendar crafts!
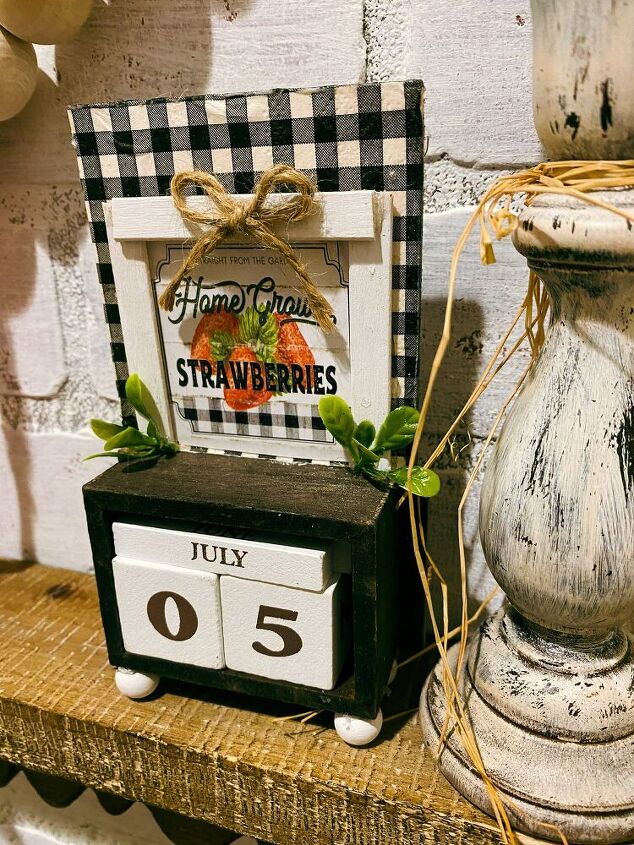
Now you have a cute little calendar to enjoy in your home or at your office desk! If you loved this craft, check out the blog for more like it. We’re also on social media! Follow us on Facebook, Instagram, TikTok, Pinterest and Youtube for more content.
How to Make Watermelon Themed Home Decor“How to Make a Candle into a Decorative Sunflower” — DIY Living By Talisa Lindsay
Sign up for my email list below, you’ll get a FREE printable when you do!


Frequently asked questions
Have a question about this project?