


How to Make Resin Art
9 Materials
$30
2 Hours
Easy
Hey Everyone, Jeremy Hoffpauir here. In this article, I show you how to make resin art on a canvas. I use multiple techniques to create cells and unique blending, which are both unique resin art effects.
{
"id": "4498241",
"alt": "",
"title": "",
"video_link": "https://www.youtube.com/embed/Ac_jklo5K2s",
"youtube_video_id": "Ac_jklo5K2s"
}
{
"width": 634,
"height": 357,
"showRelated": true
}
Gather Materials
I like working with Epoxy Resin in case you haven't noticed.
I had a small amount of material left over from my epoxy resin table project I completed last month, so I decided to make resin art on a canvas. Check out the materials section of this post for a complete list.
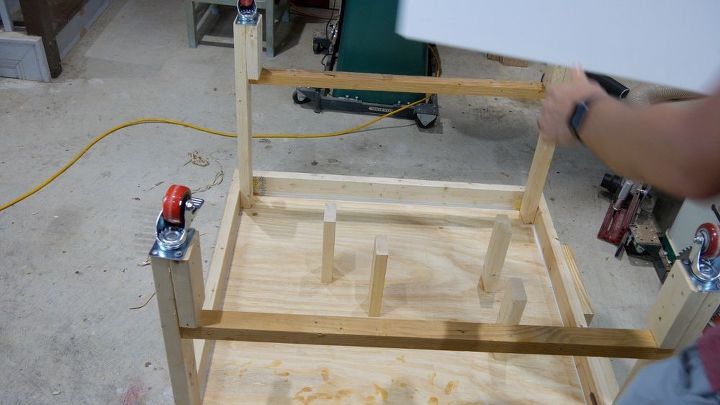
Prepare Work Surface
I receive a ton of questions about my epoxy resin work surface. So, I’ll take a quick minute to explain.
In an effort to reduce the epoxy resin mess (run-off), I attached four 2×4’s to the underside of my outfeed table a few months ago. The 2×4’s suspend the work piece in the air.
Additionally, I used 2×4’s around the table below the plywood top to create a tub.
I sealed the underside of the table with silicone caulk to prevent leaking.
Ultimately, the underside of the outfeed table is a tub which collects the epoxy as it runs off the work piece.
The outfeed table is attached to my table saw with magnets.
To use the table, I pull it away from the table saw and flip it over.
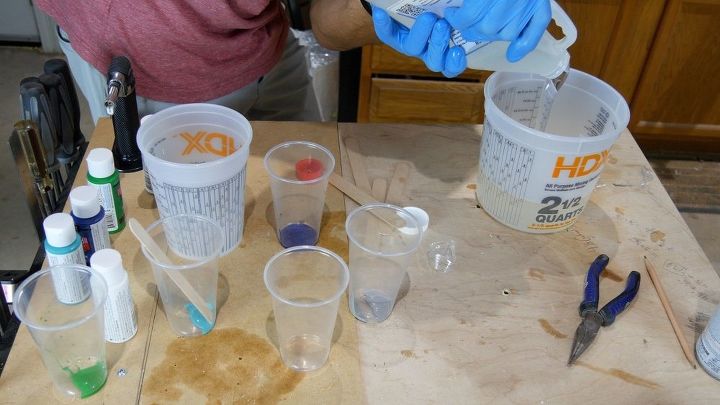
Prepare Paint and Epoxy Resin
First, I added the white acrylic paint in a plastic cup. The acrylic paint will add color to the epoxy resin.
White was my base color, so I used a large measuring cup because I needed roughly 8 ounces. I mixed the other colors in a small plastic cup.
I used roughly 1 tablespoon per 4 ounces of epoxy resin. Keep in mind, the amount of acrylic paint is not an exact science.
One tablespoon per 4 ounces produced a nice color for me.
Next, I mixed 24 ounces (12 ounces of epoxy, 12 ounces of hardener) of epoxy resin.
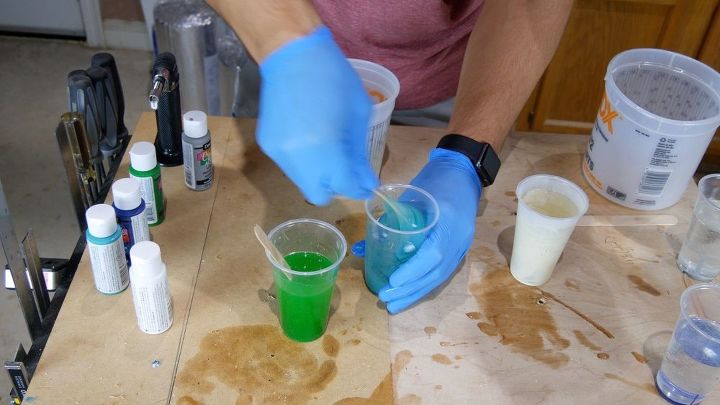
Mix Paint and Epoxy Resin
I mixed the 24 ounces epoxy resin by stirring gently with a mixing stick.
While stirring, the epoxy resin will get thick and cloudy. It will start to get easier to stir and become clear again after a few minutes of mixing.
Next, I poured roughly 4 ounces in each small cup with acrylic paint. I poured 8 ounces into the large mixing cup with my base color, which is white.
Then, I mixed the paint with the epoxy resin. It is important to make certain the paint is completely mixed with the resin.

Pour Base Color
I poured the white epoxy resin on top of the canvas.
Next, I rubbed the white resin to ensure it completely covered the canvas. The base color is necessary for the ‘lacing effect’.
The ‘lacing effect’ is achieved when a different color is poured on top of the white resin and heat is applied with a heat gun. More on this in a later step.
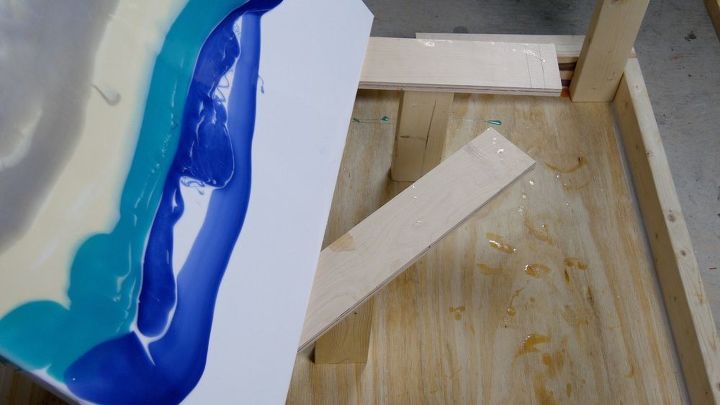
Pour Colors
There is no right or wrong way to pour the colors on the canvas. I did not have a plan I just sort of went with it.
First, I poured the sand color.
Next, I poured the gray and aqua colors.
Then, I poured the blue color near the top of the canvas.
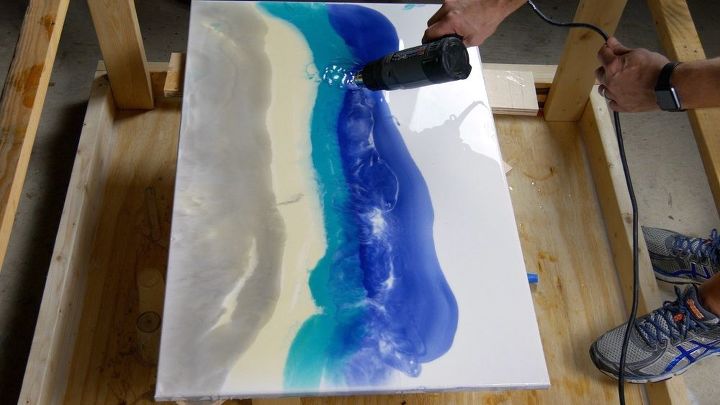
Heat Gun to Merge Colors
I used a heat gun to merge the different colors by moving the resin with heat.
This creates unique resin art effects because the colors blend together.
Additionally, the white (base) color becomes more visible.
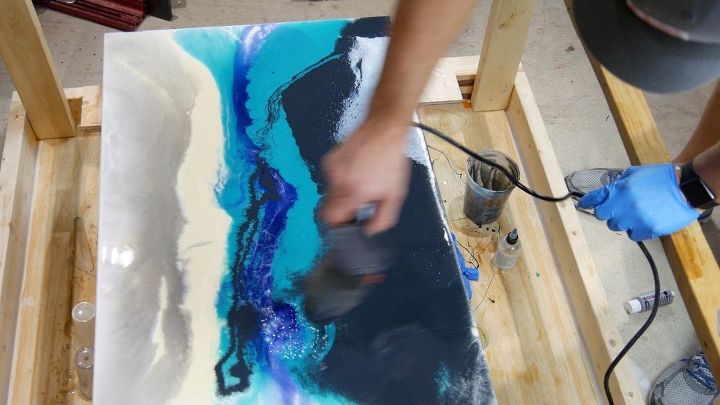
Make Resin Art Effects
The next 2 layers I poured were mixed with silicone oil.
I mixed 5 drops of silicone oil per 4 ounces of resin. This is not an exact measurement – this amount just seemed right to me.
I mixed the silicone oil with the resin in the mixing cup. I’ve seen people drop dispersing agents directly on the resin, but that didn’t seem right to me.
The silicone oil is a dispersing agent, which adds multiple effects to the art piece such as lacing and cells.
I allowed the base layers to sit for 10 minutes before I applied the resin with silicone oil.
First, I applied the aqua blue to the top of the canvas just above the blue layer.
Then, I used my heat gun to work the resin into the other colors. I really started to make cool patterns.
Next, I applied the dark grey resin with silicon oil across the top. I decided to bring some of the dark grey into the middle of the art piece.
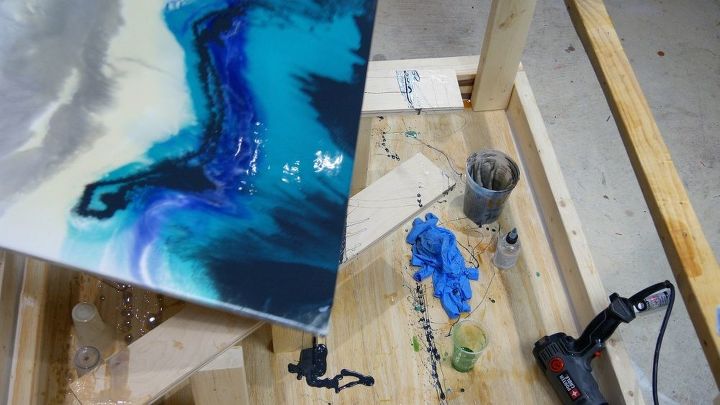
Move Resin Art on Canvas
I should have realized the resin would congregate to the middle of the canvas because of it’s weight; however, I didn’t until it happened.
This turned out to be a good thing because it added to the unique patterns.
I moved the resin around by lifting the canvas and tilting the canvas in different angles.
Next, I moved the resin with the heat gun until the pattern looked good.
I did this until I was happy with the patterns.
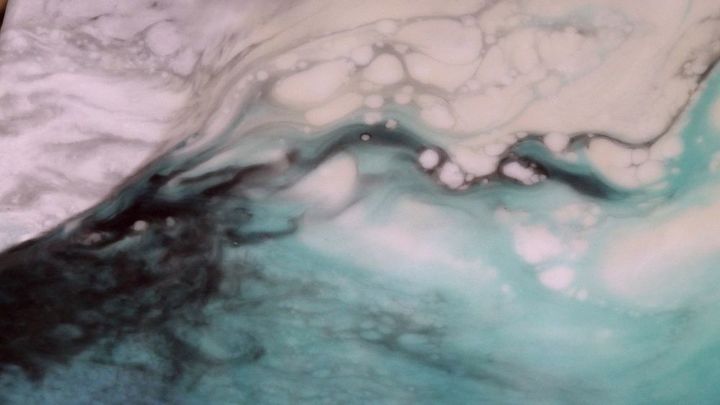
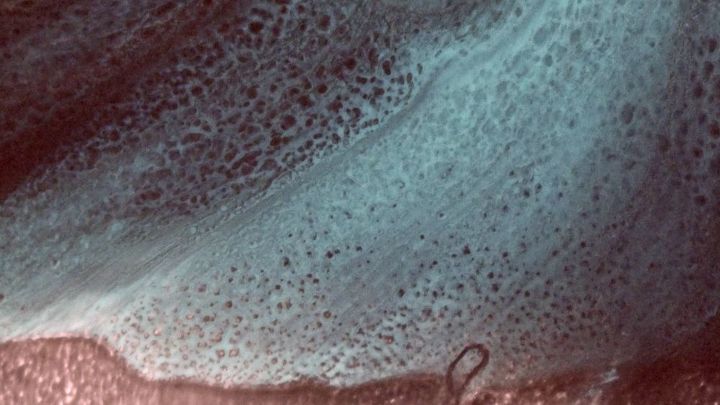
Lacing Effect
Resin Art Lacing Effect
Resin Art Cells
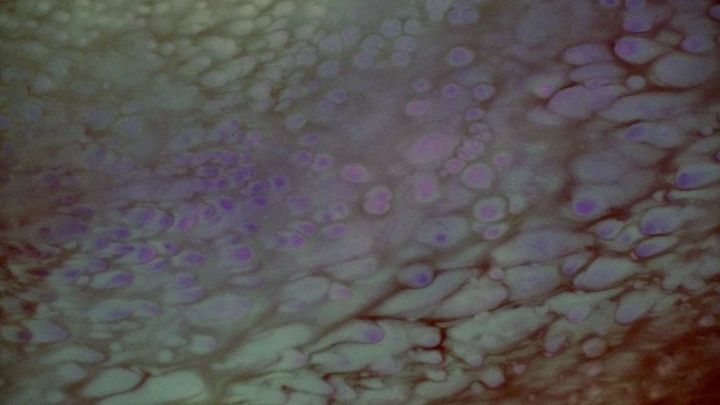
Resin Art Cell Colors
Final Thoughts
Final Thoughts
I hope you learned how to make resin art on a canvas and you decide to make one of your own. If you do, please share in the comments below.
Also, this project was a lot of fun & I will definitely do another one again soon. I’ll probably do a ‘dirty pour’ because this technique produces very cool effects.
Resources for this project:
See all materials


Any price and availability information displayed on [relevant Amazon Site(s), as applicable] at the time of purchase will apply to the purchase of this product.
Hometalk may collect a small share of sales from the links on this page.More info

Want more details about this and other DIY projects? Check out my blog post!
Comments
Join the conversation
3 of 5 comments
-
This looks super complicated but your step by step really helped break it down into manageable pieces! Thanks so much for such a helpful step by step

Also this looks awesome!!
-
I've never worked with resin before, but have admired this every time it see these pieces. This is beautiful and I can't wait to try it.


Frequently asked questions
Have a question about this project?