


How to Style a Faux Olive Tree

I have been wanting a faux olive tree for FOREVER now. And I have always held back because I couldn’t find one I really liked for the price. Usually, they are pretty expensive and just look too fake to me. But, I finally found one I LOVE and I thought it would be fun to show you guys how to style a faux olive tree today.
You can make them look so much better and even more expensive just by doing a few things. It really elevates the look and takes it to a whole other level. If you love faux olive trees as much as I do, you are definitely going to want to check out this post.
This post contains affiliate links. Click here to read my disclosure policy.
Picking Out a Faux Olive Tree
Like I mentioned above, picking out a faux olive tree can be difficult. But when I saw that my favorite blogger ever, Liz Marie Galvan, launched her own line with QVC with an olive tree, I knew I struck gold. She is definitely my inspiration for a lot of home decor so I was so happy to find this one.
Now, this tree is a little shorter than most I’ve seen (only 35″). However, I am going to show you how to add a little height to it as well. I am very pleased with the price of it though and I think it is totally worth the money.
Assembling the Materials
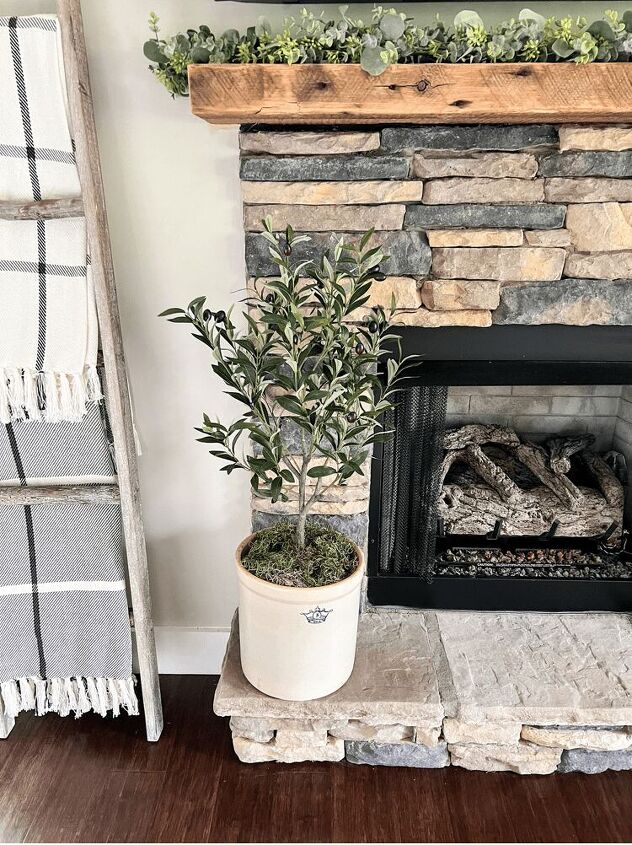
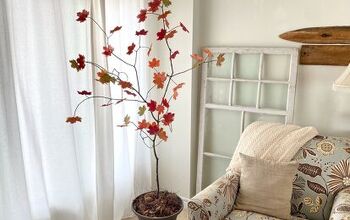
The next step in how to style a faux olive tree is to just assemble all the materials to get started. I wanted to place this tree in a vintage crock. The container that it comes in is not very cute honestly so I wanted to spruce it up a little bit. And I already had a vintage crock sitting on my fireplace.

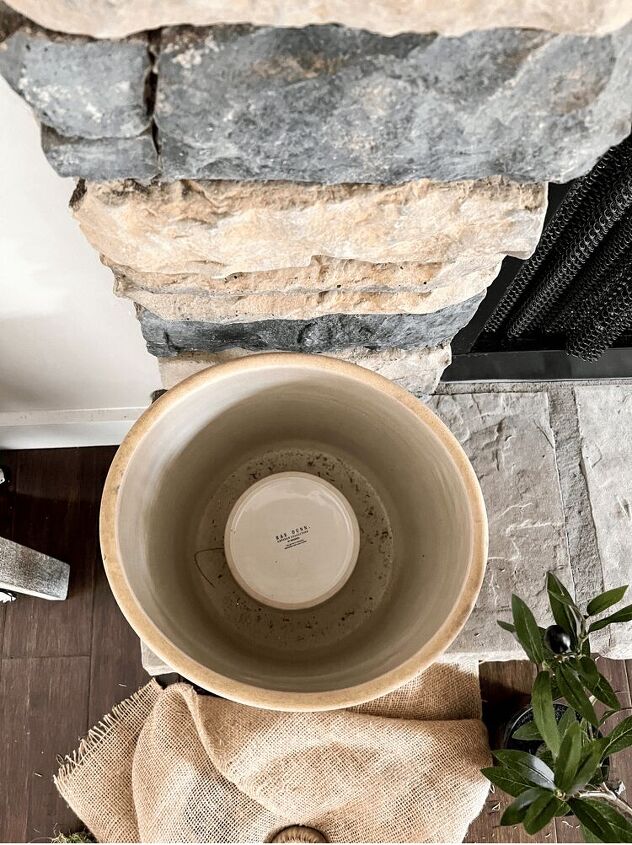
I was a little worried that the crock would swallow the tree whole since it is a 3 gallon one. So my first thought was to elevate the tree inside the crock using a shallow bowl. It’s actually a Rae Dunn bowl, of course (if you know, you know!). So I placed the bowl on the very bottom of the crock and was ready to get started.
Adding the Olive Tree in
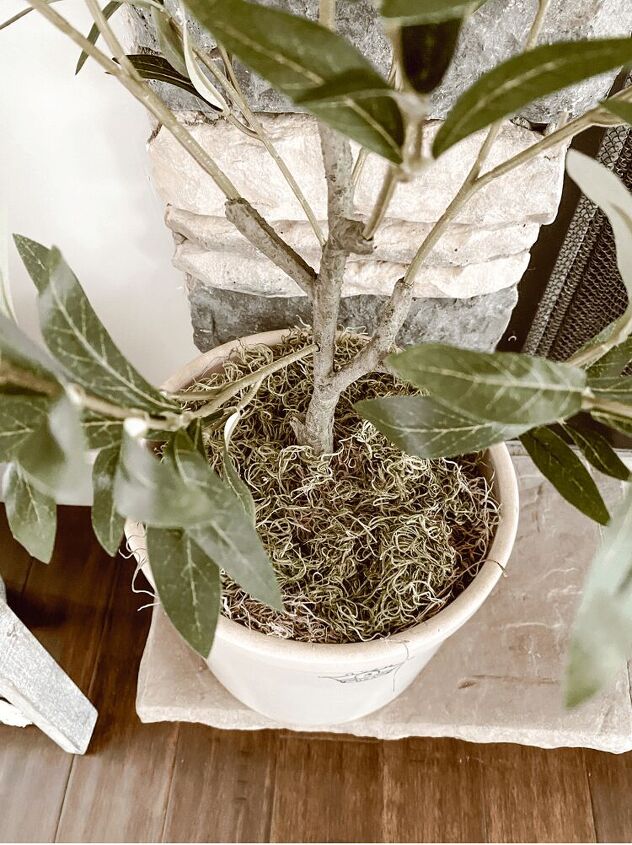
After placing the bowl inside, I placed the olive tree on top of it. Now, the trunk of the tree is very skinny considering the width of the crock. To remedy this, I placed some leftover burlap pieces I had laying around and wrapped it around the base of the trunk inside the crock.

The burlap wrapped around the tree alone didn’t have the finishing look I was going for. It was better, but still not quite perfect. I wanted to place something on top of the burlap to hide it.

Adding the Finishing Touches to the Olive Tree
I finally remembered I had some leftover faux moss from my pumpkin topiaries I made in the fall last year. So I thought that would be the perfect finishing touch to place on top of the burlap. Not only does it hide it, but it gives this whole olive tree a more expensive feel. Like I definitely bought it already styled this way.
And that’s it on how to style a faux olive tree! See how super easy and simple that is?! You can easily change this up to fit your own style too. If you don’t like the look of a vintage crock, use a textured basket to place the olive tree in. And even if you do like the vintage crock look, but don’t have one, don’t fret! Liz Marie even included a vintage inspired crock in her line that you can order as well:
Well, how do you think it turned out?! Don’t you think it looks much better than before!? I know I sure think so and I love how this simple trick can really elevate any kind of faux tree in your home as well.


Comments
Join the conversation
-
Excellent! I'm a big faux plant fan myself, and this technique will come in handy.


Frequently asked questions
Have a question about this project?