


Macrame Jar Cover | Beautiful BOHO DECOR
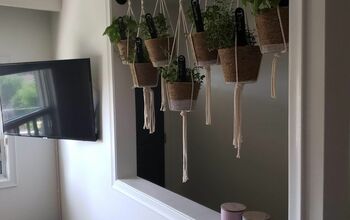
Hey, everyone! I love macrame and I love the boho decor. I have so many jars laying around my house so I thought to make a macrame jar cover to spruce them up. If you like the bohemian style in your home then this tutorial will add this boho vibe in your decor!
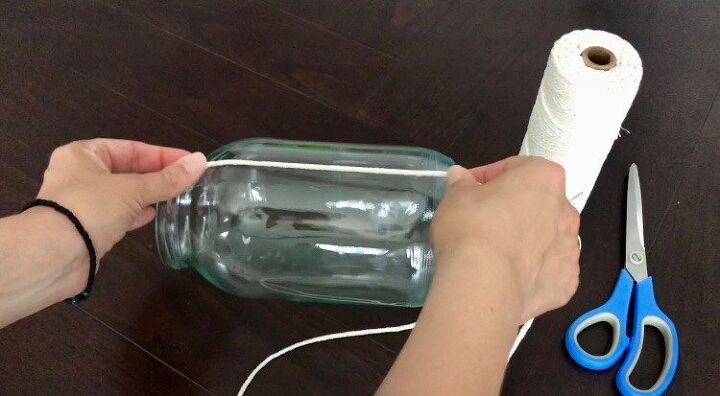
Take your macrame cord and measure the length of your jar two and a half times, double that length, and then cut off the cord.
Then you’re gonna need to gather as many cords as your jar allows you to make this pattern I’m going to show you.
For my jar that is 8″ high, I used 20 working cords because this particular pattern is working with multiples of four. So, all you have to do is to determine how many cords you’ll need depending on the size of your jar.
Take one of your working cords and measure the entire length out.
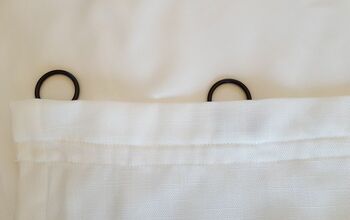
Then take your jar and wrap the anchor cord around and add that to your measurement.
Then add another one inch for the knot and next wrap it around your jar two times. And that is your final measurement of your anchor cord. Cut it at that point…
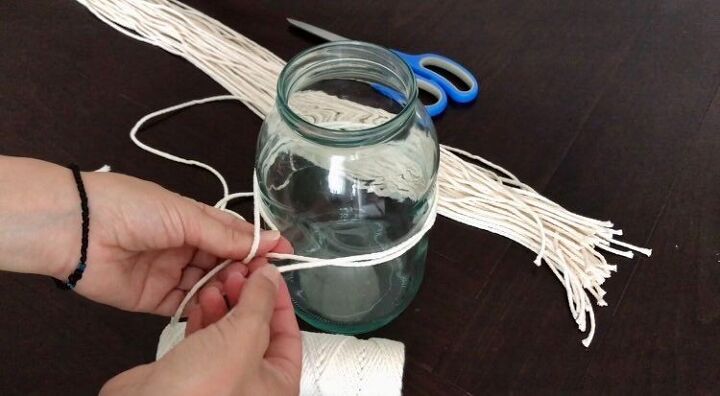
Lay down one of your working cords that you’ve folded in half, place your anchor cord beside it, and hold that measurement with your thumb.
Then tie that cord around your jar at that point, making a simple knot and that is your anchor cord.
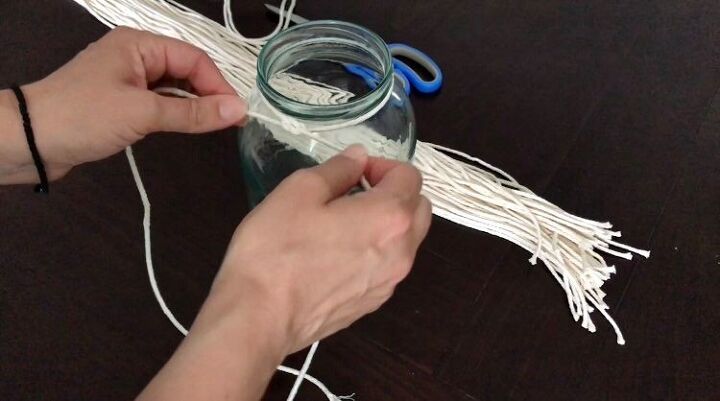
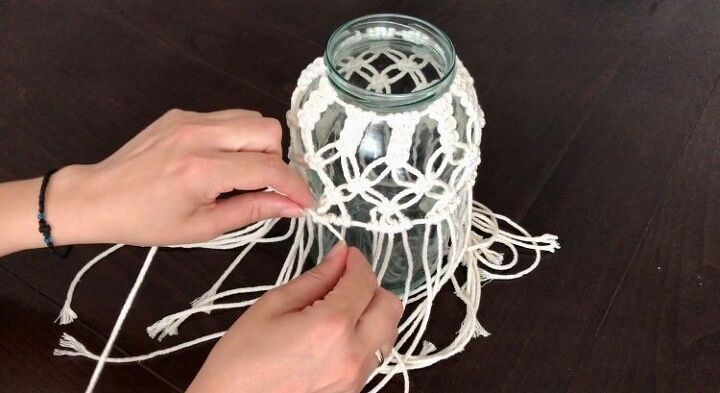
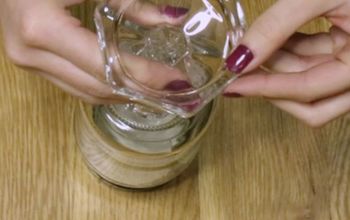
Take one of your working cords, fold it in half and slide it under your anchor cord.
Grab the loop that was created and pass the two strings through that loop and pull them down.
Then go ahead and attach all of your working cords using this method.
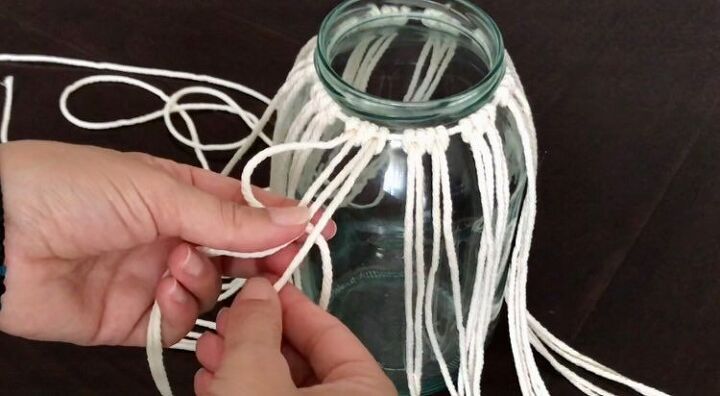
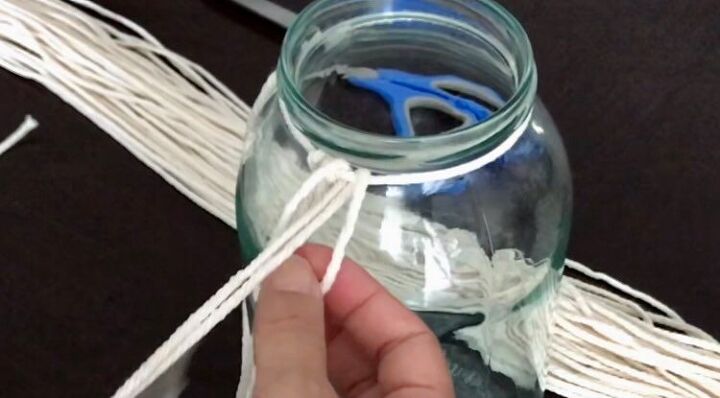
Take one section of four cords and start working on it. Take the left side cord and bring it up on top of the two middle ones and under the right cord.
Then pass the right cord behind the two middle cords and then through the loop.
Then pull the two ends tight to the top.
This is our half square knot so let’s go ahead and do the other half!
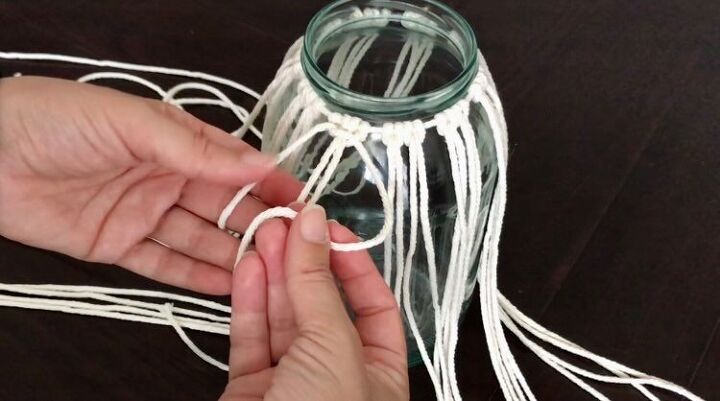
Now, take the right cord this time, bring it up on top of the two middle ones, and under the left cord.
Then pass the left cord behind the two middle ones and through the loop.
After that, pull it tight to meet the other knot and now this is a complete square knot!
Next, continue adding square knots, three for each section.
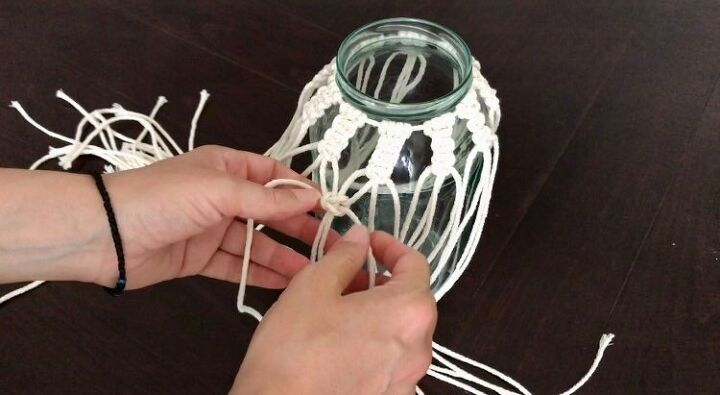
Take two sections that are close to each other and separate two strings from each section that are close to each other and start making a square knot.
When you’re done with the first row, move on and make the second one.
Pick two square knots that are close to each other and gather four strings that are close to each other and start making the square knot.
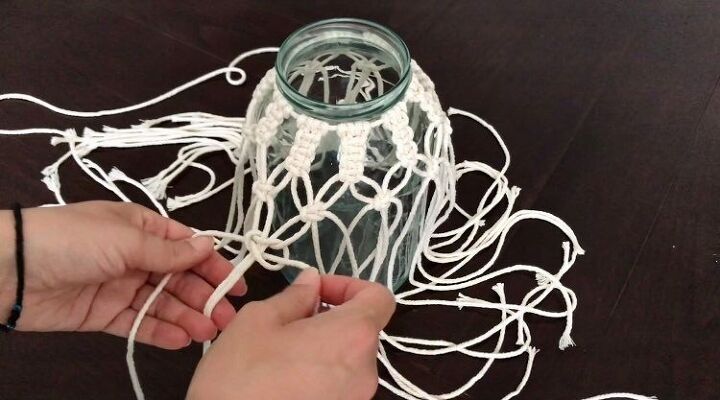
You’re gonna need to find the longest string from your anchor cord to make your horizontal half hitch knots all around the perimeter of your jar.
We’re going to tie our strings leftwards, so take the near left string and wrap it around your anchor cord. And do this twice for every string.
And repeat this pattern until you’ll finish with all of your strings.
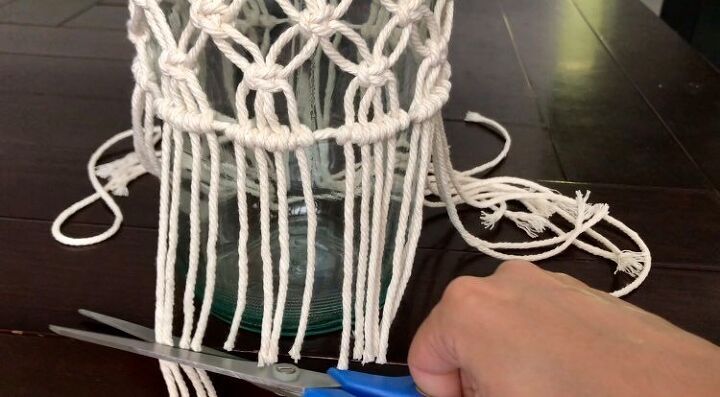
To finish this gorgeous macrame jar cover, bring it to the edge of your table and trim off the cords exactly at the bottom of your jar.
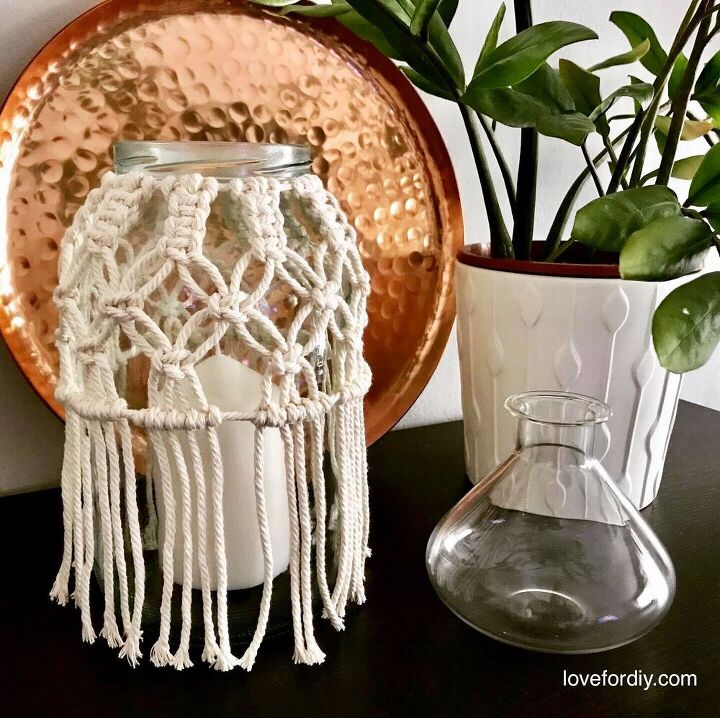
I hope you enjoyed today’s DIY and I hope I inspired you to make this beautiful macrame jar cover! I literally enjoyed every moment making this and I love how it came out!


Comments
Join the conversation
-
I can't wait to try this project!!!
I love the look! tfs
-
Gorgeous!


Frequently asked questions
Have a question about this project?
Did you light the candle inside your jar, just wondering if it would get too hot and break. I think it's beautiful I would love to be able to do it
I'm not familiar with macrame, and the beginning instructions are confusing to me though I would very much like to learn this, could you direct me to a video where you show the process? Thanks!
How do you get the anchor cord from the top of the jar to where it needs to be for the last step? I am new to macramé and this was really easy to follow along and love it so far. Just need the final step. Thanks!!!